low beam FORD SUPER DUTY 2017 4.G Owners Manual
[x] Cancel search | Manufacturer: FORD, Model Year: 2017, Model line: SUPER DUTY, Model: FORD SUPER DUTY 2017 4.GPages: 636, PDF Size: 10.56 MB
Page 90 of 636
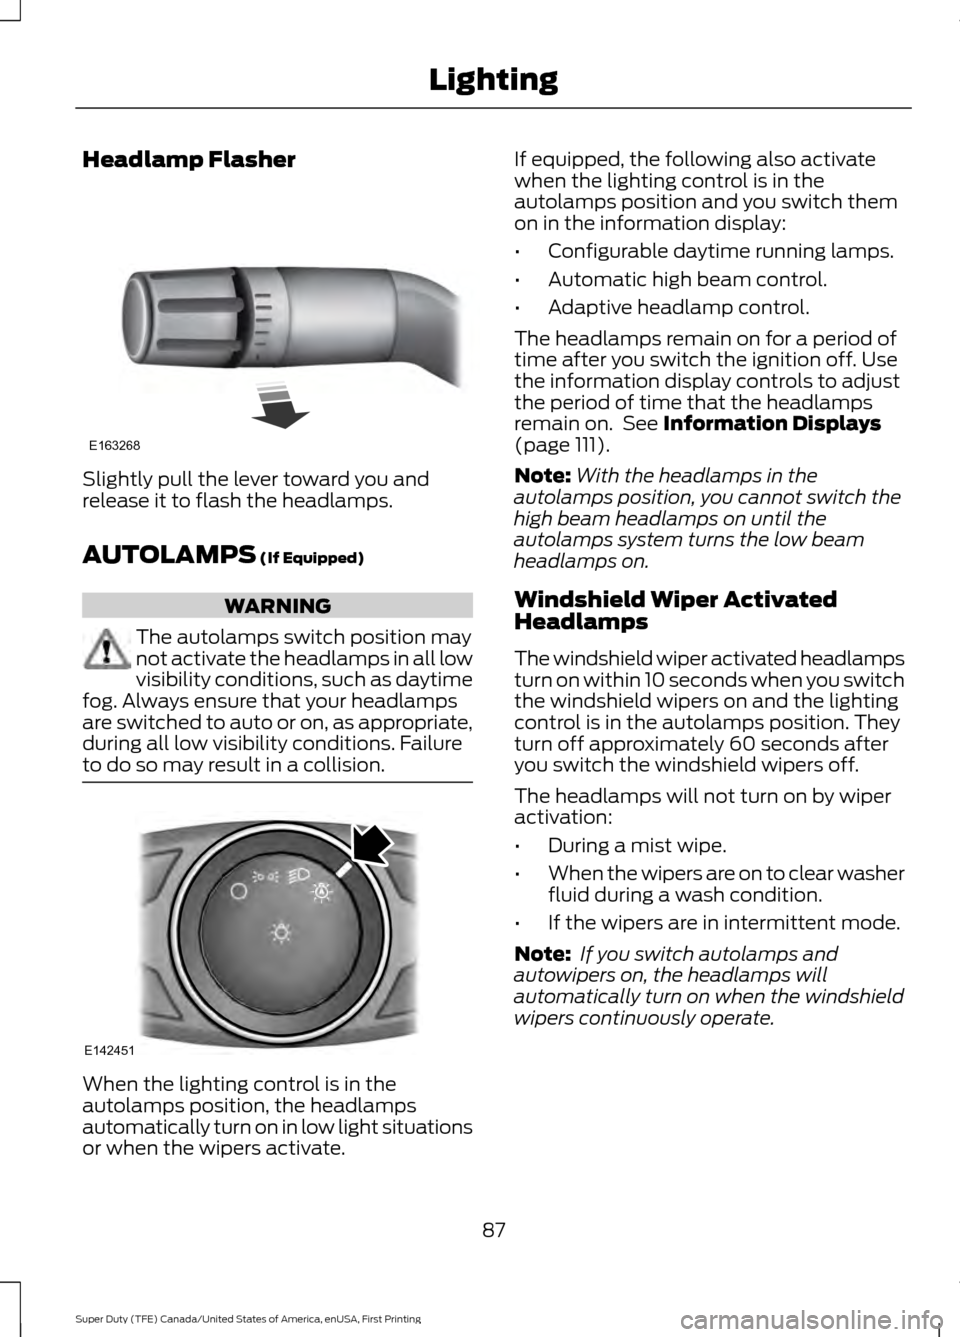
Headlamp Flasher
Slightly pull the lever toward you and
release it to flash the headlamps.
AUTOLAMPS (If Equipped)
WARNING
The autolamps switch position may
not activate the headlamps in all low
visibility conditions, such as daytime
fog. Always ensure that your headlamps
are switched to auto or on, as appropriate,
during all low visibility conditions. Failure
to do so may result in a collision. When the lighting control is in the
autolamps position, the headlamps
automatically turn on in low light situations
or when the wipers activate. If equipped, the following also activate
when the lighting control is in the
autolamps position and you switch them
on in the information display:
•
Configurable daytime running lamps.
• Automatic high beam control.
• Adaptive headlamp control.
The headlamps remain on for a period of
time after you switch the ignition off. Use
the information display controls to adjust
the period of time that the headlamps
remain on. See
Information Displays
(page 111).
Note: With the headlamps in the
autolamps position, you cannot switch the
high beam headlamps on until the
autolamps system turns the low beam
headlamps on.
Windshield Wiper Activated
Headlamps
The windshield wiper activated headlamps
turn on within 10 seconds when you switch
the windshield wipers on and the lighting
control is in the autolamps position. They
turn off approximately 60 seconds after
you switch the windshield wipers off.
The headlamps will not turn on by wiper
activation:
• During a mist wipe.
• When the wipers are on to clear washer
fluid during a wash condition.
• If the wipers are in intermittent mode.
Note: If you switch autolamps and
autowipers on, the headlamps will
automatically turn on when the windshield
wipers continuously operate.
87
Super Duty (TFE) Canada/United States of America, enUSA, First Printing LightingE163268 E142451
Page 92 of 636
3. The transmission is not in park (P) for
vehicles with automatic transmissions
or the parking brake is released for
vehicles with manual transmissions.
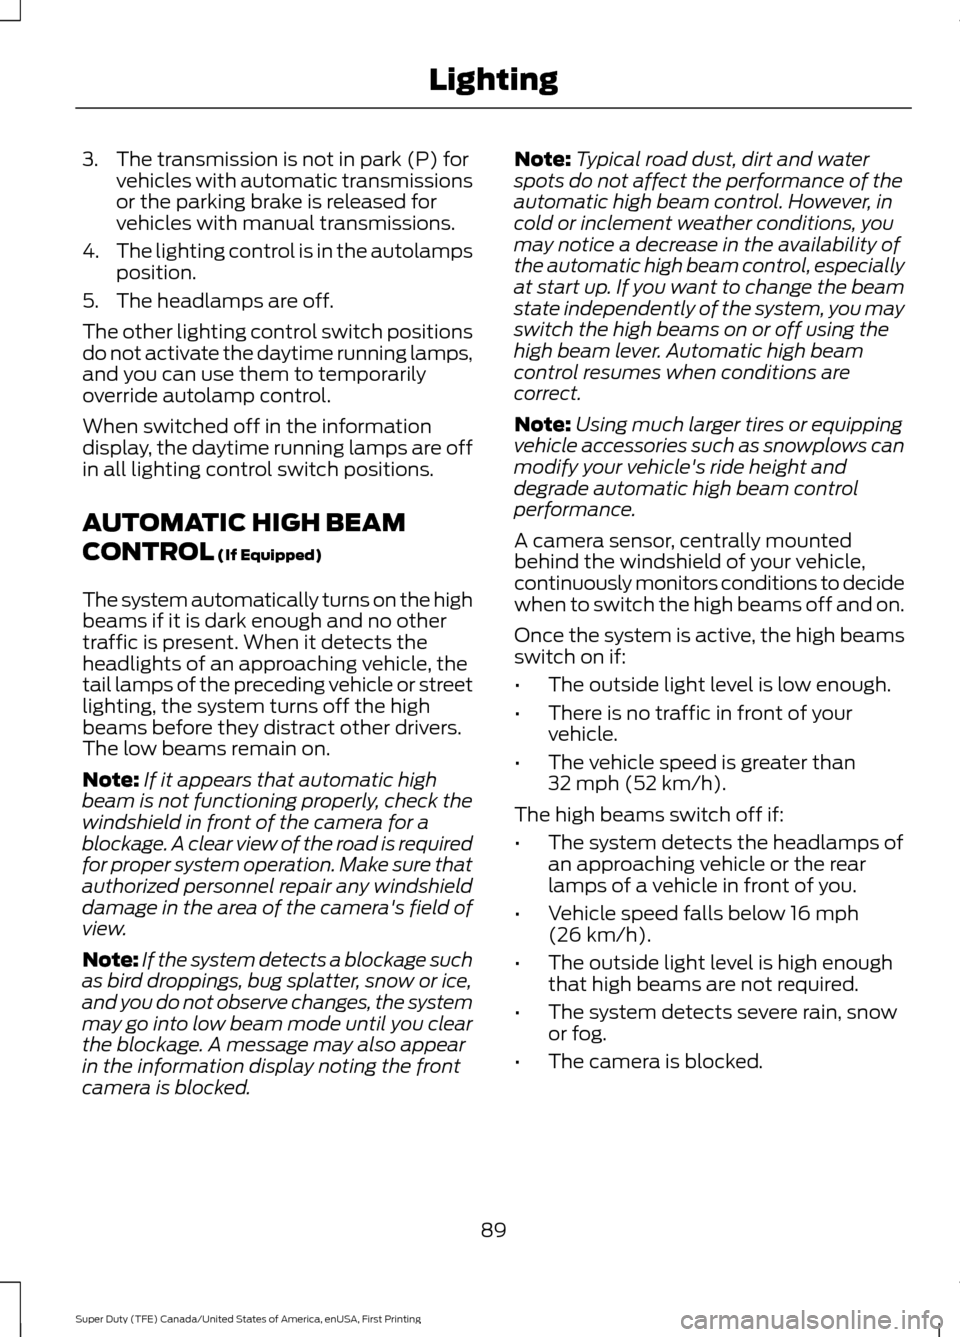
4. The lighting control is in the autolamps
position.
5. The headlamps are off.
The other lighting control switch positions
do not activate the daytime running lamps,
and you can use them to temporarily
override autolamp control.
When switched off in the information
display, the daytime running lamps are off
in all lighting control switch positions.
AUTOMATIC HIGH BEAM
CONTROL (If Equipped)
The system automatically turns on the high
beams if it is dark enough and no other
traffic is present. When it detects the
headlights of an approaching vehicle, the
tail lamps of the preceding vehicle or street
lighting, the system turns off the high
beams before they distract other drivers.
The low beams remain on.
Note: If it appears that automatic high
beam is not functioning properly, check the
windshield in front of the camera for a
blockage. A clear view of the road is required
for proper system operation. Make sure that
authorized personnel repair any windshield
damage in the area of the camera's field of
view.
Note: If the system detects a blockage such
as bird droppings, bug splatter, snow or ice,
and you do not observe changes, the system
may go into low beam mode until you clear
the blockage. A message may also appear
in the information display noting the front
camera is blocked. Note:
Typical road dust, dirt and water
spots do not affect the performance of the
automatic high beam control. However, in
cold or inclement weather conditions, you
may notice a decrease in the availability of
the automatic high beam control, especially
at start up. If you want to change the beam
state independently of the system, you may
switch the high beams on or off using the
high beam lever. Automatic high beam
control resumes when conditions are
correct.
Note: Using much larger tires or equipping
vehicle accessories such as snowplows can
modify your vehicle's ride height and
degrade automatic high beam control
performance.
A camera sensor, centrally mounted
behind the windshield of your vehicle,
continuously monitors conditions to decide
when to switch the high beams off and on.
Once the system is active, the high beams
switch on if:
• The outside light level is low enough.
• There is no traffic in front of your
vehicle.
• The vehicle speed is greater than
32 mph (52 km/h)
.
The high beams switch off if:
• The system detects the headlamps of
an approaching vehicle or the rear
lamps of a vehicle in front of you.
• Vehicle speed falls below
16 mph
(26 km/h).
• The outside light level is high enough
that high beams are not required.
• The system detects severe rain, snow
or fog.
• The camera is blocked.
89
Super Duty (TFE) Canada/United States of America, enUSA, First Printing Lighting
Page 93 of 636
Activating the System
Switch on automatic high beam control
using the information display and
autolamps. See Information Displays
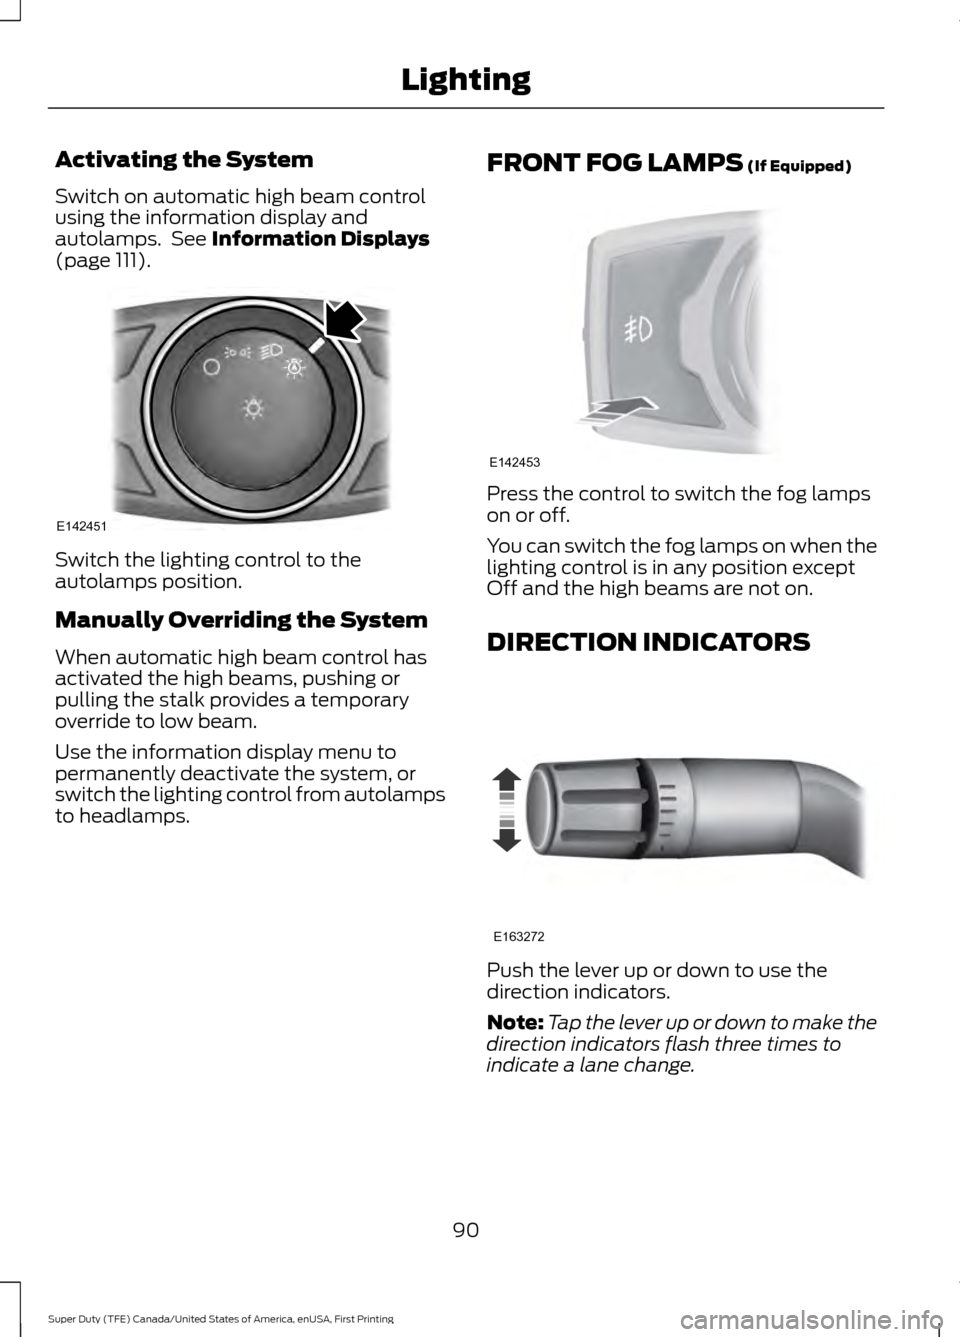
(page 111). Switch the lighting control to the
autolamps position.
Manually Overriding the System
When automatic high beam control has
activated the high beams, pushing or
pulling the stalk provides a temporary
override to low beam.
Use the information display menu to
permanently deactivate the system, or
switch the lighting control from autolamps
to headlamps.
FRONT FOG LAMPS
(If Equipped) Press the control to switch the fog lamps
on or off.
You can switch the fog lamps on when the
lighting control is in any position except
Off and the high beams are not on.
DIRECTION INDICATORS
Push the lever up or down to use the
direction indicators.
Note:
Tap the lever up or down to make the
direction indicators flash three times to
indicate a lane change.
90
Super Duty (TFE) Canada/United States of America, enUSA, First Printing LightingE142451 E142453 E163272
Page 109 of 636
Adaptive Steering (If Equipped)
The adaptive steering system
indicator illuminates if the
system detects a fault during the
continuous diagnostic checks.
Adaptive Steering Initialization (yellow,
flashing): The adaptive steering system
has detected a difference between
steering wheel angle and the desired road
wheel angle. The steering wheel adjusts
itself to correct this difference. This
adjustment is part of normal system
operation.
Adaptive Steering Off (yellow, solid): The
adaptive steering system is off. It is
possible that the steering wheel may not
be straight when the vehicle is driving
straight ahead. If this message persists,
see an authorized dealer.
Adaptive Steering Loss (red, solid): The
adaptive steering system integrity cannot
be verified. Do not drive the vehicle and
contact an authorized dealer immediately.
See
Steering (page 256).
Anti-Lock Braking System If it illuminates when you are
driving, this indicates a
malfunction. You will continue
to have the normal braking system
(without ABS) unless the brake system
warning lamp is also illuminated. Have the
system checked by your authorized dealer.
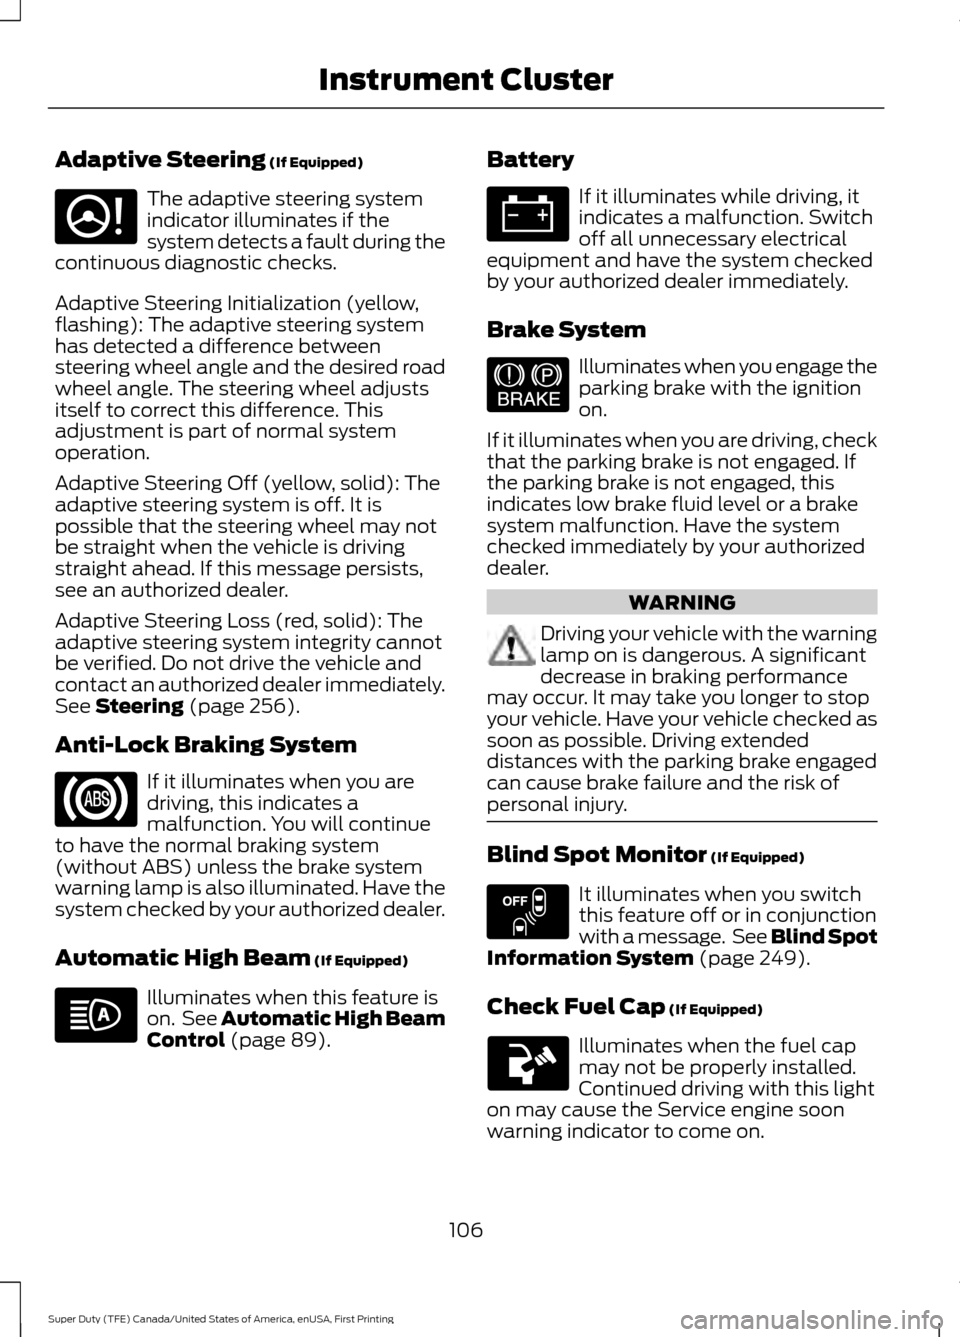
Automatic High Beam
(If Equipped) Illuminates when this feature is
on. See
Automatic High Beam
Control (page 89). Battery If it illuminates while driving, it
indicates a malfunction. Switch
off all unnecessary electrical
equipment and have the system checked
by your authorized dealer immediately.
Brake System Illuminates when you engage the
parking brake with the ignition
on.
If it illuminates when you are driving, check
that the parking brake is not engaged. If
the parking brake is not engaged, this
indicates low brake fluid level or a brake
system malfunction. Have the system
checked immediately by your authorized
dealer. WARNING
Driving your vehicle with the warning
lamp on is dangerous. A significant
decrease in braking performance
may occur. It may take you longer to stop
your vehicle. Have your vehicle checked as
soon as possible. Driving extended
distances with the parking brake engaged
can cause brake failure and the risk of
personal injury. Blind Spot Monitor
(If Equipped)
It illuminates when you switch
this feature off or in conjunction
with a message. See Blind Spot
Information System
(page 249).
Check Fuel Cap
(If Equipped) Illuminates when the fuel cap
may not be properly installed.
Continued driving with this light
on may cause the Service engine soon
warning indicator to come on.
106
Super Duty (TFE) Canada/United States of America, enUSA, First Printing Instrument ClusterE223375 E144522 E151262
Page 110 of 636
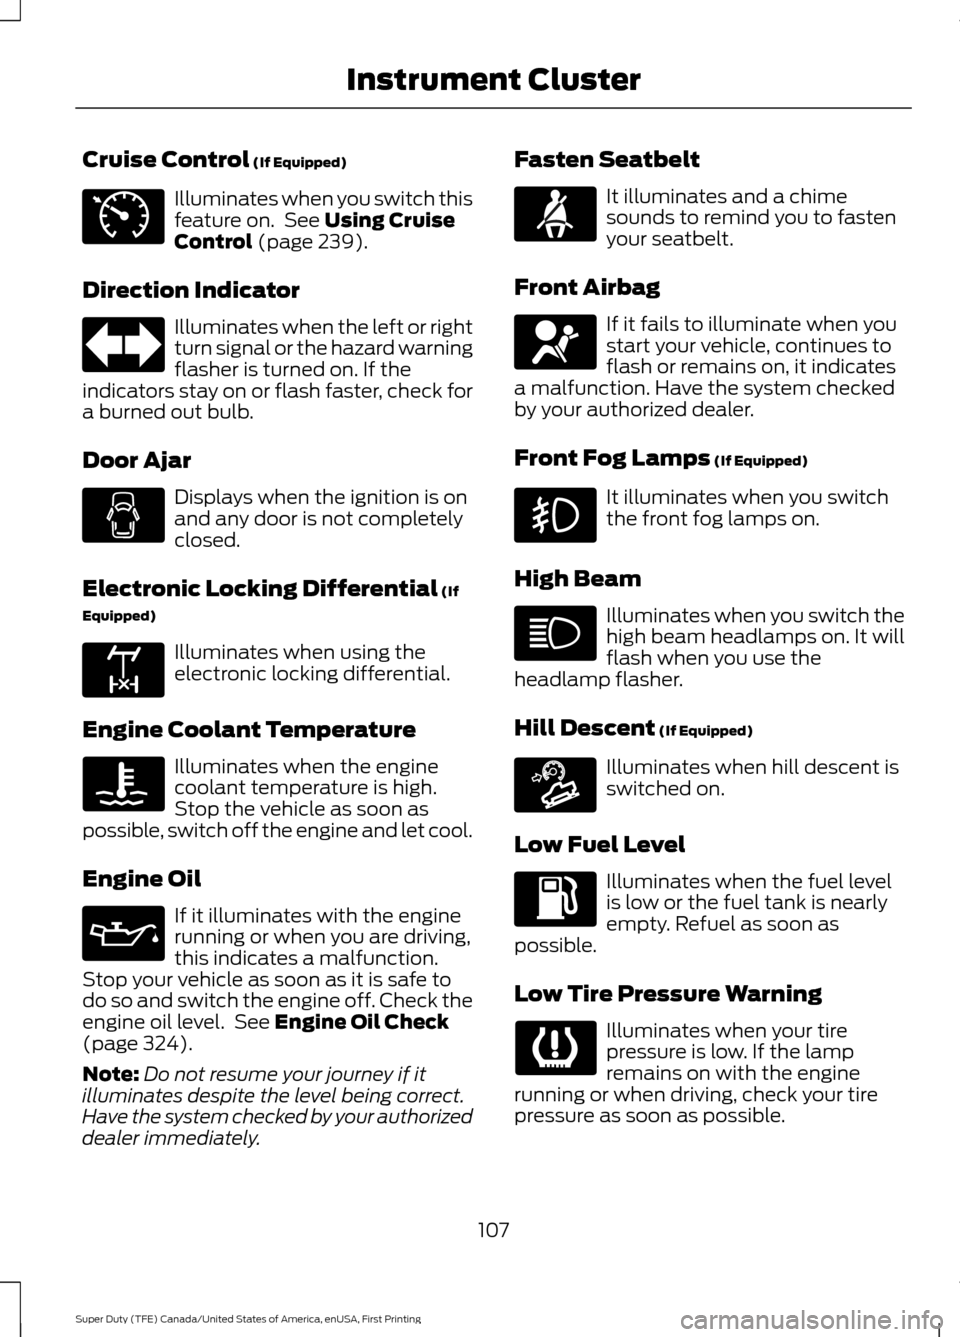
Cruise Control (If Equipped)
Illuminates when you switch this
feature on. See
Using Cruise
Control (page 239).
Direction Indicator Illuminates when the left or right
turn signal or the hazard warning
flasher is turned on. If the
indicators stay on or flash faster, check for
a burned out bulb.
Door Ajar Displays when the ignition is on
and any door is not completely
closed.
Electronic Locking Differential
(If
Equipped) Illuminates when using the
electronic locking differential.
Engine Coolant Temperature Illuminates when the engine
coolant temperature is high.
Stop the vehicle as soon as
possible, switch off the engine and let cool.
Engine Oil If it illuminates with the engine
running or when you are driving,
this indicates a malfunction.
Stop your vehicle as soon as it is safe to
do so and switch the engine off. Check the
engine oil level. See
Engine Oil Check
(page 324).
Note: Do not resume your journey if it
illuminates despite the level being correct.
Have the system checked by your authorized
dealer immediately. Fasten Seatbelt It illuminates and a chime
sounds to remind you to fasten
your seatbelt.
Front Airbag If it fails to illuminate when you
start your vehicle, continues to
flash or remains on, it indicates
a malfunction. Have the system checked
by your authorized dealer.
Front Fog Lamps
(If Equipped) It illuminates when you switch
the front fog lamps on.
High Beam Illuminates when you switch the
high beam headlamps on. It will
flash when you use the
headlamp flasher.
Hill Descent
(If Equipped) Illuminates when hill descent is
switched on.
Low Fuel Level Illuminates when the fuel level
is low or the fuel tank is nearly
empty. Refuel as soon as
possible.
Low Tire Pressure Warning Illuminates when your tire
pressure is low. If the lamp
remains on with the engine
running or when driving, check your tire
pressure as soon as possible.
107
Super Duty (TFE) Canada/United States of America, enUSA, First Printing Instrument ClusterE71340 E163170 E163171
Page 129 of 636
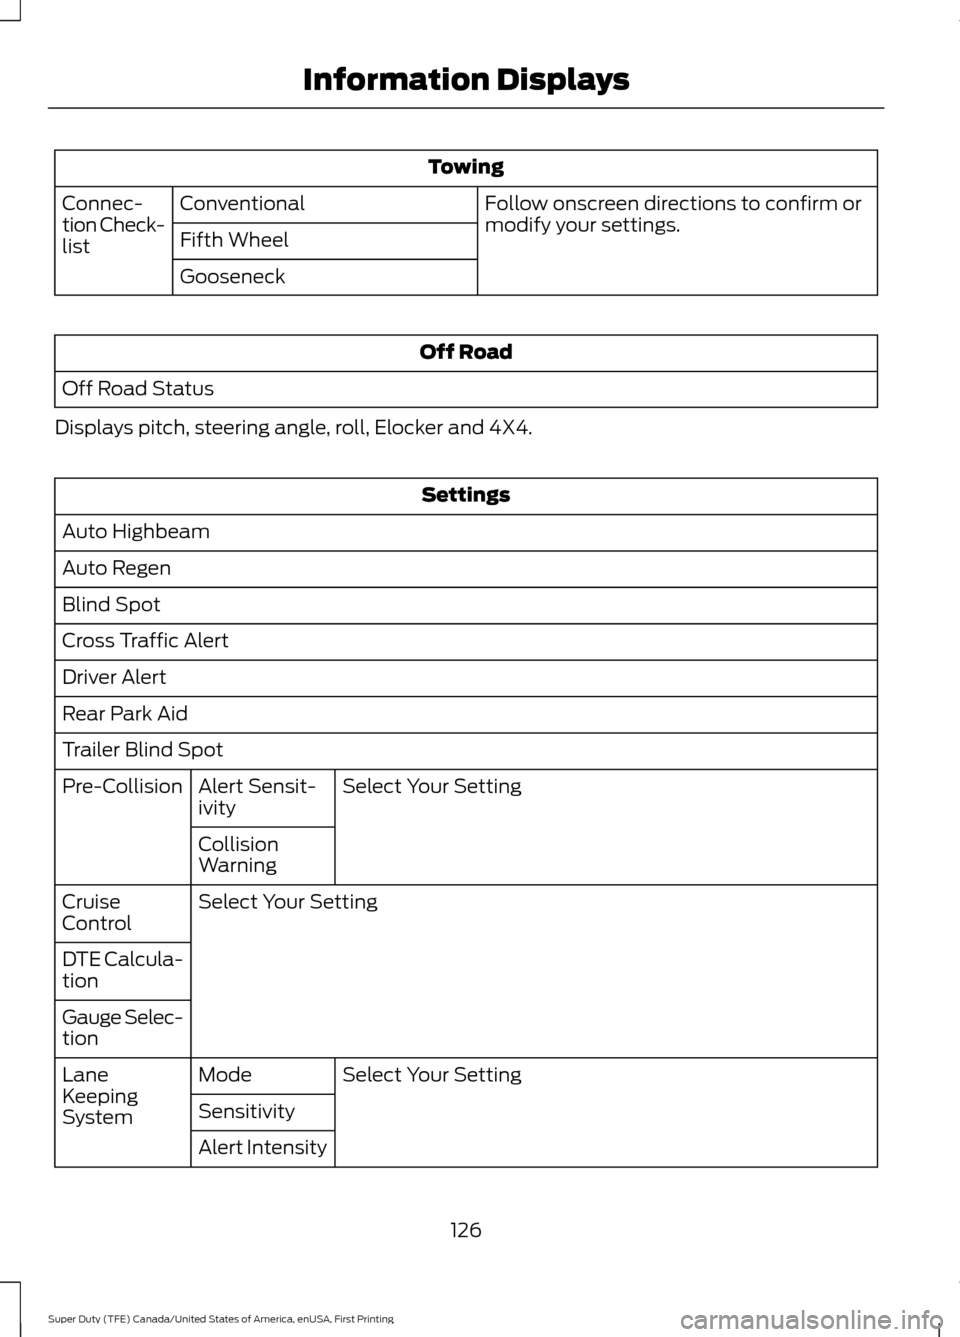
Towing
Follow onscreen directions to confirm or
modify your settings.
Conventional
Connec-
tion Check-
list Fifth Wheel
Gooseneck Off Road
Off Road Status
Displays pitch, steering angle, roll, Elocker and 4X4. Settings
Auto Highbeam
Auto Regen
Blind Spot
Cross Traffic Alert
Driver Alert
Rear Park Aid
Trailer Blind Spot Select Your Setting
Alert Sensit-
ivity
Pre-Collision
Collision
Warning
Select Your Setting
Cruise
Control
DTE Calcula-
tion
Gauge Selec-
tion
Select Your Setting
Mode
Lane
Keeping
System Sensitivity
Alert Intensity
126
Super Duty (TFE) Canada/United States of America, enUSA, First Printing Information Displays
Page 321 of 636
Protected components
Fuse amp rating
Fuse or relay number
Not used.
—
31
SYNC.
10A 1
32
GPS module.
Display.
Radio frequency receiver.
Radio.
20A 1
33
Run-start relay.
30A 1
34
Restraints control module.
5A 1
35
Lane keeping system.
15A 1
36
Automatic high beam control.
Auto-dimming mirrors.
Rear heated seats.
Heated steering wheel.
20A 1
37
Left-hand front window motor.
30A 3
38
Rear power window motors.
1 Micro fuse.
2 Dual micro fuse.
3 Circuit breaker.
CHANGING A FUSE
Fuses WARNING
Always replace a fuse with one that
has the specified amperage rating.
Using a fuse with a higher amperage
rating can cause severe wire damage and
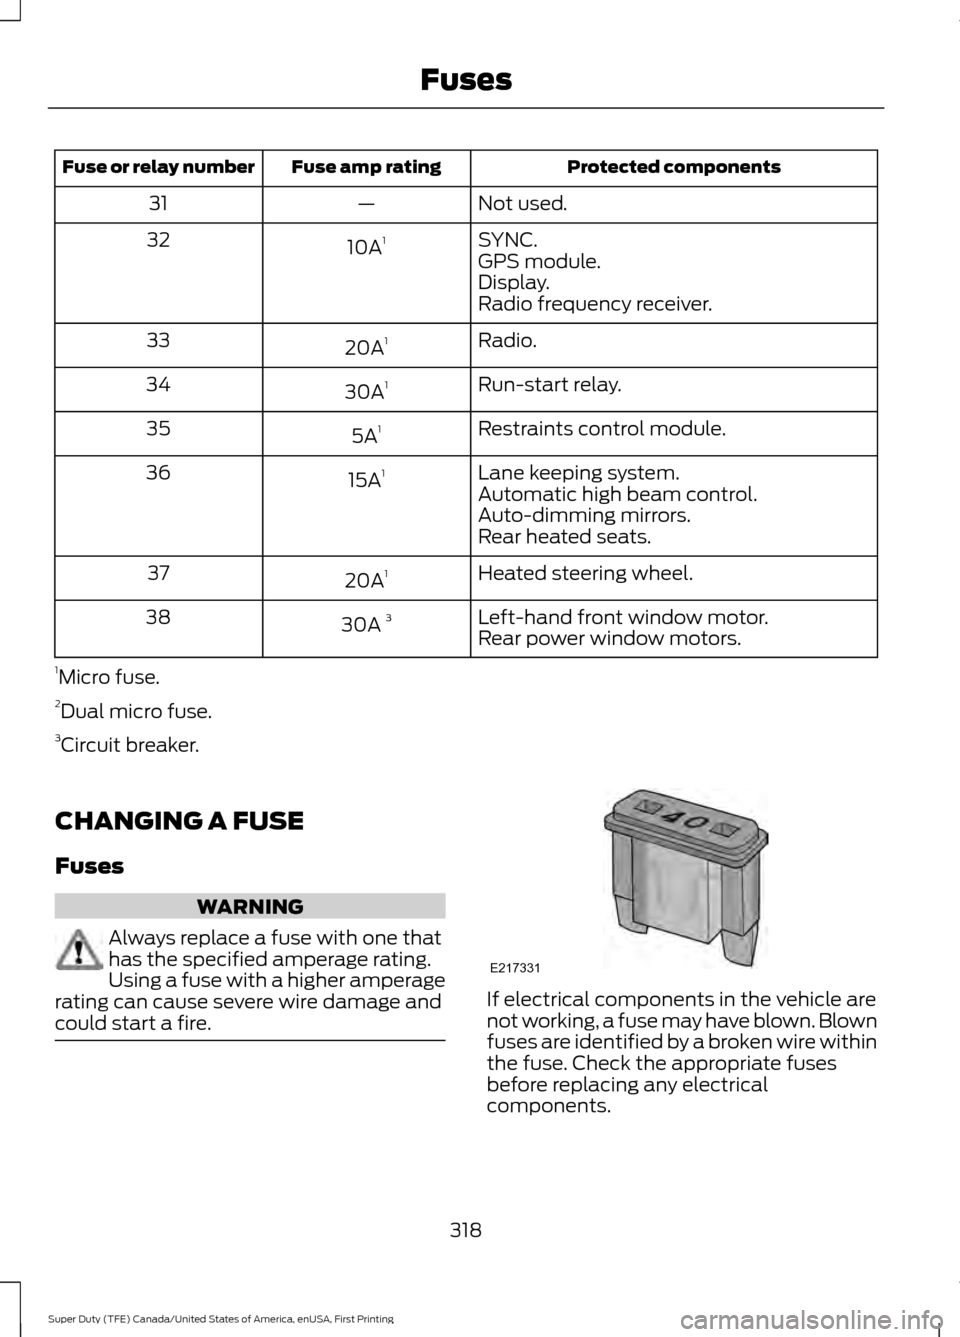
could start a fire. If electrical components in the vehicle are
not working, a fuse may have blown. Blown
fuses are identified by a broken wire within
the fuse. Check the appropriate fuses
before replacing any electrical
components.
318
Super Duty (TFE) Canada/United States of America, enUSA, First Printing FusesE217331
Page 350 of 636
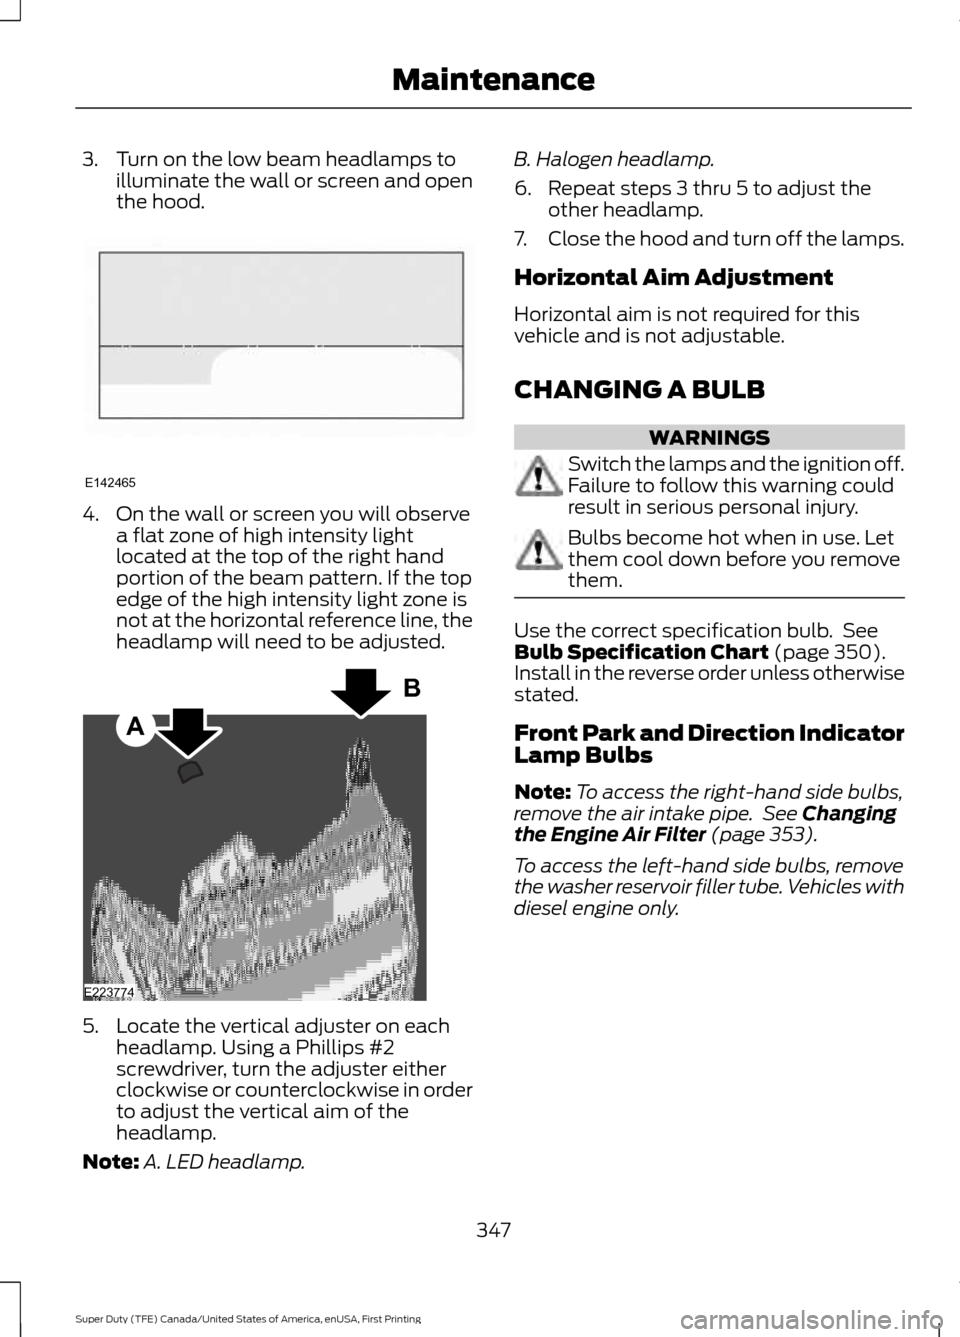
3. Turn on the low beam headlamps to
illuminate the wall or screen and open
the hood. 4. On the wall or screen you will observe
a flat zone of high intensity light
located at the top of the right hand
portion of the beam pattern. If the top
edge of the high intensity light zone is
not at the horizontal reference line, the
headlamp will need to be adjusted. 5. Locate the vertical adjuster on each
headlamp. Using a Phillips #2
screwdriver, turn the adjuster either
clockwise or counterclockwise in order
to adjust the vertical aim of the
headlamp.
Note: A. LED headlamp. B. Halogen headlamp.
6. Repeat steps 3 thru 5 to adjust the
other headlamp.
7. Close the hood and turn off the lamps.
Horizontal Aim Adjustment
Horizontal aim is not required for this
vehicle and is not adjustable.
CHANGING A BULB WARNINGS
Switch the lamps and the ignition off.
Failure to follow this warning could
result in serious personal injury.
Bulbs become hot when in use. Let
them cool down before you remove
them.
Use the correct specification bulb. See
Bulb Specification Chart (page 350).
Install in the reverse order unless otherwise
stated.
Front Park and Direction Indicator
Lamp Bulbs
Note: To access the right-hand side bulbs,
remove the air intake pipe. See
Changing
the Engine Air Filter (page 353).
To access the left-hand side bulbs, remove
the washer reservoir filler tube. Vehicles with
diesel engine only.
347
Super Duty (TFE) Canada/United States of America, enUSA, First Printing MaintenanceE142465 A
B
E223774
Page 408 of 636
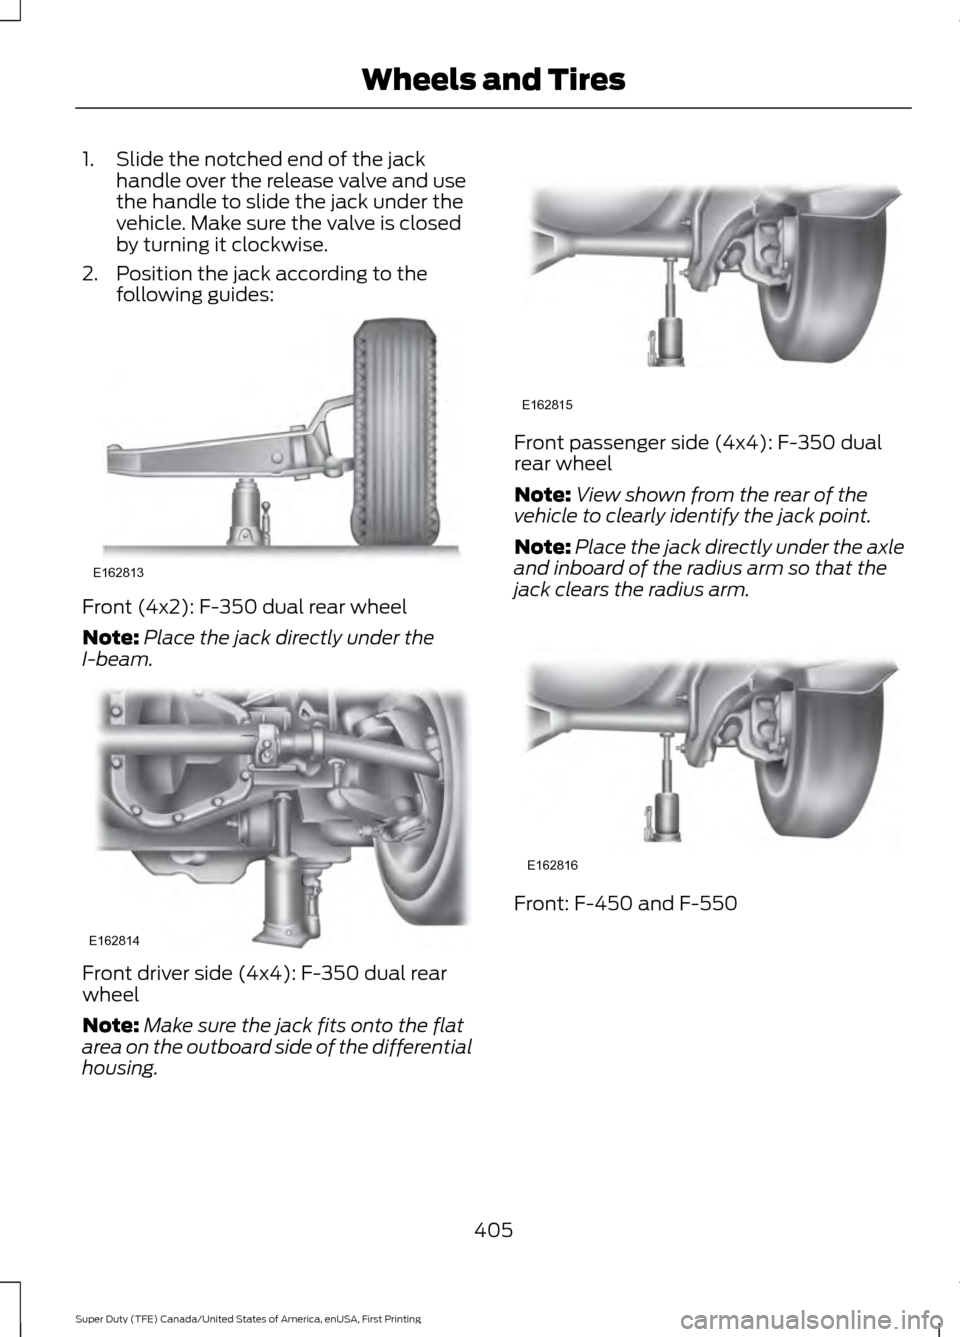
1. Slide the notched end of the jack
handle over the release valve and use
the handle to slide the jack under the
vehicle. Make sure the valve is closed
by turning it clockwise.
2. Position the jack according to the following guides: Front (4x2): F-350 dual rear wheel
Note:
Place the jack directly under the
I-beam. Front driver side (4x4): F-350 dual rear
wheel
Note:
Make sure the jack fits onto the flat
area on the outboard side of the differential
housing. Front passenger side (4x4): F-350 dual
rear wheel
Note:
View shown from the rear of the
vehicle to clearly identify the jack point.
Note: Place the jack directly under the axle
and inboard of the radius arm so that the
jack clears the radius arm. Front: F-450 and F-550
405
Super Duty (TFE) Canada/United States of America, enUSA, First Printing Wheels and TiresE162813 E162814 E162815 E162816
Page 630 of 636
Using Lap and Shoulder Belts (Except Front
Center Position of Super Cab and Crew
Cab)....................................................................... 19
Using Lap and Shoulder Belts (Front Center Position of Super Cab and Crew
Cab)....................................................................... 21
Using Lower Anchors and Tethers for CHildren (LATCH)............................................ 25
Using Tether Straps............................................. 27
Instrument Cluster.......................................102
Instrument Lighting Dimmer.....................88
Interior Lamps..................................................91 Front Interior Lamps........................................... 92
Rear Interior Lamps............................................. 93
Interior Mirror
...................................................98
Auto-Dimming Mirror......................................... 99
Introduction.........................................................7
J
Jump Starting the Vehicle........................298 Connecting the Jumper Cables.................... 298
Jump Starting..................................................... 299
Preparing Your Vehicle.................................... 298
Removing the Jumper Cables....................... 299
K
Keyless Entry
....................................................67
SECURICODE™ KEYLESS ENTRY
KEYPAD............................................................... 67
Keyless Starting
.............................................174
Starting Your Vehicle......................................... 174
Switching the Ignition On................................. 174
Keys and Remote Controls.........................54
L
Lane Keeping System
.................................247
Switching the System On and Off...............247
System Display................................................... 248
System Settings.................................................. 247
Troubleshooting................................................. 248
Lighting Control..............................................86 Headlamp Flasher................................................ 87
High Beam.............................................................. 86
Lighting..............................................................86 General Information........................................... 86Limited Slip Differential.............................219
Load Carrying
.................................................261
Load Limit........................................................261
Special Loading Instructions for Owners of
Pick-up Trucks and Utility-type
Vehicles............................................................ 265
Vehicle Loading - with and without a Trailer.................................................................. 261
Locking and Unlocking.................................65 Activating Intelligent Access............................ 65
Autolock and Autounlock.................................. 67
Battery Saver.......................................................... 67
Illuminated Entry.................................................. 67
Power Door Locks................................................ 65
Remote Control.................................................... 65
Smart Unlock........................................................ 66
Smart Unlocks for Intelligent Access Keys...................................................................... 66
Lug Nuts See: Changing a Road Wheel....................... 398
M
Maintenance.................................................320 General Information......................................... 320
Manual Climate Control
.............................145
Manual Seats.................................................154
Manual Lumbar .................................................. 155
Moving the Seat Backward and Forward............................................................. 155
Recline Adjustment........................................... 155
Media Hub
.....................................................448
Memory Function..........................................157 Easy Entry and Exit Feature............................ 158
Linking a PreSet Position to your Remote Control or Intelligent Access Key Fob
........................................................................\
...... 158
Recalling a Preset Position............................. 158
Saving a Preset Position.................................. 158
Message Center See: Information Displays.................................. 111
Mirrors See: Heated Windows and Mirrors..............150
See: Windows and Mirrors................................ 95
Mobile Communications Equipment......14
Moonroof........................................................100 Bounce-Back
........................................................ 101
Opening and Closing the Moonroof...........100
627
Super Duty (TFE) Canada/United States of America, enUSA, First Printing Index