FORD TAURUS 1998 3.G Owner's Guide
Manufacturer: FORD, Model Year: 1998, Model line: TAURUS, Model: FORD TAURUS 1998 3.GPages: 192, PDF Size: 1.66 MB
Page 31 of 192
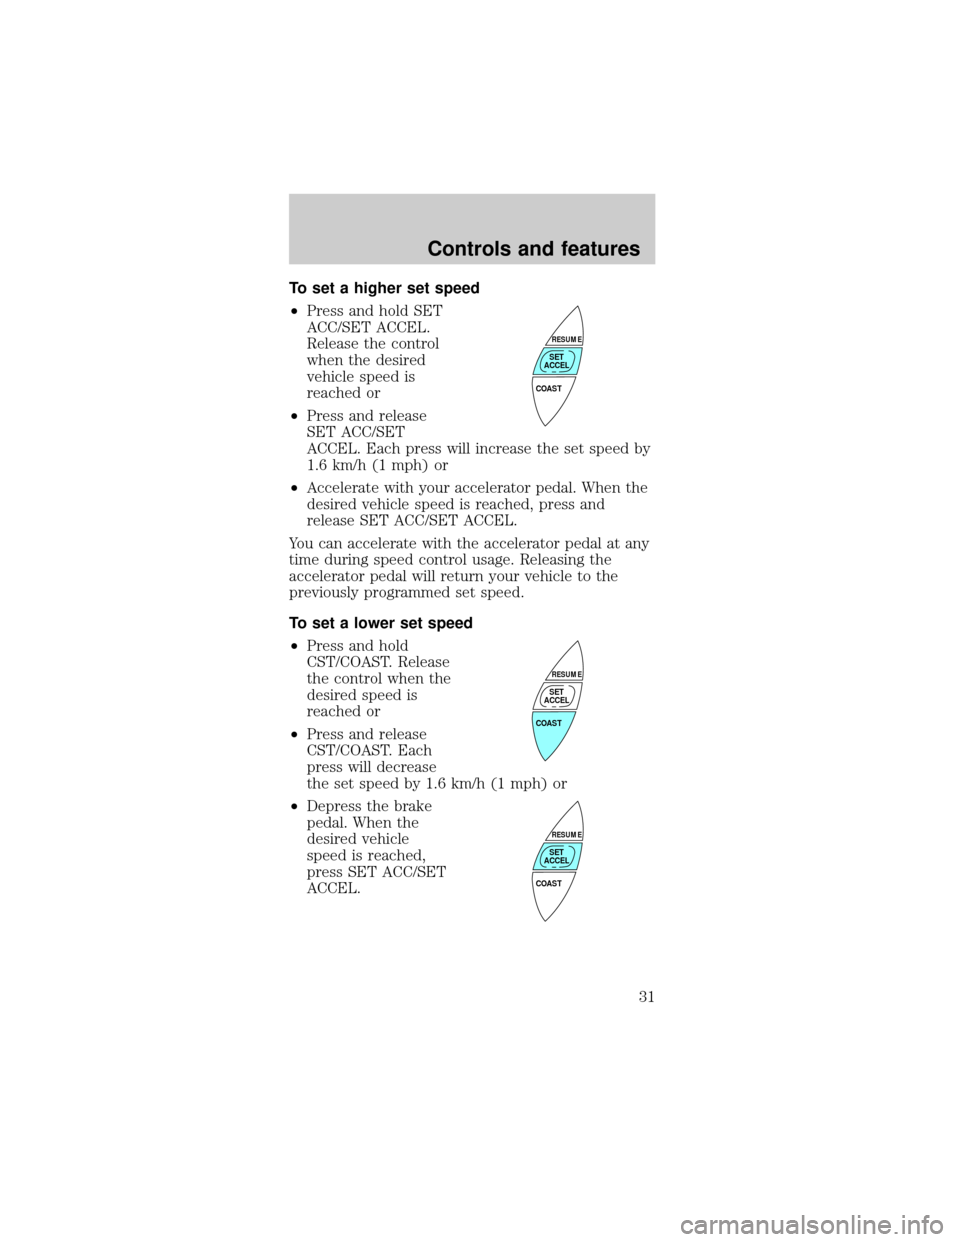
To set a higher set speed
²Press and hold SET
ACC/SET ACCEL.
Release the control
when the desired
vehicle speed is
reached or
²Press and release
SET ACC/SET
ACCEL. Each press will increase the set speed by
1.6 km/h (1 mph) or
²Accelerate with your accelerator pedal. When the
desired vehicle speed is reached, press and
release SET ACC/SET ACCEL.
You can accelerate with the accelerator pedal at any
time during speed control usage. Releasing the
accelerator pedal will return your vehicle to the
previously programmed set speed.
To set a lower set speed
²Press and hold
CST/COAST. Release
the control when the
desired speed is
reached or
²Press and release
CST/COAST. Each
press will decrease
the set speed by 1.6 km/h (1 mph) or
²Depress the brake
pedal. When the
desired vehicle
speed is reached,
press SET ACC/SET
ACCEL.
COAST
RESUME
SET
ACCEL
COAST
RESUME
SET
ACCEL
COAST
RESUME
SET
ACCEL
Controls and features
31
Page 32 of 192
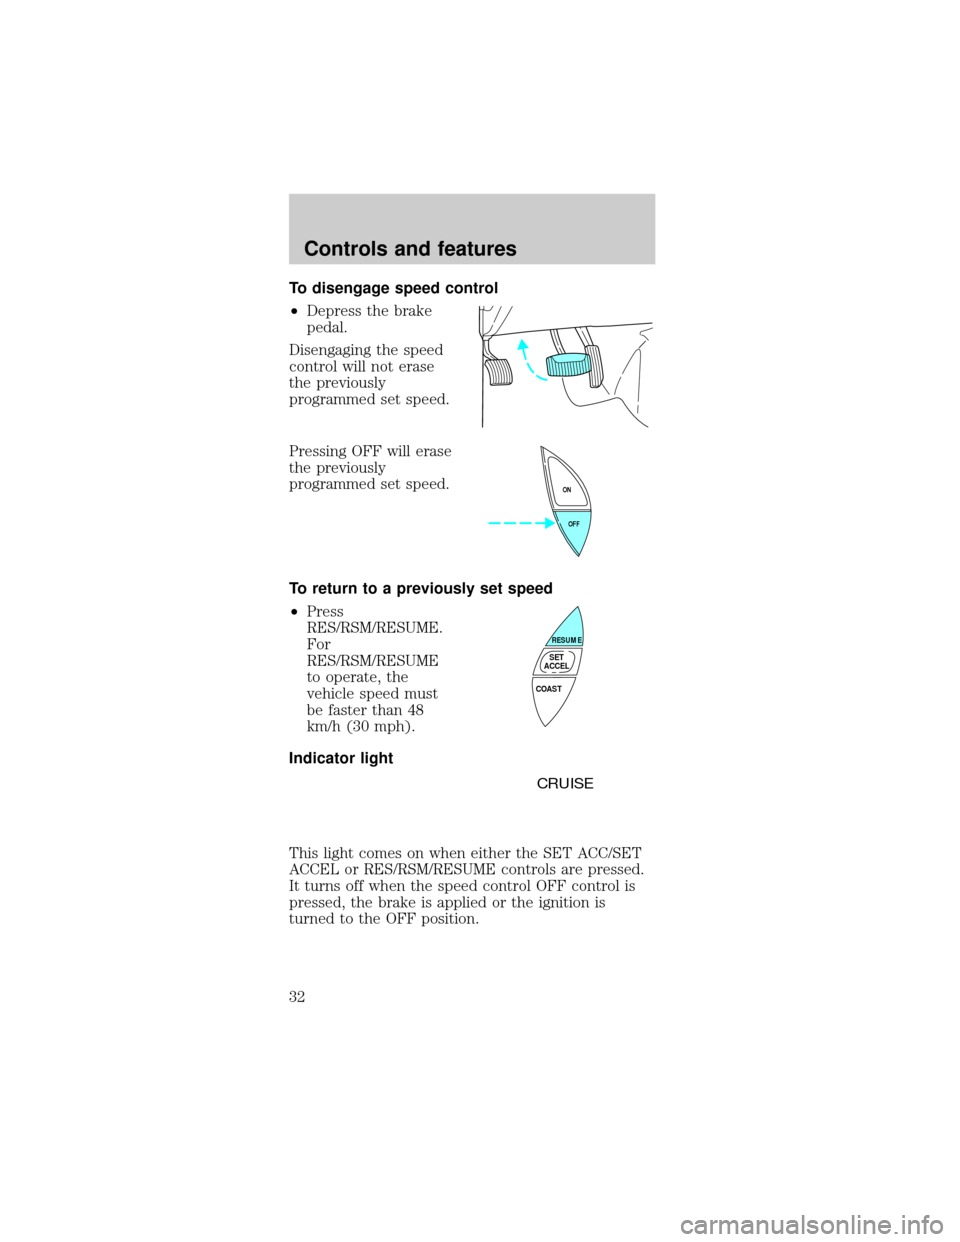
To disengage speed control
²Depress the brake
pedal.
Disengaging the speed
control will not erase
the previously
programmed set speed.
Pressing OFF will erase
the previously
programmed set speed.
To return to a previously set speed
²Press
RES/RSM/RESUME.
For
RES/RSM/RESUME
to operate, the
vehicle speed must
be faster than 48
km/h (30 mph).
Indicator light
This light comes on when either the SET ACC/SET
ACCEL or RES/RSM/RESUME controls are pressed.
It turns off when the speed control OFF control is
pressed, the brake is applied or the ignition is
turned to the OFF position.
OFF ON
COAST
RESUME
SET
ACCEL
CRUISE
Controls and features
32
Page 33 of 192
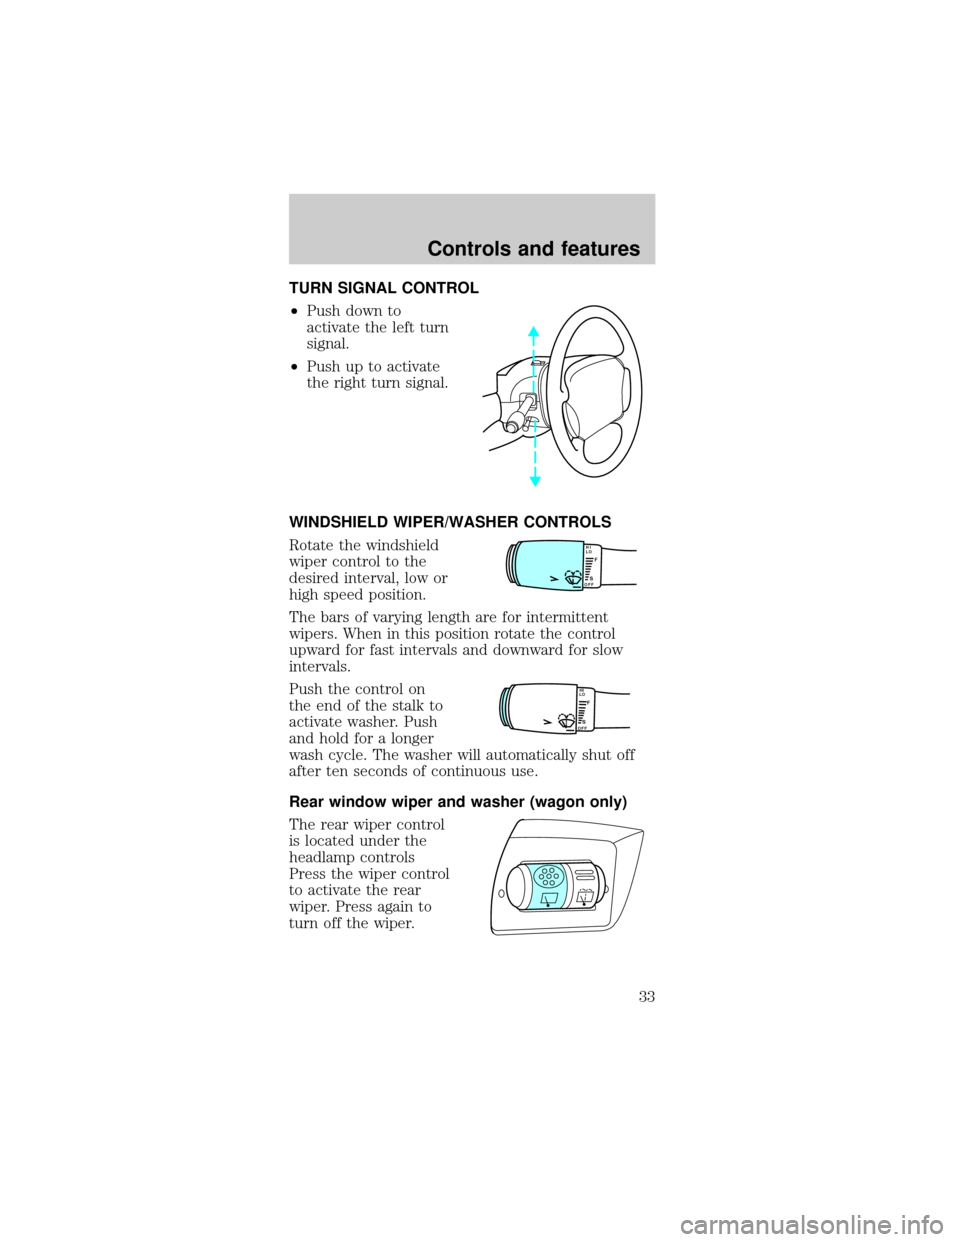
TURN SIGNAL CONTROL
²Push down to
activate the left turn
signal.
²Push up to activate
the right turn signal.
WINDSHIELD WIPER/WASHER CONTROLS
Rotate the windshield
wiper control to the
desired interval, low or
high speed position.
The bars of varying length are for intermittent
wipers. When in this position rotate the control
upward for fast intervals and downward for slow
intervals.
Push the control on
the end of the stalk to
activate washer. Push
and hold for a longer
wash cycle. The washer will automatically shut off
after ten seconds of continuous use.
Rear window wiper and washer (wagon only)
The rear wiper control
is located under the
headlamp controls
Press the wiper control
to activate the rear
wiper. Press again to
turn off the wiper.
LOF
OFFS
HI
LOF
OFFS
HI
Controls and features
33
Page 34 of 192
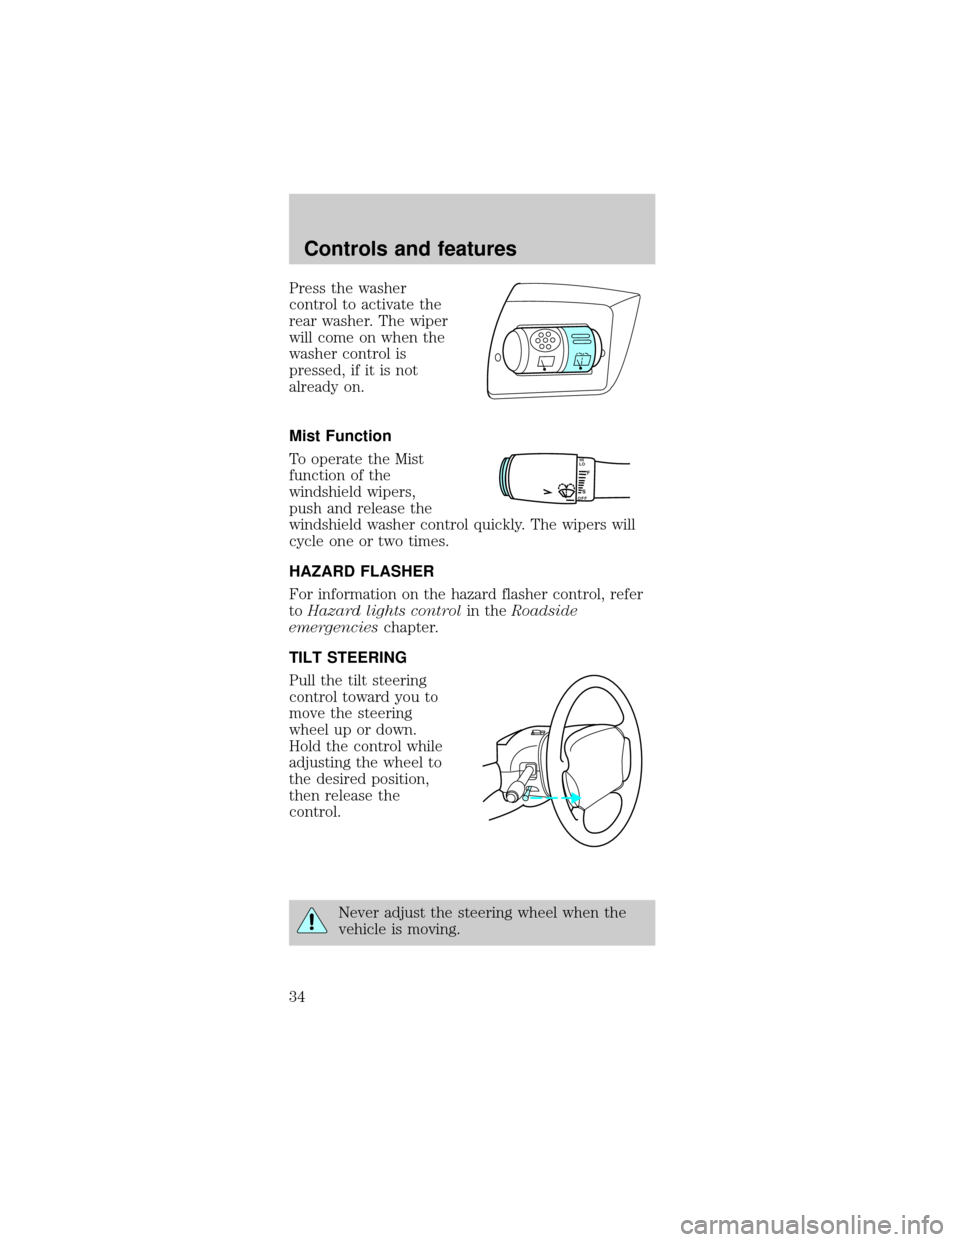
Press the washer
control to activate the
rear washer. The wiper
will come on when the
washer control is
pressed, if it is not
already on.
Mist Function
To operate the Mist
function of the
windshield wipers,
push and release the
windshield washer control quickly. The wipers will
cycle one or two times.
HAZARD FLASHER
For information on the hazard flasher control, refer
toHazard lights controlin theRoadside
emergencieschapter.
TILT STEERING
Pull the tilt steering
control toward you to
move the steering
wheel up or down.
Hold the control while
adjusting the wheel to
the desired position,
then release the
control.
Never adjust the steering wheel when the
vehicle is moving.
LOF
OFFS
HI
Controls and features
34
Page 35 of 192
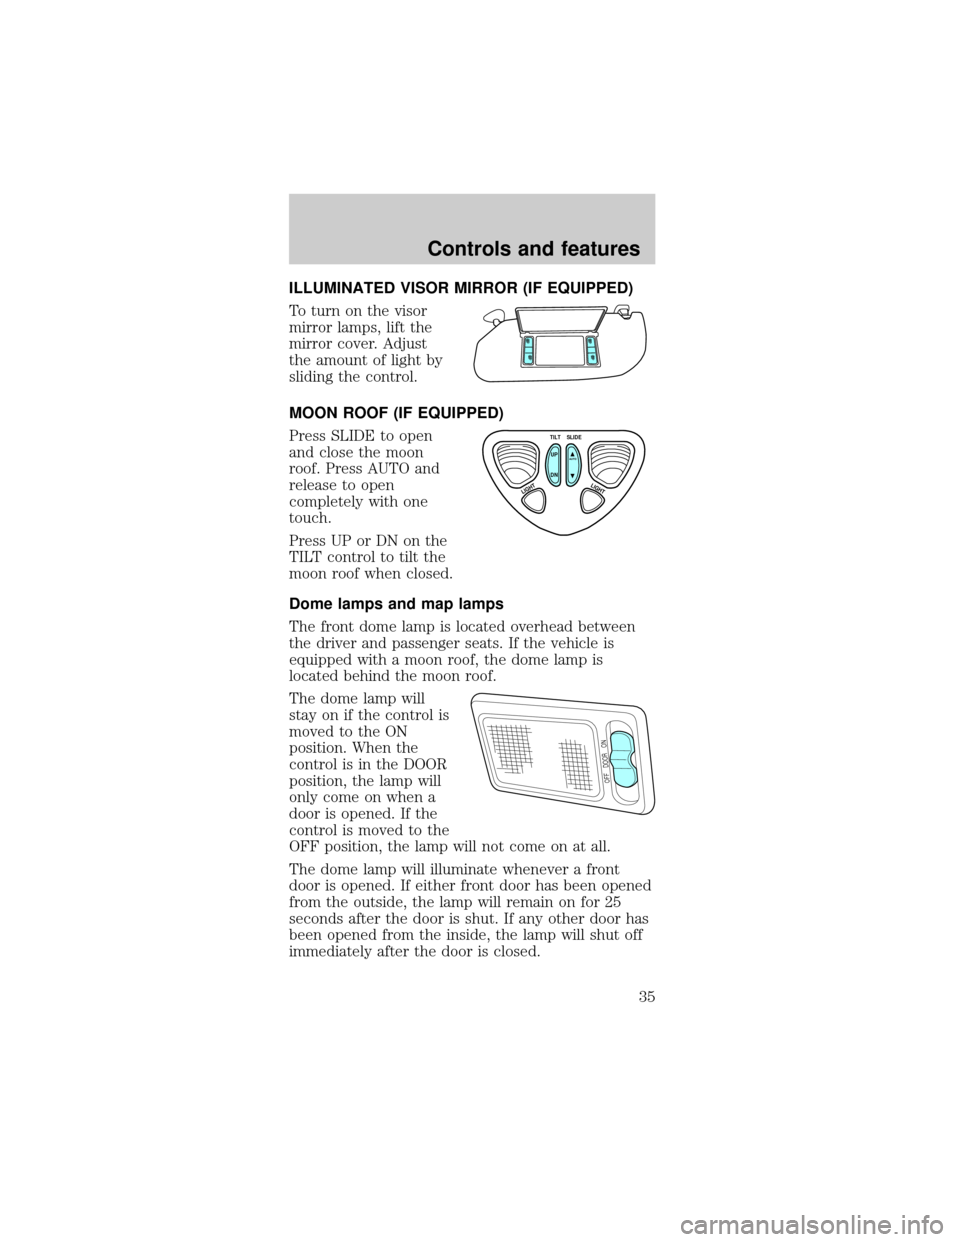
ILLUMINATED VISOR MIRROR (IF EQUIPPED)
To turn on the visor
mirror lamps, lift the
mirror cover. Adjust
the amount of light by
sliding the control.
MOON ROOF (IF EQUIPPED)
Press SLIDE to open
and close the moon
roof. Press AUTO and
release to open
completely with one
touch.
Press UP or DN on the
TILT control to tilt the
moon roof when closed.
Dome lamps and map lamps
The front dome lamp is located overhead between
the driver and passenger seats. If the vehicle is
equipped with a moon roof, the dome lamp is
located behind the moon roof.
The dome lamp will
stay on if the control is
moved to the ON
position. When the
control is in the DOOR
position, the lamp will
only come on when a
door is opened. If the
control is moved to the
OFF position, the lamp will not come on at all.
The dome lamp will illuminate whenever a front
door is opened. If either front door has been opened
from the outside, the lamp will remain on for 25
seconds after the door is shut. If any other door has
been opened from the inside, the lamp will shut off
immediately after the door is closed.
TILT
UP
LIGHTLIGHT
AUTO
DNSLIDE
OFF DOOR ON
Controls and features
35
Page 36 of 192
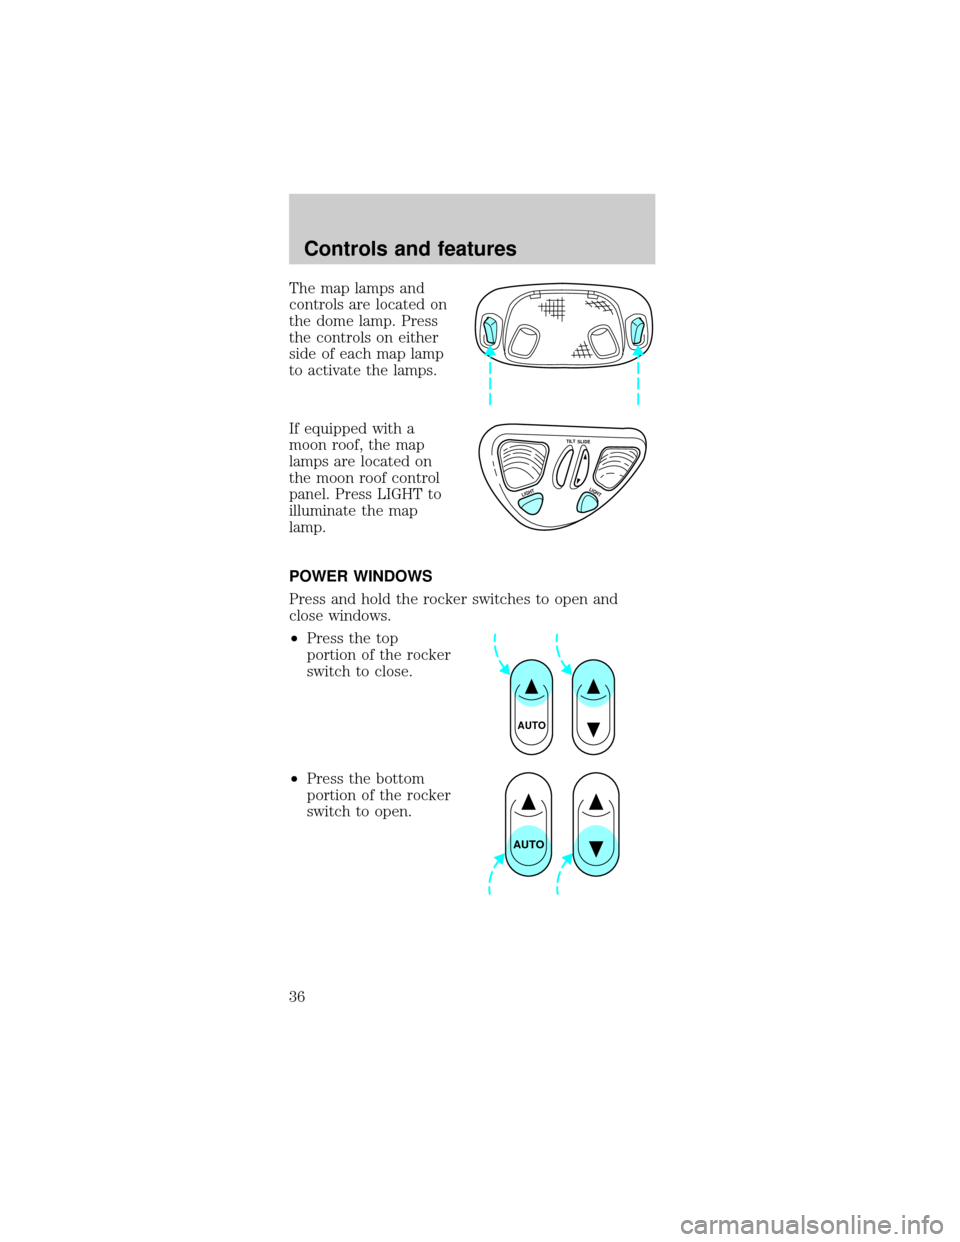
The map lamps and
controls are located on
the dome lamp. Press
the controls on either
side of each map lamp
to activate the lamps.
If equipped with a
moon roof, the map
lamps are located on
the moon roof control
panel. Press LIGHT to
illuminate the map
lamp.
POWER WINDOWS
Press and hold the rocker switches to open and
close windows.
²Press the top
portion of the rocker
switch to close.
²Press the bottom
portion of the rocker
switch to open.
TILT
LIGHTLIGHT
SLIDE
AUTO
AUTO
Controls and features
36
Page 37 of 192

One touch down
²Press AUTO
completely down
and release quickly.
The window will
open fully. Depress
again to stop
window operation.
Window lock
The window lock
feature allows only the
driver to operate the
power windows.
To lock out all the window controls except for the
driver's press the right side of the control. Press the
left side to restore the window controls.
POWER DOOR LOCKS (IF EQUIPPED)
Press U to unlock all
doors and L to lock all
doors.
Central locking/Two step unlocking (if equipped)
When unlocking the driver or front passenger door
with the key, turn it once toward the front of the
vehicle to unlock that door only. Turn the key a
second time to unlock all doors. When locking, turn
the key toward the back of the vehicle to lock all
doors.
AUTO
WINDOW LOCK
UL
Controls and features
37
Page 38 of 192

Liftgate (wagon only)
The power liftgate lock
is located on the right
inside trim panel in the
cargo area. When this
lock is pressed, all
doors and the liftgate
will lock.
POWER SIDE VIEW MIRRORS
To adjust your mirrors:
1. Select
to adjust the left mirror orto adjust
the right mirror.
2. Move the control in
the direction you wish
to tilt the mirror.
3. Return to the center position to lock mirrors in
place.
Heated outside mirrors (if equipped)
Both mirrors are
heated automatically to
remove ice, mist and
fog when the rear
window defrost is
activated.
Do not remove ice
from the mirrors with a
scraper or attempt to readjust the mirror glass if it is
Controls and features
38
Page 39 of 192

frozen in place. These actions could cause damage
to the glass and mirrors.
CHILDPROOF DOOR LOCKS
When these locks are
set, the rear doors
cannot be opened from
the inside. The rear
doors can be opened
from the outside when
the doors are unlocked.
The childproof locks
are located on rear
edge of each rear door
and must be set
separately for each
door. Setting the lock
for one door will not
automatically set the
lock for both doors.
Move lock control up to engage the lock. Move
control down to disengage childproof locks.
CENTER CONSOLE
Your vehicle may be equipped with a variety of
console features. These include:
²utility compartment
²cupholders
²coin holder slots
²cellular phone (if equipped)
Use only soft cups in the cupholder. Hard
objects can injure you in a collision.
If your vehicle is equipped with the column shift, it
has a center console in the center front seating
position.
Controls and features
39
Page 40 of 192

The center console has the same features as the full
console. To open the storage compartment, raise the
armrest and pull the strap on the seat up and
toward the front of the vehicle. The cupholders in
the center console can be removed for cleaning.
Use only soft cups in the cupholder. Hard
objects can injure you in a collision.
Cellular phone
Refer to the ªCellular phone guideº for instructions
on operation.
POSITIVE RETENTION FLOOR MAT
Position the floor mat so
that the eyelet is over the
pointed end of the
retention post and rotate
forward to lock in. Make
sure that the mat does not
interfere with the operation
of the accelerator or the
brake pedal. To remove the
floor mat, reverse the installation procedure.
TRUNK REMOTE CONTROL
Press the remote trunk
release control on the
instrument panel to the
left of the steering
wheel.
Controls and features
40