lights FORD TAURUS 1998 3.G Owners Manual
[x] Cancel search | Manufacturer: FORD, Model Year: 1998, Model line: TAURUS, Model: FORD TAURUS 1998 3.GPages: 192, PDF Size: 1.66 MB
Page 6 of 192
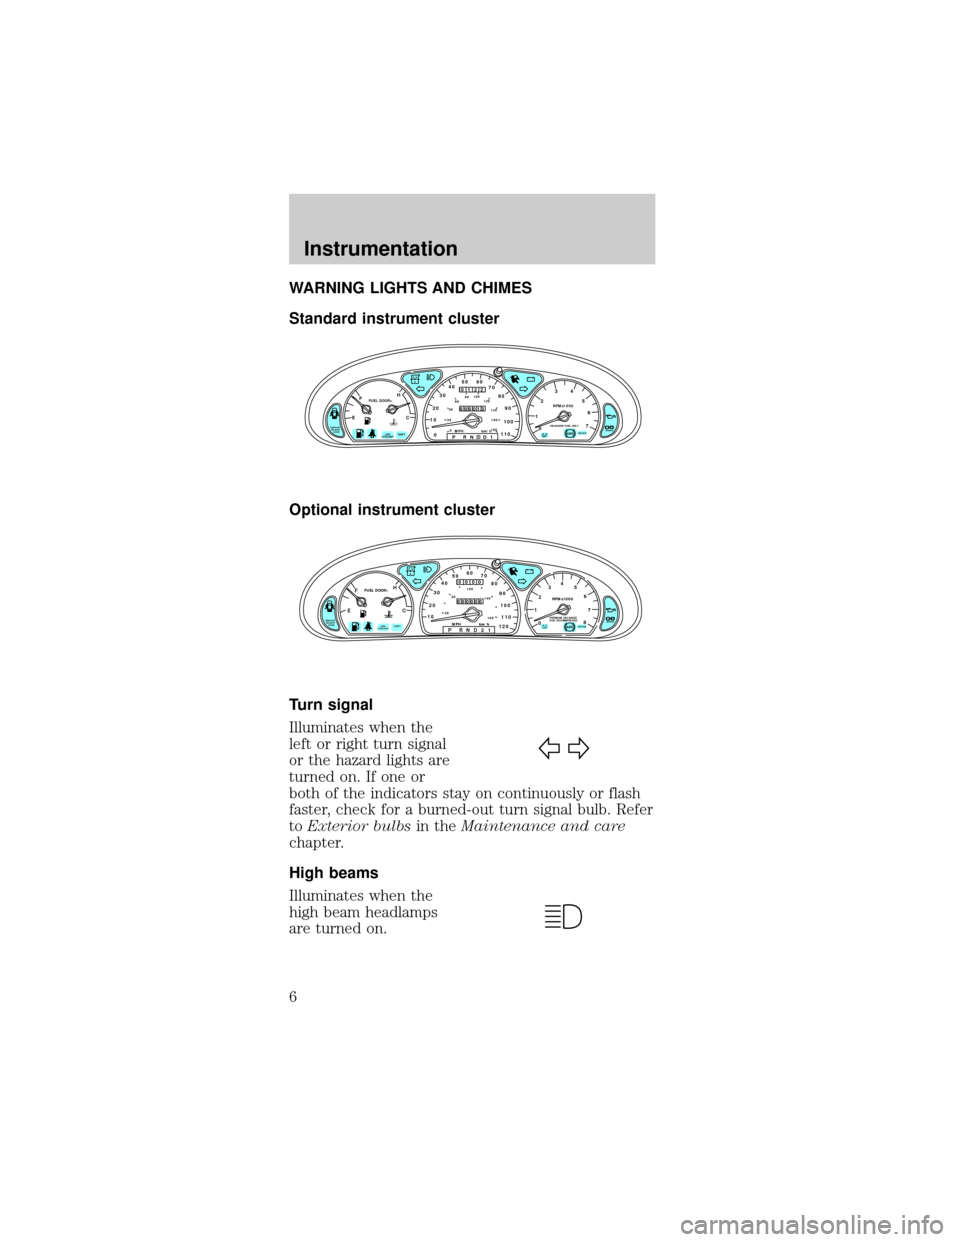
WARNING LIGHTS AND CHIMES
Standard instrument cluster
Optional instrument cluster
Turn signal
Illuminates when the
left or right turn signal
or the hazard lights are
turned on. If one or
both of the indicators stay on continuously or flash
faster, check for a burned-out turn signal bulb. Refer
toExterior bulbsin theMaintenance and care
chapter.
High beams
Illuminates when the
high beam headlamps
are turned on.
CRUISE
RPMx1000
0 1234
5
6
7EFC H
FUEL DOOR>
SERVICE
ENGINE
SOON1020304050 60
70
80
90
100
110
00 20406080100
120
140
160
180P R N D D 1MPH km/h
00
122
00013
P!
BRAKEABS
+ –
UNLEADED FUEL ONLY
THEFT LOW
COOLANTO/D
OFF
EFC H
FUEL DOOR>
SERVICE
ENGINE
SOON
THEFT102030405060
70
80
90
100
1202060100
140
180
P R N D 2 1MPH km/h
00
000
00000
P!
BRAKELOW
COOLANT
+ –
110CRUISE
RPMx1000
ABSO/D
OFFPREMIUM UNLEADED
FUEL RECOMMENDED0 1234
5
6
78
Instrumentation
6
Page 17 of 192
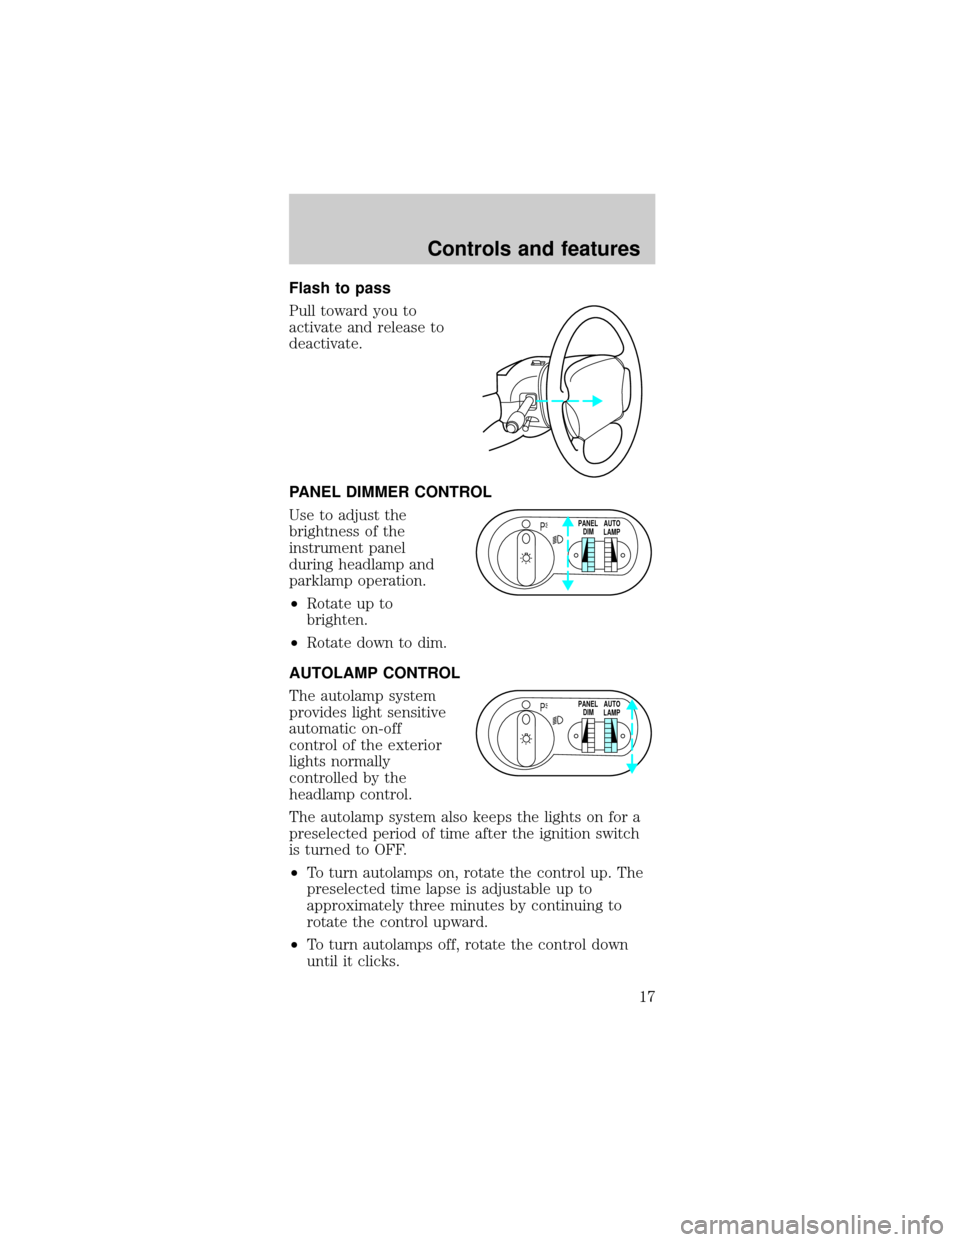
Flash to pass
Pull toward you to
activate and release to
deactivate.
PANEL DIMMER CONTROL
Use to adjust the
brightness of the
instrument panel
during headlamp and
parklamp operation.
²Rotate up to
brighten.
²Rotate down to dim.
AUTOLAMP CONTROL
The autolamp system
provides light sensitive
automatic on-off
control of the exterior
lights normally
controlled by the
headlamp control.
The autolamp system also keeps the lights on for a
preselected period of time after the ignition switch
is turned to OFF.
²To turn autolamps on, rotate the control up. The
preselected time lapse is adjustable up to
approximately three minutes by continuing to
rotate the control upward.
²To turn autolamps off, rotate the control down
until it clicks.
PPANEL
DIMAUTO
LAMP
PPANEL
DIMAUTO
LAMP
Controls and features
17
Page 29 of 192
2. LOCK, locks the steering wheel, automatic
transmission gearshift lever and allows key removal.
3. OFF, shuts off the engine and all accessories
without locking the steering wheel.
4. ON, all electrical circuits operational. Warning
lights illuminated. Key position when driving.
5. START, cranks the engine. Release the key as
soon as the engine starts.
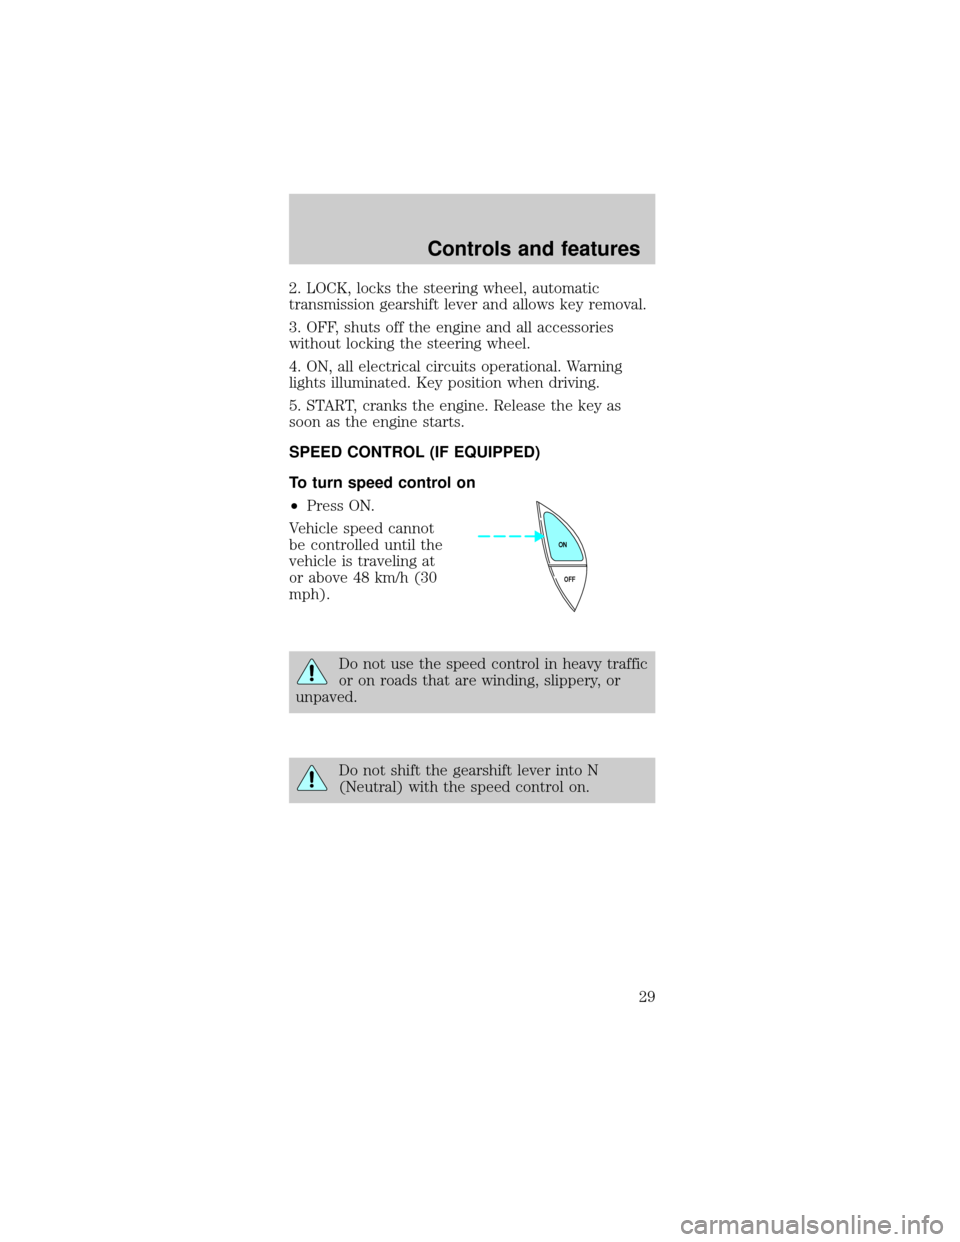
SPEED CONTROL (IF EQUIPPED)
To turn speed control on
²Press ON.
Vehicle speed cannot
be controlled until the
vehicle is traveling at
or above 48 km/h (30
mph).
Do not use the speed control in heavy traffic
or on roads that are winding, slippery, or
unpaved.
Do not shift the gearshift lever into N
(Neutral) with the speed control on.
OFF ON
Controls and features
29
Page 34 of 192
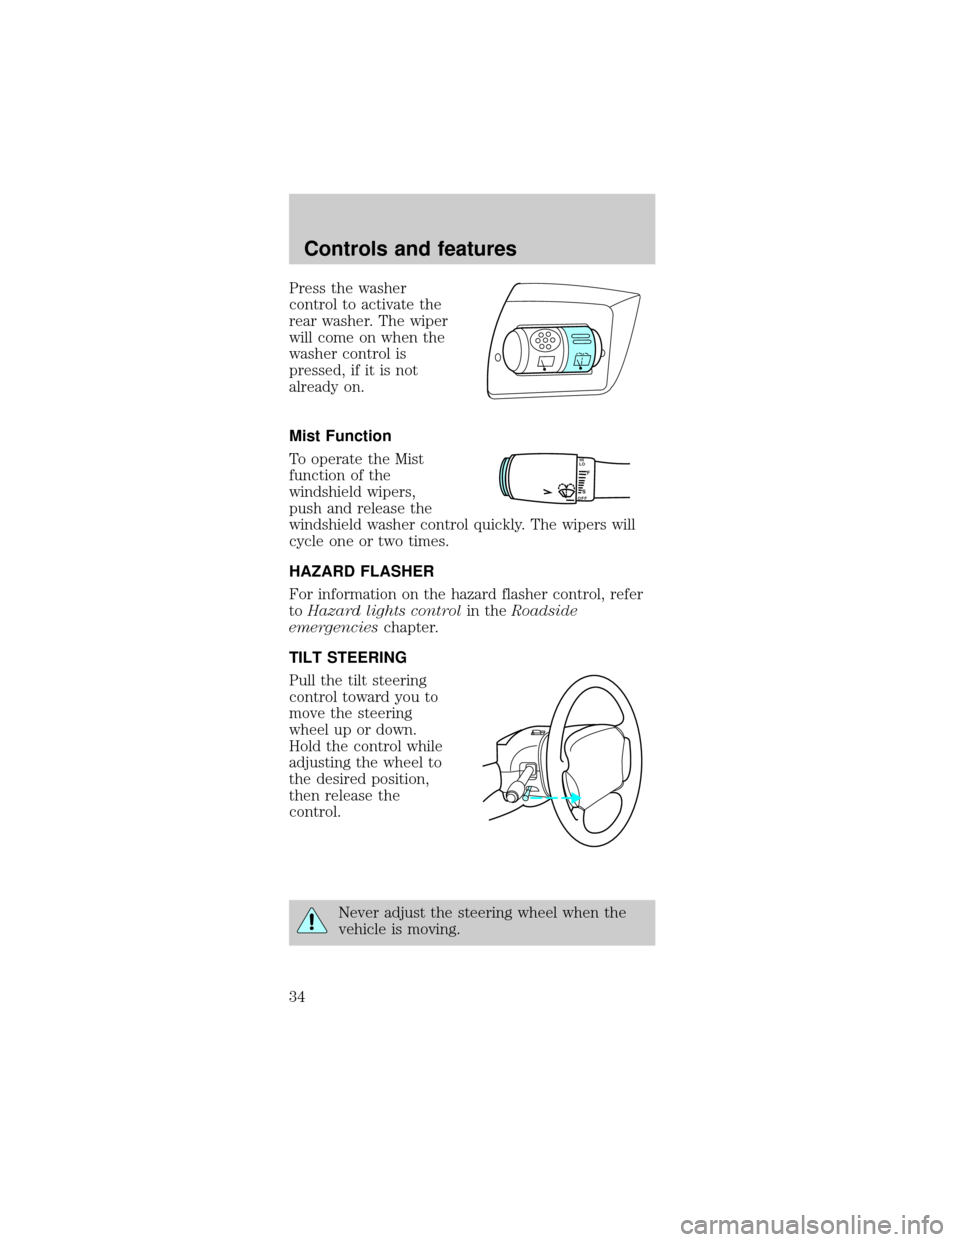
Press the washer
control to activate the
rear washer. The wiper
will come on when the
washer control is
pressed, if it is not
already on.
Mist Function
To operate the Mist
function of the
windshield wipers,
push and release the
windshield washer control quickly. The wipers will
cycle one or two times.
HAZARD FLASHER
For information on the hazard flasher control, refer
toHazard lights controlin theRoadside
emergencieschapter.
TILT STEERING
Pull the tilt steering
control toward you to
move the steering
wheel up or down.
Hold the control while
adjusting the wheel to
the desired position,
then release the
control.
Never adjust the steering wheel when the
vehicle is moving.
LOF
OFFS
HI
Controls and features
34
Page 45 of 192
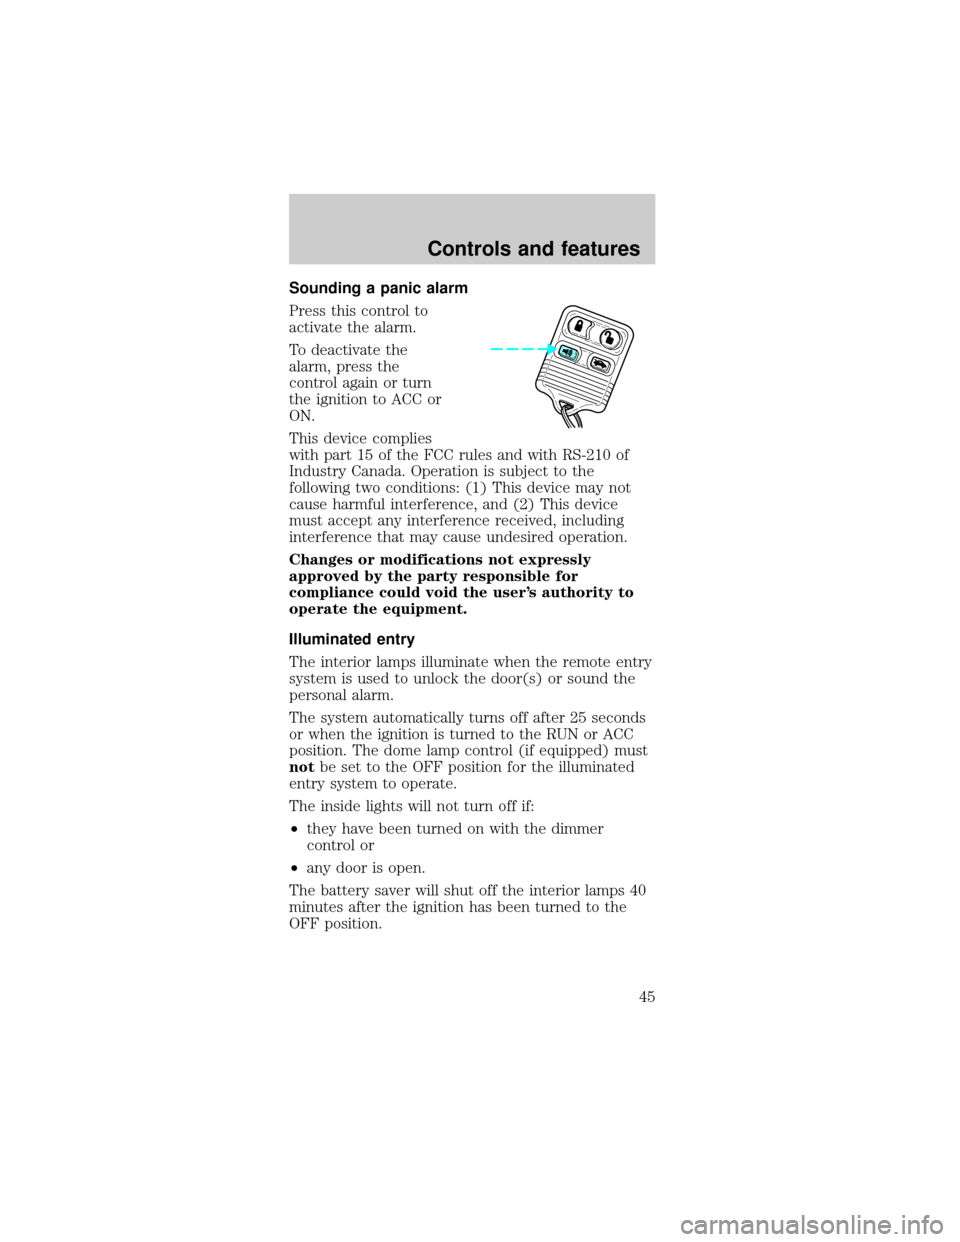
Sounding a panic alarm
Press this control to
activate the alarm.
To deactivate the
alarm, press the
control again or turn
the ignition to ACC or
ON.
This device complies
with part 15 of the FCC rules and with RS-210 of
Industry Canada. Operation is subject to the
following two conditions: (1) This device may not
cause harmful interference, and (2) This device
must accept any interference received, including
interference that may cause undesired operation.
Changes or modifications not expressly
approved by the party responsible for
compliance could void the user's authority to
operate the equipment.
Illuminated entry
The interior lamps illuminate when the remote entry
system is used to unlock the door(s) or sound the
personal alarm.
The system automatically turns off after 25 seconds
or when the ignition is turned to the RUN or ACC
position. The dome lamp control (if equipped) must
notbe set to the OFF position for the illuminated
entry system to operate.
The inside lights will not turn off if:
²they have been turned on with the dimmer
control or
²any door is open.
The battery saver will shut off the interior lamps 40
minutes after the ignition has been turned to the
OFF position.
Controls and features
45
Page 87 of 192
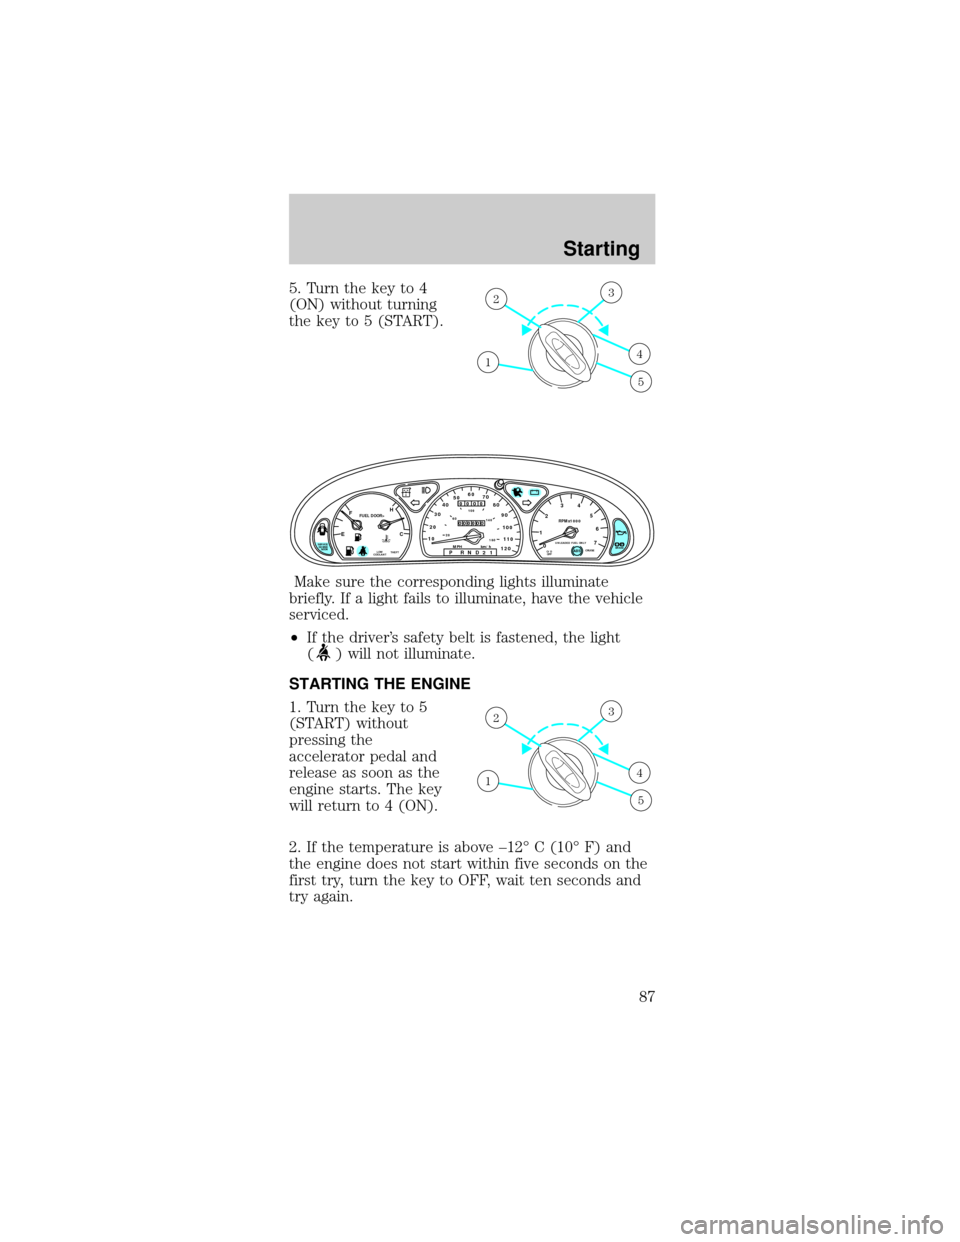
5. Turn the key to 4
(ON) without turning
the key to 5 (START).
Make sure the corresponding lights illuminate
briefly. If a light fails to illuminate, have the vehicle
serviced.
²If the driver's safety belt is fastened, the light
(
) will not illuminate.
STARTING THE ENGINE
1. Turn the key to 5
(START) without
pressing the
accelerator pedal and
release as soon as the
engine starts. The key
will return to 4 (ON).
2. If the temperature is above ±12É C (10É F) and
the engine does not start within five seconds on the
first try, turn the key to OFF, wait ten seconds and
try again.
1
23
4
5
CRUISE
RPMx1000
0 1234
5
6
7EFC H
FUEL DOOR>
SERVICE
ENGINE
SOONP!
BRAKEABS
+ –
UNLEADED FUEL ONLY
THEFT LOW
COOLANTO/D
OFF102030405060
70
80
90
100
1202060100
140
180
P R N D 2 1MPH km/h
00
000
00000
110
1
23
4
5
Starting
87
Page 109 of 192
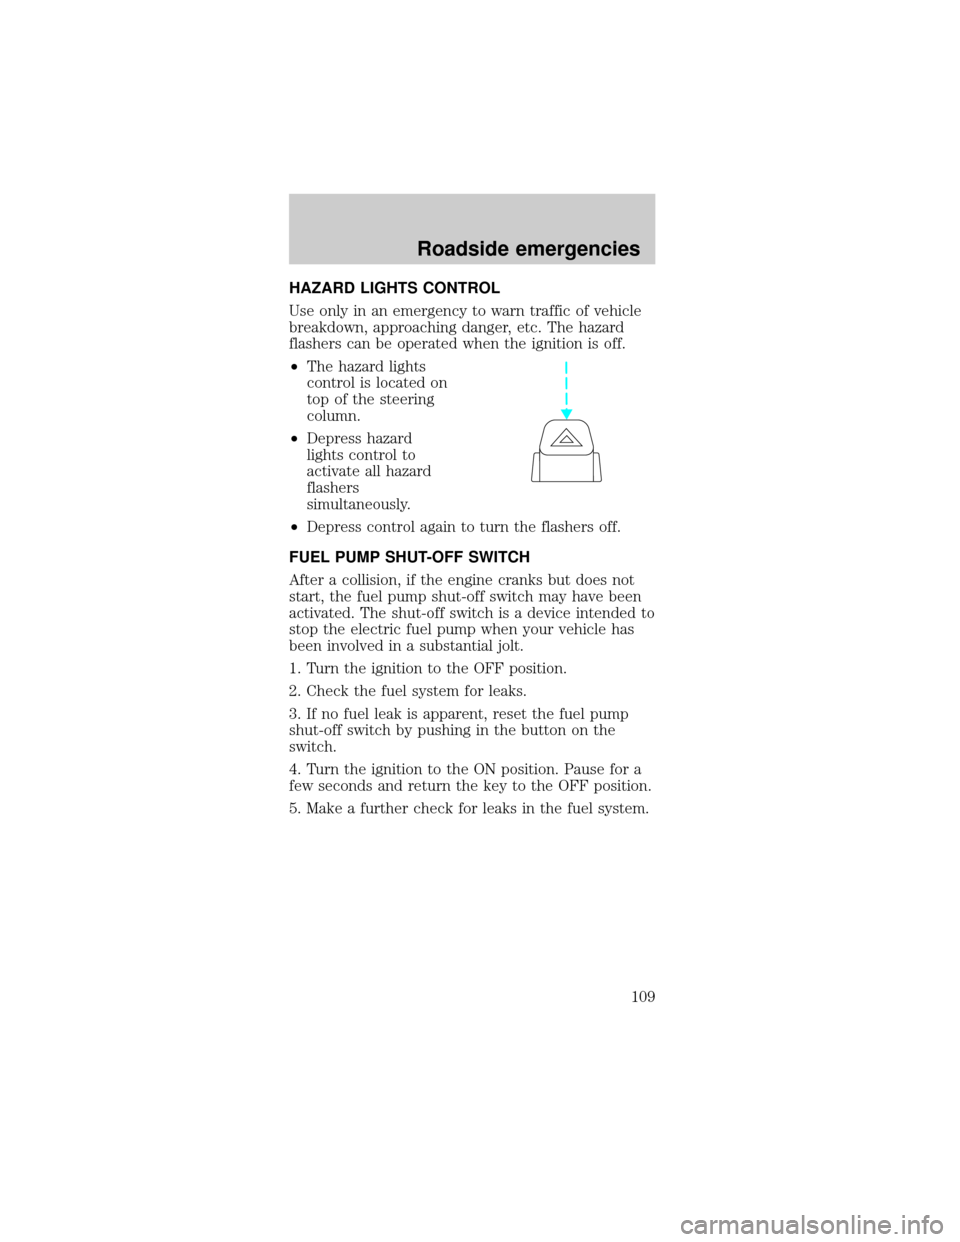
HAZARD LIGHTS CONTROL
Use only in an emergency to warn traffic of vehicle
breakdown, approaching danger, etc. The hazard
flashers can be operated when the ignition is off.
²The hazard lights
control is located on
top of the steering
column.
²Depress hazard
lights control to
activate all hazard
flashers
simultaneously.
²Depress control again to turn the flashers off.
FUEL PUMP SHUT-OFF SWITCH
After a collision, if the engine cranks but does not
start, the fuel pump shut-off switch may have been
activated. The shut-off switch is a device intended to
stop the electric fuel pump when your vehicle has
been involved in a substantial jolt.
1. Turn the ignition to the OFF position.
2. Check the fuel system for leaks.
3. If no fuel leak is apparent, reset the fuel pump
shut-off switch by pushing in the button on the
switch.
4. Turn the ignition to the ON position. Pause for a
few seconds and return the key to the OFF position.
5. Make a further check for leaks in the fuel system.
Roadside emergencies
109
Page 162 of 192

Do not make any unauthorized changes to your
vehicle or engine. By law, vehicle owners and anyone
who manufactures, repairs, items, sells, leases,
trades vehicles, or supervises a fleet of vehicles are
not permitted to intentionally remove an emission
control device or prevent it from working.
Information about your vehicle's emission system is
on the Vehicle Emission Control Information Decal
located on or near the engine. This decal identifies
engine displacement and gives some tune up
specifications.
Please consult your ªWarranty Guideº for complete
emission warranty information.
Readiness for inspection/maintenance (I/M)
testing
In some localities, it may be a legal requirement to
pass an I/M test of the on-board diagnostic (OBD-II)
system. If your ªCheck Engine/Service Engine Soonº
light is on, refer to the description in theWarning
Lights and Chimessection of theInstrumentation
chapter. Your vehicle may not pass the I/M test with
the ªCheck Engine/Service Engine Soonº light on.
If the vehicle's powertrain system or its battery has
just been serviced, the OBD-II system is reset to a
ªnot ready for I/M testº condition. To ready the
OBD-II system for I/M testing, a minimum of 30
minutes of city and highway driving is necessary as
described below:
²First, at least 10 minutes of driving on an
expressway or highway.
²Next, at least 20 minutes driving in stop-and-go,
city-type traffic with at least four idle periods.
Allow the vehicle to sit for at least eight hours
without starting the engine. Then, start the engine
and complete the above driving cycle. The engine
must warm up to its normal operating temperature.
Once started, do not turn off the engine until the
above driving cycle is complete.
Maintenance and care
162
Page 167 of 192

Function Trade Number
High-mount brake lamp 912
Rear side marker lamp 168
Cargo lamp (wagon) 211-2
Dome lamp 211-2
Dome/map lamp 578
Dome lamp/moon roof 208
Visor vanity lamp
(passenger/driver)74-194
Floor console 194
Luggage compartment lamp 906
Glove compartment 194
I/P ashtray lamp 194
To replace all instrument panel lights - see your
dealer.
AIMING THE HEADLAMPS
Your vehicle is equipped with a Vehicle Headlamp
Aim Device (VHAD) on each headlamp body. Each
headlamp may be properly aimed in the horizontal
direction (left/right) and the vertical position
(up/down) using your VHAD system. The headlamps
on your vehicle are properly aimed at the assembly
plant.
A bubble (vertical indicator) that is not centered
between the two black lines does not necessarily
indicate out-of-aim headlamps. If your vehicle is not
positioned on a level surface, the slope will be
included in the level indicator. Therefore, vertical
and horizontal headlamp adjustment should be
performed only when beam direction appears to be
incorrect.
You will need one 7 mm wrench or socket with
ratchet to make the adjustments.
If the vehicle has been in an accident, the vehicle's
front structure should be properly aligned before
aiming the headlamps.
Maintenance and care
167
Page 187 of 192

filling your vehicle
with fuel ......... 155,156
quality .................... 159
running out of fuel 160
safety information
relating to
automotive fuels ... 155
Fuses ................. 110,111
Hazard flashers ....... 109
Head restraints ......... 55
Headlamps
high beam ............... 16
Heating ...................... 18
heating and air
conditioning
system ........... 18,19,20
Hood ........................ 129
Ignition ..................... 180
Inspection/maintenance
(I/M) testing ............ 162
Instrument panel
cleaning ................. 173
Keyless entry system
autolock ................... 52
keypad ..................... 50
locking and
unlocking doors ...... 51
programming entry
code .................... 50,51
Keys
key in ignition
chime ....................... 12
positions of the
ignition .................... 28
Lamps ...................... 163
autolamp system ..... 17
daytime running
light .......................... 16
headlamps ............... 16
headlamps, flash to
pass .......................... 17instrument panel,
dimming ................... 17
interior lamps ....... 166
replacing
bulbs ............... 163,166
Lane change indicator
(see Turn signal) ...... 33
Liftgate ...................... 44
remote release ........ 41
Lights, warning and
indicator
air bag ...................... 11
anti-lock brakes
(ABS) ...................... 10
anti-theft ................... 9
brake ........................ 10
charging system ...... 11
cruise indicator ....... 10
door ajar .................... 7
low coolant ................ 9
low fuel ...................... 9
oil pressure ............. 10
overdrive off .............. 9
safety belt ................. 7
service engine
soon ........................ 7,8
speed control .......... 32
turn signal indicator . 6
Locks .......................... 53
childproof ................ 39
Luggage rack ........... 108
Lumbar support,
seats ...................... 56,57
Mirrors
heated ...................... 38
side view mirrors
(power) ................... 38
Moon roof .................. 35
Motorcraft parts ...... 160
Octane rating ... 158,159
Odometer ................... 14
Overdrive .............. 95,96
Index
187