FORD TAURUS 1999 3.G Manual PDF
Manufacturer: FORD, Model Year: 1999, Model line: TAURUS, Model: FORD TAURUS 1999 3.GPages: 224, PDF Size: 1.42 MB
Page 71 of 224

The SecuriLockypassive anti-theft system is not
compatible with aftermarket remote start systems.
Use of these systems may result in vehicle starting
problems and a loss of security protection. Large
metallic objects or devices such as the Mobil
Speedpassyon the same key ring as your
SecuriLockykey may cause vehicle starting
problems. These objects and devices cannot damage
the SecuriLockykey, but can cause a momentary
problem if they are too close to the key when
starting the engine. If a problem occurs, turn
ignition off and restart the engine with all other
objects on the key ring held away from the
SecuriLockyignition key.
Spare SecuriLockykeys can be purchased from
your dealership and programmed to your
SecuriLockypassive anti-theft system. Refer to
Programming spare SecuriLockykeysfor more
information.
If one or both of your SecuriLockykeys are lost or
stolen and you want to ensure the lost or stolen key
will not operate your vehicle, bring your vehicle and
all available SecuriLockykeys to your dealership for
reinitialization.
Theft indicator
The theft indicator on the instrument cluster will
operate as follows:
²When the ignition is OFF, the theft indicator will
flash briefly every 2 seconds to indicate the
SecuriLockysystem is protecting your vehicle.
²When the ignition is turned to RUN or START, the
theft indicator will light for 3 seconds and then go
out. If the theft indicator stays on for an extended
period of time or flashes rapidly, have the system
serviced by your dealership or a qualified
technician.
Controls and features
71
Page 72 of 224

Programming spare SecuriLockYkeys
Spare SecuriLockykeys can be purchased from
your dealership and programmed to your
SecuriLockypassive anti-theft system (up to a total
of 8 keys). Your dealership can program your new
SecuriLockykey(s) to your vehicle or you can do it
yourself using the following simple procedure. To
program a new SecuriLockykey yourself, you will
need two previously programmed SecuriLockykeys
(keys that already operate your vehicle's engine). If
two previously programmed SecuriLockykeys are
not available (one or both of your original keys were
lost or stolen), you must bring your vehicle to your
dealership to have the spare SecuriLockykey(s)
programmed.
Procedure to program spare SecuriLockYkeys
to your vehicle
New SecuriLockykeys must have the correct
mechanical key cut for your vehicle.
Conventional (non-SecuriLocky) keyscannotbe
programmed to your vehicle.
You will need to have two previously programmed
SecuriLockykeys and the new unprogrammed
SecuriLockykey readily accessible for the
procedure. Please read and understand the entire
procedure before you begin.
1. Insert the first previously programmed
SecuriLockykey into the ignition and turn the
ignition from OFF to RUN (maintain ignition in RUN
for at least one second).
2. Turn ignition to OFF and remove the first
SecuriLockykey from the ignition.
3. Within five seconds of turning the ignition to OFF,
insert the second previously programmed
SecuriLockykey into the ignition and turn the
ignition from OFF to RUN (maintain ignition in RUN
for at least one second but no more than 5 seconds).
Controls and features
72
Page 73 of 224

4. Turn the ignition to OFF and remove the second
SecuriLockykey from the ignition.
5. Within 10 seconds of turning the ignition to OFF,
insert the unprogrammed SecuriLockykey (new
key/valet key) into the ignition and turn the ignition
from OFF to RUN (maintain ignition in RUN for at
least one second). This step will program your new
SecuriLockykey.
6. To program additional SecuriLockykey(s), repeat
this procedure from step 1.
If the programming procedure was successful, the
new SecuriLockykey(s) will start the vehicle's
engine. The theft indicator (located on the
instrument cluster) will light for three seconds and
then go out.
If the programming procedure was not successful,
the new SecuriLockykey(s) will not operate the
vehicle's engine. The theft indicator will flash on and
off. Wait at least one minute and then repeat the
procedure from step 1. If failure repeats, bring your
vehicle to your dealership to have the spare
SecuriLockykey(s) programmed.
Controls and features
73
Page 74 of 224
SEATING
Head restraints
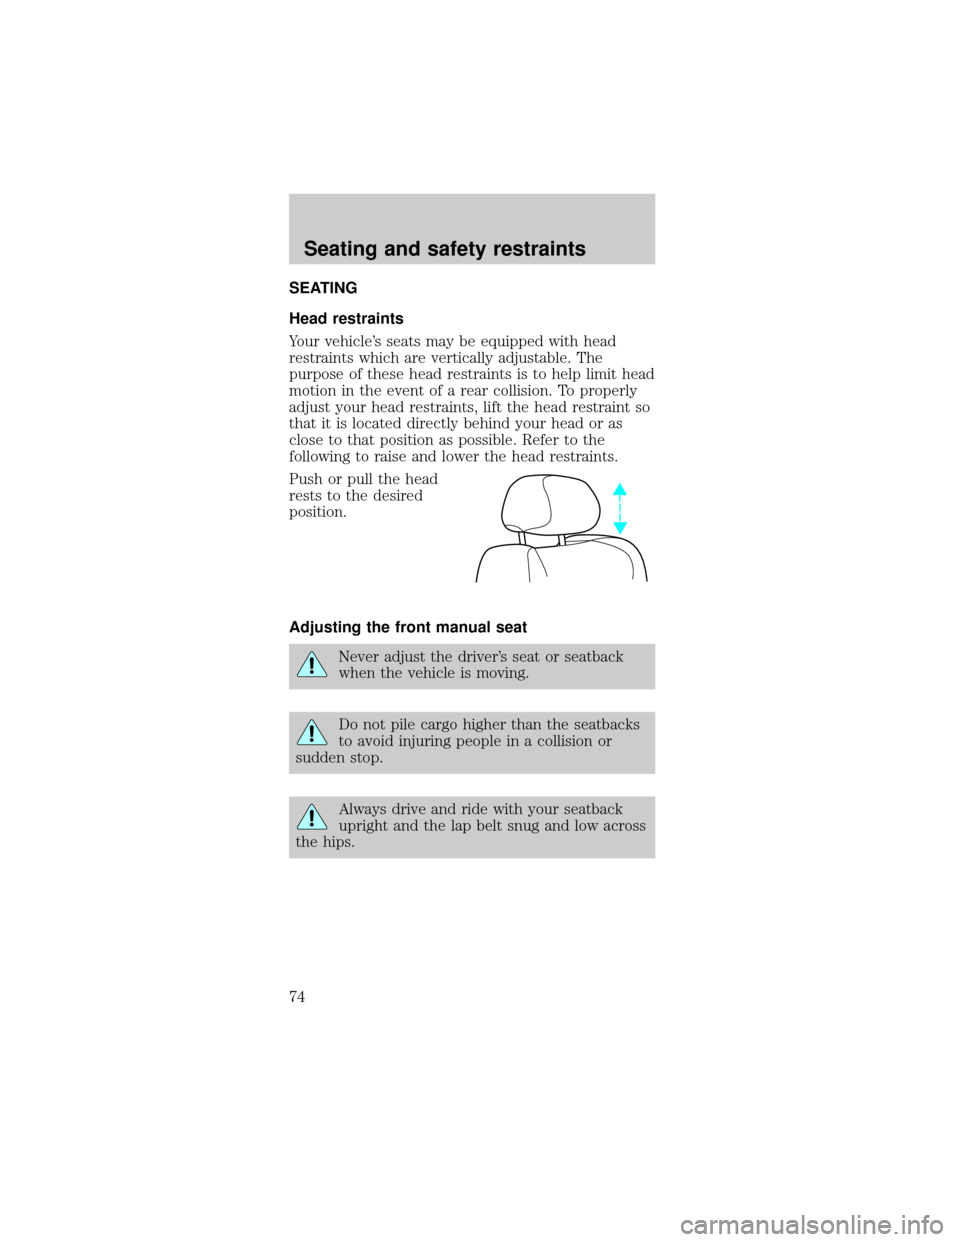
Your vehicle's seats may be equipped with head
restraints which are vertically adjustable. The
purpose of these head restraints is to help limit head
motion in the event of a rear collision. To properly
adjust your head restraints, lift the head restraint so
that it is located directly behind your head or as
close to that position as possible. Refer to the
following to raise and lower the head restraints.
Push or pull the head
rests to the desired
position.
Adjusting the front manual seat
Never adjust the driver's seat or seatback
when the vehicle is moving.
Do not pile cargo higher than the seatbacks
to avoid injuring people in a collision or
sudden stop.
Always drive and ride with your seatback
upright and the lap belt snug and low across
the hips.
Seating and safety restraints
74
Page 75 of 224
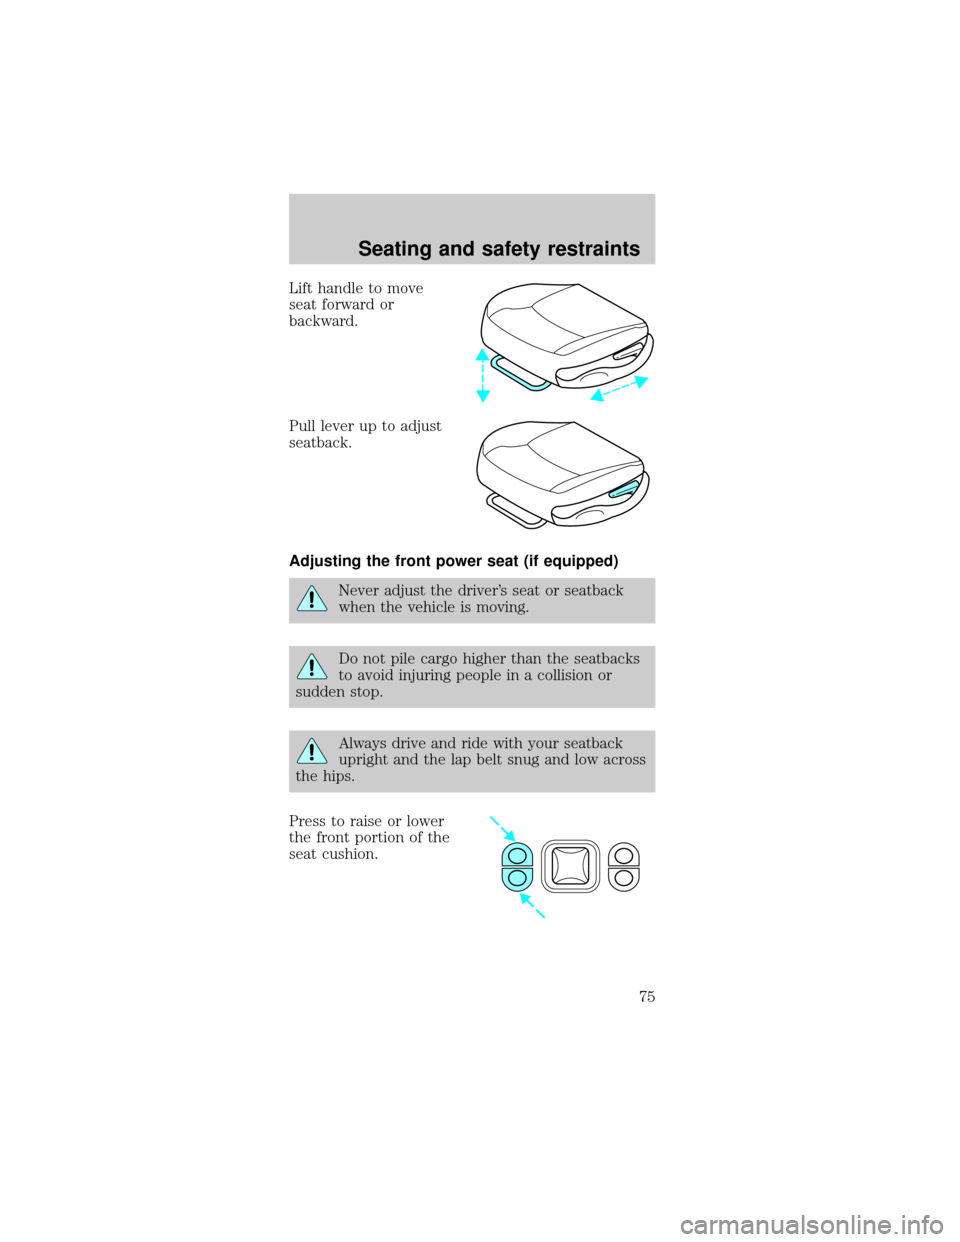
Lift handle to move
seat forward or
backward.
Pull lever up to adjust
seatback.
Adjusting the front power seat (if equipped)
Never adjust the driver's seat or seatback
when the vehicle is moving.
Do not pile cargo higher than the seatbacks
to avoid injuring people in a collision or
sudden stop.
Always drive and ride with your seatback
upright and the lap belt snug and low across
the hips.
Press to raise or lower
the front portion of the
seat cushion.
Seating and safety restraints
75
Page 76 of 224
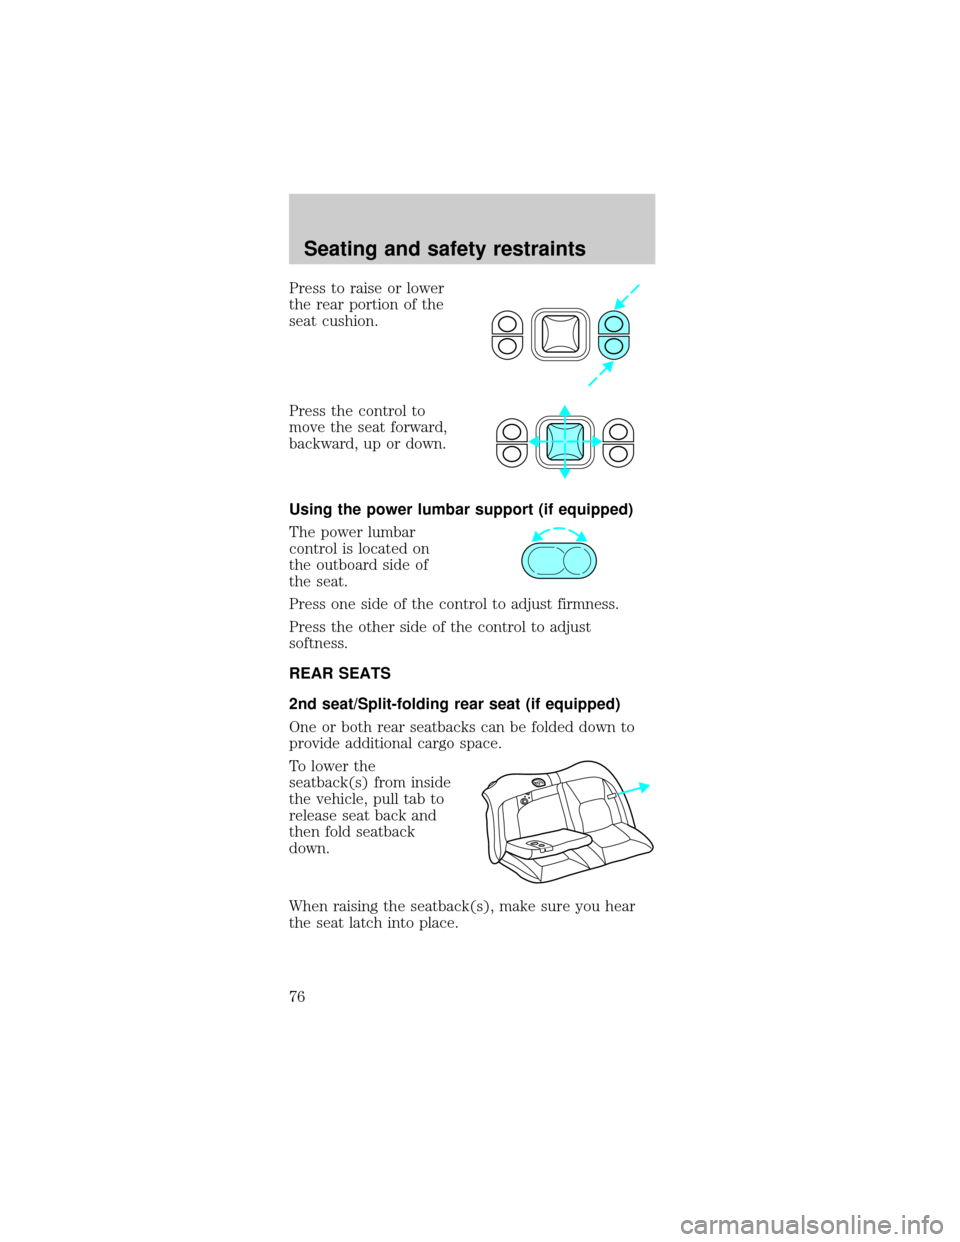
Press to raise or lower
the rear portion of the
seat cushion.
Press the control to
move the seat forward,
backward, up or down.
Using the power lumbar support (if equipped)
The power lumbar
control is located on
the outboard side of
the seat.
Press one side of the control to adjust firmness.
Press the other side of the control to adjust
softness.
REAR SEATS
2nd seat/Split-folding rear seat (if equipped)
One or both rear seatbacks can be folded down to
provide additional cargo space.
To lower the
seatback(s) from inside
the vehicle, pull tab to
release seat back and
then fold seatback
down.
When raising the seatback(s), make sure you hear
the seat latch into place.
Seating and safety restraints
76
Page 77 of 224
3rd seat (wagon only)
The third seat faces the rear of the vehicle. For
height and weight limits, see the label on the seat
cushion. When the seat is down, the back of your
wagon has a flat surface for carrying cargo.
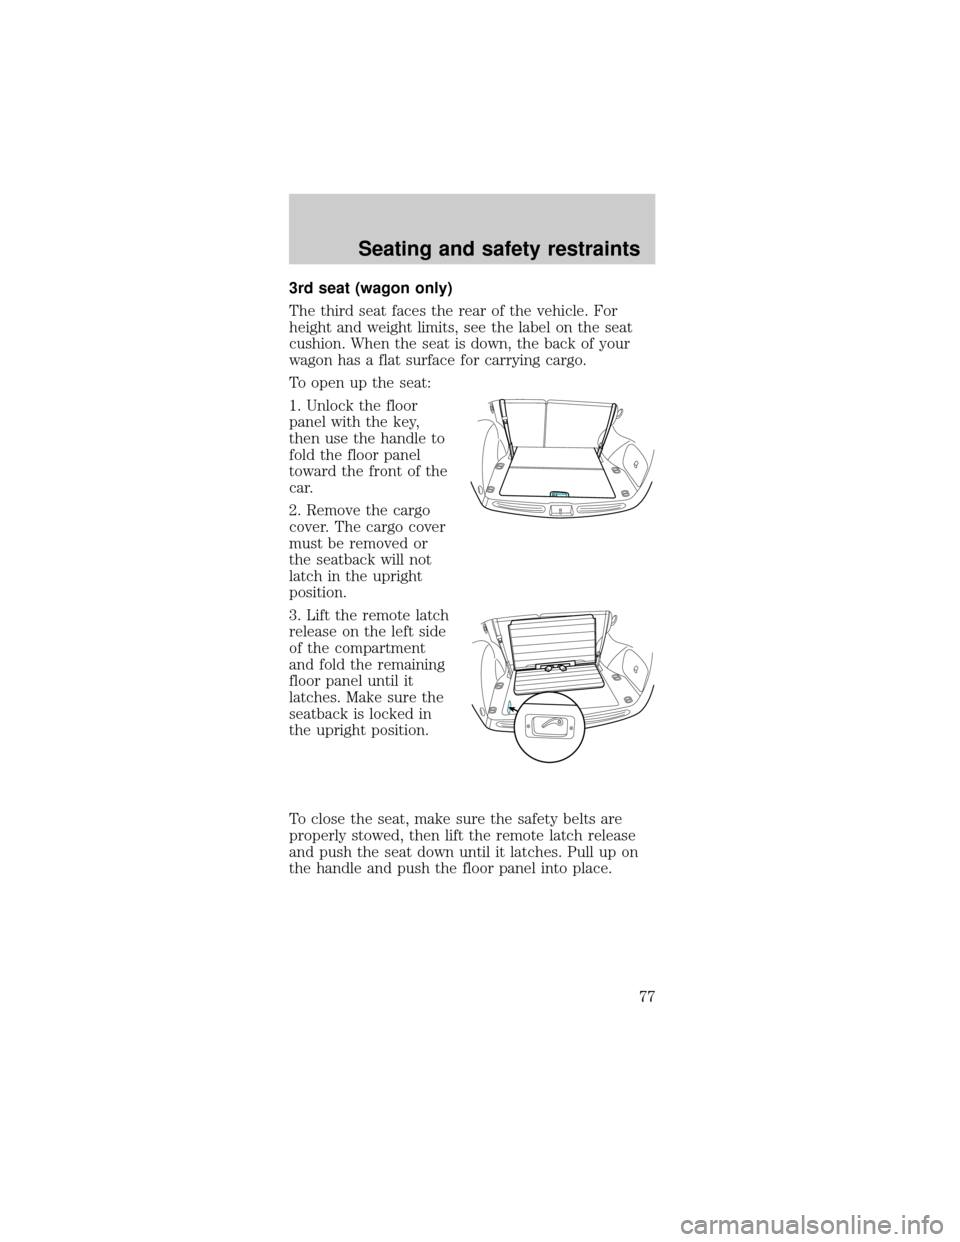
To open up the seat:
1. Unlock the floor
panel with the key,
then use the handle to
fold the floor panel
toward the front of the
car.
2. Remove the cargo
cover. The cargo cover
must be removed or
the seatback will not
latch in the upright
position.
3. Lift the remote latch
release on the left side
of the compartment
and fold the remaining
floor panel until it
latches. Make sure the
seatback is locked in
the upright position.
To close the seat, make sure the safety belts are
properly stowed, then lift the remote latch release
and push the seat down until it latches. Pull up on
the handle and push the floor panel into place.
Seating and safety restraints
77
Page 78 of 224
SAFETY RESTRAINTS
Safety restraints precautions
Always drive and ride with your seatback
upright and the lap belt snug and low across
the hips.
To reduce the risk of injury, make sure
children sit where they can be properly
restrained.
Never let a passenger hold a child on his or
her lap while the vehicle is moving. The
passenger cannot protect the child from injury in a
collision.
All occupants of the vehicle, including the
driver, should always properly wear their
safety belts, even when an air bag SRS is provided.
It is extremely dangerous to ride in a cargo
area, inside or outside of a vehicle. In a
collision, people riding in these areas are more
likely to be seriously injured or killed. Do not allow
people to ride in any area of your vehicle that is
not equipped with seats and safety belts. Be sure
everyone in your vehicle is in a seat and using a
safety belt properly.
Seating and safety restraints
78
Page 79 of 224
Each seating position in your vehicle has a
specific safety belt assembly which is made
up of one buckle and one tongue that are designed
to be used as a pair. 1) Use the shoulder belt on
the outside shoulder only. Never wear the shoulder
belt under the arm. 2) Never swing the safety belt
around your neck over the inside shoulder. 3)
Never use a single belt for more than one person.
Always transport children 12 years old and
under in the back seat and always properly
use appropriate child restraints.
Combination lap and shoulder belts
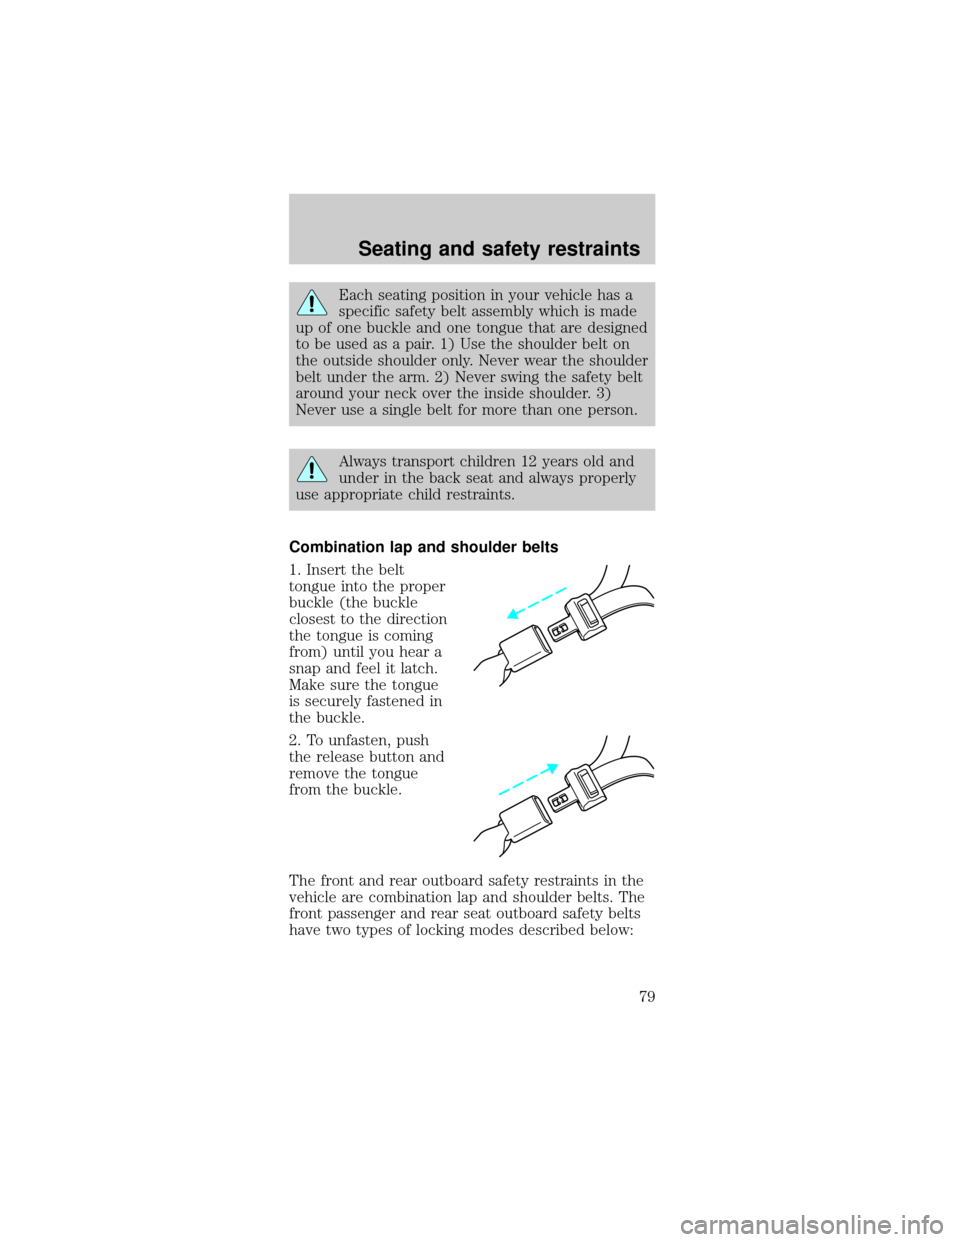
1. Insert the belt
tongue into the proper
buckle (the buckle
closest to the direction
the tongue is coming
from) until you hear a
snap and feel it latch.
Make sure the tongue
is securely fastened in
the buckle.
2. To unfasten, push
the release button and
remove the tongue
from the buckle.
The front and rear outboard safety restraints in the
vehicle are combination lap and shoulder belts. The
front passenger and rear seat outboard safety belts
have two types of locking modes described below:
Seating and safety restraints
79
Page 80 of 224
Energy Management Feature
²This vehicle has a seat belt system with an energy
management feature at the front outboard seating
positions to help further reduce the risk of injury
in the event of a head-on collision.
²This seat belt system has a retractor assembly
that is designed to pay out webbing in a
controlled manner. This feature is designed to
help reduce the belt force acting on the
occupant's chest.
After any vehicle collision, the seat belt
system at all outboard seating positions
(except driver, which has no ªautomatic locking
retractorº feature) must be checked by a qualified
technician to verify that the ªautomatic locking
retractorº feature for child seats is still functioning
properly, in addition to other checks for proper
seat belt system function.
BELT AND RETRACTOR ASSEMBLY MUST
BE REPLACED if the seat belt assembly
ªautomatic locking retractorº feature or any other
seat belt function is not operating properly when
checked according to the procedures in Workshop
Manual.
Failure to replace the Belt and Retractor
assembly could increase the risk of injury in
collisions.
Vehicle sensitive mode
The vehicle sensitive mode is the normal retractor
mode, allowing free shoulder belt length adjustment
to your movements and locking in response to
vehicle movement. For example, if the driver brakes
suddenly or turns a corner sharply, or the vehicle
Seating and safety restraints
80