mirror controls FORD TAURUS 2005 4.G Owners Manual
[x] Cancel search | Manufacturer: FORD, Model Year: 2005, Model line: TAURUS, Model: FORD TAURUS 2005 4.GPages: 248, PDF Size: 2.66 MB
Page 1 of 248
Introduction 4
Instrument Cluster 10
Warning and control lights 10
Gauges 13
Entertainment Systems 15
AM/FM stereo 15
AM/FM stereo cassette 16
AM/FM stereo with CD 19
CD changer 21
Climate Controls 24
Manual heating and air conditioning 24
Electronic automatic temperature control 26
Rear window defroster 28
Lights 30
Headlamps 30
Turn signal control 33
Bulb replacement 35
Driver Controls 46
Windshield wiper/washer control 46
Steering wheel adjustment 47
Power windows 48
Mirrors 50
Speed control 51
Message center 58
Locks and Security 73
Keys 73
Locks 73
Anti-theft system 83
Table of Contents
1
Table of Contents
Page 28 of 248
²Do not put objects under the front seats that will interfere with the
airflow to the back seats.
²Remove any snow, ice or leaves from the air intake area at the base of
the windshield.
²For maximum cooling performance (MAX A/C), select AUTO and set
to desired temperature. In the manual override mode, press
, A/C
and
, then set the temperature to 60ÉF (16ÉC) and the fan to
the highest setting. To improve the A/C cool down of the vehicle
cabin, drive with the windows slightly open for the first 2±3 minutes
after starting the vehicle or until the vehicle has ªaired out.º
To aid in side window defogging/demisting in cold weather:
1. Select
.
2. Select A/C.
3. Adjust the temperature control to maintain comfort.
4. Set the fan speed to the highest setting.
5. Direct the outer instrument panel vents towards the side windows.
To increase airflow to the outer instrument panel vents, close the vents
located in the middle of the instrument panel.
Do not place objects on top of the instrument panel as these
objects may become projectiles in a collision or sudden stop.
REAR WINDOW DEFROSTER
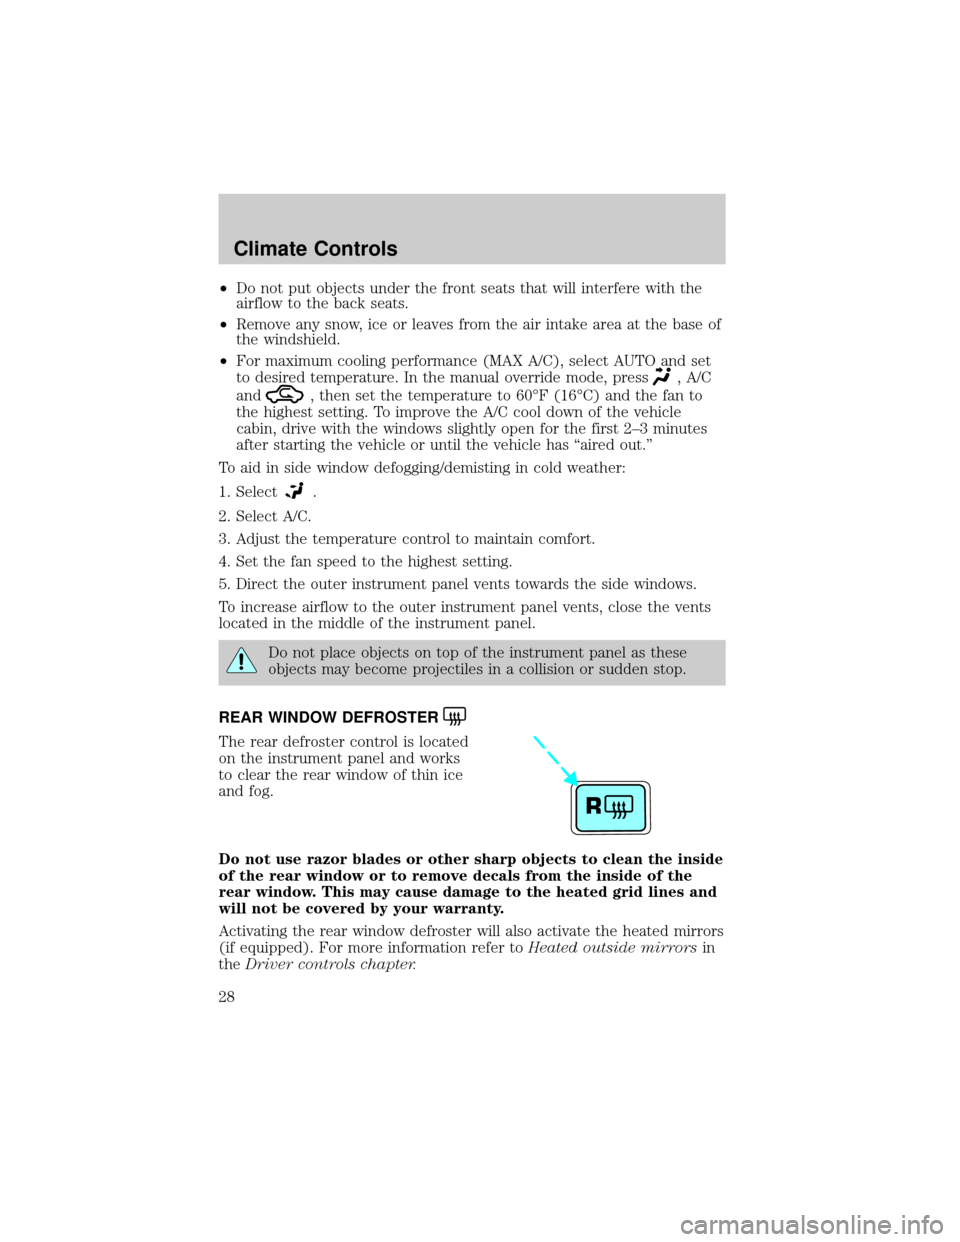
The rear defroster control is located
on the instrument panel and works
to clear the rear window of thin ice
and fog.
Do not use razor blades or other sharp objects to clean the inside
of the rear window or to remove decals from the inside of the
rear window. This may cause damage to the heated grid lines and
will not be covered by your warranty.
Activating the rear window defroster will also activate the heated mirrors
(if equipped). For more information refer toHeated outside mirrorsin
theDriver controls chapter.
R
Climate Controls
28
Page 48 of 248
ILLUMINATED VISOR MIRROR (IF EQUIPPED)
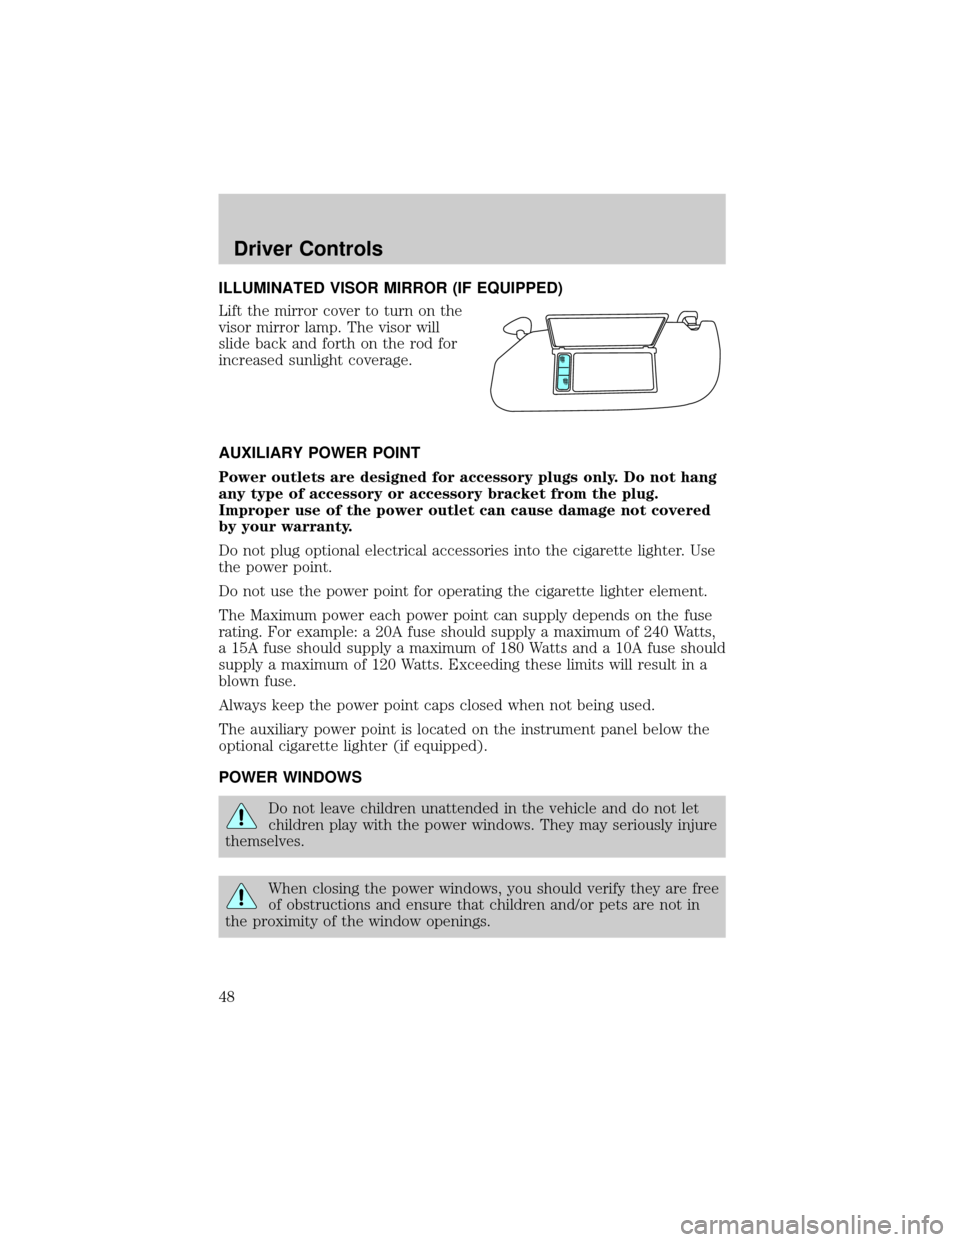
Lift the mirror cover to turn on the
visor mirror lamp. The visor will
slide back and forth on the rod for
increased sunlight coverage.
AUXILIARY POWER POINT
Power outlets are designed for accessory plugs only. Do not hang
any type of accessory or accessory bracket from the plug.
Improper use of the power outlet can cause damage not covered
by your warranty.
Do not plug optional electrical accessories into the cigarette lighter. Use
the power point.
Do not use the power point for operating the cigarette lighter element.
The Maximum power each power point can supply depends on the fuse
rating. For example: a 20A fuse should supply a maximum of 240 Watts,
a 15A fuse should supply a maximum of 180 Watts and a 10A fuse should
supply a maximum of 120 Watts. Exceeding these limits will result in a
blown fuse.
Always keep the power point caps closed when not being used.
The auxiliary power point is located on the instrument panel below the
optional cigarette lighter (if equipped).
POWER WINDOWS
Do not leave children unattended in the vehicle and do not let
children play with the power windows. They may seriously injure
themselves.
When closing the power windows, you should verify they are free
of obstructions and ensure that children and/or pets are not in
the proximity of the window openings.
Driver Controls
48
Page 50 of 248
MIRRORS
Automatic dimming inside rear view mirror (if equipped)
Your vehicle is equipped with an inside rear view mirror which has an
auto-dimming function. The electronic day/night mirror will automatically
change from the normal, clear state to the darkened, non-glare state
when bright light (glare) reaches the mirror from behind the vehicle at
night.
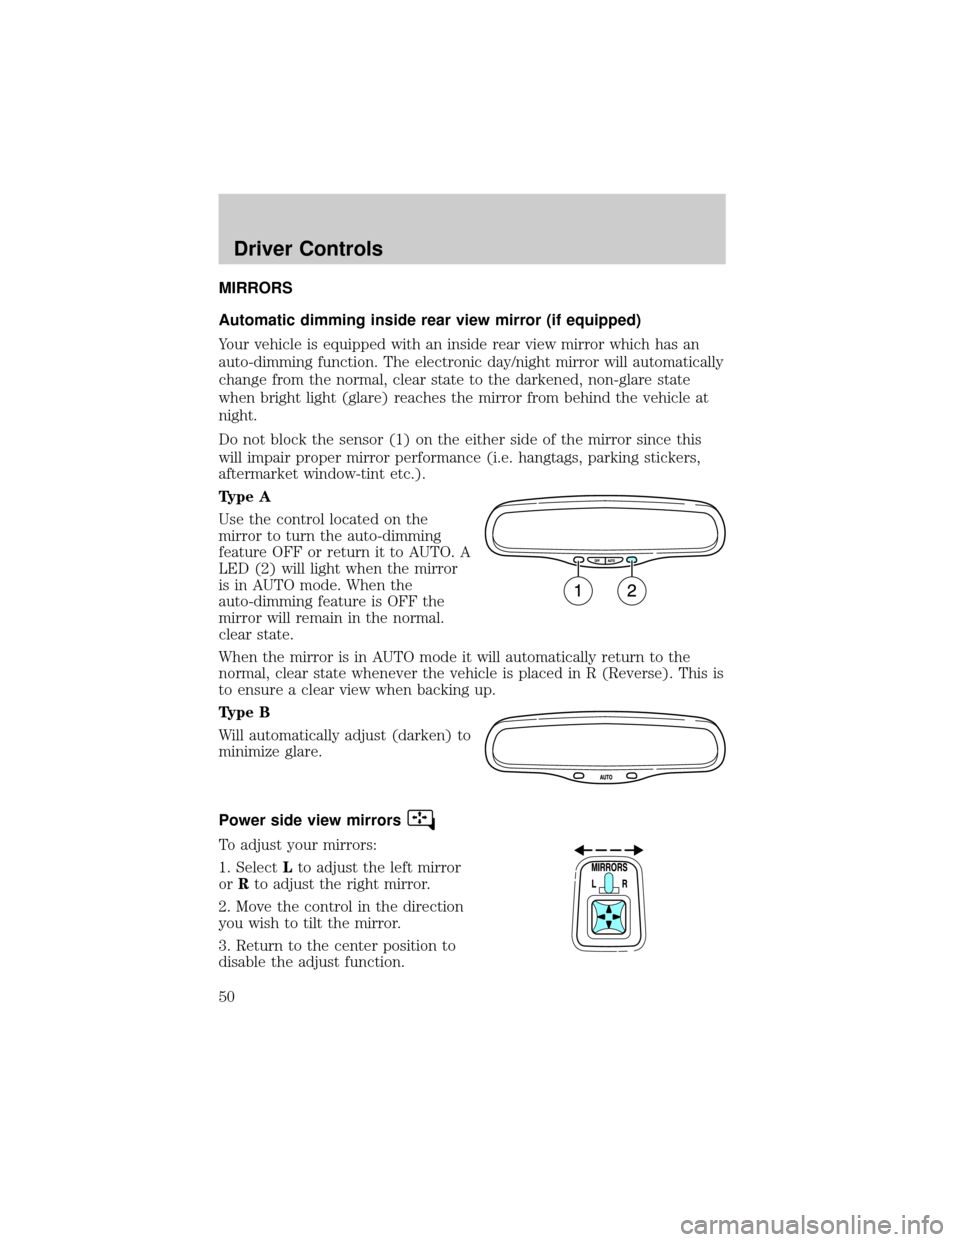
Do not block the sensor (1) on the either side of the mirror since this
will impair proper mirror performance (i.e. hangtags, parking stickers,
aftermarket window-tint etc.).
Type A
Use the control located on the
mirror to turn the auto-dimming
feature OFF or return it to AUTO. A
LED (2) will light when the mirror
is in AUTO mode. When the
auto-dimming feature is OFF the
mirror will remain in the normal.
clear state.
When the mirror is in AUTO mode it will automatically return to the
normal, clear state whenever the vehicle is placed in R (Reverse). This is
to ensure a clear view when backing up.
Type B
Will automatically adjust (darken) to
minimize glare.
Power side view mirrors
To adjust your mirrors:
1. SelectLto adjust the left mirror
orRto adjust the right mirror.
2. Move the control in the direction
you wish to tilt the mirror.
3. Return to the center position to
disable the adjust function.
Driver Controls
50
Page 51 of 248
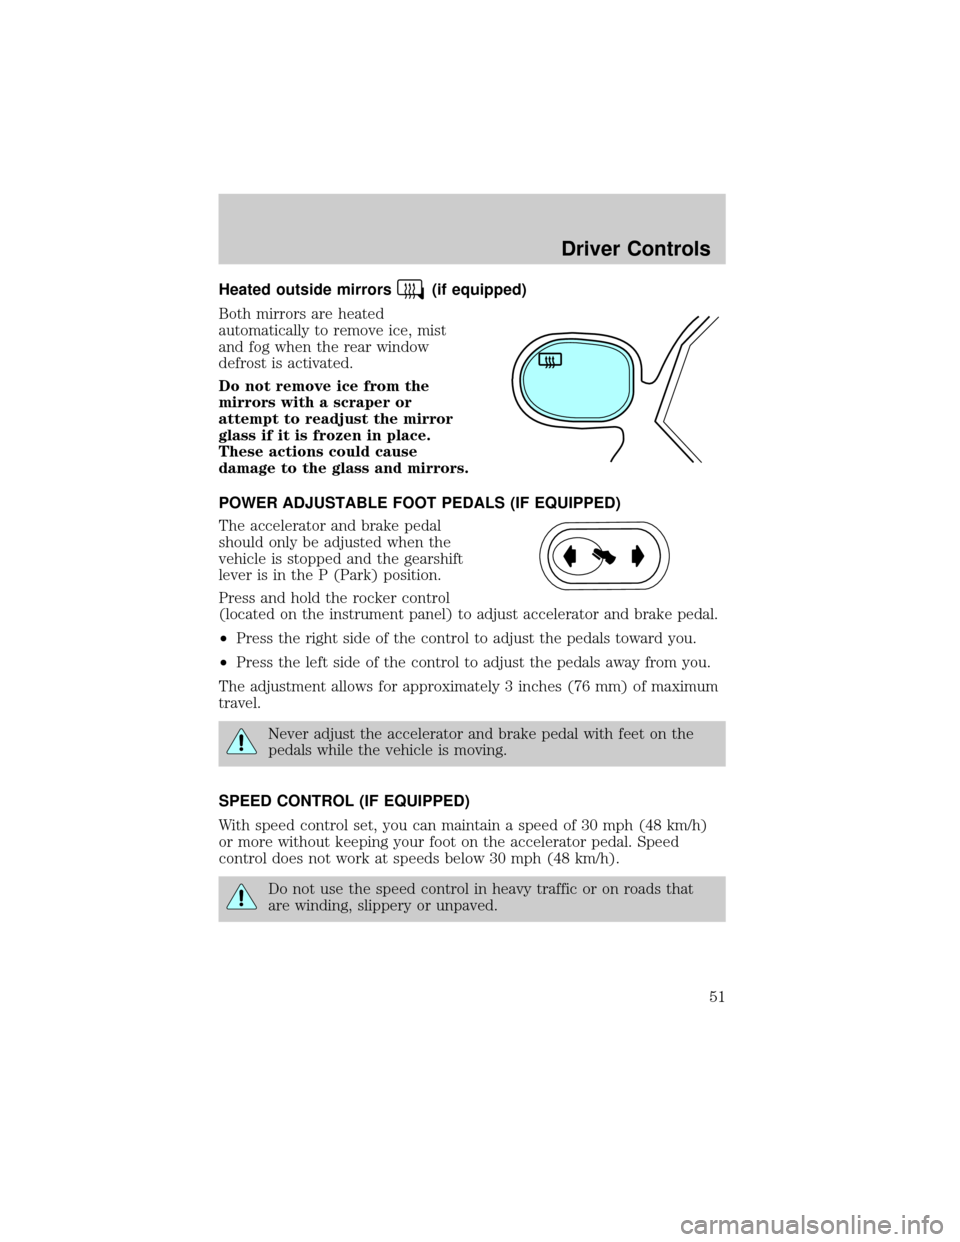
Heated outside mirrors(if equipped)
Both mirrors are heated
automatically to remove ice, mist
and fog when the rear window
defrost is activated.
Do not remove ice from the
mirrors with a scraper or
attempt to readjust the mirror
glass if it is frozen in place.
These actions could cause
damage to the glass and mirrors.
POWER ADJUSTABLE FOOT PEDALS (IF EQUIPPED)
The accelerator and brake pedal
should only be adjusted when the
vehicle is stopped and the gearshift
lever is in the P (Park) position.
Press and hold the rocker control
(located on the instrument panel) to adjust accelerator and brake pedal.
²Press the right side of the control to adjust the pedals toward you.
²Press the left side of the control to adjust the pedals away from you.
The adjustment allows for approximately 3 inches (76 mm) of maximum
travel.
Never adjust the accelerator and brake pedal with feet on the
pedals while the vehicle is moving.
SPEED CONTROL (IF EQUIPPED)
With speed control set, you can maintain a speed of 30 mph (48 km/h)
or more without keeping your foot on the accelerator pedal. Speed
control does not work at speeds below 30 mph (48 km/h).
Do not use the speed control in heavy traffic or on roads that
are winding, slippery or unpaved.
Driver Controls
51