engine FORD THUNDERBIRD 2002 11.G User Guide
[x] Cancel search | Manufacturer: FORD, Model Year: 2002, Model line: THUNDERBIRD, Model: FORD THUNDERBIRD 2002 11.GPages: 248, PDF Size: 2.1 MB
Page 38 of 248
DATC automatic operation
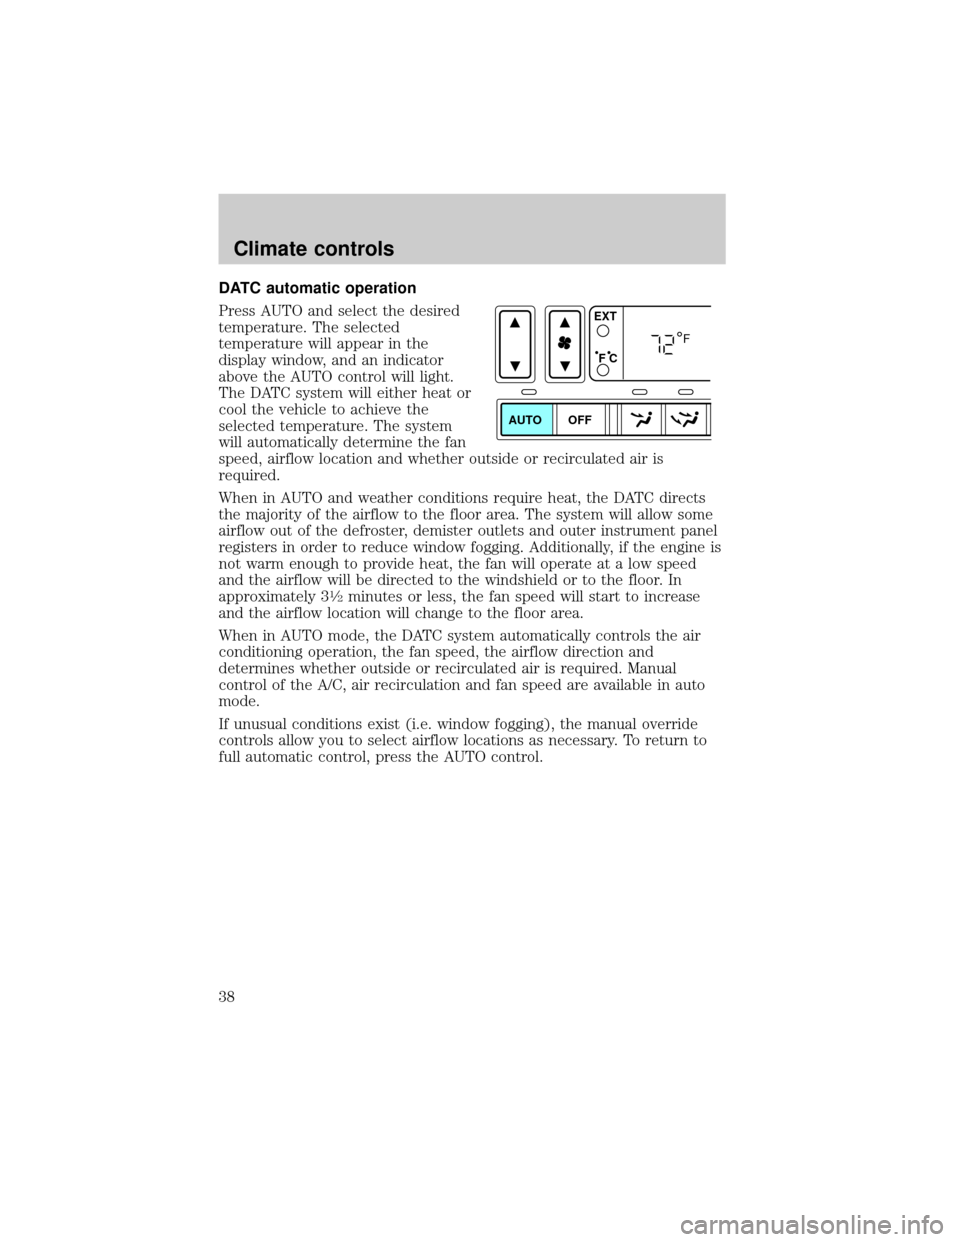
Press AUTO and select the desired
temperature. The selected
temperature will appear in the
display window, and an indicator
above the AUTO control will light.
The DATC system will either heat or
cool the vehicle to achieve the
selected temperature. The system
will automatically determine the fan
speed, airflow location and whether outside or recirculated air is
required.
When in AUTO and weather conditions require heat, the DATC directs
the majority of the airflow to the floor area. The system will allow some
airflow out of the defroster, demister outlets and outer instrument panel
registers in order to reduce window fogging. Additionally, if the engine is
not warm enough to provide heat, the fan will operate at a low speed
and the airflow will be directed to the windshield or to the floor. In
approximately 3
1¤2minutes or less, the fan speed will start to increase
and the airflow location will change to the floor area.
When in AUTO mode, the DATC system automatically controls the air
conditioning operation, the fan speed, the airflow direction and
determines whether outside or recirculated air is required. Manual
control of the A/C, air recirculation and fan speed are available in auto
mode.
If unusual conditions exist (i.e. window fogging), the manual override
controls allow you to select airflow locations as necessary. To return to
full automatic control, press the AUTO control.
AUTO OFFEXT
F C
F
Climate controls
38
Page 45 of 248
With the ignition in RUN and the engine running, the feature will be
automatically enabled if the temperature is below 5ÉC (40ÉF). The
feature can be manually selected or deselected at any time. However, the
automatic feature will be enabled each time the engine is started.
In cold, dry conditions where wet snow or ice is not present it is
acceptable to manually deselect the operation of this feature.
The feature will run continuously unless a low battery condition is
detected, or unless the feature is manually deselected, and will only
activate when the vehicle engine is running (to prevent excessive drain
of the vehicle battery).
R(rear window defroster) Ð Refer toRear Window Defroster.
Displaying outside temperature
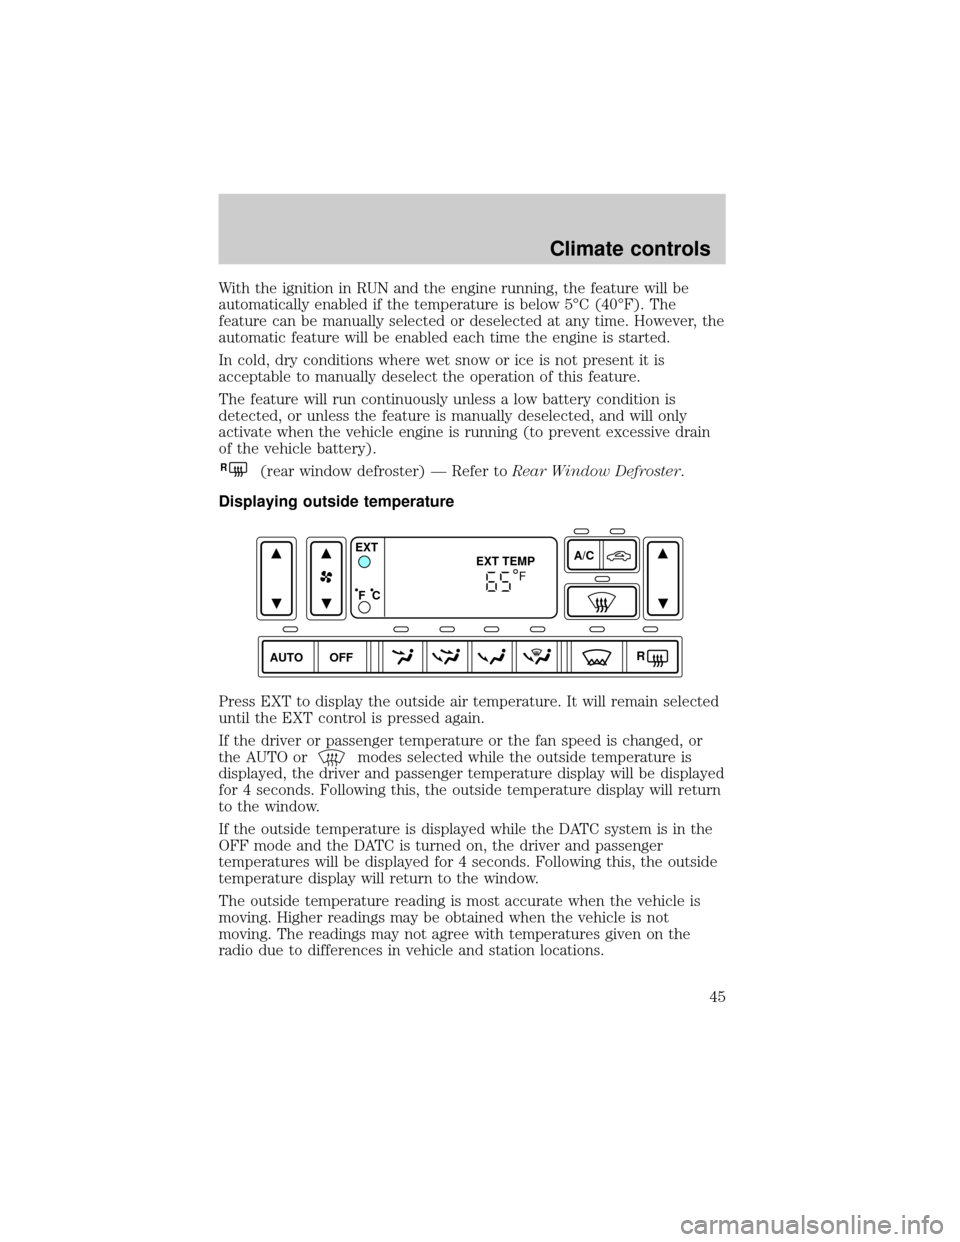
Press EXT to display the outside air temperature. It will remain selected
until the EXT control is pressed again.
If the driver or passenger temperature or the fan speed is changed, or
the AUTO or
modes selected while the outside temperature is
displayed, the driver and passenger temperature display will be displayed
for 4 seconds. Following this, the outside temperature display will return
to the window.
If the outside temperature is displayed while the DATC system is in the
OFF mode and the DATC is turned on, the driver and passenger
temperatures will be displayed for 4 seconds. Following this, the outside
temperature display will return to the window.
The outside temperature reading is most accurate when the vehicle is
moving. Higher readings may be obtained when the vehicle is not
moving. The readings may not agree with temperatures given on the
radio due to differences in vehicle and station locations.
AUTO OFFA/C
R EXT
EXT TEMP
F C
F
Climate controls
45
Page 48 of 248
REAR WINDOW DEFROSTER
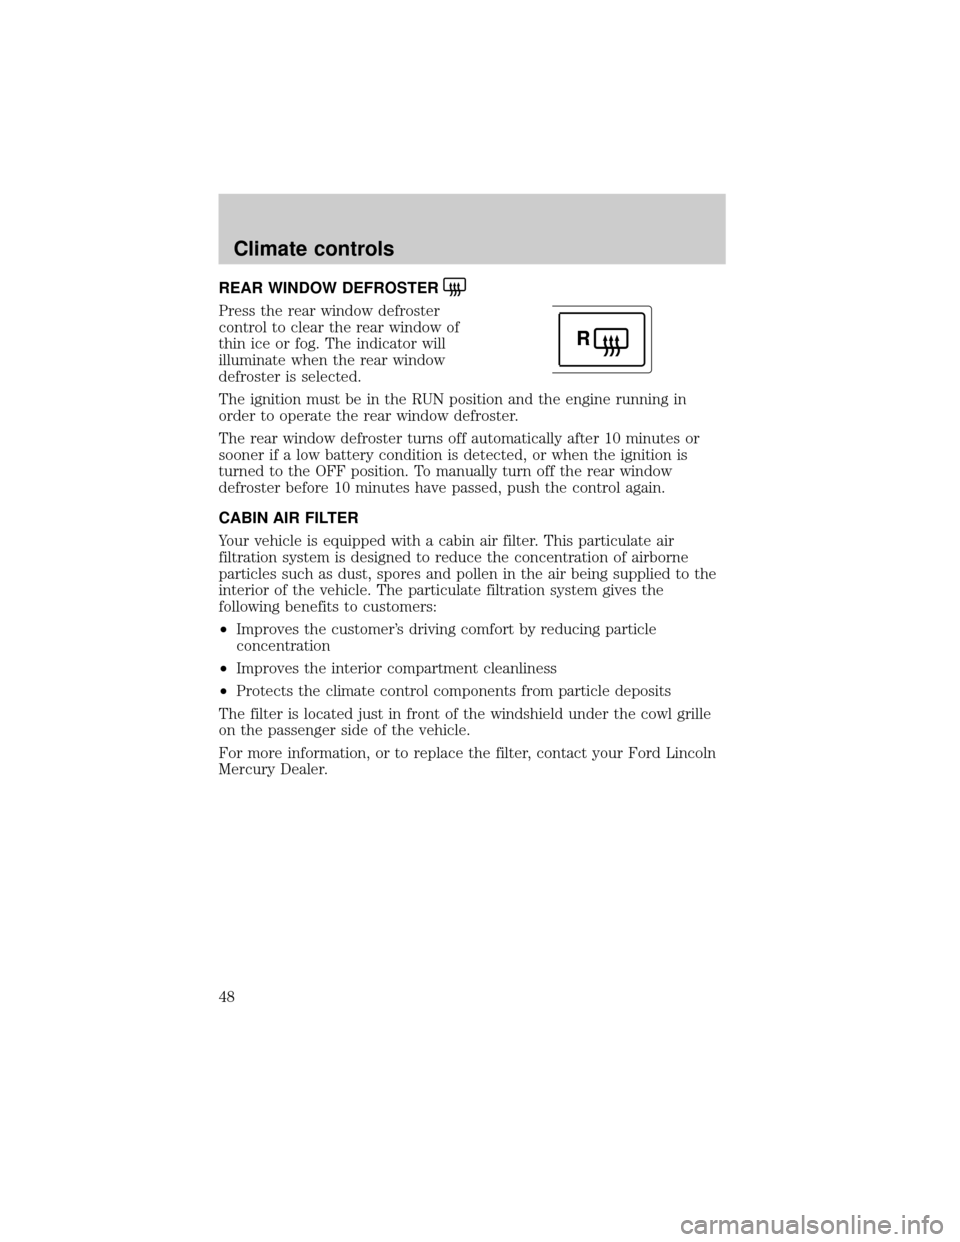
Press the rear window defroster
control to clear the rear window of
thin ice or fog. The indicator will
illuminate when the rear window
defroster is selected.
The ignition must be in the RUN position and the engine running in
order to operate the rear window defroster.
The rear window defroster turns off automatically after 10 minutes or
sooner if a low battery condition is detected, or when the ignition is
turned to the OFF position. To manually turn off the rear window
defroster before 10 minutes have passed, push the control again.
CABIN AIR FILTER
Your vehicle is equipped with a cabin air filter. This particulate air
filtration system is designed to reduce the concentration of airborne
particles such as dust, spores and pollen in the air being supplied to the
interior of the vehicle. The particulate filtration system gives the
following benefits to customers:
²Improves the customer's driving comfort by reducing particle
concentration
²Improves the interior compartment cleanliness
²Protects the climate control components from particle deposits
The filter is located just in front of the windshield under the cowl grille
on the passenger side of the vehicle.
For more information, or to replace the filter, contact your Ford Lincoln
Mercury Dealer.
R
Climate controls
48
Page 72 of 248
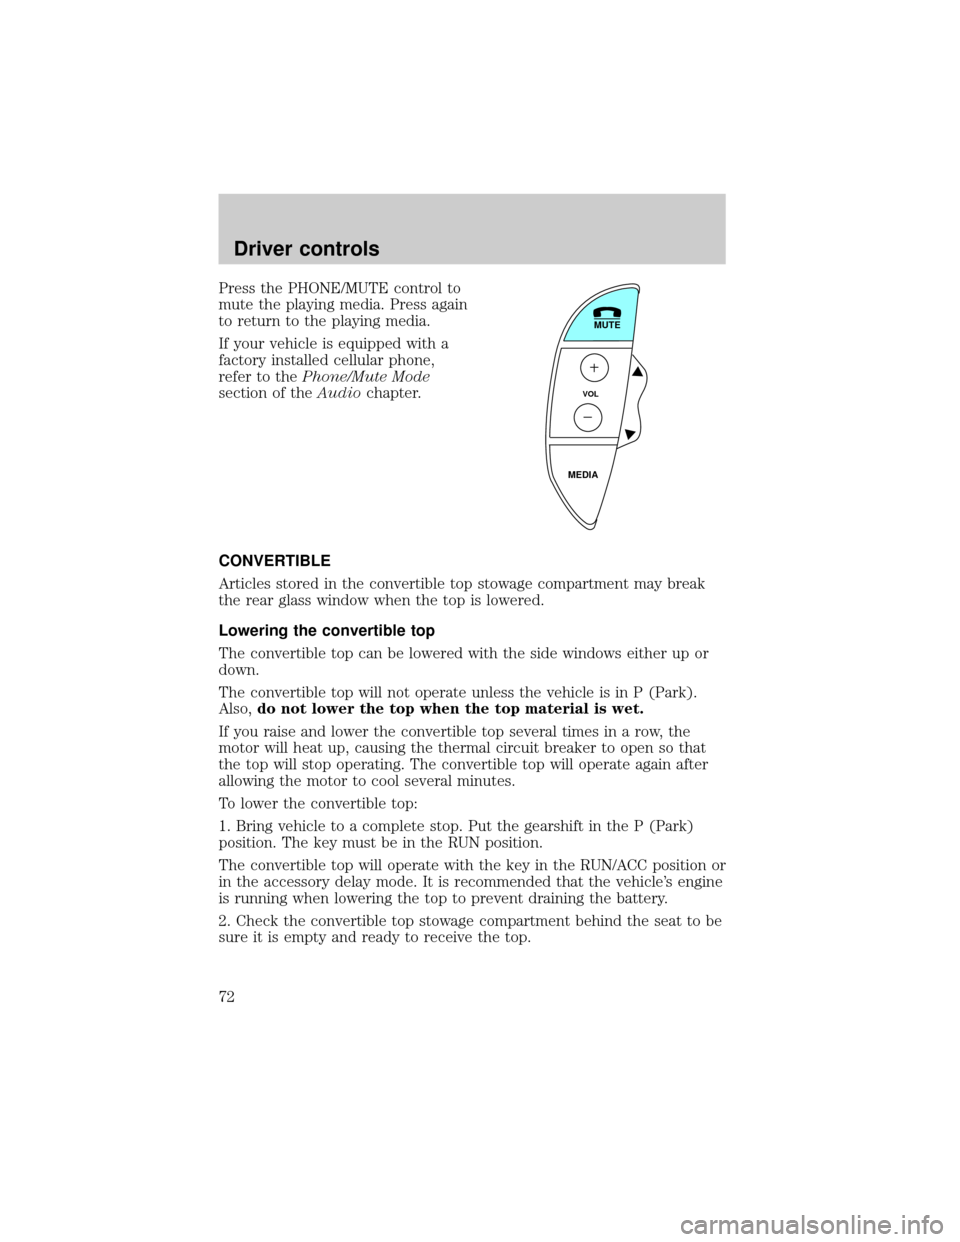
Press the PHONE/MUTE control to
mute the playing media. Press again
to return to the playing media.
If your vehicle is equipped with a
factory installed cellular phone,
refer to thePhone/Mute Mode
section of theAudiochapter.
CONVERTIBLE
Articles stored in the convertible top stowage compartment may break
the rear glass window when the top is lowered.
Lowering the convertible top
The convertible top can be lowered with the side windows either up or
down.
The convertible top will not operate unless the vehicle is in P (Park).
Also,do not lower the top when the top material is wet.
If you raise and lower the convertible top several times in a row, the
motor will heat up, causing the thermal circuit breaker to open so that
the top will stop operating. The convertible top will operate again after
allowing the motor to cool several minutes.
To lower the convertible top:
1. Bring vehicle to a complete stop. Put the gearshift in the P (Park)
position. The key must be in the RUN position.
The convertible top will operate with the key in the RUN/ACC position or
in the accessory delay mode. It is recommended that the vehicle's engine
is running when lowering the top to prevent draining the battery.
2. Check the convertible top stowage compartment behind the seat to be
sure it is empty and ready to receive the top.
MUTE
VOL
MEDIA
Driver controls
72
Page 74 of 248
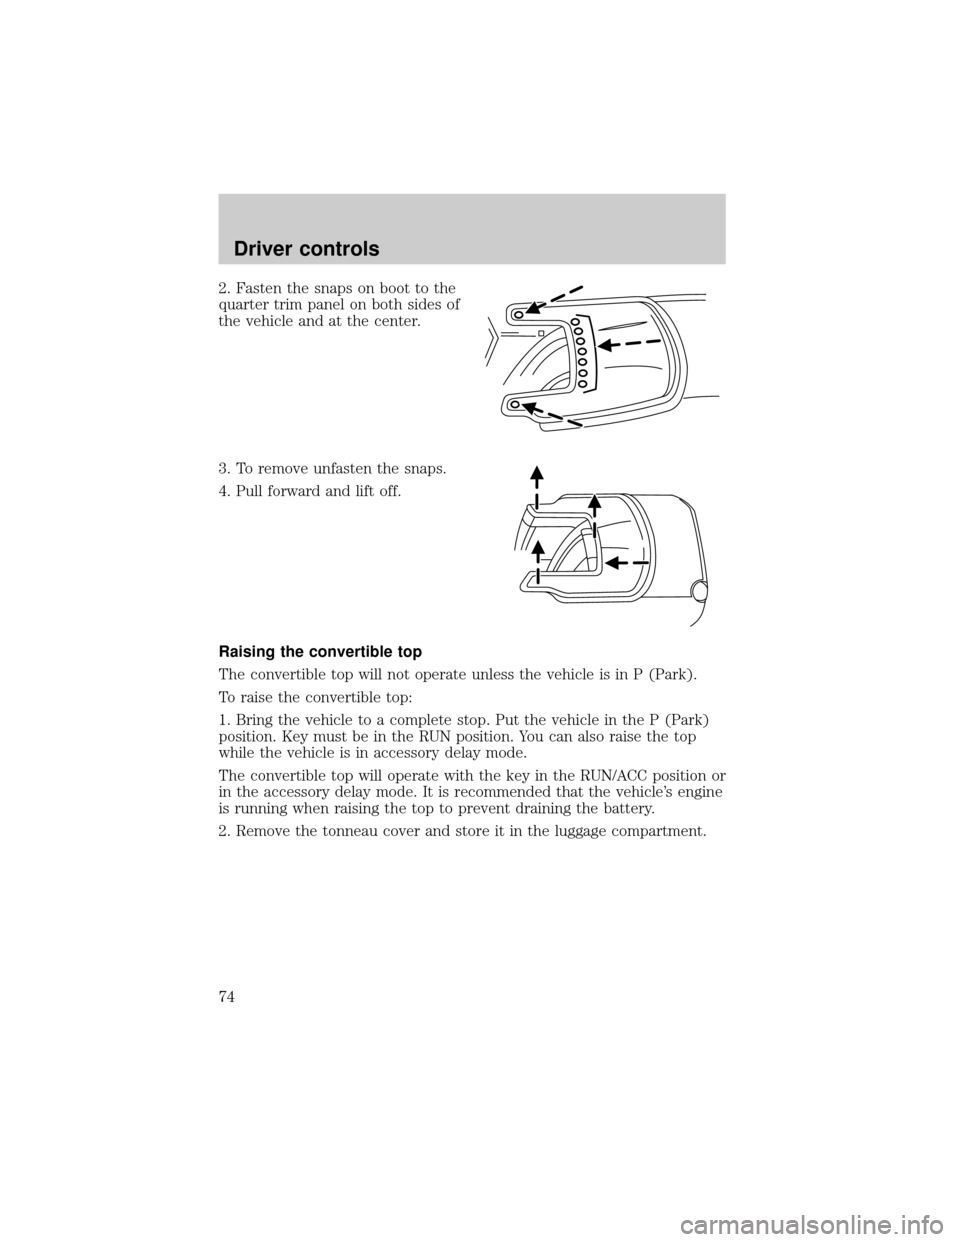
2. Fasten the snaps on boot to the
quarter trim panel on both sides of
the vehicle and at the center.
3. To remove unfasten the snaps.
4. Pull forward and lift off.
Raising the convertible top
The convertible top will not operate unless the vehicle is in P (Park).
To raise the convertible top:
1. Bring the vehicle to a complete stop. Put the vehicle in the P (Park)
position. Key must be in the RUN position. You can also raise the top
while the vehicle is in accessory delay mode.
The convertible top will operate with the key in the RUN/ACC position or
in the accessory delay mode. It is recommended that the vehicle's engine
is running when raising the top to prevent draining the battery.
2. Remove the tonneau cover and store it in the luggage compartment.
Driver controls
74
Page 90 of 248

The interior lamps will not turn off if:
²they have been turned on with the instrument panel dimmer control
switch or
²any door is open
The battery saver will turn off the interior lamps 30 minutes after the
last door is closed even if the dimmer control switch is on.
Autolock/Relock
This feature automatically locks all vehicle doors when:
²all doors are closed
²the engine is running
²you shift out of P (Park).
Relock
The autolock feature repeats when:
²the passenger's door is opened then closed while the engine is running
and
²you put the vehicle in motion.
Deactivating/activating the autolock/relock feature
Before following the procedure, make sure that the ignition is OFF and
all vehicle doors are closed.
You must complete steps 1-5 within 30 seconds or the procedure will
have to be repeated. Wait 30 seconds before repeating the procedure.
1. Turn the ignition key to RUN.
2. Press the power door unlock control three times.
3. Turn the ignition key from RUN to OFF.
4. Press the power door unlock control three times.
5. Turn the ignition back to RUN. The horn will chirp to indicate that
you have entered the programming mode.
6. Press the unlock control, then press the lock control. The horn will
chirp once if autolock was deactivated or twice (one short and one long
chirp) if autolock was activated.
7. Turn the ignition to OFF. The horn will chirp once to confirm the
procedure is complete.
Locks and security
90
Page 91 of 248
SECURILOCKYPASSIVE ANTI-THEFT SYSTEM
SecuriLockypassive anti-theft system is an engine immobilization
system. This system prevents the engine from being started unless a
coded key programmed to your vehicleis used.
The SecuriLockypassive anti-theft system is not compatible with
non-Ford aftermarket remote start systems. Use of these systems may
result in vehicle starting problems and a loss of security protection.
Automatic arming
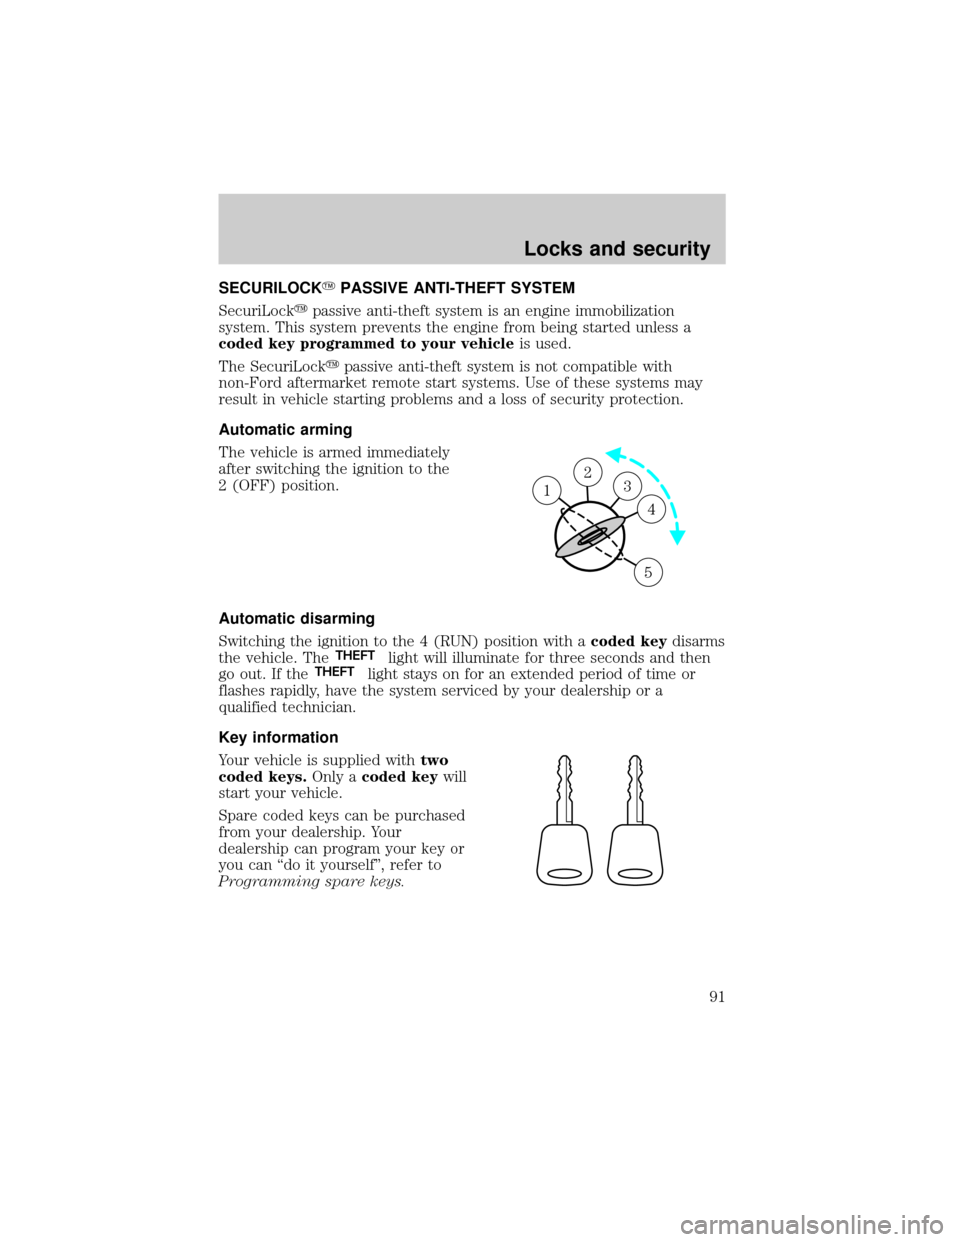
The vehicle is armed immediately
after switching the ignition to the
2 (OFF) position.
Automatic disarming
Switching the ignition to the 4 (RUN) position with acoded keydisarms
the vehicle. The
THEFTlight will illuminate for three seconds and then
go out. If theTHEFTlight stays on for an extended period of time or
flashes rapidly, have the system serviced by your dealership or a
qualified technician.
Key information
Your vehicle is supplied withtwo
coded keys.Only acoded keywill
start your vehicle.
Spare coded keys can be purchased
from your dealership. Your
dealership can program your key or
you can ªdo it yourselfº, refer to
Programming spare keys.
23 1
4
5
Locks and security
91
Page 92 of 248
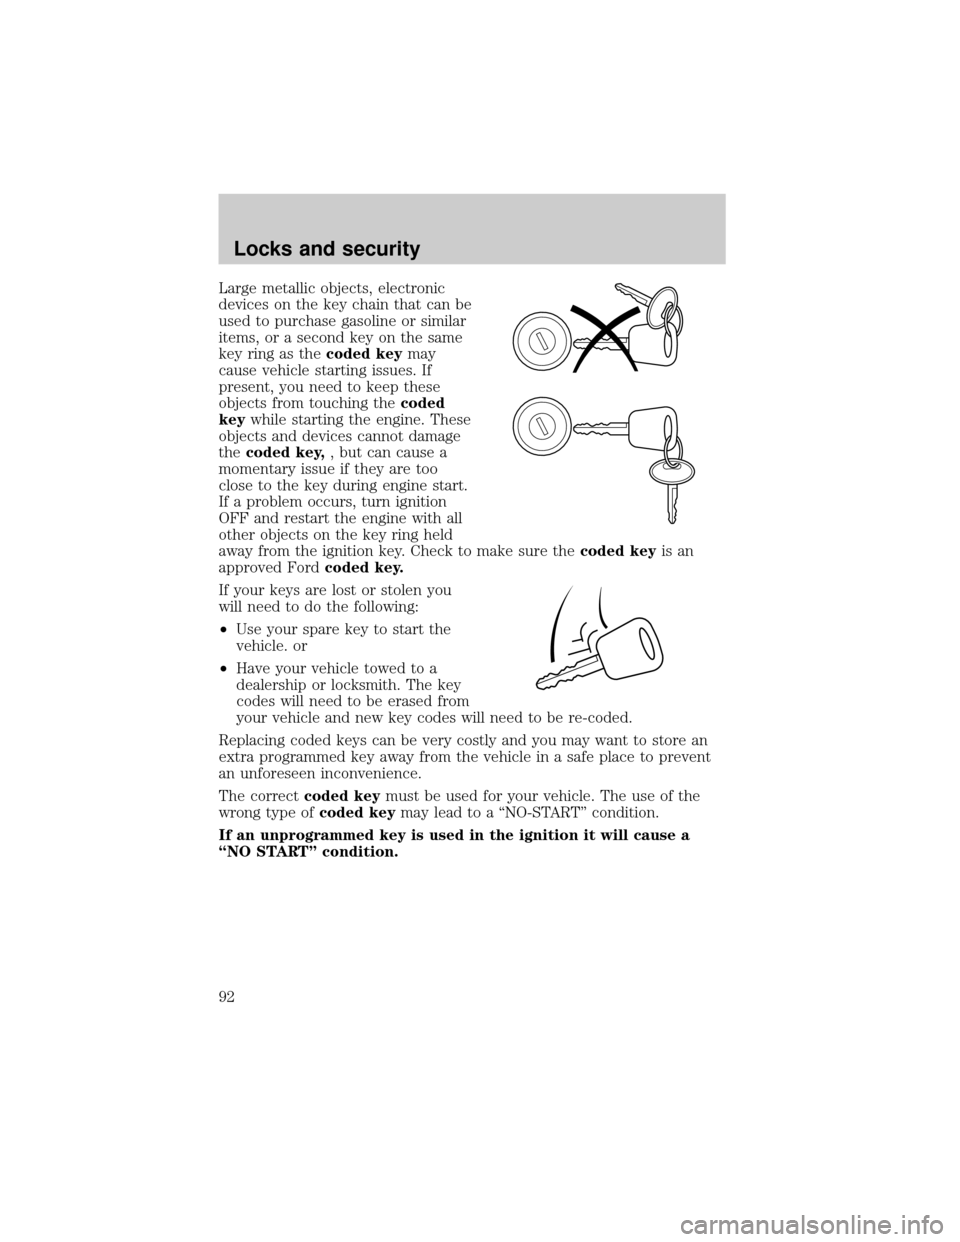
Large metallic objects, electronic
devices on the key chain that can be
used to purchase gasoline or similar
items, or a second key on the same
key ring as thecoded keymay
cause vehicle starting issues. If
present, you need to keep these
objects from touching thecoded
keywhile starting the engine. These
objects and devices cannot damage
thecoded key,, but can cause a
momentary issue if they are too
close to the key during engine start.
If a problem occurs, turn ignition
OFF and restart the engine with all
other objects on the key ring held
away from the ignition key. Check to make sure thecoded keyis an
approved Fordcoded key.
If your keys are lost or stolen you
will need to do the following:
²Use your spare key to start the
vehicle. or
²Have your vehicle towed to a
dealership or locksmith. The key
codes will need to be erased from
your vehicle and new key codes will need to be re-coded.
Replacing coded keys can be very costly and you may want to store an
extra programmed key away from the vehicle in a safe place to prevent
an unforeseen inconvenience.
The correctcoded keymust be used for your vehicle. The use of the
wrong type ofcoded keymay lead to a ªNO-STARTº condition.
If an unprogrammed key is used in the ignition it will cause a
ªNO STARTº condition.
Locks and security
92
Page 93 of 248
Programming spare keys
A maximum of eight keys can be coded to your vehicle. Only
SecuriLockykeys can be used. To program acoded keyyourself, you
will need two previously programmedcoded keys(keys that already
operate your vehicle's engine) and the new unprogrammed key(s) readily
accessible for timely implementation of each step in the procedure.
If two previously programmed coded keys are not available, you must
bring your vehicle to your dealership to have the spare coded key(s)
programmed.
Please read and understand the entire procedure before you begin.
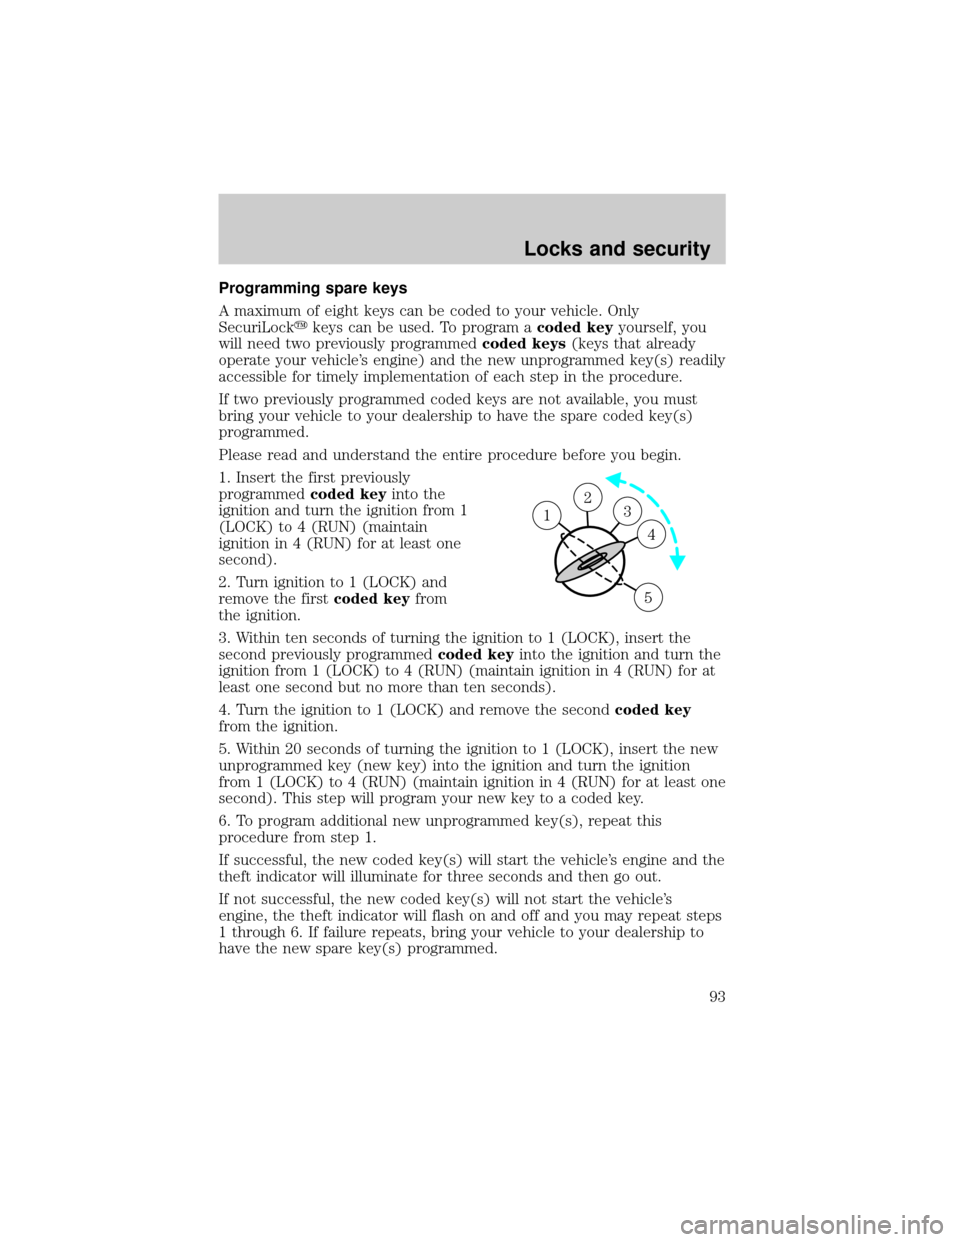
1. Insert the first previously
programmedcoded keyinto the
ignition and turn the ignition from 1
(LOCK) to 4 (RUN) (maintain
ignition in 4 (RUN) for at least one
second).
2. Turn ignition to 1 (LOCK) and
remove the firstcoded keyfrom
the ignition.
3. Within ten seconds of turning the ignition to 1 (LOCK), insert the
second previously programmedcoded keyinto the ignition and turn the
ignition from 1 (LOCK) to 4 (RUN) (maintain ignition in 4 (RUN) for at
least one second but no more than ten seconds).
4. Turn the ignition to 1 (LOCK) and remove the secondcoded key
from the ignition.
5. Within 20 seconds of turning the ignition to 1 (LOCK), insert the new
unprogrammed key (new key) into the ignition and turn the ignition
from 1 (LOCK) to 4 (RUN) (maintain ignition in 4 (RUN) for at least one
second). This step will program your new key to a coded key.
6. To program additional new unprogrammed key(s), repeat this
procedure from step 1.
If successful, the new coded key(s) will start the vehicle's engine and the
theft indicator will illuminate for three seconds and then go out.
If not successful, the new coded key(s) will not start the vehicle's
engine, the theft indicator will flash on and off and you may repeat steps
1 through 6. If failure repeats, bring your vehicle to your dealership to
have the new spare key(s) programmed.
23 1
4
5
Locks and security
93
Page 107 of 248
²The ignition switch is in the OFF position.
²All vehicle doors are closed.
²The driver's safety belt is unbuckled.
²The parklamps are in OFF position.
To reduce the risk of injury, do not deactivate/activate the Belt
Minder feature while driving the vehicle.
1. Turn the ignition switch to the RUN (or ON) position. (DO NOT
START THE ENGINE.)
2. Wait until the safety belt warning light turns off. (Approximately 1±2
minutes.)
²Steps 3±5 must be completed within 60 seconds or the procedure will
have to be repeated.
3. Buckle then unbuckle the safety belt three times, ending with the
safety belt unbuckled. This can be done before or during Belt Minder
warning activation.
4. Turn on the parklamps, turn off the parklamps.
5. Buckle then unbuckle the safety belt three times, ending with the
safety belt unbuckled.
²After step 5 the safety belt warning light will be turned on for three
seconds.
6. Within seven seconds of the safety belt warning light turning off,
buckle then unbuckle the safety belt.
²This will disable Belt Minder if it is currently enabled, or enable Belt
Minder if it is currently disabled.
7. Confirmation of disabling Belt Minder is provided by the safety belt
warning light flashing four times per second for three seconds.
8. Confirmation of enabling Belt Minder is provided by:
²The safety belt warning light flashing four times per second for three
seconds.
²Followed by three seconds with the safety belt warning light off.
²Once again, the safety belt warning light will flash four times per
second for three seconds.
Seating and safety restraints
107