mirror controls FORD THUNDERBIRD 2003 11.G Owners Manual
[x] Cancel search | Manufacturer: FORD, Model Year: 2003, Model line: THUNDERBIRD, Model: FORD THUNDERBIRD 2003 11.GPages: 200, PDF Size: 1.79 MB
Page 1 of 200

Introduction 3
Instrument Cluster 8
Warning and control lights 8
Gauges 12
Entertainment Systems 14
AM/FM stereo with CD 14
Climate Controls 19
Electronic automatic temperature control 19
Lights 24
Headlamps 24
Turn signal control 27
Bulb replacement 28
Driver Controls 35
Windshield wiper/washer control 35
Steering wheel adjustment 36
Power windows 37
Mirrors 38
Speed control 39
Locks and Security 55
Keys 55
Locks 55
Anti-theft system 58
Seating and Safety Restraints 66
Seating 66
Safety restraints 70
Air bags 80
Child restraints 91
Driving 102
Starting 102
Table of Contents
1
Page 22 of 200

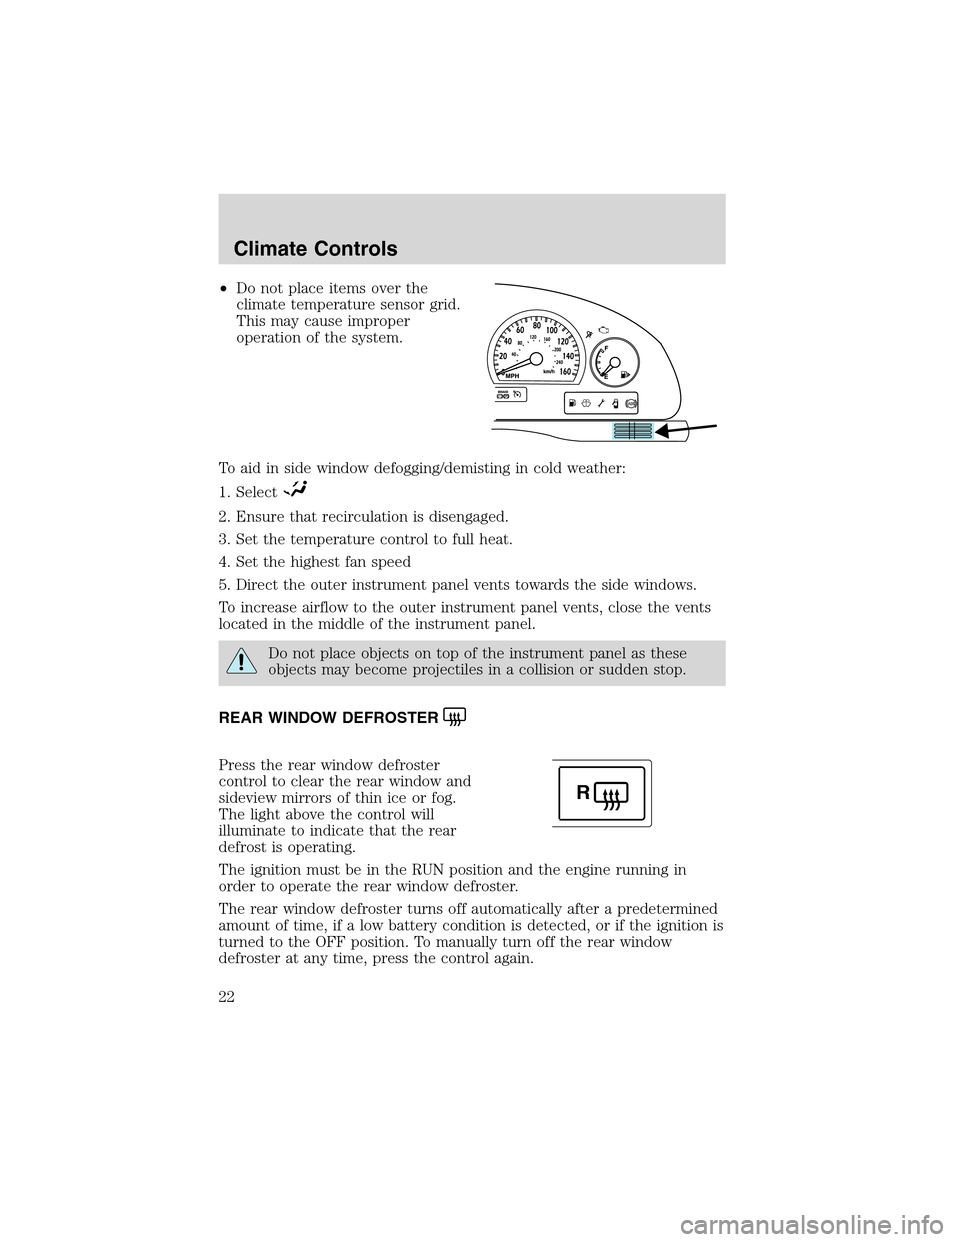
•Do not place items over the
climate temperature sensor grid.
This may cause improper
operation of the system.
To aid in side window defogging/demisting in cold weather:
1. Select
2. Ensure that recirculation is disengaged.
3. Set the temperature control to full heat.
4. Set the highest fan speed
5. Direct the outer instrument panel vents towards the side windows.
To increase airflow to the outer instrument panel vents, close the vents
located in the middle of the instrument panel.
Do not place objects on top of the instrument panel as these
objects may become projectiles in a collision or sudden stop.
REAR WINDOW DEFROSTER
Press the rear window defroster
control to clear the rear window and
sideview mirrors of thin ice or fog.
The light above the control will
illuminate to indicate that the rear
defrost is operating.
The ignition must be in the RUN position and the engine running in
order to operate the rear window defroster.
The rear window defroster turns off automatically after a predetermined
amount of time, if a low battery condition is detected, or if the ignition is
turned to the OFF position. To manually turn off the rear window
defroster at any time, press the control again.
R
Climate Controls
22
Page 27 of 200

4. On the wall or screen you will
observe a light pattern with flat
edges at the top of the beam
pattern. If the flat edges are not at
the horizontal reference line, the
beam will need to be adjusted.
5. Locate the vertical adjuster on
each headlamp, then usea6mm
allen wrench or screwdriver to
adjust the headlamp up or down.
6. HORIZONTAL AIM IS NOT REQUIRED FOR THIS VEHICLE AND IS
NON-ADJUSTABLE.
7. Close the hood and turn off the lamps.
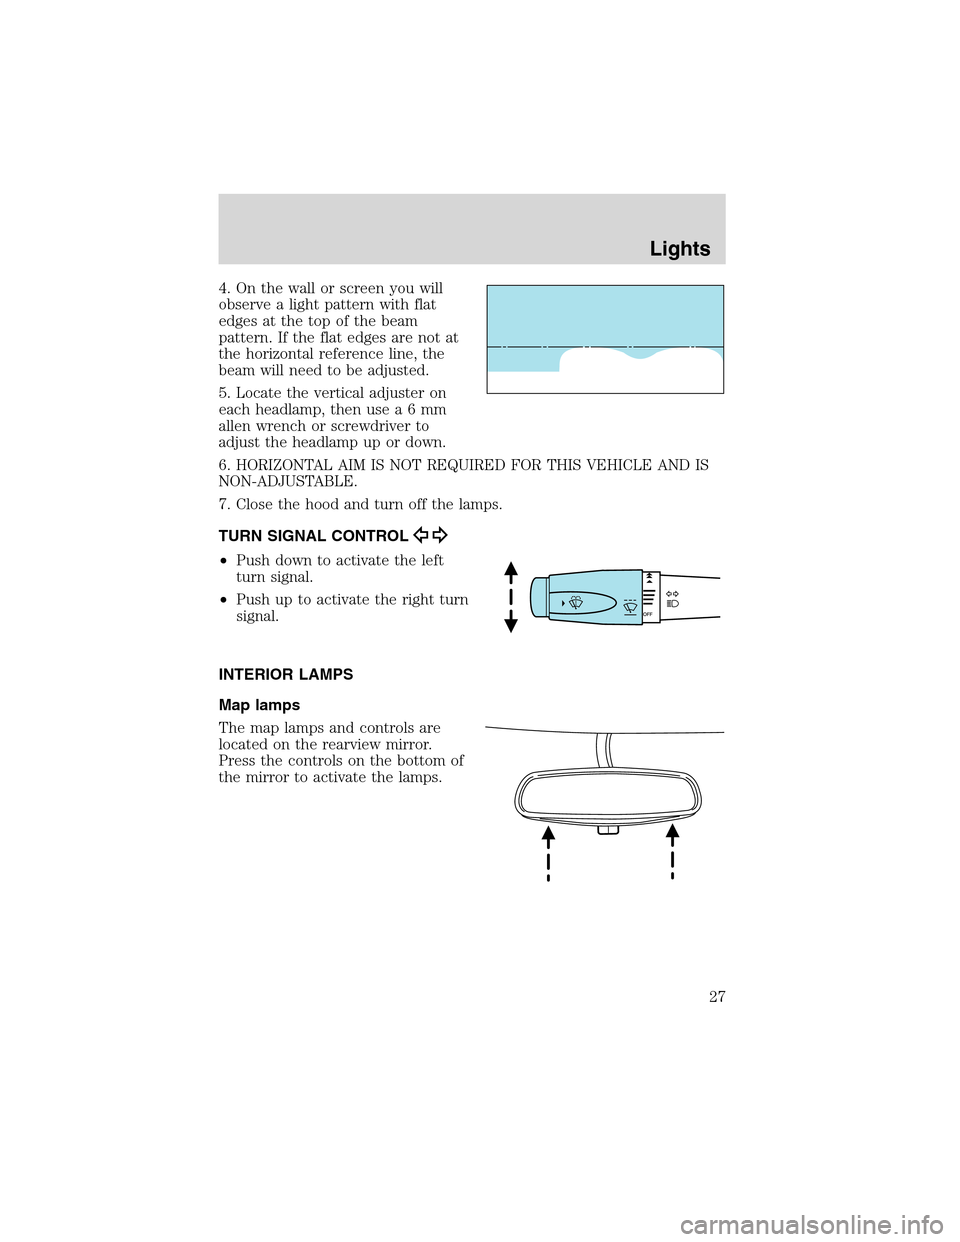
TURN SIGNAL CONTROL
•Push down to activate the left
turn signal.
•Push up to activate the right turn
signal.
INTERIOR LAMPS
Map lamps
The map lamps and controls are
located on the rearview mirror.
Press the controls on the bottom of
the mirror to activate the lamps.
Lights
27
Page 38 of 200

Proper operation of the short drop glass requires that the windows be
calibrated.Though your windows will have been calibrated before
your vehicle is delivered to you, it is possible for the windows to
lose calibration.If a window loses its calibration, your short drop
feature will lower the window, but will not raise it again when the door is
closed. To re-calibrate the window, press the up switch to raise the
window until it completes its travel and hold the switch down for 2
seconds. Another possible effect of lost calibration is that the feature
may not lower the window. To re-calibrate the window in this case, lower
the window until it completes its travel and hold the switch down for 2
seconds. Immediately after releasing the window down switch, press the
up switch to raise the window until it completes its travel and hold the
switch down for 2 seconds.
VISOR MIRROR
To open the visor mirror, slide the
mirror cover.
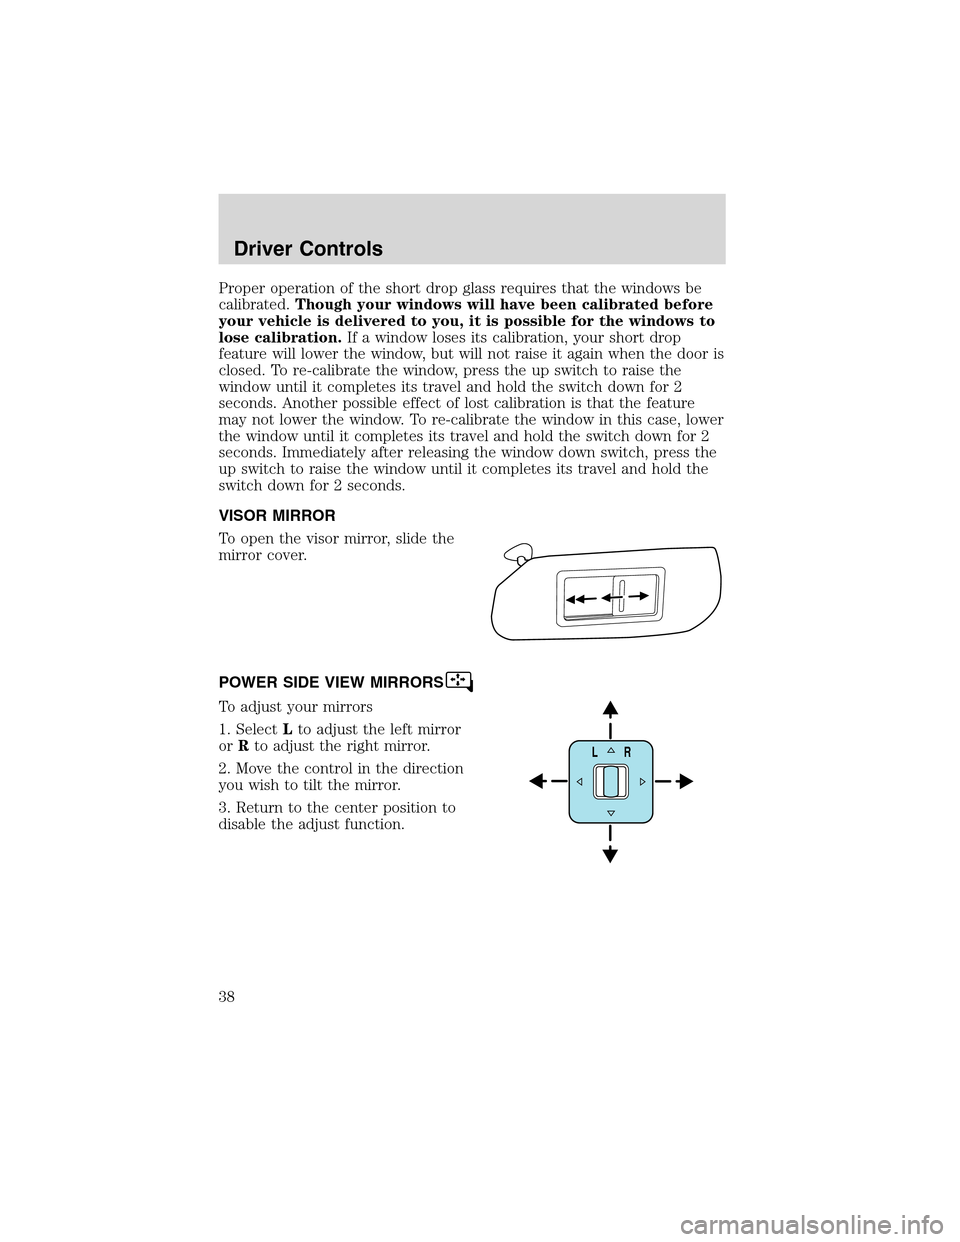
POWER SIDE VIEW MIRRORS
To adjust your mirrors
1. SelectLto adjust the left mirror
orRto adjust the right mirror.
2. Move the control in the direction
you wish to tilt the mirror.
3. Return to the center position to
disable the adjust function.
LR
Driver Controls
38