manual transmission FORD TRANSIT 2018 Owners Manual
[x] Cancel search | Manufacturer: FORD, Model Year: 2018, Model line: TRANSIT, Model: FORD TRANSIT 2018Pages: 521, PDF Size: 8.65 MB
Page 16 of 521
Warranty on Replacement Parts
Genuine Ford and Motorcraft replacement
parts are the only replacement parts that
benefit from a Ford Warranty. The Ford
Warranty may not cover damage caused
to your vehicle as a result of failed
non-Ford parts. For additional information,
refer to the terms and conditions of the
Ford Warranty.
SPECIAL NOTICES
New Vehicle Limited Warranty
For a detailed description of what is
covered and what is not covered by your
vehicle
’s New Vehicle Limited Warranty,
refer to the Warranty Manual that is
provided to you along with your Owner ’s
Manual.
Special Instructions
For your added safety, your vehicle is fitted
with sophisticated electronic controls. WARNING: You risk death or serious
injury to yourself and others if you do not
follow the instruction highlighted by the
warning symbol. Failure to follow the
specific warnings and instructions could
result in personal injury. WARNING: Never
place front seat
mounted rear-facing child or infant seats
in front of an active passenger airbag. On Board Diagnostics Data Link
Connector WARNING:
Do not connect wireless
plug-in devices to the data link connector.
Unauthorized third parties could gain
access to vehicle data and impair the
performance of safety related systems.
Only allow repair facilities that follow our
service and repair instructions to connect
their equipment to the data link connector.
Your vehicle has an OBD Data Link
Connector (DLC) that is used in
conjunction with a diagnostic scan tool for
vehicle diagnostics, repairs and
reprogramming services. Installing an
aftermarket device that uses the DLC
during normal driving for purposes such as
remote insurance company monitoring,
transmission of vehicle data to other
devices or entities, or altering the
performance of the vehicle, may cause
interference with or even damage to
vehicle systems. We do not recommend
or endorse the use of aftermarket plug-in
devices unless approved by Ford. The
vehicle Warranty will not cover damage
caused by an aftermarket plug-in device.
Notice to Owners of Pickup Trucks and
Utility Type Vehicles WARNING:
Utility vehicles have a
significantly higher rollover rate than other
types of vehicles.
Before you drive your vehicle, please read
this Owner ’s Manual carefully. Your vehicle
is not a passenger car. As with other
vehicles of this type, failure to operate this
vehicle correctly may result in loss of
vehicle control, vehicle rollover, personal
injury or death.
13
2018 Transit (TTH) Canada/United States of America, JK3J 19A321 AA enUSA, Edition date: 201705, Third-Printing- Introduction
Page 90 of 521
Note:
If you switch autolamps and
autowipers on, the headlamps will
automatically turn on when the windshield
wipers continuously operate.
INSTRUMENT LIGHTING
DIMMER Press it repeatedly or press it and hold it
until the desired level is reached.
Note:
If you disconnect the battery or it
loses charge the instrument lighting will
return to its brightest setting.
DAYTIME RUNNING LAMPS (If
Equipped) WARNING:
The daytime running
lamps system does not activate the rear
lamps and may not provide adequate
lighting during low visibility driving
conditions. Also, the autolamps switch
position may not activate the headlamps
in all low visibility conditions, such as
daytime fog. Make sure the headlamps are
switched to auto or on, as appropriate,
during all low visibility conditions. Failure
to do so may result in a crash. The daytime running lamps turn on when:
1. The ignition is switched to the on
position.
2. The transmission is not in park (P) for vehicles with automatic transmissions
or the parking brake is released for
vehicles with manual transmissions.
3. The lighting control is in the off or autolamps positions.
4. The headlamps are off.
DIRECTION INDICATORS Push the lever up or down to use the
direction indicators.
Note:
Tap the lever up or down to make the
direction indicators flash three times to
indicate a lane change.
87
2018 Transit (TTH) Canada/United States of America, JK3J 19A321 AA enUSA, Edition date: 201705, Third-Printing- LightingE175219 E162681
Page 151 of 521
The automatic regeneration process is
most effective when you drive at a steady
vehicle speed of 30 mph (48 km/h) or
above for approximately 20 minutes. The
frequency and duration of the regeneration
process varies by how you drive your
vehicle, the outside air temperature and
altitude. Frequency varies between 100 mi
(160 km)
and 310 mi (500 km) and each
regeneration process lasts between 10 and
20 minutes.
Note: Changes in the engine or exhaust
sound may be heard during the regeneration
process.
Note: During regeneration at low speed or
engine idle, you could smell a hot metallic
odor and could notice a clicking metallic
sound. This is due to the high temperatures
reached during the regeneration process.
This is normal.
Diesel Particulate Filter Manual
Regeneration
(If Equipped) WARNING:
Do not park or idle your
vehicle over dry leaves, dry grass or other
combustible materials. The regeneration
process creates very high exhaust gas
temperatures and the exhaust will radiate
a considerable amount of heat during and
after regeneration and after you have
switched the engine off. This is a potential
fire hazard. WARNING:
The normal operating
temperature of the exhaust system is very
high. Never work around or attempt to
repair any part of the exhaust system until
it has cooled. Use special care when
working around the diesel oxidation catalytic converter or the diesel particulate
filter. The diesel oxidation catalytic
converter and the diesel particulate filter
heat up to very high temperatures after
only a short period of engine operation and
remain hot after you switch the engine off.
Diesel particulate filter warning
lamp.
If the diesel particulate filter is
near or at saturation, the warning lamp
appears advising you to initiate diesel
particulate filter manual regeneration.
Before you start manual regeneration, do
the following:
• Park your vehicle outside of any
enclosed structure.
• Make sure the transmission is in park
(P) or neutral (N).
• Make sure the parking brake is on.
• Park your vehicle a minimum of
10 ft
(3 m) from any obstructions and
materials that can easily combust or
melt, for example, paper, leaves, fuels,
plastics and other dry organic material.
• Make sure there is a minimum of 3.2 gal
(12 L)
of fuel in the fuel tank.
• Check the engine oil level.
• Check the engine coolant level.
Manual Regeneration
Where vehicle use has significant engine
idle operation, frequent vehicle speed less
than
25 mph (40 km/h), or driving short
distances where the engine does not fully
warm up, manual regeneration allows you
to start diesel particulate filter cleaning
when the engine is idling.
148
2018 Transit (TTH) Canada/United States of America, JK3J 19A321 AA enUSA, Edition date: 201705, Third-Printing- Engine Emission ControlE95449
Page 154 of 521
AUTOMATIC TRANSMISSION
WARNING: Always fully apply the
parking brake. Make sure you shift into park
(P) for vehicles with an automatic
transmission. Switch the ignition off and
remove the key whenever you leave your
vehicle. WARNING:
Do not apply the brake
pedal and accelerator pedal
simultaneously. Applying both pedals
simultaneously for more than a few
seconds will limit engine performance,
which may result in difficulty maintaining
speed in traffic and could lead to serious
injury.
Understanding the Positions of
Your Automatic Transmission
Putting your vehicle in gear:
1. Fully press down the brake pedal.
2. Move the gearshift lever into the desired gear.
3. Come to a complete stop.
4. Move the gearshift lever and securely latch it in park (P). Park (P)
This position locks the transmission and
prevents the wheels from turning.
Reverse (R)
With the gearshift lever in reverse (R), your
vehicle moves backward. Always come to
a complete stop before shifting into and
out of reverse (R).
Neutral (N)
With the gearshift lever in neutral (N), your
vehicle can be started and is free to roll.
Hold the brake pedal down while in this
position.
Drive (D)
Drive (D) is the normal driving position for
the best fuel economy. The overdrive
function allows automatic upshifts and
downshifts through gears one through six.
Manual (M)
With the gearshift lever in manual (M), you
can change gears up or down as desired
by using buttons on the shift lever. See
SelectShift Automatic
™ Transmission
later in this section.
151
2018 Transit (TTH) Canada/United States of America, JK3J 19A321 AA enUSA, Edition date: 201705, Third-Printing- TransmissionE175317
Page 155 of 521
To return to normal drive (D) position,
move the shift lever back from manual (M)
to drive (D).
SelectShift Automatic
™
Transmission (If Equipped)
Your vehicle is equipped with a SelectShift
Automatic transmission gearshift lever.
The SelectShift Automatic transmission
gives you the ability to change gears up or
down (without a clutch) as desired.
In order to prevent the engine from running
at too low an RPM, which may cause it to
stall, SelectShift still automatically makes
some downshifts if it has determined that
you have not downshifted in time.
Although SelectShift makes some
downshifts for you, it still allows you to
downshift at any time as long as the
SelectShift determines that damage will
not be caused to the engine from
over-revving.
Note: Engine damage may occur if you
maintain excessive engine revving without
shifting.
SelectShift does not automatically upshift,
even if the engine is approaching the RPM
limit. It must be shifted manually by
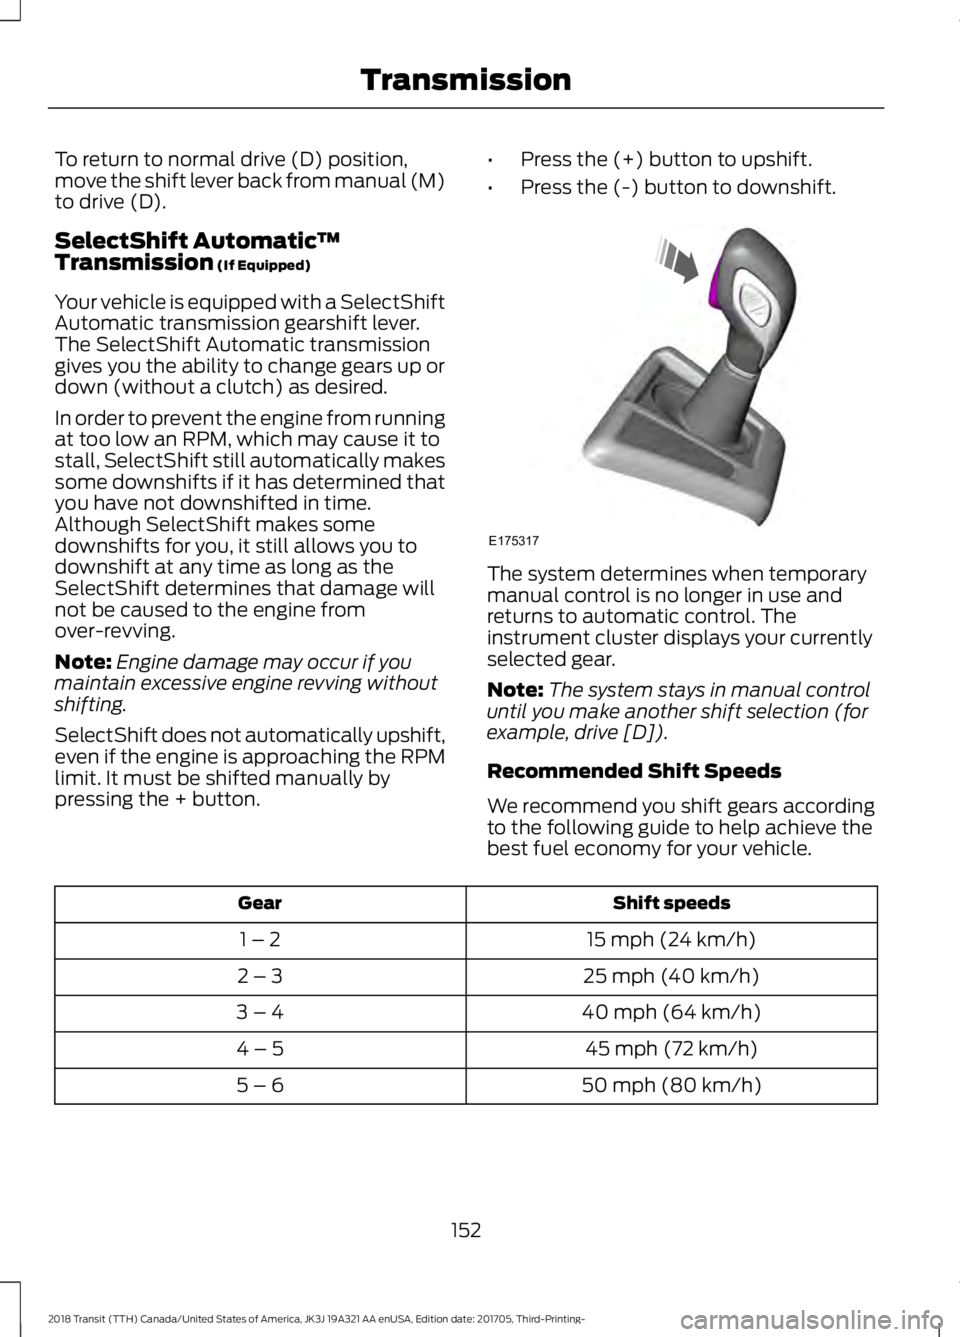
pressing the + button. •
Press the (+) button to upshift.
• Press the (-) button to downshift. The system determines when temporary
manual control is no longer in use and
returns to automatic control. The
instrument cluster displays your currently
selected gear.
Note:
The system stays in manual control
until you make another shift selection (for
example, drive [D]).
Recommended Shift Speeds
We recommend you shift gears according
to the following guide to help achieve the
best fuel economy for your vehicle. Shift speeds
Gear
15 mph (24 km/h)
1 – 2
25 mph (40 km/h)
2 – 3
40 mph (64 km/h)
3 – 4
45 mph (72 km/h)
4 – 5
50 mph (80 km/h)
5 – 6
152
2018 Transit (TTH) Canada/United States of America, JK3J 19A321 AA enUSA, Edition date: 201705, Third-Printing- TransmissionE175317
Page 162 of 521
Switching the System On and Off
Vehicles with Manual Transmission
You can switch this feature on or off in the
information display. The system
remembers the last setting when you start
your vehicle.
Vehicles with Automatic Transmission
You cannot turn the system on or off.
When you switch the ignition on, the
system automatically turns on.
159
2018 Transit (TTH) Canada/United States of America, JK3J 19A321 AA enUSA, Edition date: 201705, Third-Printing- Brakes
Page 170 of 521
The fixed and active guidelines fade in and
out depending on the steering wheel
position. When the steering wheel position
is straight the active guidelines are not
visible. Objects in the red zone are closest
to your vehicle and objects in the green
zone are further from your vehicle.
Objects are getting closer to your vehicle
as they move from the green zone to the
yellow or red zones. Use the side view
mirrors and rear view mirror to get better
coverage on both sides and rear of the
vehicle.
Manual Zoom
WARNING: When manual zoom is
on, the full area behind your vehicle may
not show. Be aware of your surroundings
when using the manual zoom feature.
Manual zoom is only available when you
shift the transmission into reverse (R).
Selectable settings for this feature are
Zoom in (+) and Zoom out (-). Press the
symbol in the camera screen to change the
view. The default setting is Zoom OFF.
This allows you to get a closer view of an
object behind your vehicle. The zoomed
image keeps the bumper in the image to
provide a reference. The zoom is only
active while the transmission is in reverse
(R).
Note: Only the centerline shows when you
switch on manual zoom.
Rear View Camera Delay WARNING:
Use caution when
turning camera features on or off when the
transmission is not in park (P). Make sure
your vehicle is not moving. You can switch this feature on or off using
the vehicle settings menu in the
information display. The default setting is
off.
When shifting the transmission out of
reverse (R) and into any gear other than
park (P), the camera image remains in the
display until:
•
Your vehicle speed sufficiently
increases.
• You shift your vehicle into park (P).
Vehicles with Parking Aid
The system uses red, yellow and green
colored distance bars that indicate the
approximate distance of an object from
the rear bumper. The distance bars appear
on the camera guidelines when the sensing
system detects an object.
167
2018 Transit (TTH) Canada/United States of America, JK3J 19A321 AA enUSA, Edition date: 201705, Third-Printing- Parking Aids
(If Equipped)
Page 183 of 521
TOWING A TRAILER
WARNING: Towing trailers
beyond the maximum
recommended gross trailer weight
exceeds the limit of your vehicle
and could result in engine
damage, transmission damage,
structural damage, loss of vehicle
control, vehicle rollover and
personal injury. WARNING:
Do not exceed
the GVWR or the GAWR specified
on the certification label.
Note: See
Recommended
Towing Weights (page 181).
Your vehicle may have electrical
items, such as fuses or relays,
related to towing. See
Fuses
(page 208).
Your vehicle's load capacity
designation is by weight, not by
volume, so you cannot necessarily
use all available space when
loading a vehicle or trailer.
Towing a trailer places an extra
load on your vehicle's engine,
transmission, axle, brakes, tires
and suspension. Inspect these
components periodically during,
and after, any towing operation. Load Placement
To help minimize how trailer
movement affects your vehicle
when driving:
•
Load the heaviest items closest
to the trailer floor.
• Load the heaviest items
centered between the left and
right side trailer tires.
• Load the heaviest items above
the trailer axles or just slightly
forward toward the trailer
tongue. Do not allow the final
trailer tongue weight to go
above or below 10-15% of the
loaded trailer weight.
• Select a ball mount with the
correct rise or drop and load
capacity. When both the
loaded vehicle and trailer are
connected, the trailer frame
should be level, or slightly
angled down toward your
vehicle, when viewed from the
side.
When driving with a trailer or
payload, a slight takeoff vibration
or shudder may be present due to
the increased payload weight.
Additional information regarding
proper trailer loading and setting
your vehicle up for towing is
located in another chapter of this
manual. See
Load Limit (page
174).
You can also find information in
the
RV & Trailer Towing Guide
available at your authorized
dealer, or online.
180
2018 Transit (TTH) Canada/United States of America, JK3J 19A321 AA enUSA, Edition date: 201705, Third-Printing- Towing
Page 202 of 521
If you need to have your vehicle towed,
contact a professional towing service or,
if you are a member of a roadside
assistance program, your roadside
assistance service provider.
We recommend the use of a wheel lift and
dollies or flatbed equipment to tow your
vehicle. Do not tow with a slingbelt. Ford
Motor Company has not approved a
slingbelt towing procedure. Vehicle
damage may occur if towed incorrectly, or
by any other means.
Ford Motor Company produces a towing
manual for all authorized tow truck
operators. Have your tow truck operator
refer to this manual for proper hook-up
and towing procedures for your vehicle.
It is acceptable to have your front-wheel
drive vehicle towed from the front if using
proper wheel lift equipment to raise the
front wheels off the ground. When towing
in this manner, the rear wheels can remain
on the ground.
Front-wheel drive vehicles must have the
front wheels placed on a tow dolly when
towing your vehicle from the rear using
wheel lift equipment. This prevents
damage to the transmission.
Towing an all-wheel or four-wheel drive
vehicle requires that all wheels be off the
ground, such as using a wheel lift and
dollies or flatbed equipment. This prevents
damage to the transmission, all-wheel or
four-wheel drive system and vehicle.
TOWING POINTS
Front Towing Point
WARNING: Make sure that the
towing eye is fully tightened. Failure to
follow this instruction could result in
personal injury. WARNING:
You must switch the
ignition on when your vehicle is being
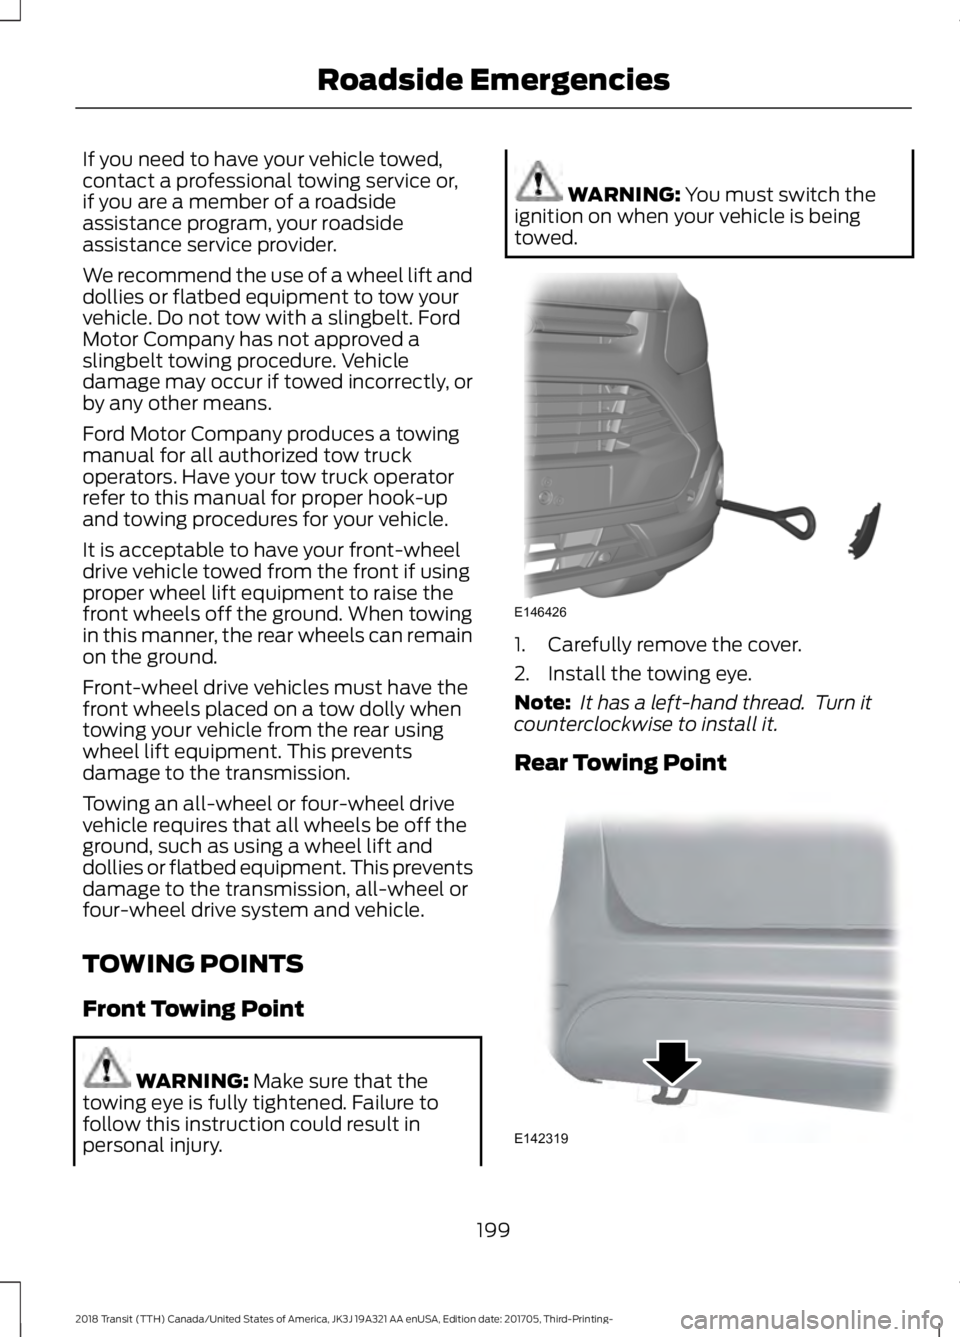
towed. 1. Carefully remove the cover.
2. Install the towing eye.
Note:
It has a left-hand thread. Turn it
counterclockwise to install it.
Rear Towing Point 199
2018 Transit (TTH) Canada/United States of America, JK3J 19A321 AA enUSA, Edition date: 201705, Third-Printing- Roadside EmergenciesE146426 E142319
Page 304 of 521
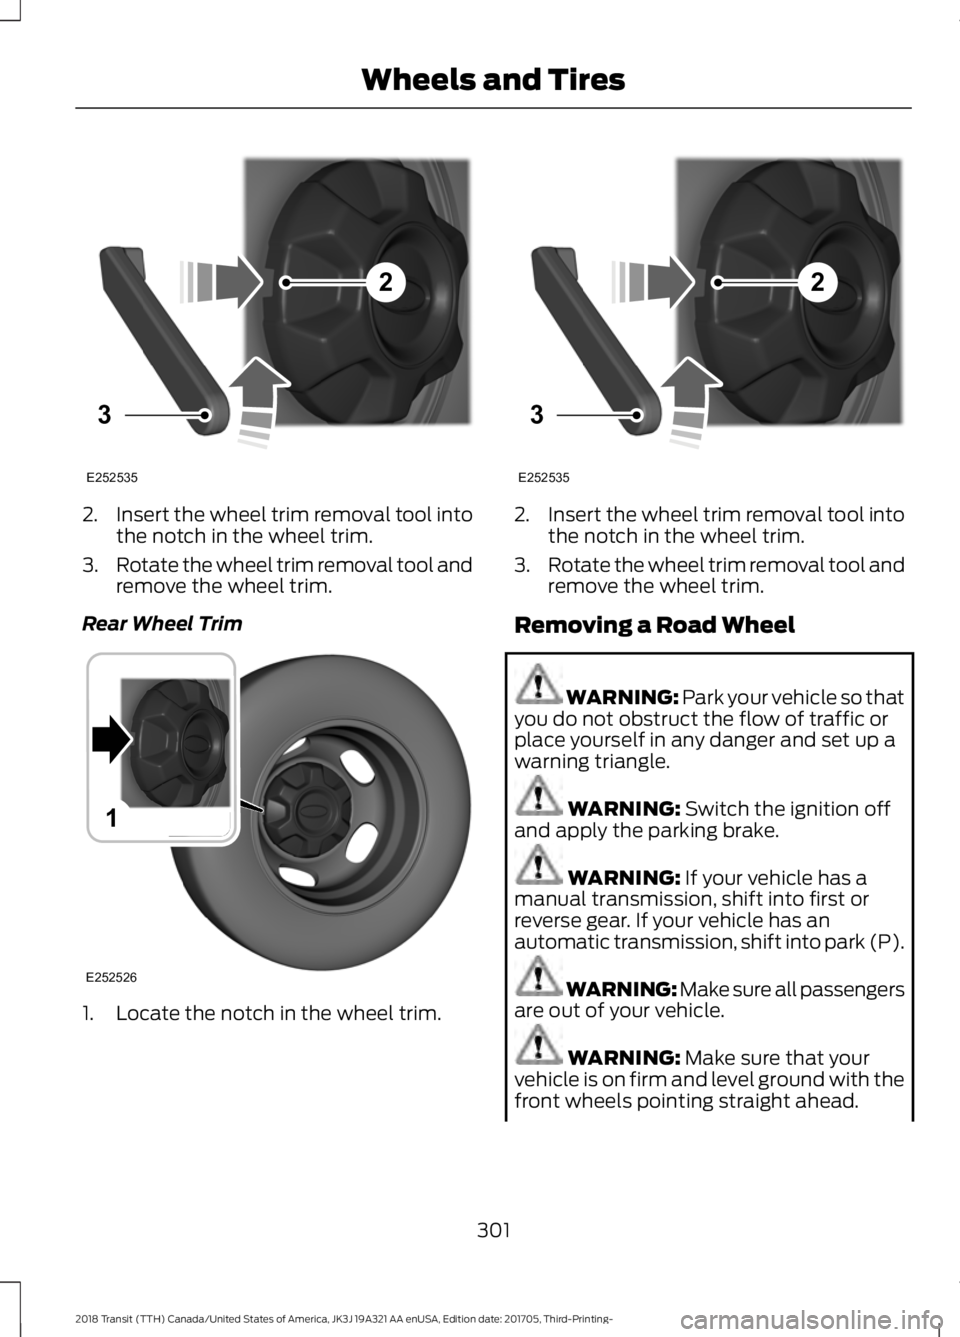
2.
Insert the wheel trim removal tool into
the notch in the wheel trim.
3. Rotate the wheel trim removal tool and
remove the wheel trim.
Rear Wheel Trim 1. Locate the notch in the wheel trim. 2.
Insert the wheel trim removal tool into
the notch in the wheel trim.
3. Rotate the wheel trim removal tool and
remove the wheel trim.
Removing a Road Wheel WARNING: Park your vehicle so that
you do not obstruct the flow of traffic or
place yourself in any danger and set up a
warning triangle. WARNING:
Switch the ignition off
and apply the parking brake. WARNING:
If your vehicle has a
manual transmission, shift into first or
reverse gear. If your vehicle has an
automatic transmission, shift into park (P). WARNING:
Make sure all passengers
are out of your vehicle. WARNING:
Make sure that your
vehicle is on firm and level ground with the
front wheels pointing straight ahead.
301
2018 Transit (TTH) Canada/United States of America, JK3J 19A321 AA enUSA, Edition date: 201705, Third-Printing- Wheels and Tires2
3
E252535 1
E252526 2
3
E252535