key FORD TRANSIT CONNECT 2013 1.G User Guide
[x] Cancel search | Manufacturer: FORD, Model Year: 2013, Model line: TRANSIT CONNECT, Model: FORD TRANSIT CONNECT 2013 1.GPages: 321, PDF Size: 4.5 MB
Page 110 of 321
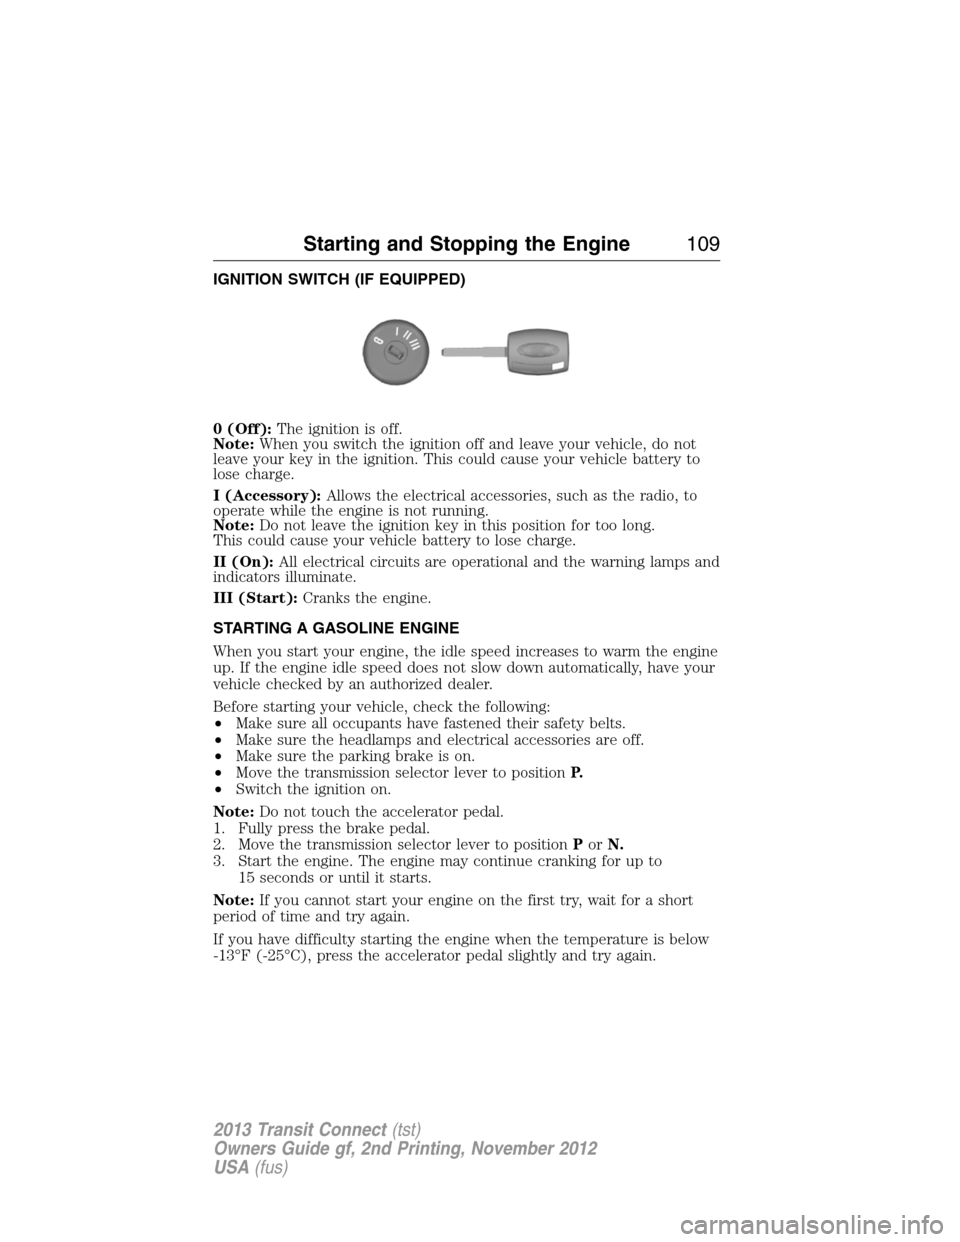
IGNITION SWITCH (IF EQUIPPED)
0 (Off):The ignition is off.
Note:When you switch the ignition off and leave your vehicle, do not
leave your key in the ignition. This could cause your vehicle battery to
lose charge.
I (Accessory):Allows the electrical accessories, such as the radio, to
operate while the engine is not running.
Note:Do not leave the ignition key in this position for too long.
This could cause your vehicle battery to lose charge.
II (On):All electrical circuits are operational and the warning lamps and
indicators illuminate.
III (Start):Cranks the engine.
STARTING A GASOLINE ENGINE
When you start your engine, the idle speed increases to warm the engine
up. If the engine idle speed does not slow down automatically, have your
vehicle checked by an authorized dealer.
Before starting your vehicle, check the following:
•Make sure all occupants have fastened their safety belts.
•Make sure the headlamps and electrical accessories are off.
•Make sure the parking brake is on.
•Move the transmission selector lever to positionP.
•Switch the ignition on.
Note:Do not touch the accelerator pedal.
1. Fully press the brake pedal.
2. Move the transmission selector lever to positionPorN.
3. Start the engine. The engine may continue cranking for up to
15 seconds or until it starts.
Note:If you cannot start your engine on the first try, wait for a short
period of time and try again.
If you have difficulty starting the engine when the temperature is below
-13°F (-25°C), press the accelerator pedal slightly and try again.
Starting and Stopping the Engine109
2013 Transit Connect(tst)
Owners Guide gf, 2nd Printing, November 2012
USA(fus)
Page 115 of 321

RUNNING OUT OF FUEL
Avoid running out of fuel because this situation may have an adverse
effect on powertrain components.
If you have run out of fuel:
•You may need to cycle the ignition from off to on several times after
refueling to allow the fuel system to pump the fuel from the tank to
the engine. On restarting, crank time will be a few seconds longer
than normal. With keyless ignition, just start the engine. Crank time
will be longer than usual.
•Normally, adding 1 gallon (3.8 liters) of fuel is enough to restart the
engine. If the vehicle is out of fuel and on a steep grade, more than
1 gallon (3.8 liters) may be required.
•The service engine soon indicator may come on. For more information
on the service engine soon indicator, seeWarning Lamps and
Indicatorsin theInstrument Clusterchapter.
REFUELING
WARNING:Fuel vapor burns violently and a fuel fire can cause
severe injuries. To help avoid injuries to you and others:
•Read and follow all the instructions on the pump island.
•Turn off your engine when you are refueling.
•Do not smoke if you are near fuel or refueling your vehicle.
•Keep sparks, flames and smoking materials away from fuel.
•Stay outside your vehicle and do not leave the fuel pump unattended
when refueling your vehicle - this is against the law in some places.
•
Keep children away from the fuel pump; never let children pump fuel.
•Do not use personal electronic devices while refueling.
Use the following guidelines to avoid electrostatic charge build-up when
filling an ungrounded fuel container:
•Place approved fuel container on the ground.
•DO NOT fill a fuel container while it is in the vehicle (including the
cargo area).
•Keep the fuel pump nozzle in contact with the fuel container while
filling.
•DO NOT use a device that would hold the fuel pump handle in the fill
position.
11 4Fuel and Refueling
2013 Transit Connect(tst)
Owners Guide gf, 2nd Printing, November 2012
USA(fus)
Page 121 of 321
If the vehicle’s engine or transmission has just been serviced, or the
battery has recently run down or been replaced, the OBD-II system may
indicate that the vehicle is not ready for I/M testing. To determine if the
vehicle is ready for I/M testing, turn the ignition key to the on position
for 15 seconds without cranking the engine. If the service engine soon
indicator blinks eight times, it means that the vehicle is not ready for I/M
testing; if the service engine soon indicator stays on solid, it means that
the vehicle is ready for I/M testing.
The OBD-II system is designed to check the emission control system
during normal driving. A complete check may take several days. If the
vehicle is not ready for I/M testing, the following driving cycle consisting
of mixed city and highway driving may be performed:
15 minutes of steady driving on an expressway or highway followed by
20 minutes of stop-and-go driving with at least four 30-second idle periods.
Allow the vehicle to sit for at least eight hours without starting the
engine. Then, start the engine and complete the above driving cycle.
The engine must warm up to its normal operating temperature. Once the
engine is started, do not turn off the engine until the above driving cycle
is complete. If the vehicle is still not ready for I/M testing, the above
driving cycle will have to be repeated.
120Fuel and Refueling
2013 Transit Connect(tst)
Owners Guide gf, 2nd Printing, November 2012
USA(fus)
Page 122 of 321
AUTOMATIC TRANSMISSION
WARNING:Always set the parking brake fully and make sure
the gearshift is latched in P (Park). Turn the ignition to the off
position and remove the key whenever you leave your vehicle.
Your vehicle has been designed to improve fuel economy by reducing
fuel usage while coasting or decelerating. When you take your foot off
the accelerator pedal and the vehicle begins to slow down, the torque
converter clutch locks up and aggressively shuts off fuel flow to the
engine while decelerating. This fuel economy benefit may be perceived
as a light to medium braking sensation when removing your foot from
the accelerator pedal.
Note:The vehicle can potentially roll back in D (Drive) on a grade.
To prevent this from occurring, it is recommended that you move the
gearshift lever into the 2 (second) position.
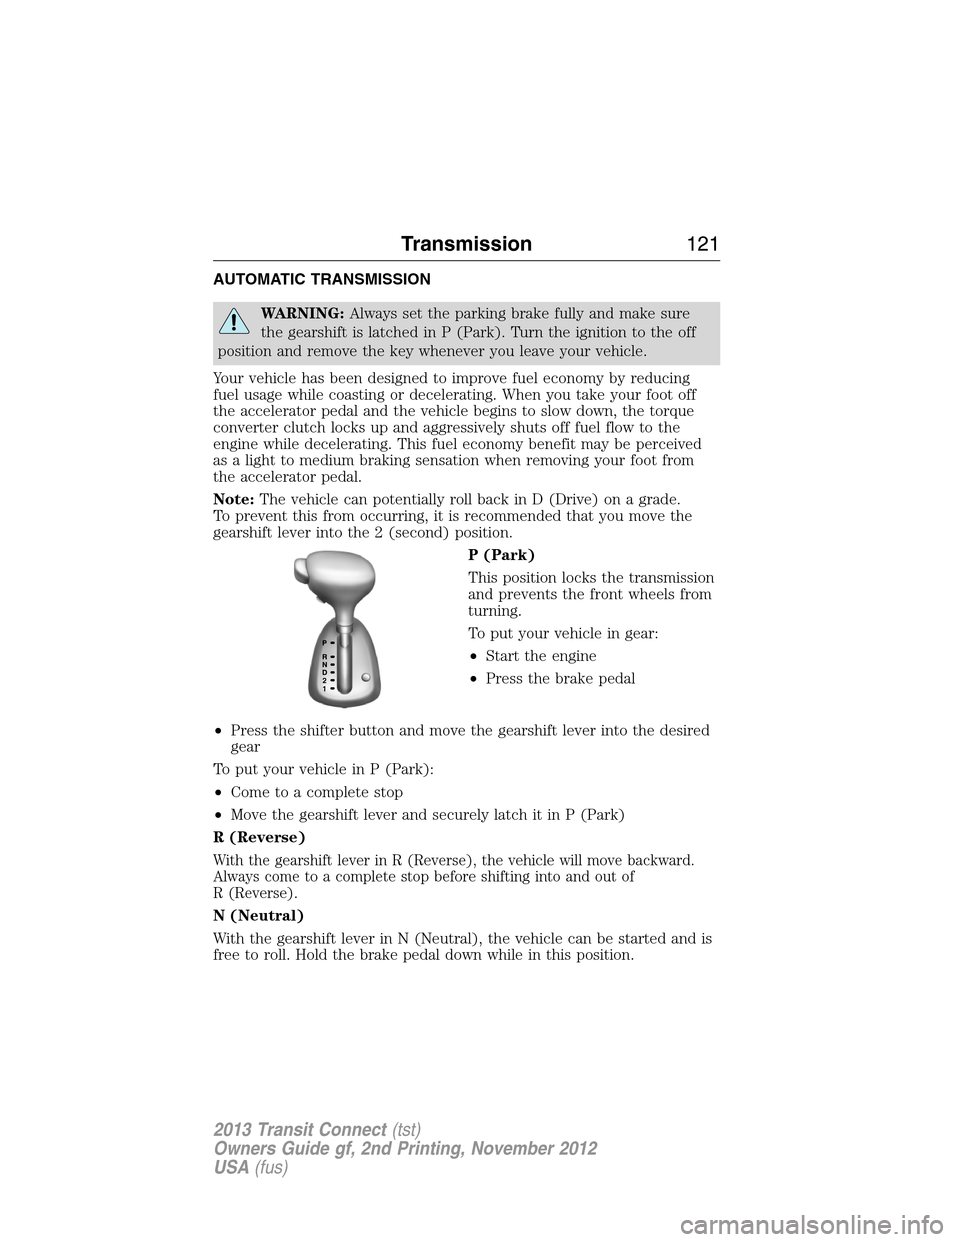
P (Park)
This position locks the transmission
and prevents the front wheels from
turning.
To put your vehicle in gear:
•Start the engine
•Press the brake pedal
•Press the shifter button and move the gearshift lever into the desired
gear
To put your vehicle in P (Park):
•Come to a complete stop
•Move the gearshift lever and securely latch it in P (Park)
R (Reverse)
With the gearshift lever in R (Reverse), the vehicle will move backward.
Always come to a complete stop before shifting into and out of
R (Reverse).
N (Neutral)
With the gearshift lever in N (Neutral), the vehicle can be started and is
free to roll. Hold the brake pedal down while in this position.
21
Transmission121
2013 Transit Connect(tst)
Owners Guide gf, 2nd Printing, November 2012
USA(fus)
Page 123 of 321
D (Drive) with Overdrive
The normal driving position for the best fuel economy. Transmission
operates in gears one through four.
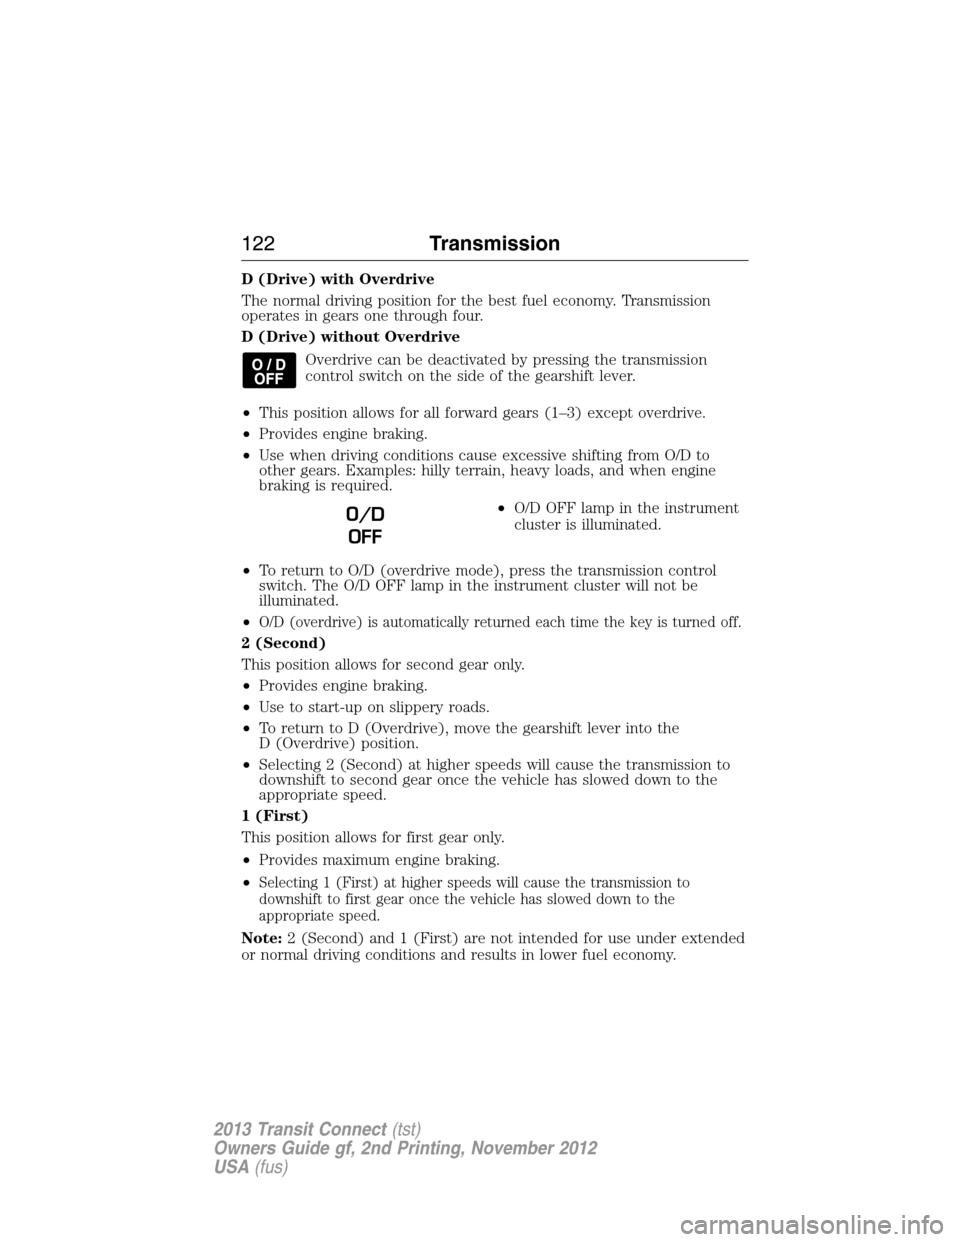
D (Drive) without Overdrive
Overdrive can be deactivated by pressing the transmission
control switch on the side of the gearshift lever.
•This position allows for all forward gears (1–3) except overdrive.
•Provides engine braking.
•Use when driving conditions cause excessive shifting from O/D to
other gears. Examples: hilly terrain, heavy loads, and when engine
braking is required.
•O/D OFF lamp in the instrument
cluster is illuminated.
•To return to O/D (overdrive mode), press the transmission control
switch. The O/D OFF lamp in the instrument cluster will not be
illuminated.
•
O/D (overdrive) is automatically returned each time the key is turned off.
2 (Second)
This position allows for second gear only.
•Provides engine braking.
•Use to start-up on slippery roads.
•To return to D (Overdrive), move the gearshift lever into the
D (Overdrive) position.
•Selecting 2 (Second) at higher speeds will cause the transmission to
downshift to second gear once the vehicle has slowed down to the
appropriate speed.
1 (First)
This position allows for first gear only.
•Provides maximum engine braking.
•
Selecting 1 (First) at higher speeds will cause the transmission to
downshift to first gear once the vehicle has slowed down to the
appropriate speed.
Note:2 (Second) and 1 (First) are not intended for use under extended
or normal driving conditions and results in lower fuel economy.
O/D
OFF
122Transmission
2013 Transit Connect(tst)
Owners Guide gf, 2nd Printing, November 2012
USA(fus)
Page 124 of 321
Brake-Shift Interlock
WARNING:Do not drive your vehicle until you verify that the
brake lamps are working.
WARNING:When doing this procedure, you will be taking the
vehicle out of park which means the vehicle can roll freely.
To avoid unwanted vehicle movement, always fully set the parking
brake prior to doing this procedure. Use wheel chocks if appropriate.
WARNING:If the parking brake is fully released, but the brake
warning lamp remains illuminated, the brakes may not be
working properly. See your authorized dealer.
This vehicle is equipped with a brake-shift interlock feature that prevents
the gearshift lever from being moved from P (Park) when the ignition is
in the on position unless the brake pedal is pressed.
If you cannot move the gearshift lever out of P (Park) with ignition in
the on position and the brake pedal pressed, it is possible that a fuse has
blown or the vehicle’s brake lamps are not operating properly. Refer to
theFuseschapter for more information.
If the fuse is not blown and the brake lamps are working properly, the
following procedure will allow you to move the gearshift lever from P (Park):
1. Apply the parking brake, turn ignition key to off, then remove the key.
2. Using a flat head screwdriver, remove the plastic cover.
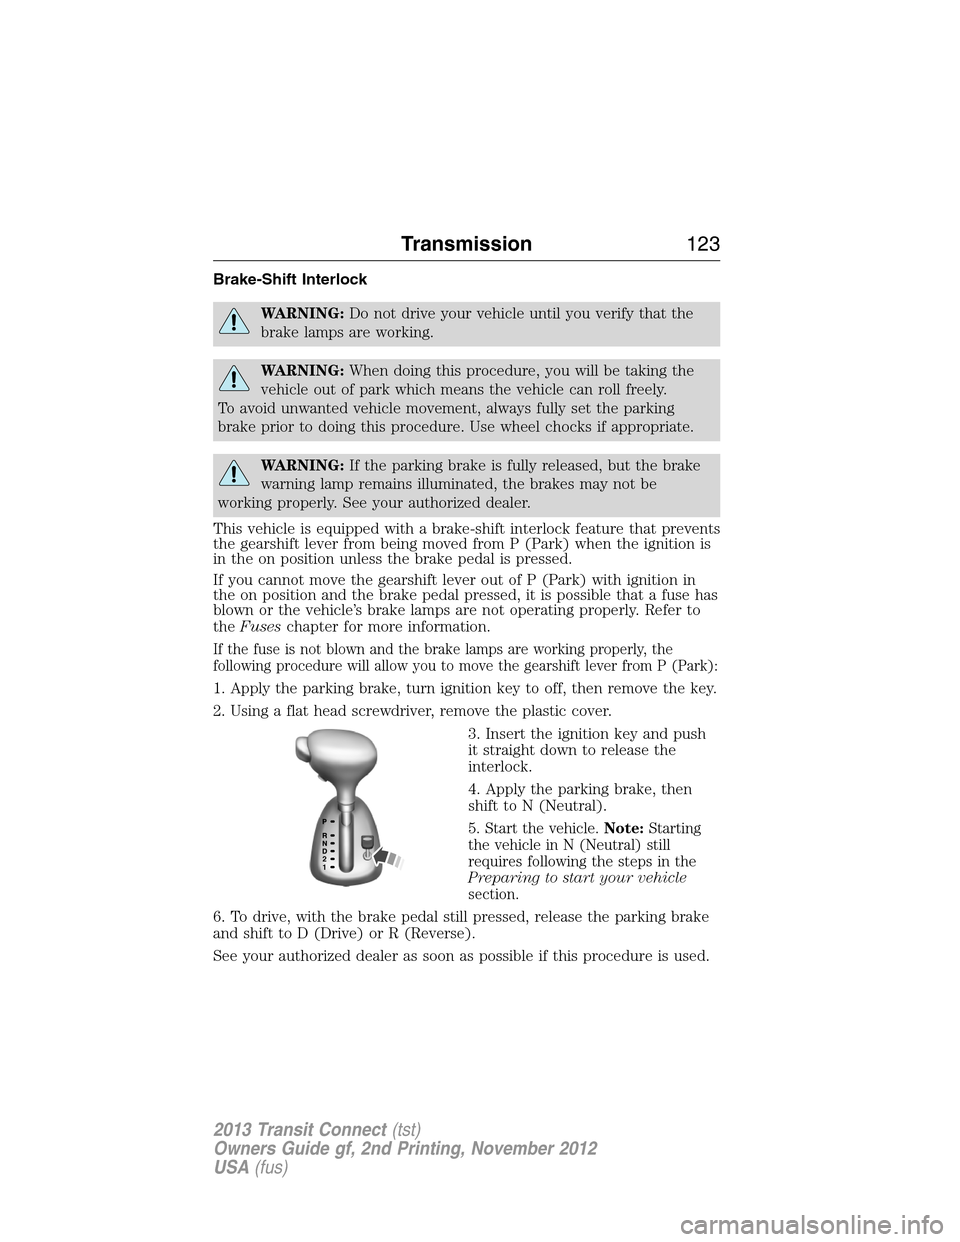
3. Insert the ignition key and push
it straight down to release the
interlock.
4. Apply the parking brake, then
shift to N (Neutral).
5. Start the vehicle.Note:Starting
the vehicle in N (Neutral) still
requires following the steps in the
Preparing to start your vehicle
section.
6. To drive, with the brake pedal still pressed, release the parking brake
and shift to D (Drive) or R (Reverse).
See your authorized dealer as soon as possible if this procedure is used.
21
Transmission123
2013 Transit Connect(tst)
Owners Guide gf, 2nd Printing, November 2012
USA(fus)
Page 150 of 321
ROADSIDE ASSISTANCE
Vehicles Sold in the U.S.: Getting Roadside Assistance
To fully assist you should you have a vehicle concern, Ford Motor Company
offers a complimentary roadside assistance program. This program is
separate from the New Vehicle Limited Warranty. The service is available:
•24 hours a day, seven days a week
•for the coverage period listed on the Roadside Assistance Card
included in your owner’s manual portfolio.
Roadside assistance will cover:
•a flat tire change with a good spare (except vehicles that have been
supplied with a tire inflation kit).
•battery jump start.
•lock-out assistance (key replacement cost is the customer’s
responsibility).
•fuel delivery – Independent Service Contractors, if not prohibited by
state, local or municipal law, shall deliver up to 2.0 gallons (7.5 liters)
of gasoline or 5.0 gallons (18.9 liters) of diesel fuel to a disabled
vehicle. Fuel delivery service is limited to two no-charge occurrences
within a 12-month period.
•winch out – available within 100 feet (30.5 meters) of a paved or
county maintained road, no recoveries.
•towing – Ford and Lincoln eligible vehicles towed to an authorized
dealer within 35 miles (56 kilometers) of the disablement location or
to the nearest authorized dealer. If a member requests to be towed
to an authorized dealer more than 35 miles (56 kilometers) from the
disablement location, the member shall be responsible for any mileage
costs in excess of 35 miles (56 kilometers).
Trailers shall be covered up to $200 if the disabled eligible vehicle
requires service at the nearest authorized dealer. If the trailer is disabled,
but the towing vehicle is operational, the trailer does not qualify for any
roadside services.
Roadside Emergencies149
2013 Transit Connect(tst)
Owners Guide gf, 2nd Printing, November 2012
USA(fus)
Page 173 of 321
GENERAL INFORMATION
Have your vehicle serviced regularly to help maintain its roadworthiness
and resale value. There is a large network of Ford authorized dealers
who are there to help you with their professional servicing expertise.
We believe that their specially trained technicians are best qualified to
service your vehicle properly and expertly. They are supported by a wide
range of highly specialized tools developed specifically for servicing your
vehicle.
To help you service your vehicle, we provideScheduled Maintenance
Informationwhich makes tracking routine service easy.
If your vehicle requires professional service, your authorized dealer
can provide the necessary parts and service. Check your warranty
information to find out which parts and services are covered.
Use only recommended fuels, lubricants, fluids and service parts
conforming to specifications. Motorcraft® parts are designed and built
to provide the best performance in your vehicle.
Precautions
•Do not work on a hot engine.
•Make sure that nothing gets caught in moving parts.
•Do not work on a vehicle with the engine running in an enclosed
space, unless you are sure you have enough ventilation.
•Keep all open flames and other burning material (such as cigarettes)
away from the battery and all fuelrelated parts.
Working with the Engine Off
1. Set the parking brake and shift toP(Park).
2. Turn off the engine and remove the key (if equipped).
3. Block the wheels.
172Maintenance
2013 Transit Connect(tst)
Owners Guide gf, 2nd Printing, November 2012
USA(fus)
Page 174 of 321
Working with the Engine On
WARNING:To reduce the risk of vehicle damage or personal
burn injuries, do not start your engine with the air cleaner
removed and do not remove it while the engine is running.
1. Set the parking brake and shift to positionP.
2. Block the wheels.
Electric vehicles
For specific information on the Transit Connect Electric, refer to the
Azure Dynamics TC-E Owner’s GuideSupplement.
OPENING AND CLOSING THE HOOD
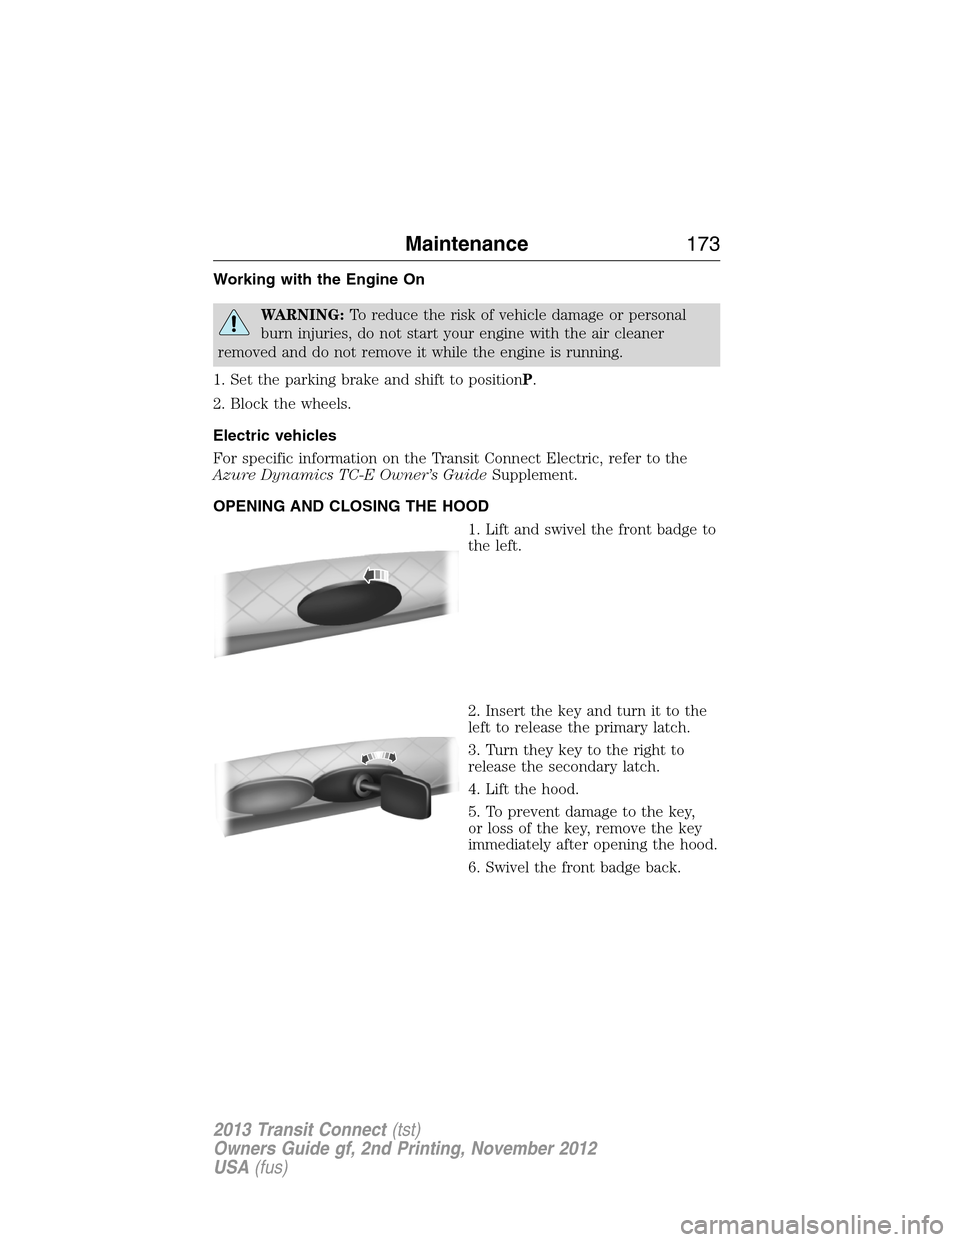
1. Lift and swivel the front badge to
the left.
2. Insert the key and turn it to the
left to release the primary latch.
3. Turn they key to the right to
release the secondary latch.
4. Lift the hood.
5. To prevent damage to the key,
or loss of the key, remove the key
immediately after opening the hood.
6. Swivel the front badge back.
Maintenance173
2013 Transit Connect(tst)
Owners Guide gf, 2nd Printing, November 2012
USA(fus)
Page 234 of 321
Tire pressure monitoring system reset procedure
WARNING:To determine the required pressure for your vehicle,
refer to the Safety Compliance Certification Label or Tire Label
located on the B-Pillar or the edge of the driver’s door. SeeVehicle
loadingin this chapter for more information.
Note:The system reset procedure needs to be performed after each tire
rotation.
Overview
To provide the vehicle’s load carrying capability, this vehicle requires
different recommended tire pressures in the front tires as compared to
the rear tires. The tire pressure monitoring system equipped on these
vehicles is designed to illuminate the low tire pressure warning light at
two different pressures; one for the front tires and one for the rear tires.
Since tires need to be rotated to provide consistent performance and
maximum tire life, the tire pressure monitoring system needs to know
when the tires are rotated to determine which set of tires are on the
front and which are on the rear. With this information, the system can
detect and properly warn of low tire pressures.
System reset tips:
•To reduce the chances of interference from another vehicle, the
system reset procedure should be performed at least three feet
(one meter) away from another Ford Motor Company vehicle
undergoing the system reset procedure at the same time.
•Do not wait more than two minutes between resetting each tire sensor
or the system will time-out and the entire procedure will have to be
repeated on all four wheels.
•A double horn chirp indicates the need to repeat the procedure.
Performing the system reset procedure
Read the entire procedure before attempting.
1. Drive the vehicle above 20 mph (32 km/h) for at least two minutes
and then park in a safe location where you can easily get to all four tires
and have access to an air pump.
2. Place the ignition in the off position and keep the key in the ignition.
3. Cycle the ignition to the on position with the engine off.
4. Turn the hazard flashers on then off three times. This must be
accomplished within 10 seconds.
Wheels and Tires233
2013 Transit Connect(tst)
Owners Guide gf, 2nd Printing, November 2012
USA(fus)