brakes FORD TRANSIT CONNECT 2013 1.G Owners Manual
[x] Cancel search | Manufacturer: FORD, Model Year: 2013, Model line: TRANSIT CONNECT, Model: FORD TRANSIT CONNECT 2013 1.GPages: 321, PDF Size: 4.5 MB
Page 4 of 321
Seats 99
Sitting in the correct position.............................99
Head restraints.......................................100
Manual seats........................................102
Rear seats..........................................103
Auxiliary Power Points 106
Storage Compartments 107
Center console.......................................107
Overhead console.....................................107
Starting and Stopping the Engine 108
Ignition switch.......................................109
Engine block heater...................................110
Fuel and Refueling 112
Fuel quality.........................................113
Running out of fuel....................................114
Refueling...........................................114
Fuel consumption.....................................116
Transmission 121
Brakes 125
Brakes.............................................125
Hints on driving with anti-lock brakes......................126
Parking brake........................................126
Traction Control 127
TractionControl™ ....................................127
Stability Control 128
AdvanceTrac®.......................................129
Table of Contents3
2013 Transit Connect(tst)
Owners Guide gf, 2nd Printing, November 2012
USA(fus)
Page 38 of 321
All safety restraints in the vehicle are combination lap and shoulder
belts. The driver safety belt has the first type of locking mode, and the
front outboard passenger and rear seat safety belts have both types of
locking modes described as follows:
Vehicle Sensitive Mode
This is the normal retractor mode, which allows free shoulder belt length
adjustment to your movements and locking in response to vehicle
movement. For example, if the driver brakes suddenly or turns a corner
sharply, or the vehicle receives an impact of about 5 mph (8 km/h) or
more, the combination safety belts will lock to help reduce forward
movement of the driver and passengers.
In addition, the retractor is designed to lock if the webbing is pulled out
too quickly. If this occurs, let the belt retract slightly and pull webbing
out again in a slow and controlled manner.
Automatic Locking Mode
In this mode, the shoulder belt is automatically pre-locked. The belt will
still retract to remove any slack in the shoulder belt. The automatic
locking mode is not available on the driver safety belt.
When to Use the Automatic Locking Mode
This mode should be used any time a child safety seat, except a booster,
is installed in passenger front or rear seating positions. Children 12 years
old and under should be properly restrained in a rear seating position
whenever possible. See theChild Safetychapter.
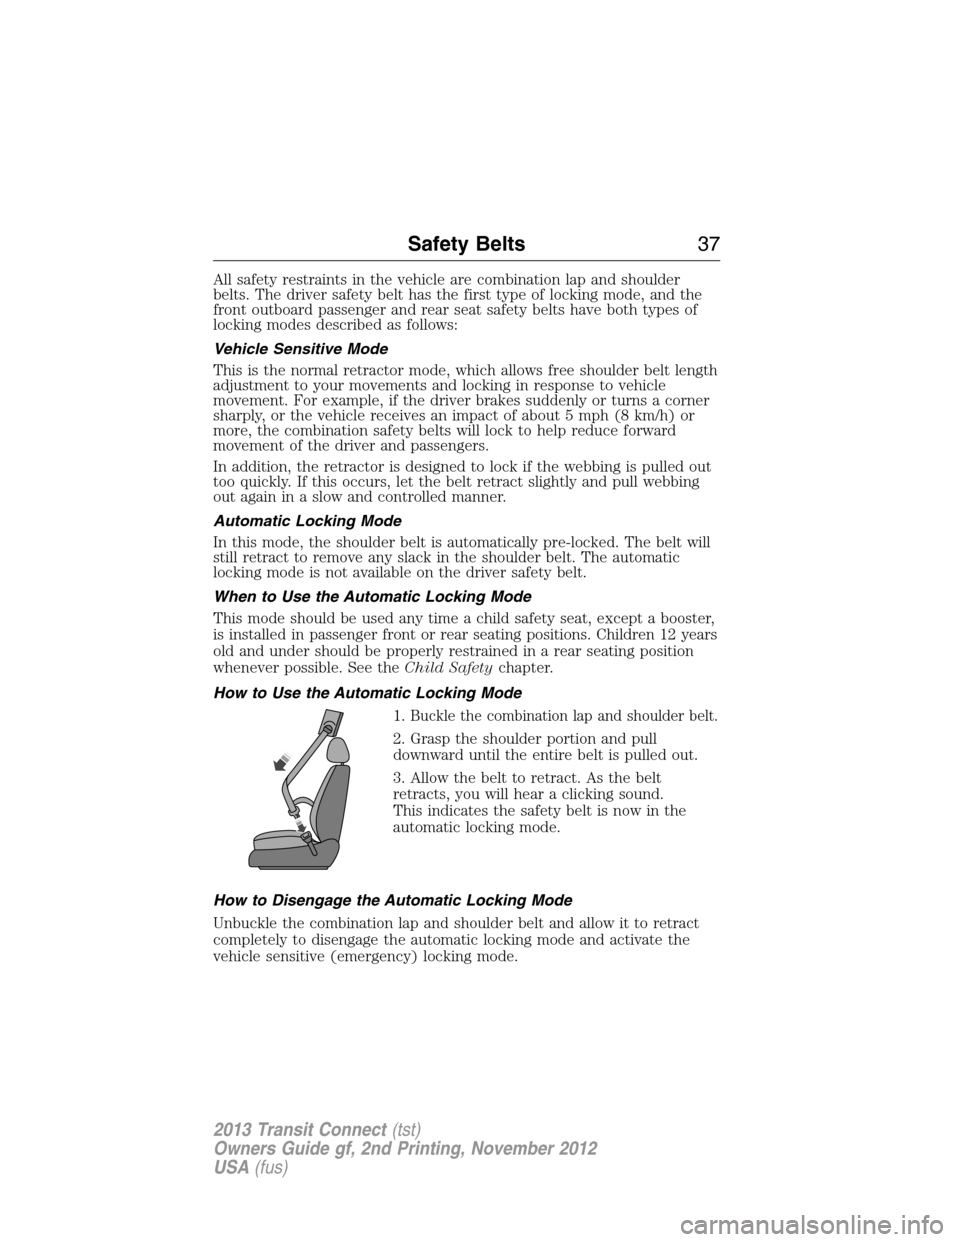
How to Use the Automatic Locking Mode
1.
Buckle the combination lap and shoulder belt.
2. Grasp the shoulder portion and pull
downward until the entire belt is pulled out.
3. Allow the belt to retract. As the belt
retracts, you will hear a clicking sound.
This indicates the safety belt is now in the
automatic locking mode.
How to Disengage the Automatic Locking Mode
Unbuckle the combination lap and shoulder belt and allow it to retract
completely to disengage the automatic locking mode and activate the
vehicle sensitive (emergency) locking mode.
Safety Belts37
2013 Transit Connect(tst)
Owners Guide gf, 2nd Printing, November 2012
USA(fus)
Page 124 of 321
Brake-Shift Interlock
WARNING:Do not drive your vehicle until you verify that the
brake lamps are working.
WARNING:When doing this procedure, you will be taking the
vehicle out of park which means the vehicle can roll freely.
To avoid unwanted vehicle movement, always fully set the parking
brake prior to doing this procedure. Use wheel chocks if appropriate.
WARNING:If the parking brake is fully released, but the brake
warning lamp remains illuminated, the brakes may not be
working properly. See your authorized dealer.
This vehicle is equipped with a brake-shift interlock feature that prevents
the gearshift lever from being moved from P (Park) when the ignition is
in the on position unless the brake pedal is pressed.
If you cannot move the gearshift lever out of P (Park) with ignition in
the on position and the brake pedal pressed, it is possible that a fuse has
blown or the vehicle’s brake lamps are not operating properly. Refer to
theFuseschapter for more information.
If the fuse is not blown and the brake lamps are working properly, the
following procedure will allow you to move the gearshift lever from P (Park):
1. Apply the parking brake, turn ignition key to off, then remove the key.
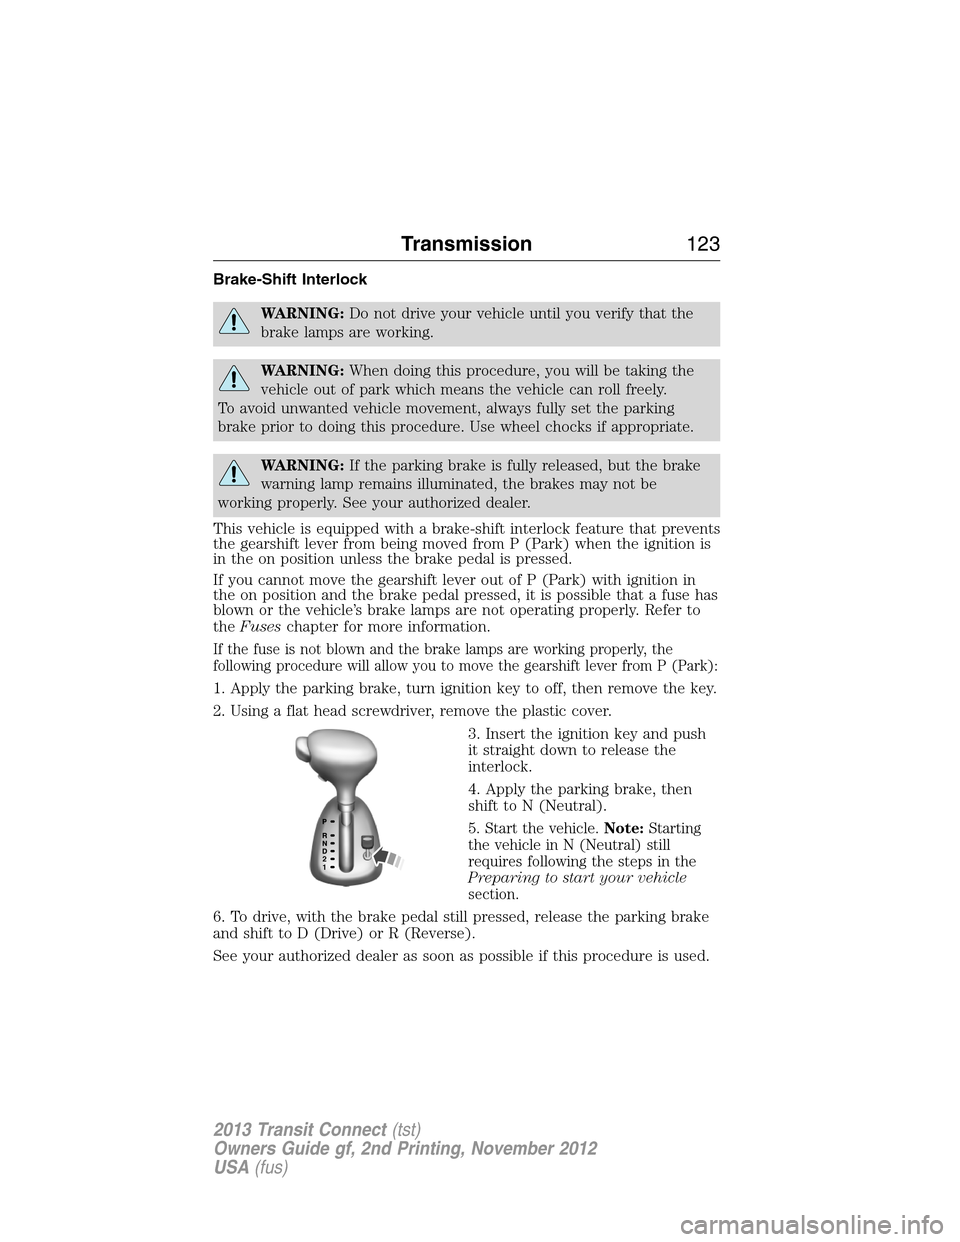
2. Using a flat head screwdriver, remove the plastic cover.
3. Insert the ignition key and push
it straight down to release the
interlock.
4. Apply the parking brake, then
shift to N (Neutral).
5. Start the vehicle.Note:Starting
the vehicle in N (Neutral) still
requires following the steps in the
Preparing to start your vehicle
section.
6. To drive, with the brake pedal still pressed, release the parking brake
and shift to D (Drive) or R (Reverse).
See your authorized dealer as soon as possible if this procedure is used.
21
Transmission123
2013 Transit Connect(tst)
Owners Guide gf, 2nd Printing, November 2012
USA(fus)
Page 126 of 321
GENERAL INFORMATION
Note:Occasional brake noise is normal. If a metal-to-metal, continuous
grinding or continuous squeal sound is present, the brake linings may
be worn out and should be inspected by an authorized dealer. If your
vehicle has continuous vibration or shudder in the steering wheel while
braking, you should take it to an authorized dealer for inspection.
Note:Brake dust may accumulate on the wheels, even under normal
driving conditions. Some dust is inevitable as the brakes wear and does
not contribute to brake noise. See theVehicle Carechapter for wheel
cleaning instructions.
See theInstrument Clusterchapter for information on the
brake system warning light.
Wet brakes result in reduced braking efficiency. Gently press the brake
pedal a few times when driving from a car wash or standing water to dry
the brakes.
Brake Over Accelerator
If the accelerator pedal becomes stuck or entrapped, apply steady and firm
pressure to the brake pedal to slow your vehicle and reduce engine power.
If you experience this condition, apply the brakes and bring your vehicle to
a safe stop. Turn the engine off, shift to positionPand apply the parking
brake, then inspect the accelerator pedal for any interferences. If none are
found and the condition persists, have your vehicle towed to the nearest
authorized dealer.
Anti-Lock Brake System
This system helps you maintain steering control during emergency stops
by keeping the brakes from locking.
The anti-lock brake system lamp momentarily illuminates when
the ignition is turned on. If the light does not illuminate during
start-up, remains on or flashes, the anti-lock brake system may
be disabled and may need to be serviced.
If the anti-lock brake system is disabled, normal braking is still
effective. If the brake warning lamp illuminates with the parking
brake released, have your brake system serviced immediately.
Brakes125
2013 Transit Connect(tst)
Owners Guide gf, 2nd Printing, November 2012
USA(fus)
Page 127 of 321

HINTS ON DRIVING WITH ANTI-LOCK BRAKES
When the system is operating, the brake pedal will pulse and may travel
further. Maintain pressure on the brake pedal. You may also hear a noise
from the system. This is normal.
The anti-lock braking system will not eliminate the dangers inherent
when:
•you drive too closely to the vehicle in front of you.
•your vehicle is hydroplaning.
•you take corners too fast.
•the road surface is poor.
PARKING BRAKE
WARNING:If the parking brake is fully released, but the brake
warning lamp remains illuminated, the brakes may not be
working properly. See your authorized dealer as soon as possible.
WARNING:Always set the parking brake fully and make sure
that the transmission selector lever is securely latched in position
P(automatic transmission) or position1(manual transmission).
To set the parking brake, pull the parking brake handle up as far as
possible.
To release the parking brake:
1. Press and hold the button located at the end of the parking brake
handle.
2. Pull the handle up slightly, then push the handle down.
126Brakes
2013 Transit Connect(tst)
Owners Guide gf, 2nd Printing, November 2012
USA(fus)
Page 128 of 321
PRINCIPLES OF OPERATION
The traction control system helps avoid drive wheel spin and loss of
traction.
If your vehicle begins to slide, the system applies the brakes to individual
wheels and, when needed, reduces engine power at the same time. If the
wheels spin when accelerating on slippery or loose surfaces, the system
reduces engine power in order to increase traction.
USING TRACTION CONTROL
In certain situations (for example, stuck in snow or mud), turning the
traction control off may be beneficial as this allows the wheels to spin
with full engine power.
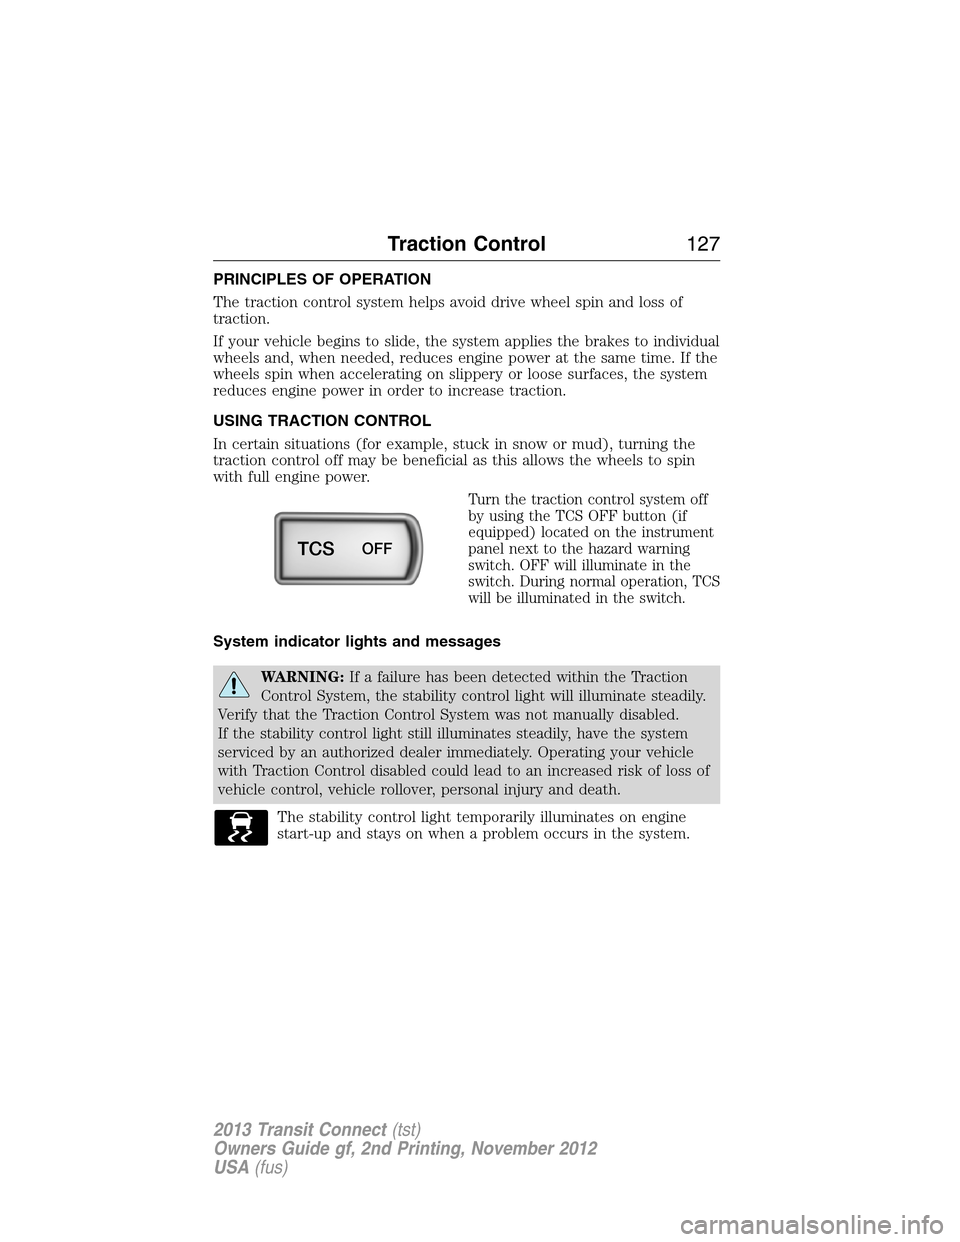
Turn the traction control system off
by using the TCS OFF button (if
equipped) located on the instrument
panel next to the hazard warning
switch. OFF will illuminate in the
switch. During normal operation, TCS
will be illuminated in the switch.
System indicator lights and messages
WARNING:If a failure has been detected within the Traction
Control System, the stability control light will illuminate steadily.
Verify that the Traction Control System was not manually disabled.
If the stability control light still illuminates steadily, have the system
serviced by an authorized dealer immediately. Operating your vehicle
with Traction Control disabled could lead to an increased risk of loss of
vehicle control, vehicle rollover, personal injury and death.
The stability control light temporarily illuminates on engine
start-up and stays on when a problem occurs in the system.
TCSOFF
Traction Control127
2013 Transit Connect(tst)
Owners Guide gf, 2nd Printing, November 2012
USA(fus)
Page 131 of 321
SENSING SYSTEM (IF EQUIPPED)
WARNING:To help avoid personal injury, please read and
understand the limitations of the system as contained in this
section. Sensing is only an aid for some (generally large and fixed)
objects when moving in reverse on a flat surface at parking speeds.
Traffic control systems, inclement weather, air brakes, and external
motors and fans may also affect the function of the sensing system; this
may include reduced performance or a false activation.
WARNING:To help avoid personal injury, always use caution
when in R (Reverse) and when using the sensing system.
WARNING:This system is not designed to prevent contact with
small or moving objects. The system is designed to provide a
warning to assist the driver in detecting large stationary objects to
avoid damaging the vehicle. The system may not detect smaller objects,
particularly those close to the ground.
WARNING:Certain add-on devices such as large trailer hitches,
bike or surfboard racks and any device that may block the normal
detection zone of the system, may create false beeps.
Note:Keep the sensors (located on the bumper/fascia) free from snow,
ice and large accumulations of dirt. If the sensors are covered, the
system’s accuracy can be affected. Do not clean the sensors with sharp
objects.
Note:If your vehicle sustains damage to the bumper/fascia, leaving it
misaligned or bent, the sensing zone may be altered causing inaccurate
measurement of obstacles or false alarms.
The sensing system warns the driver of obstacles within a certain range
of the bumper area. The system turns on automatically whenever the
ignition is switched on.
When receiving a detection warning, the radio volume is reduced to a
predetermined level. After the warning goes away, the radio volume
returns to the previous level.
130Parking Aids
2013 Transit Connect(tst)
Owners Guide gf, 2nd Printing, November 2012
USA(fus)
Page 135 of 321
PRINCIPLES OF OPERATION
Cruise control lets you maintain a set speed without keeping your foot
on the accelerator pedal.
USING CRUISE CONTROL (IF EQUIPPED)
WARNING:Do not use cruise control in heavy traffic or on
roads that are winding, slippery or unpaved.
Note:Vehicle speed may vary momentarily when driving up or down a
steep hill. Apply the brakes if your vehicle speed increases above the set
speed while driving downhill.
Note:Cruise control will disengage if your vehicle speed decreases more
than 10 mph (16 km/h) below your set speed while driving uphill.
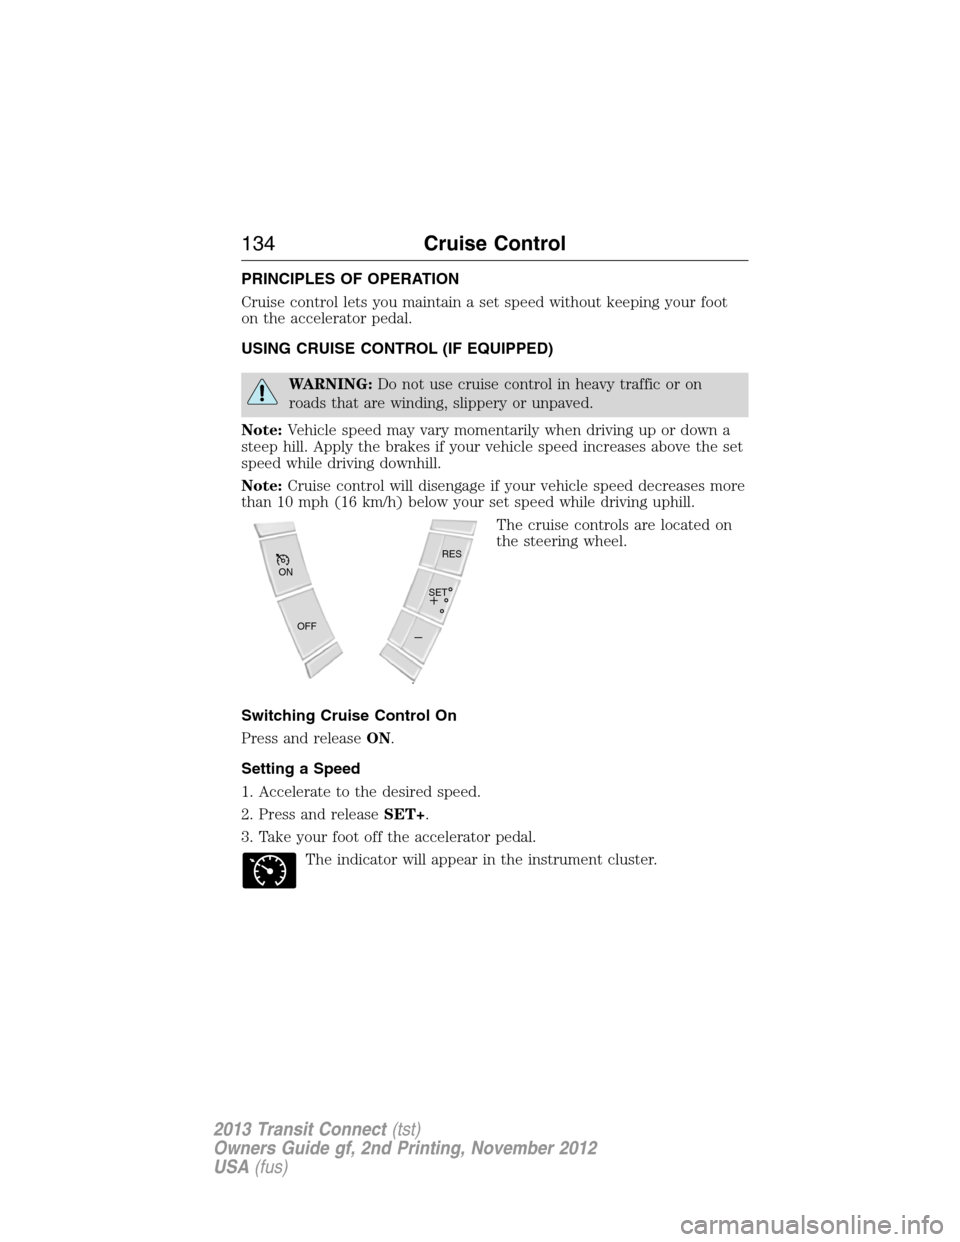
The cruise controls are located on
the steering wheel.
Switching Cruise Control On
Press and releaseON.
Setting a Speed
1. Accelerate to the desired speed.
2. Press and releaseSET+.
3. Take your foot off the accelerator pedal.
The indicator will appear in the instrument cluster.
OFF ON
SETRES
134Cruise Control
2013 Transit Connect(tst)
Owners Guide gf, 2nd Printing, November 2012
USA(fus)
Page 147 of 321
•Use the speed control in hilly terrain.
•Rest your foot on the brake pedal while driving.
•Drive a heavily loaded vehicle or tow a trailer.
•Carry unnecessary weight (approximately 1 mpg [0.4 km/L] is lost for
every 400 pounds [180 kilograms] of weight carried).
•Add particular accessories to your vehicle (e.g.; bug deflectors,
rollbars or light bars, running boards, ski racks).
•Drive with the wheels out of alignment.
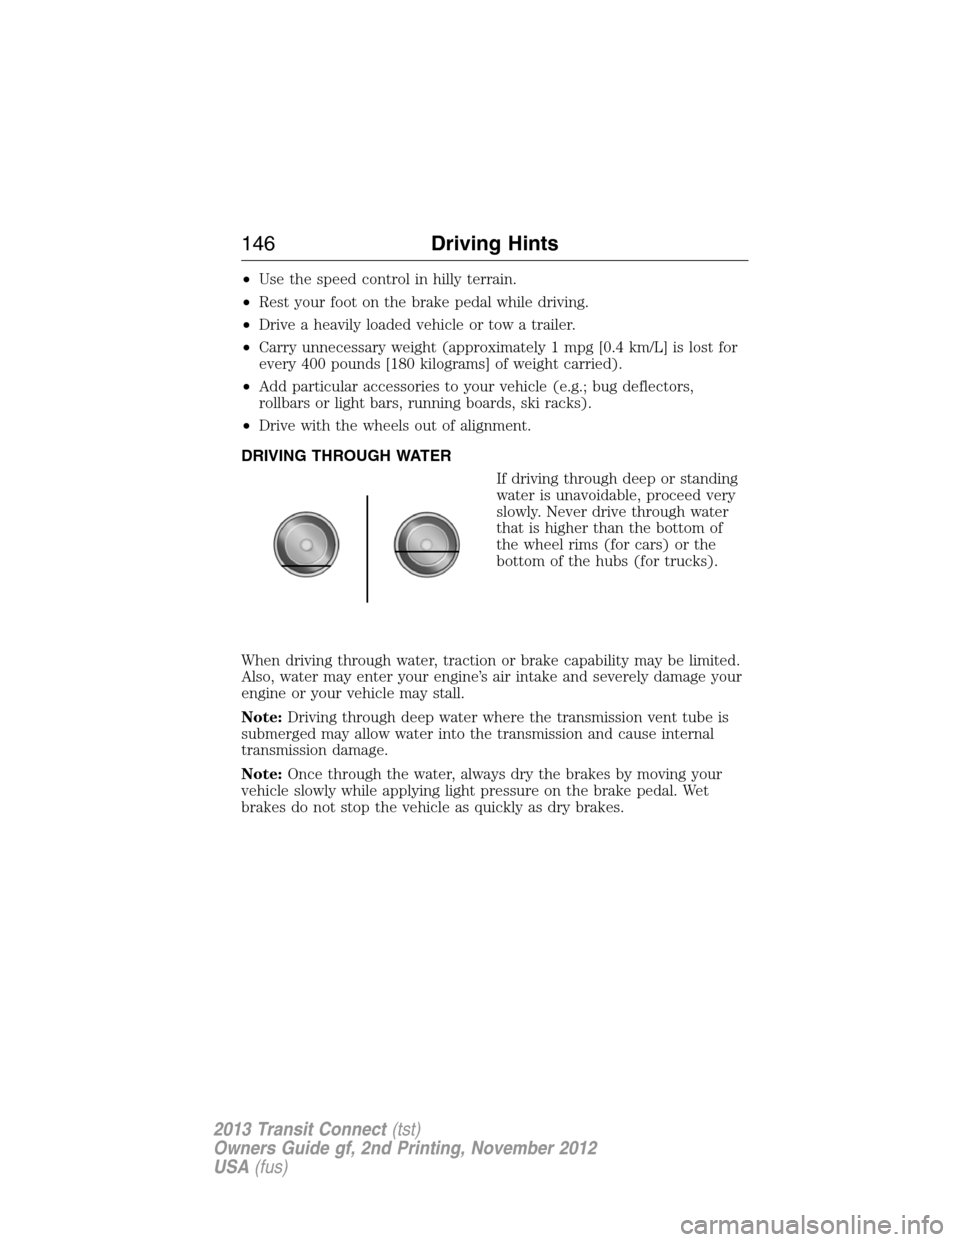
DRIVING THROUGH WATER
If driving through deep or standing
water is unavoidable, proceed very
slowly. Never drive through water
that is higher than the bottom of
the wheel rims (for cars) or the
bottom of the hubs (for trucks).
When driving through water, traction or brake capability may be limited.
Also, water may enter your engine’s air intake and severely damage your
engine or your vehicle may stall.
Note:Driving through deep water where the transmission vent tube is
submerged may allow water into the transmission and cause internal
transmission damage.
Note:Once through the water, always dry the brakes by moving your
vehicle slowly while applying light pressure on the brake pedal. Wet
brakes do not stop the vehicle as quickly as dry brakes.
146Driving Hints
2013 Transit Connect(tst)
Owners Guide gf, 2nd Printing, November 2012
USA(fus)
Page 209 of 321
Fuel system
•Fill the fuel tank with high-quality fuel until the first automatic shutoff
of the fuel pump nozzle.
Note:During extended periods of vehicle storage (30 days or more),
fuel may deteriorate due to oxidation. Add a quality gas stabilizer
product to the vehicle fuel system whenever actual or expected storage
periods exceed 30 days. Follow the instructions on the additive label.
The vehicle should then be operated at idle speed to circulate the
additive throughout the fuel system.
Cooling system
•Protect against freezing temperatures.
•When removing vehicle from storage, check coolant fluid level.
Confirm there are no cooling system leaks, and fluid is at the
recommended level.
Battery
•Check and recharge as necessary. Keep connections clean.
•If storing your vehicle for more than 30 days without recharging the
battery, it may be advisable to disconnect the battery cables to ensure
battery charge is maintained for quick starting.
Note:If battery cables are disconnected, it will be necessary to reset
memory features.
Brakes
•Make sure brakes and parking brake are fully released.
Tires
•Maintain recommended air pressure.
Miscellaneous
•Make sure all linkages, cables, levers and pins under vehicle are
covered with grease to prevent rust.
•Move vehicles at least 25 feet (8 meters) every 15 days to lubricate
working parts and prevent corrosion.
208Vehicle Care
2013 Transit Connect(tst)
Owners Guide gf, 2nd Printing, November 2012
USA(fus)