warning FORD TRANSIT CONNECT 2014 2.G Quick Reference Guide
[x] Cancel search | Manufacturer: FORD, Model Year: 2014, Model line: TRANSIT CONNECT, Model: FORD TRANSIT CONNECT 2014 2.GPages: 10, PDF Size: 9.45 MB
Page 1 of 10

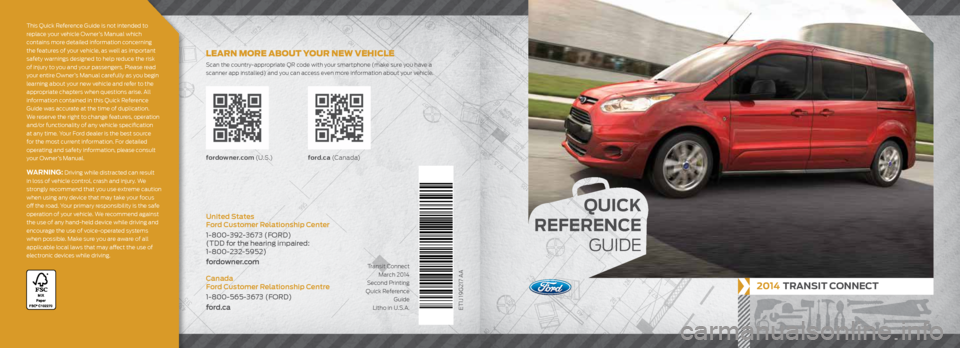
QUICK
REFERENCE
GUIDE
2014 TRANSIT CONNECT
ET1J 19G217 AA
fordowner.com (U . S .) ford.ca (C a n a d a)
United States
Ford Customer Relationship Center
1-800-392-3673 (FORD)
(TDD for the hearing impaired:
1-800-232-5952)
fordowner.com
Canada
Ford Customer Relationship Centre
1-800-565-3673 (FORD)
ford.ca
This Quick Reference Guide is not intended to
replace your vehicle Owner’s Manual which
contains more detailed information concerning
the features of your vehicle, as well as important
safety warnings designed to help reduce the risk
of injury to you and your passengers. Please read
your entire Owner’s Manual carefully as you begin
learning about your new vehicle and refer to the
appropriate chapters when questions arise. All
information contained in this Quick Reference
Guide was accurate at the time of duplication.
We reserve the right to change features, operation
and/or functionality of any vehicle specification
at any time. Your Ford dealer is the best source
for the most current information. For detailed
operating and safety information, please consult
your Owner’s Manual.
WARNING: Driving while distracted can result
in loss of vehicle control, crash and injury. We
strongly recommend that you use extreme caution
when using any device that may take your focus
off the road. Your primary responsibility is the safe
operation of your vehicle. We recommend against
the use of any hand-held device while driving and
encourage the use of voice-operated systems
when possible. Make sure you are aware of all
applicable local laws that may affect the use of
electronic devices while driving.
LEARN MORE ABOUT YOUR NEW VEHICLE
Scan the country-appropriate QR code with your smartphone (make sure you have a
scanner app installed) and you can access even more information about your vehicle.
Transit ConnectMarch 2014
Second Printing
Quick Reference Guide
Litho in U.S.A.
Page 7 of 10

*if equipped
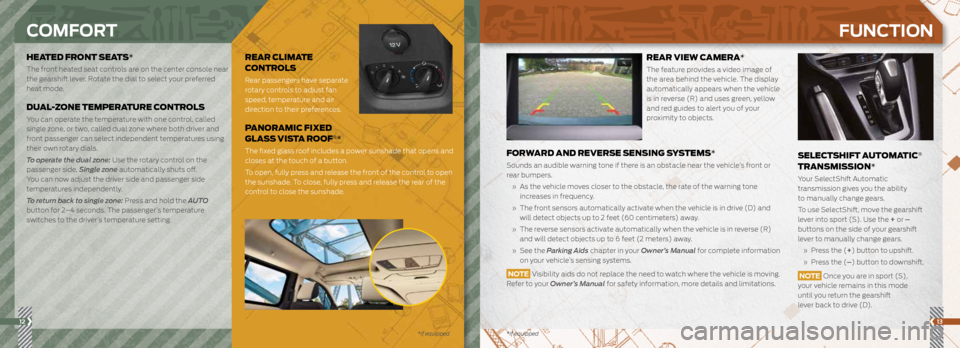
HEATED FRONT SEATS*
The front heated seat controls are on the center console near
the gearshift lever. Rotate the dial to select your preferred
heat mode.
DUAL-ZONE TEMPERATURE CONTROLS
You can operate the temperature with one control, called
single zone, or two, called dual zone where both driver and
front passenger can select independent temperatures using
their own rotary dials.
To operate the dual zone: Use the rotary control on the
passenger side. Single zone automatically shuts off.
You can now adjust the driver side and passenger side
temperatures independently.
To return back to single zone: Press and hold the AUTO
button for 2–4 seconds. The passenger’s temperature
switches to the driver’s temperature setting.
12
COMFORT
SELECTSHIFT AUTOMATIC®
TRANSMISSION*
Your SelectShift Automatic
transmission gives you the ability
to manually change gears.
To use SelectShift, move the gearshift
lever into sport (S). Use the + or –
buttons on the side of your gearshift
lever to manually change gears.
» Press the (+ ) button to upshift.
» Press the (– ) button to downshift.
NOTE Once you are in sport (S),
your vehicle remains in this mode
until you return the gearshift
lever back to drive (D).
FUNCTION
13
REAR CLIMATE
CONTROLS
Rear passengers have separate
rotary controls to adjust fan
speed, temperature and air
direction to their preferences.
PANORAMIC FIXED
GLASS VISTA ROOF®*
The fixed glass roof includes a power sunshade that opens and
closes at the touch of a button.
To open, fully press and release the front of the control to open
the sunshade. To close, fully press and release the rear of the
control to close the sunshade.
*if equipped
REAR VIEW CAMERA*
The feature provides a video image of
the area behind the vehicle. The display
automatically appears when the vehicle
is in reverse (R) and uses green, yellow
and red guides to alert you of your
proximity to objects.
FORWARD AND REVERSE SENSING SYSTEMS*
Sounds an audible warning tone if there is an obstacle near the vehicle’s front or
rear bumpers.
» As the vehicle moves closer to the obstacle, the rate of the warning tone
increases in frequency.
» The front sensors automatically activate when the vehicle is in drive (D) and
will detect objects up to 2 feet (60 centimeters) away.
» The reverse sensors activate automatically when the vehicle is in reverse (R)
and will detect objects up to 6 feet (2 meters) away.
» See the Parking Aids chapter in your Owner’s Manual for complete information
on your vehicle’s sensing systems.
NOTE Visibility aids do not replace the need to watch where the vehicle is moving.
Refer to your Owner’s Manual for safety information, more details and limitations.
Page 10 of 10

1819
EASY FUEL® SYSTEM
To Use
» Put your vehicle into park (P) and
switch off the ignition.
» Open the fuel-filler door.
» Insert the nozzle.
» Begin fueling.
» Wait 5–10 seconds between the
time the refueling nozzle shuts off
and you remove the nozzle from the
vehicle. This allows residual fuel in
the nozzle to drain into the tank.
» When using a portable fuel
container, slowly insert the fuel
funnel (located in the glove box)
and pour the fuel into the funnel.
NOTE Do not use aftermarket
funnels as they will not work with
the Easy Fuel system and may cause
damage. Properly clean the funnel after
each use.
FUEL TANK CAPACITY AND
FUEL INFO
Your vehicle has a 16.4 gallon (62L) fuel
tank capacity. Use only UNLEADED fuel
with an octane rating of 87 or higher.
Do not use fuel
E20 - E85 ethanol (E85),
diesel fuel, fuel-methanol, leaded fuel or
any other fuel because it could damage
or impair the emission control system.
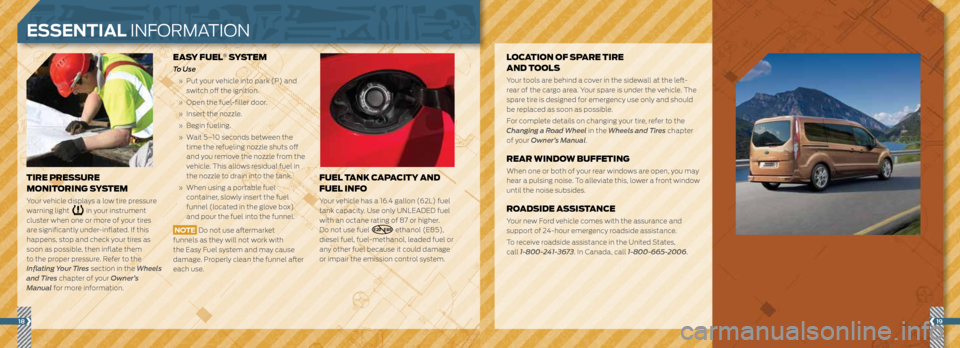
TIRE PRESSURE
MONITORING SYSTEM
Your vehicle displays a low tire pressure
warning light
in your instrument
cluster when one or more of your tires
are significantly under-inflated. If this
happens, stop and check your tires as
soon as possible, then inflate them
to the proper pressure. Refer to the
Inflating Your Tires section in the Wheels
and Tires chapter of your Owner’s
Manual for more information.
LOCATION OF SPARE TIRE
AND TOOLS
Your tools are behind a cover in the sidewall at the left-
rear of the cargo area. Your spare is under the vehicle. The
spare tire is designed for emergency use only and should
be replaced as soon as possible.
For complete details on changing your tire, refer to the
Changing a Road Wheel in the Wheels and Tires chapter
of your Owner’s Manual.
REAR WINDOW BUFFETING
When one or both of your rear windows are open, you may
hear a pulsing noise. To alleviate this, lower a front window
until the noise subsides.
ROADSIDE ASSISTANCE
Your new Ford vehicle comes with the assurance and
support of 24-hour emergency roadside assistance.
To receive roadside assistance in the United States,
call 1-800-241-3673. In Canada, call 1-800-665-2006.
ESSENTIAL INFORMATION