set clock FORD TRANSIT CONNECT 2019 Owners Manual
[x] Cancel search | Manufacturer: FORD, Model Year: 2019, Model line: TRANSIT CONNECT, Model: FORD TRANSIT CONNECT 2019Pages: 493, PDF Size: 7.43 MB
Page 6 of 493
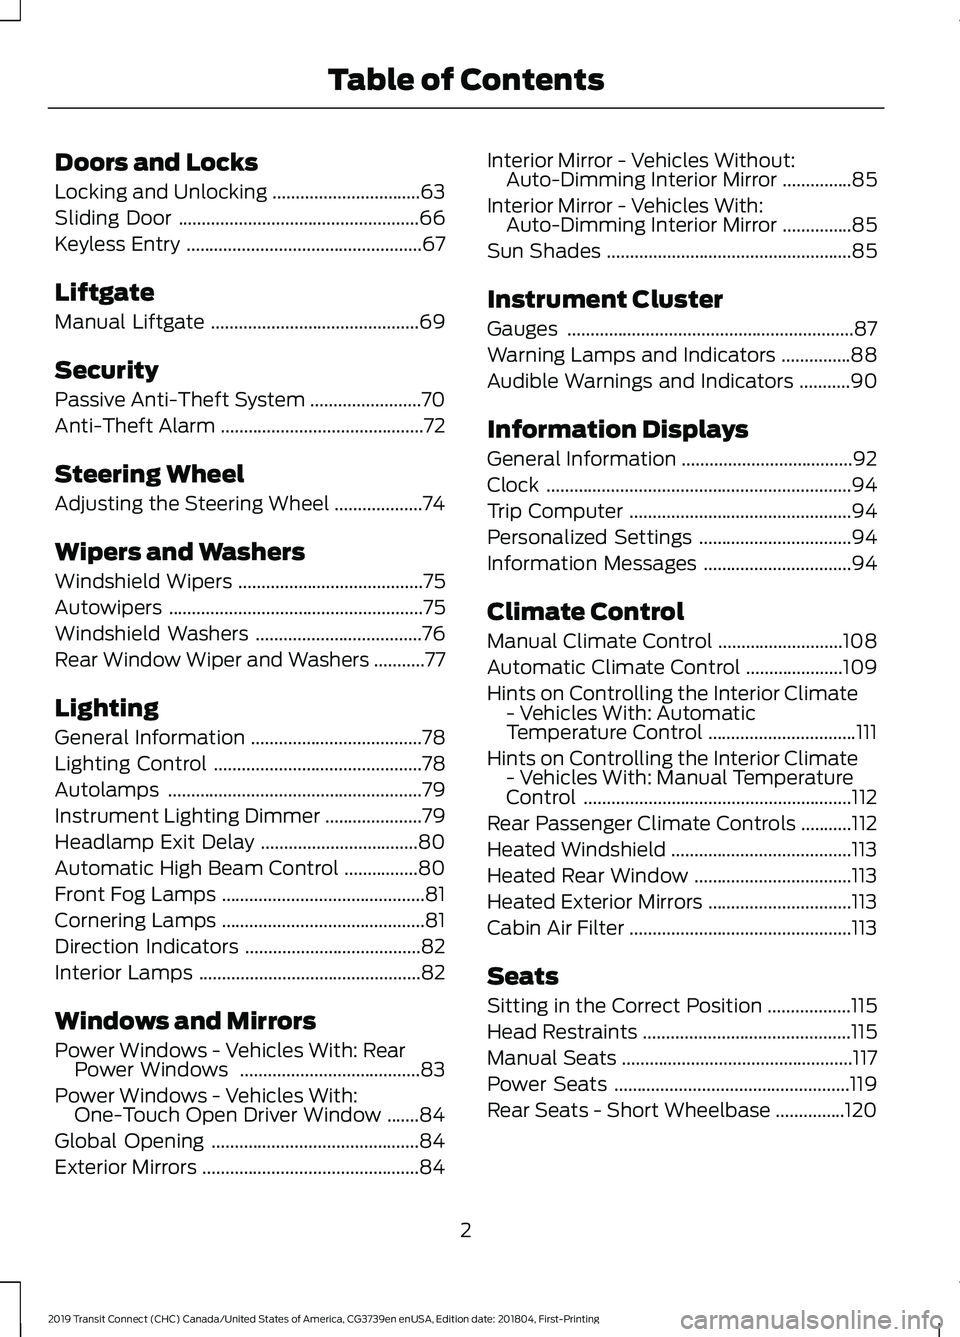
Doors and Locks
Locking and Unlocking
................................63
Sliding Door ....................................................
66
Keyless Entry ...................................................
67
Liftgate
Manual Liftgate .............................................
69
Security
Passive Anti-Theft System ........................
70
Anti-Theft Alarm ............................................
72
Steering Wheel
Adjusting the Steering Wheel ...................
74
Wipers and Washers
Windshield Wipers ........................................
75
Autowipers .......................................................
75
Windshield Washers ....................................
76
Rear Window Wiper and Washers ...........
77
Lighting
General Information .....................................
78
Lighting Control .............................................
78
Autolamps .......................................................
79
Instrument Lighting Dimmer .....................
79
Headlamp Exit Delay ..................................
80
Automatic High Beam Control ................
80
Front Fog Lamps ............................................
81
Cornering Lamps ............................................
81
Direction Indicators ......................................
82
Interior Lamps ................................................
82
Windows and Mirrors
Power Windows - Vehicles With: Rear Power Windows .......................................
83
Power Windows - Vehicles With: One-Touch Open Driver Window .......
84
Global Opening .............................................
84
Exterior Mirrors ...............................................
84Interior Mirror - Vehicles Without:
Auto-Dimming Interior Mirror ...............
85
Interior Mirror - Vehicles With: Auto-Dimming Interior Mirror ...............
85
Sun Shades .....................................................
85
Instrument Cluster
Gauges ..............................................................
87
Warning Lamps and Indicators ...............
88
Audible Warnings and Indicators ...........
90
Information Displays
General Information .....................................
92
Clock ..................................................................
94
Trip Computer ................................................
94
Personalized Settings .................................
94
Information Messages ................................
94
Climate Control
Manual Climate Control ...........................
108
Automatic Climate Control .....................
109
Hints on Controlling the Interior Climate - Vehicles With: Automatic
Temperature Control ................................
111
Hints on Controlling the Interior Climate - Vehicles With: Manual Temperature
Control ..........................................................
112
Rear Passenger Climate Controls ...........
112
Heated Windshield .......................................
113
Heated Rear Window ..................................
113
Heated Exterior Mirrors ...............................
113
Cabin Air Filter ................................................
113
Seats
Sitting in the Correct Position ..................
115
Head Restraints .............................................
115
Manual Seats ..................................................
117
Power Seats ...................................................
119
Rear Seats - Short Wheelbase ...............
120
2
2019 Transit Connect (CHC) Canada/United States of America, CG3739en enUSA, Edition date: 201804, First-Printing Table of Contents
Page 10 of 493
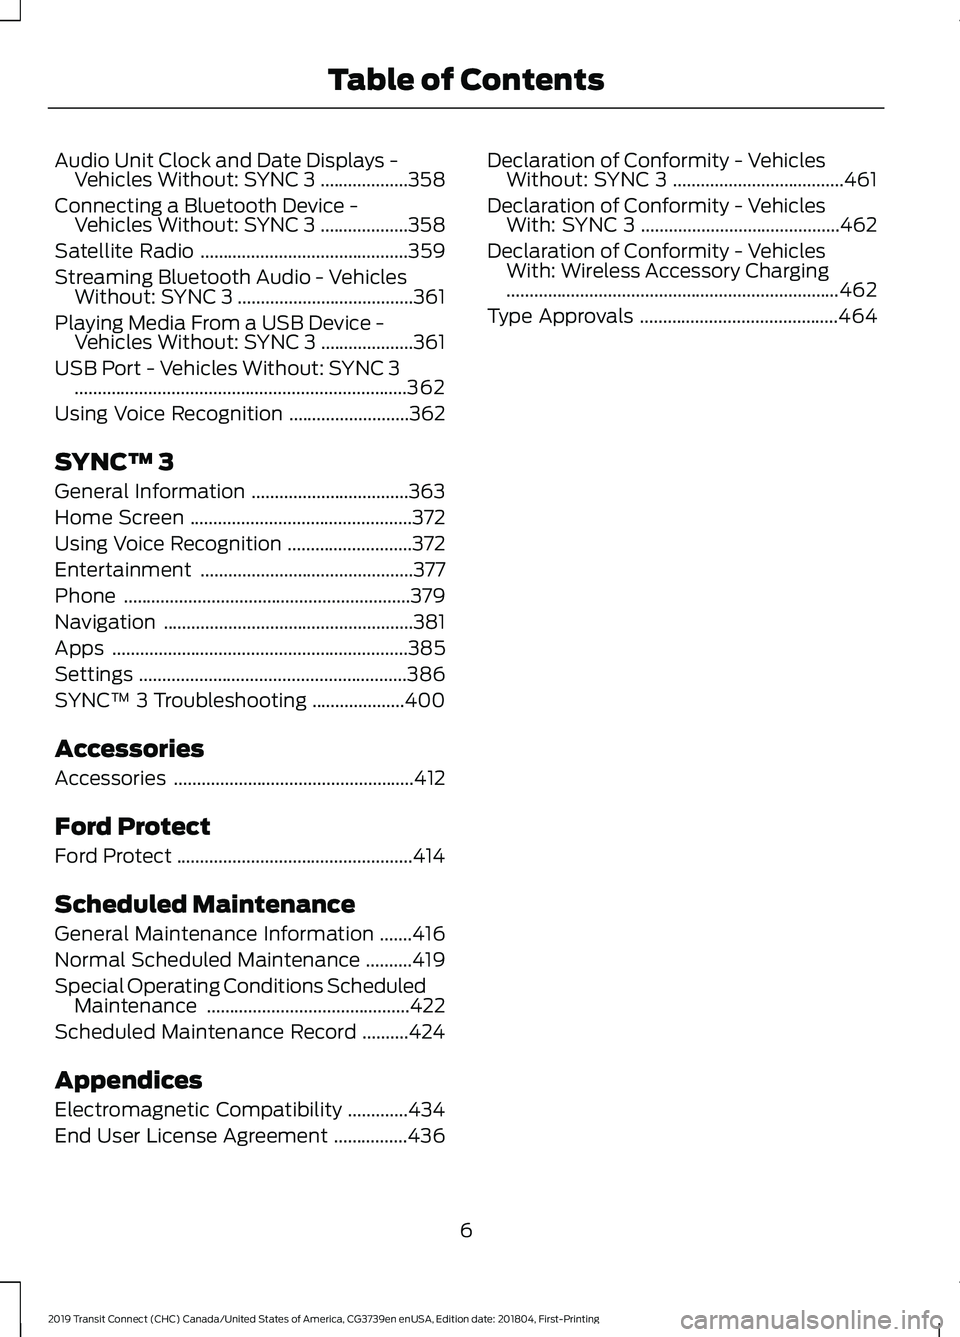
Audio Unit Clock and Date Displays -
Vehicles Without: SYNC 3 ...................358
Connecting a Bluetooth Device - Vehicles Without: SYNC 3 ...................
358
Satellite Radio .............................................
359
Streaming Bluetooth Audio - Vehicles Without: SYNC 3 ......................................
361
Playing Media From a USB Device - Vehicles Without: SYNC 3 ....................
361
USB Port - Vehicles Without: SYNC 3 ........................................................................\
362
Using Voice Recognition ..........................
362
SYNC™ 3
General Information ..................................
363
Home Screen ................................................
372
Using Voice Recognition ...........................
372
Entertainment ..............................................
377
Phone ..............................................................
379
Navigation ......................................................
381
Apps ................................................................
385
Settings ..........................................................
386
SYNC™ 3 Troubleshooting ....................
400
Accessories
Accessories ....................................................
412
Ford Protect
Ford Protect ...................................................
414
Scheduled Maintenance
General Maintenance Information .......
416
Normal Scheduled Maintenance ..........
419
Special Operating Conditions Scheduled Maintenance ............................................
422
Scheduled Maintenance Record ..........
424
Appendices
Electromagnetic Compatibility .............
434
End User License Agreement ................
436Declaration of Conformity - Vehicles
Without: SYNC 3 .....................................
461
Declaration of Conformity - Vehicles With: SYNC 3 ...........................................
462
Declaration of Conformity - Vehicles With: Wireless Accessory Charging
........................................................................\
462
Type Approvals ...........................................
464
6
2019 Transit Connect (CHC) Canada/United States of America, CG3739en enUSA, Edition date: 201804, First-Printing Table of Contents
Page 35 of 493
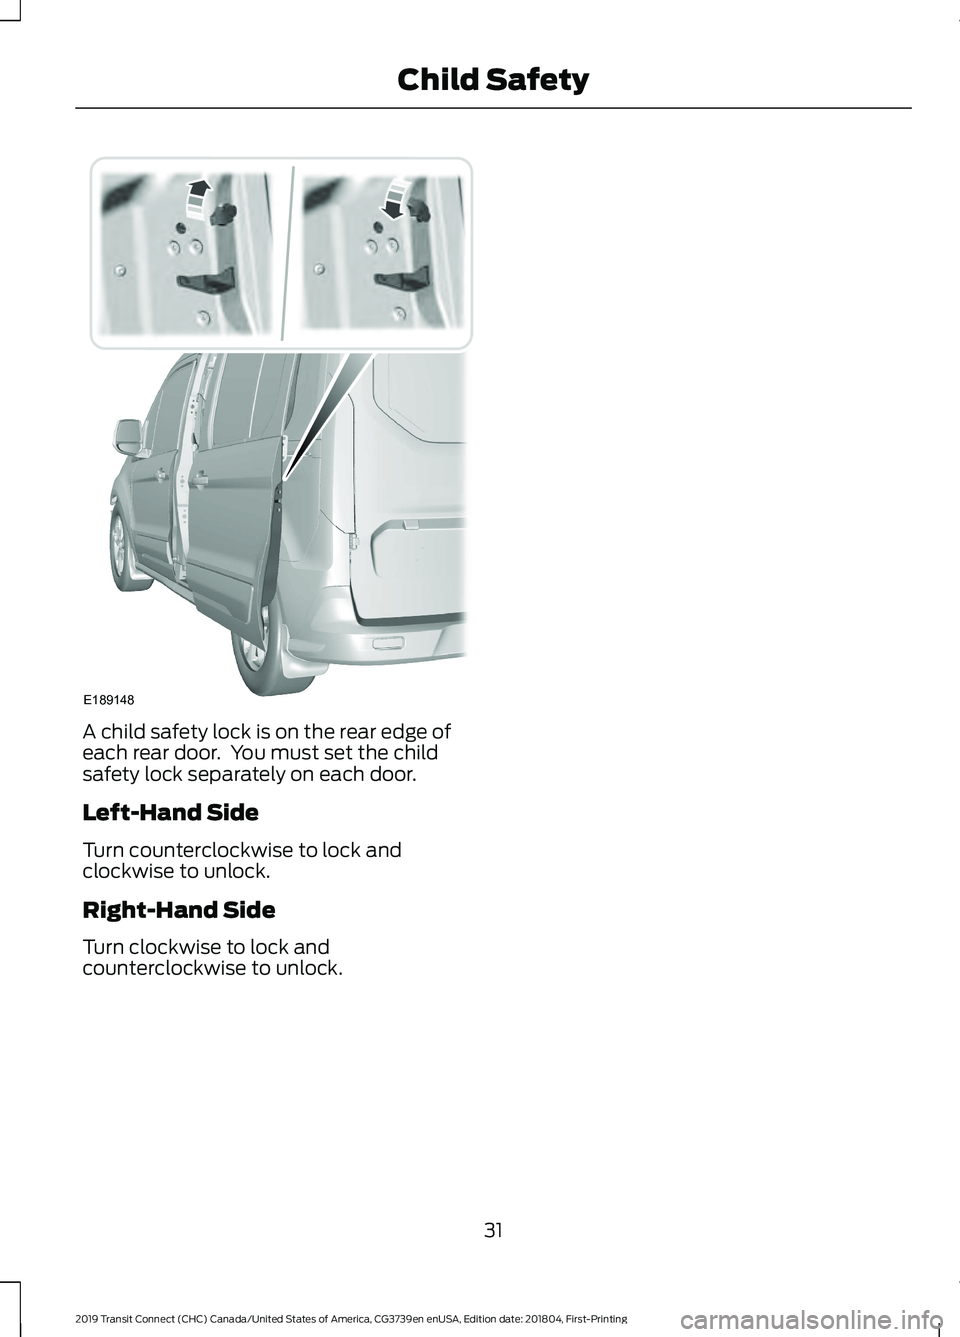
A child safety lock is on the rear edge of
each rear door. You must set the child
safety lock separately on each door.
Left-Hand Side
Turn counterclockwise to lock and
clockwise to unlock.
Right-Hand Side
Turn clockwise to lock and
counterclockwise to unlock.
31
2019 Transit Connect (CHC) Canada/United States of America, CG3739en enUSA, Edition date: 201804, First-Printing Child SafetyE189148
Page 98 of 493
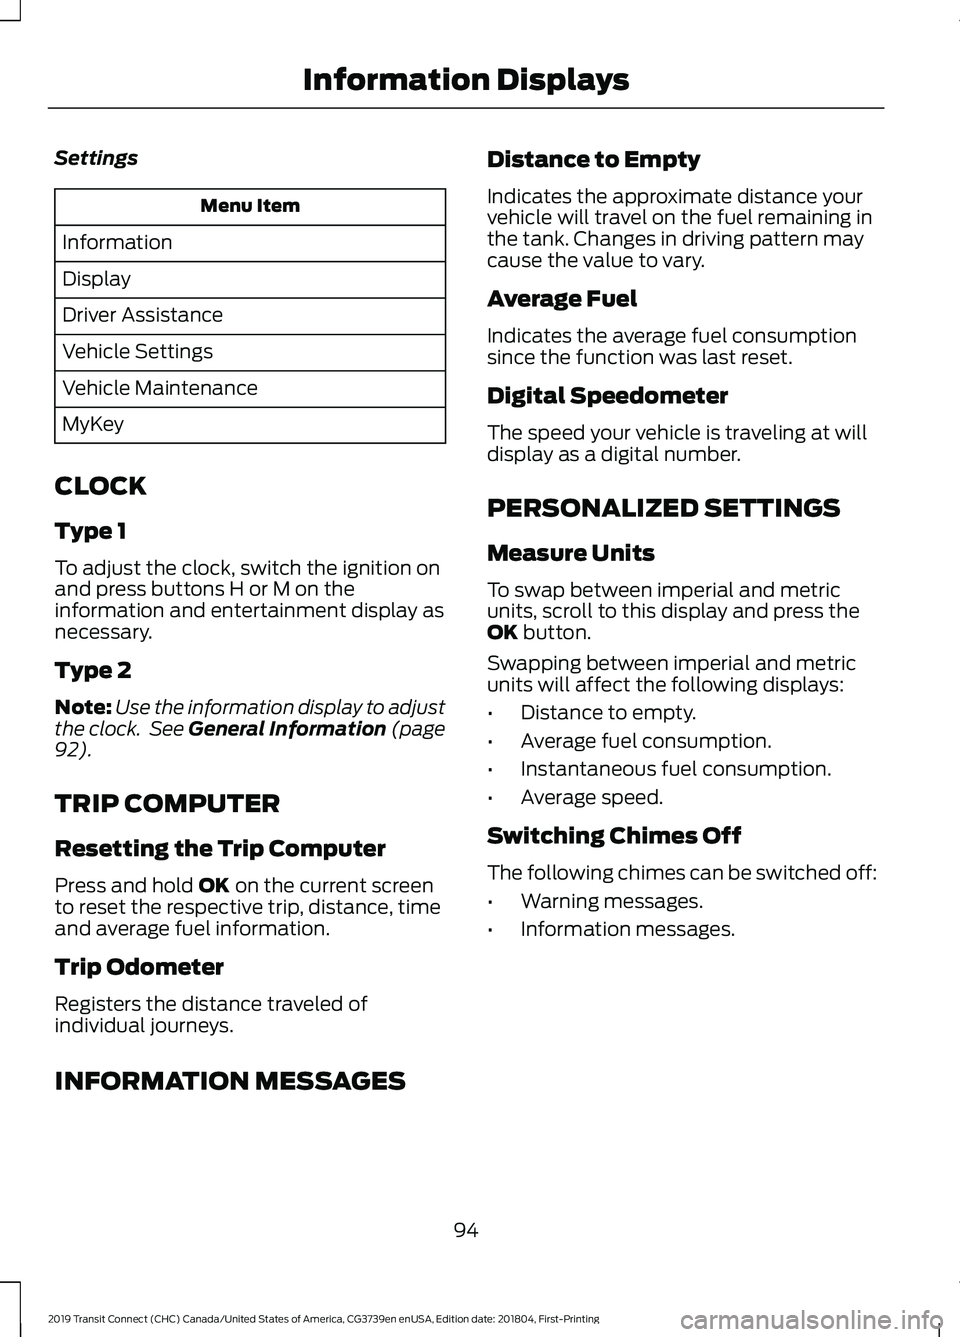
Settings
Menu Item
Information
Display
Driver Assistance
Vehicle Settings
Vehicle Maintenance
MyKey
CLOCK
Type 1
To adjust the clock, switch the ignition on
and press buttons H or M on the
information and entertainment display as
necessary.
Type 2
Note: Use the information display to adjust
the clock. See General Information (page
92).
TRIP COMPUTER
Resetting the Trip Computer
Press and hold
OK on the current screen
to reset the respective trip, distance, time
and average fuel information.
Trip Odometer
Registers the distance traveled of
individual journeys. Distance to Empty
Indicates the approximate distance your
vehicle will travel on the fuel remaining in
the tank. Changes in driving pattern may
cause the value to vary.
Average Fuel
Indicates the average fuel consumption
since the function was last reset.
Digital Speedometer
The speed your vehicle is traveling at will
display as a digital number.
PERSONALIZED SETTINGS
Measure Units
To swap between imperial and metric
units, scroll to this display and press the
OK
button.
Swapping between imperial and metric
units will affect the following displays:
• Distance to empty.
• Average fuel consumption.
• Instantaneous fuel consumption.
• Average speed.
Switching Chimes Off
The following chimes can be switched off:
• Warning messages.
• Information messages.
INFORMATION MESSAGES 94
2019 Transit Connect (CHC) Canada/United States of America, CG3739en enUSA, Edition date: 201804, First-Printing Information Displays
Page 112 of 493
MANUAL CLIMATE CONTROL
Switching the Climate Control On
and Off
Switching the Recirculated Air On
and Off
Note:
The air currently in the passenger
compartment recirculates.
Switching the Air Conditioning On
and Off Note:
Under certain conditions, the air
conditioning compressor could continue to
operate after you switch air conditioning off.
Switching Maximum Defrost On
and Off Turn the temperature control
clockwise past the highest
setting to maximize defrosting.
Note: The temperature control springs back
to the highest setting.
Note: When you switch maximum defrost
on, the heated windshield, heated rear
window and air conditioning turn on.
Note: When you switch maximum defrost
off, the heated windshield and heated rear
window remain on.
Switching Maximum Cooling On
and Off Turn the temperature control
counterclockwise past the
lowest setting to maximize
cooling. Note:
The temperature control springs back
to the lowest setting.
Note: When you switch maximum cooling
off, air conditioning remains on.
Setting the Blower Motor Speed Note:
Lights on the control illuminate to
indicate the blower motor speed.
Note: When you switch the blower motor
off, air conditioning turns off and the
windows could fog up.
108
2019 Transit Connect (CHC) Canada/United States of America, CG3739en enUSA, Edition date: 201804, First-Printing Climate Control
Page 113 of 493
Directing Air to the Windshield Air
Vents
Directing Air to the Instrument
Panel Air Vents
Directing Air to the Footwell Air
Vents
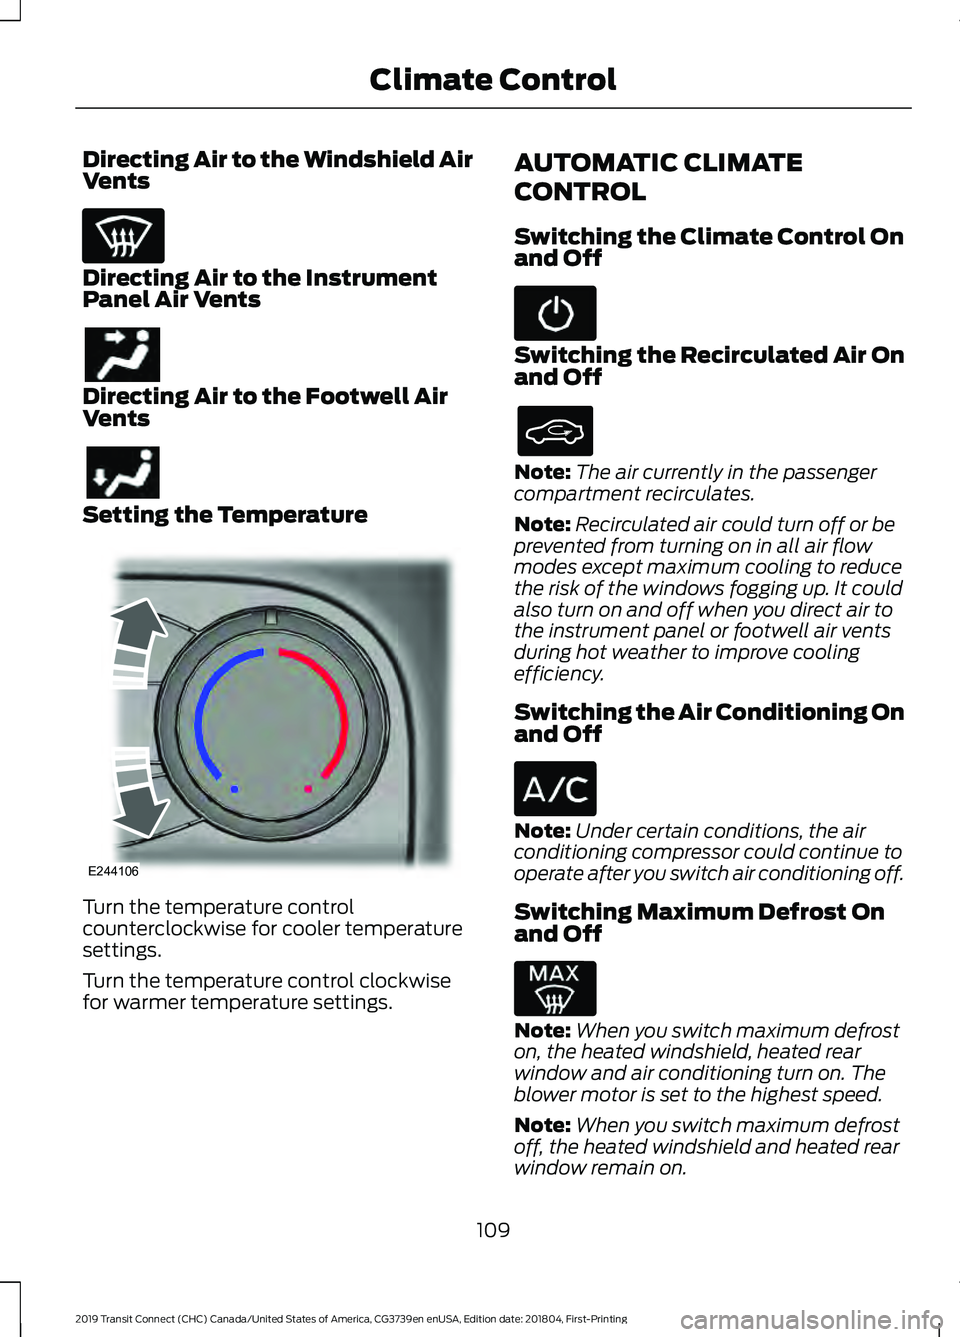
Setting the Temperature
Turn the temperature control
counterclockwise for cooler temperature
settings.
Turn the temperature control clockwise
for warmer temperature settings. AUTOMATIC CLIMATE
CONTROL
Switching the Climate Control On
and Off Switching the Recirculated Air On
and Off
Note:
The air currently in the passenger
compartment recirculates.
Note: Recirculated air could turn off or be
prevented from turning on in all air flow
modes except maximum cooling to reduce
the risk of the windows fogging up. It could
also turn on and off when you direct air to
the instrument panel or footwell air vents
during hot weather to improve cooling
efficiency.
Switching the Air Conditioning On
and Off Note:
Under certain conditions, the air
conditioning compressor could continue to
operate after you switch air conditioning off.
Switching Maximum Defrost On
and Off Note:
When you switch maximum defrost
on, the heated windshield, heated rear
window and air conditioning turn on. The
blower motor is set to the highest speed.
Note: When you switch maximum defrost
off, the heated windshield and heated rear
window remain on.
109
2019 Transit Connect (CHC) Canada/United States of America, CG3739en enUSA, Edition date: 201804, First-Printing Climate Control E244106
Page 114 of 493
Switching Maximum Cooling On
and Off
Note:
When you switch maximum cooling
off, air conditioning remains on.
Switching Auto Mode On and Off The system controls the blower
motor speed and direction of air
to reach and maintain the
temperature you have set.
Note: When you switch auto mode on,
lights on the blower motor control do not
illuminate to indicate the blower motor
speed.
Adjust the blower motor control or air
distribution control to switch auto mode
off.
Adjusting the Auto Mode Repeatedly press to limit the
maximum blower motor speed.
Note: Limiting the blower motor speed
increases the time taken to cool or heat the
interior.
Setting the Blower Motor Speed Note:
Lights on the control illuminate to
indicate the blower motor speed.
Switching Dual Mode On and Off Note:
When you switch dual mode on, the
passenger side temperature control can be
independently adjusted. Note:
You can also switch dual mode on
by adjusting the passenger side temperature
control.
Directing Air to the Windshield Air
Vents Directing Air to the Instrument
Panel Air Vents
Directing Air to the Footwell Air
Vents
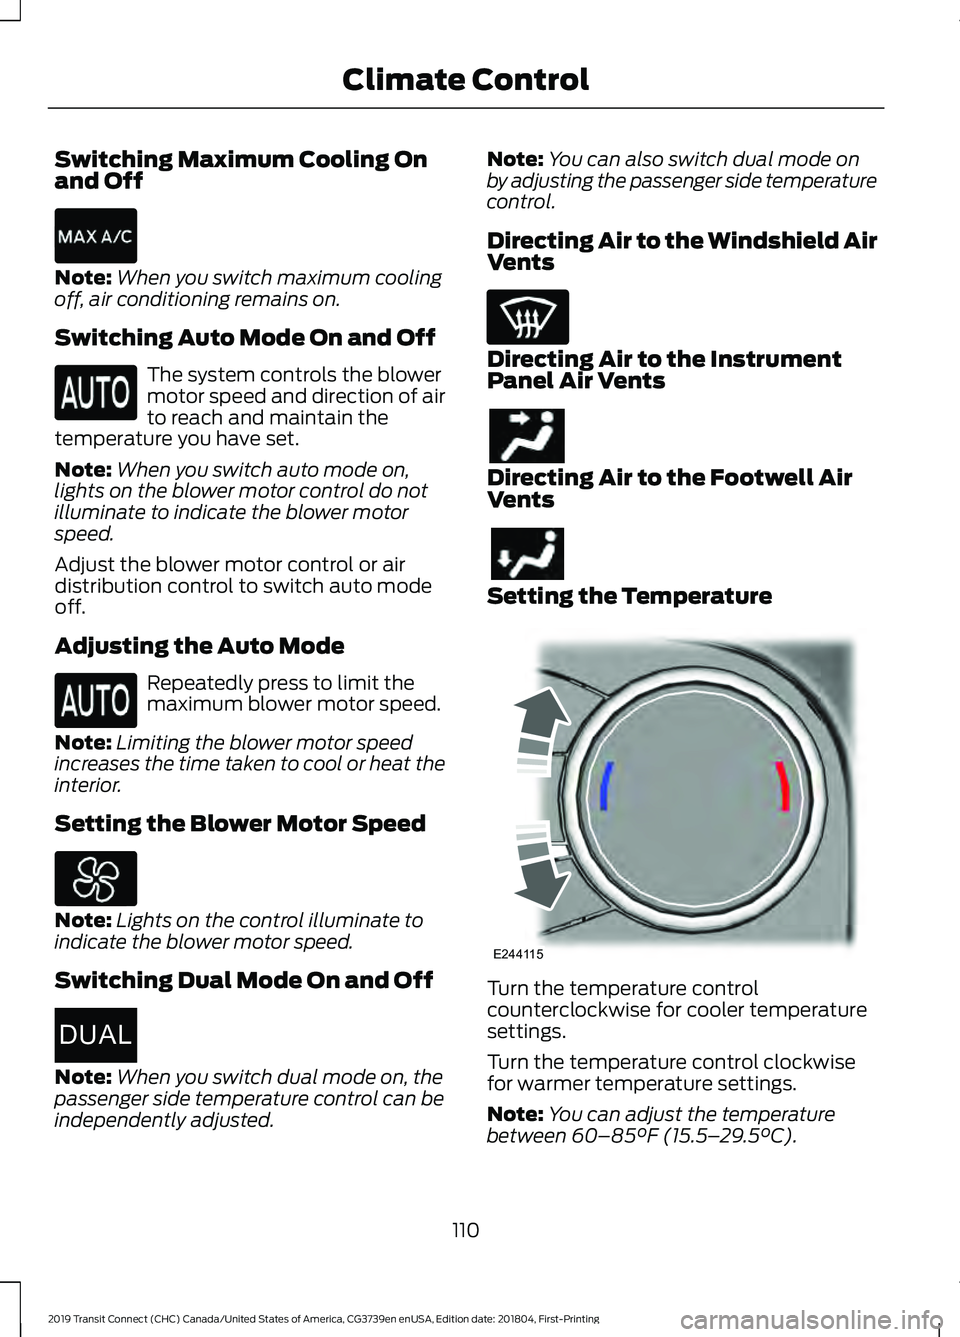
Setting the Temperature
Turn the temperature control
counterclockwise for cooler temperature
settings.
Turn the temperature control clockwise
for warmer temperature settings.
Note:
You can adjust the temperature
between 60–85°F (15.5– 29.5°C).
110
2019 Transit Connect (CHC) Canada/United States of America, CG3739en enUSA, Edition date: 201804, First-Printing Climate Control E267666DUAL E244115
Page 271 of 493
Only use oils certified for gasoline engines
by the American Petroleum Institute (API).
An oil with this trademark symbol
conforms to the current engine and
emission system protection standards and
fuel economy requirements of the
International Lubricants Specification
Advisory Committee (ILSAC).
To top up the engine oil level do the
following:
1. Clean the area surrounding the engine
oil filler cap before you remove it.
2. Remove the engine oil filler cap. See Under Hood Overview (page 262).
Turn it counterclockwise and remove
it.
3. Add engine oil that meets Ford specifications. See
Capacities and
Specifications (page 340). You may
have to use a funnel to pour the engine
oil into the opening.
4. Recheck the oil level.
5. If the oil level is correct, replace the dipstick and make sure it is fully seated.
6. Replace the engine oil filler cap. Turn it clockwise until you feel a strong
resistance.
Note: Do not add oil further than the
maximum mark. Oil levels above the
maximum mark may cause engine damage. Note:
Make sure you install the oil filler cap
correctly.
Note: Soak up any spillage with an
absorbent cloth immediately.
OIL CHANGE INDICATOR
RESET
Only reset the system after changing the
engine oil and oil filter.
Resetting the Oil Life Monitoring
System
1. Switch the ignition on. Do not start the
engine.
2. Fully press the accelerator and brake pedals at the same time.
3. Keep the accelerator and brake pedals
fully pressed.
4. After three seconds, a message appears confirming that the reset is in
progress.
5. After 25 seconds, a message appears confirming that the reset is complete.
6. Release the accelerator and brake pedals.
7. Switch the ignition off.
ENGINE COOLING FAN -
GASOLINE WARNING:
Keep your hands and
clothing clear of the engine cooling fan.
Under certain conditions, the engine
cooling fan may continue to run for several
minutes after you switch your vehicle off.
267
2019 Transit Connect (CHC) Canada/United States of America, CG3739en enUSA, Edition date: 201804, First-Printing MaintenanceE142732
Page 278 of 493
Note:
See an authorized dealer for low
voltage battery access, testing, or
replacement.
When a low voltage battery replacement
is necessary, see an authorized dealer to
replace the low voltage battery with a Ford
recommended replacement low voltage
battery that matches the electrical
requirements of the vehicle.
To ensure proper operation of the battery
management system (BMS), do not allow
a technician to connect any electrical
device ground connection directly to the
low voltage battery negative post. A
connection at the low voltage battery
negative post can cause inaccurate
measurements of the battery condition
and potential incorrect system operation.
Note: If a person adds electrical or
electronic accessories or components to the
vehicle, the accessories or components may
adversely affect the low voltage battery
performance and durability and may also
affect the performance of other electrical
systems in the vehicle.
For longer, trouble-free operation, keep the
top of the battery clean and dry. Also,
make certain the battery cables are always
tightly fastened to the battery terminals.
If you see any corrosion on the battery or
terminals, remove the cables from the
terminals and clean with a wire brush. You
can neutralize the acid with a solution of
baking soda and water.
When a battery replacement is required,
the battery should only be replaced with
a Ford recommended replacement battery
that matches the electrical requirements
of the vehicle.
Because your vehicle ’s engine is
electronically-controlled by a computer,
some engine control settings are
maintained by power from the low voltage
battery. Some engine computer settings,
like the idle trim and fuel trim strategy, optimize the driveability and performance
of the engine. Some other computer
settings, like the clock and radio station
presets, are also maintained in memory by
power from the low voltage battery. When
a technician disconnects and connects the
low voltage battery, these settings are
erased. Complete the following procedure
in order to restore the settings:
1. With the vehicle at a complete stop,
set the parking brake.
2. Shift the transmission into park (P).
3. Switch off all accessories.
4. Fully press the brake pedal and start the vehicle.
5. Run the engine until it reaches normal operating temperature. While the
engine is warming up, complete the
following: Reset the clock. See Audio
System (page 352). Reset the power
windows bounce-back feature. See
Windows and Mirrors
(page 83).
Reset the radio station presets. See
Audio System
(page 352).
6. Allow the engine to idle for at least one
minute. If the engine turns off, press
the accelerator pedal to start the
engine.
7. While the engine is running, press the brake pedal and shift into neutral (N).
8. Allow the engine to run for at least one
minute by pressing on the accelerator
pedal.
9. Drive the vehicle at least 12 mi (20 km)
to completely relearn the idle and fuel
trim strategy.
Note: If you do not allow the engine to
relearn the idle and fuel trim strategy, the
idle quality of your vehicle may be adversely
affected until the engine computer
eventually relearns the idle trim and fuel
trim strategy.
274
2019 Transit Connect (CHC) Canada/United States of America, CG3739en enUSA, Edition date: 201804, First-Printing Maintenance
Page 326 of 493
WARNING: Always use the jack
provided as original equipment with your
vehicle. If using a jack other than the one
provided as original equipment with your
vehicle, make sure the jack capacity is
adequate for the vehicle weight, including
any vehicle cargo or modifications.
Note: The jack and tools are located behind
a cover in the sidewall at the left rear of the
cargo area. Remove the retention straps and
wing nut before removing the jack.
The jack and tools are located behind a
cover in the left rear of the cargo area.
Remove the wing nut to remove the jack.
Remove the lug nut wrench from the clips
by pulling straight out.
1. Park on a level surface, set the parking
brake and activate the hazard flashers.
2. Move the transmission selector lever to the park (P) position and switch the
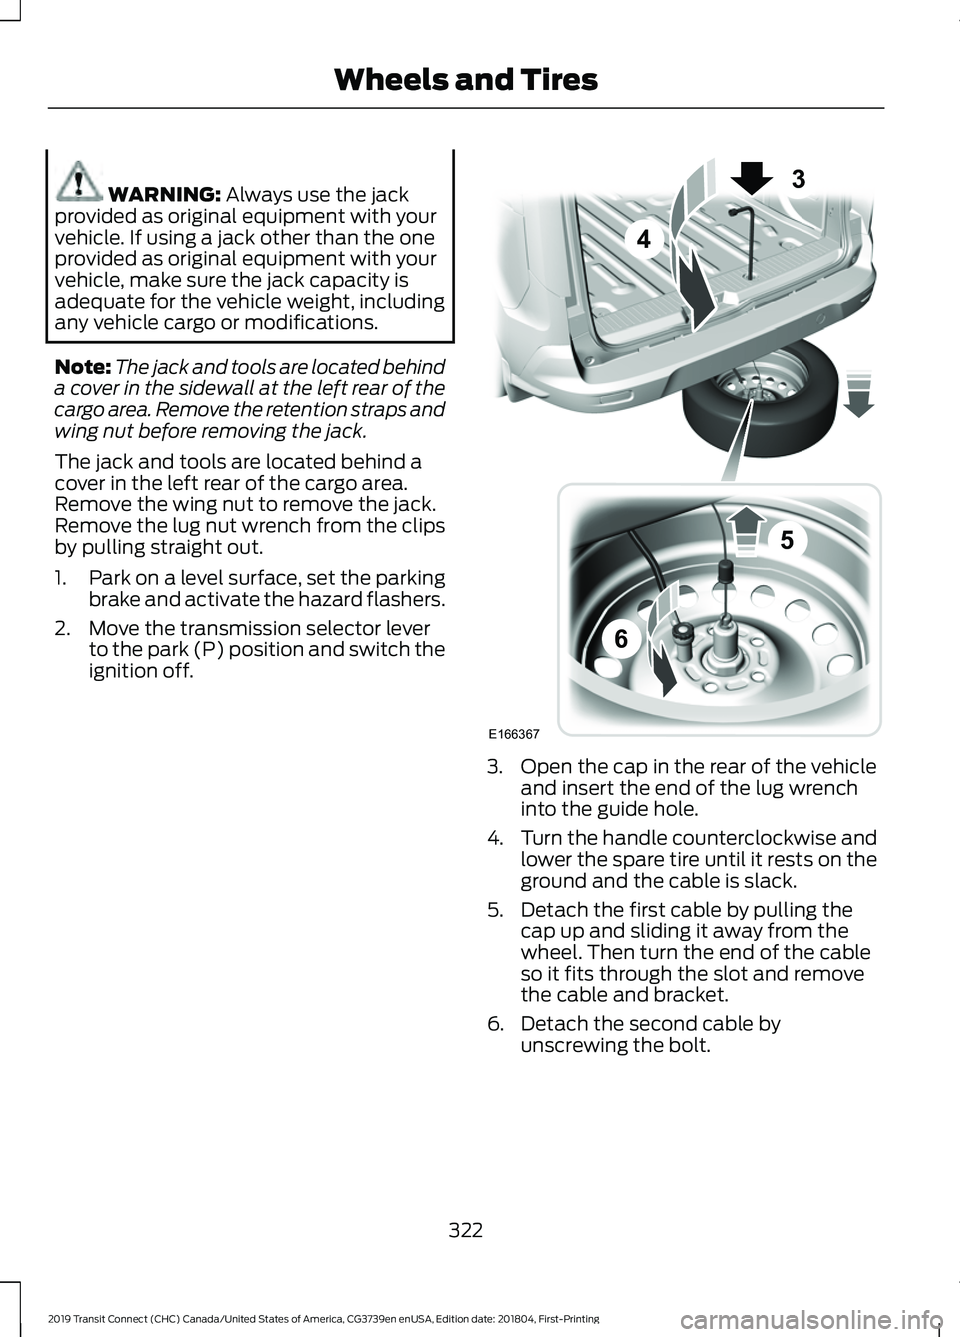
ignition off. 3. Open the cap in the rear of the vehicle
and insert the end of the lug wrench
into the guide hole.
4. Turn the handle counterclockwise and
lower the spare tire until it rests on the
ground and the cable is slack.
5. Detach the first cable by pulling the cap up and sliding it away from the
wheel. Then turn the end of the cable
so it fits through the slot and remove
the cable and bracket.
6. Detach the second cable by unscrewing the bolt.
322
2019 Transit Connect (CHC) Canada/United States of America, CG3739en enUSA, Edition date: 201804, First-Printing Wheels and TiresE166367
3
4
5
6