garage door opener FORD WINDSTAR 1999 2.G Owners Manual
[x] Cancel search | Manufacturer: FORD, Model Year: 1999, Model line: WINDSTAR, Model: FORD WINDSTAR 1999 2.GPages: 248, PDF Size: 2.28 MB
Page 81 of 248

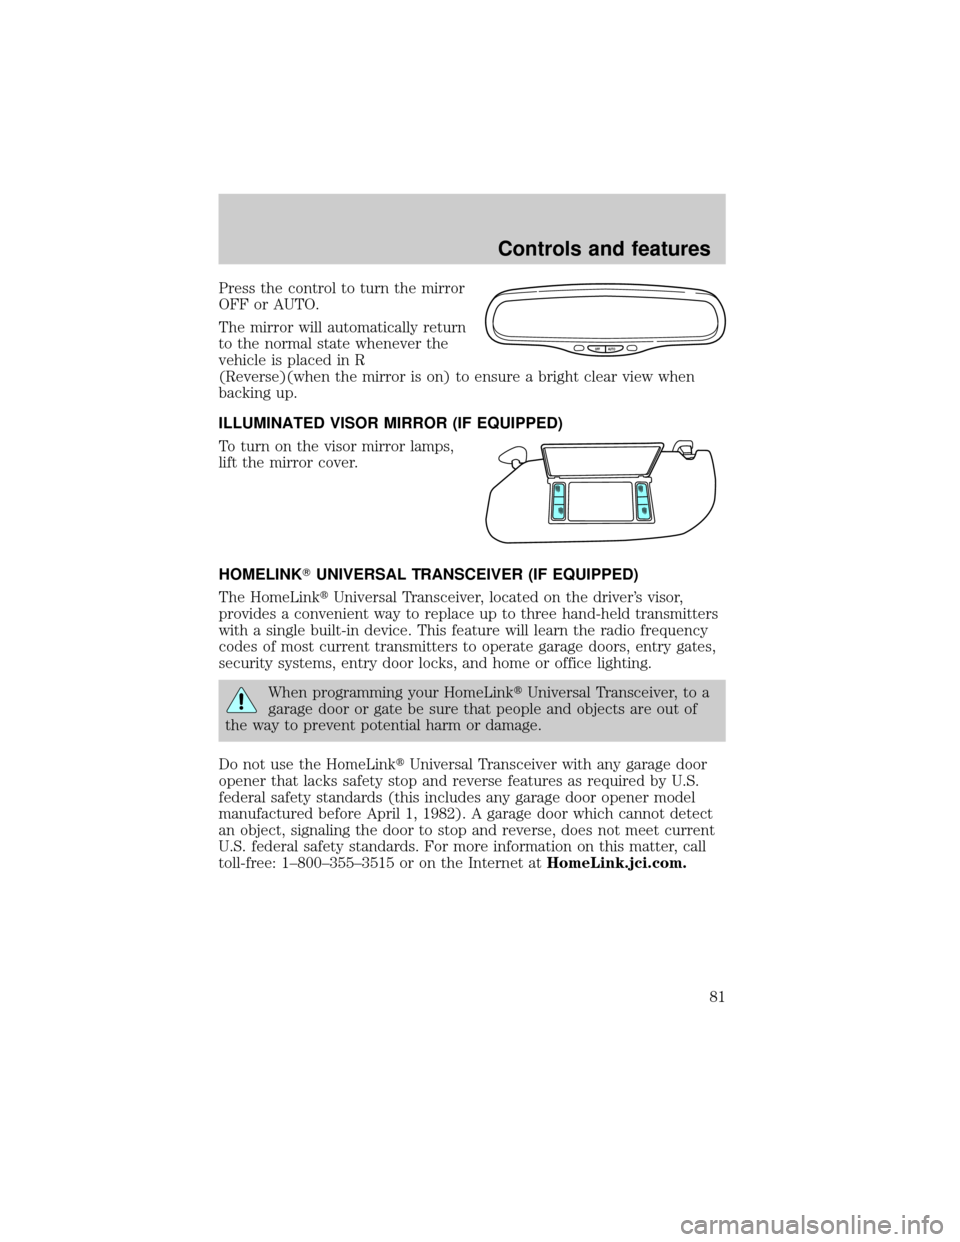
Press the control to turn the mirror
OFF or AUTO.
The mirror will automatically return
to the normal state whenever the
vehicle is placed in R
(Reverse)(when the mirror is on) to ensure a bright clear view when
backing up.
ILLUMINATED VISOR MIRROR (IF EQUIPPED)
To turn on the visor mirror lamps,
lift the mirror cover.
HOMELINKTUNIVERSAL TRANSCEIVER (IF EQUIPPED)
The HomeLinktUniversal Transceiver, located on the driver's visor,
provides a convenient way to replace up to three hand-held transmitters
with a single built-in device. This feature will learn the radio frequency
codes of most current transmitters to operate garage doors, entry gates,
security systems, entry door locks, and home or office lighting.
When programming your HomeLinktUniversal Transceiver, to a
garage door or gate be sure that people and objects are out of
the way to prevent potential harm or damage.
Do not use the HomeLinktUniversal Transceiver with any garage door
opener that lacks safety stop and reverse features as required by U.S.
federal safety standards (this includes any garage door opener model
manufactured before April 1, 1982). A garage door which cannot detect
an object, signaling the door to stop and reverse, does not meet current
U.S. federal safety standards. For more information on this matter, call
toll-free: 1±800±355±3515 or on the Internet atHomeLink.jci.com.
OFF AUTO
Controls and features
81
Page 83 of 248

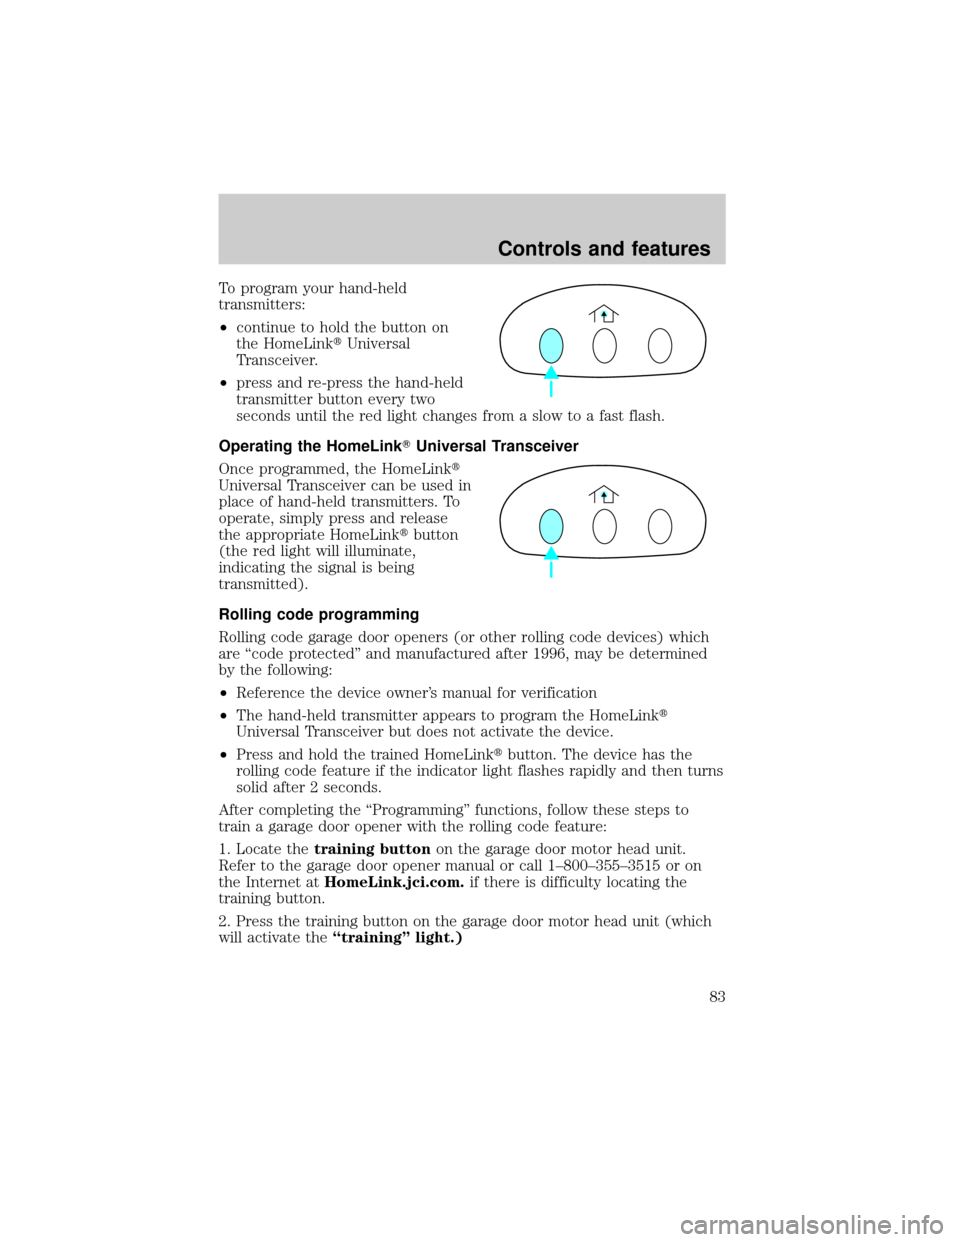
To program your hand-held
transmitters:
²continue to hold the button on
the HomeLinktUniversal
Transceiver.
²press and re-press the hand-held
transmitter button every two
seconds until the red light changes from a slow to a fast flash.
Operating the HomeLinkTUniversal Transceiver
Once programmed, the HomeLinkt
Universal Transceiver can be used in
place of hand-held transmitters. To
operate, simply press and release
the appropriate HomeLinktbutton
(the red light will illuminate,
indicating the signal is being
transmitted).
Rolling code programming
Rolling code garage door openers (or other rolling code devices) which
are ªcode protectedº and manufactured after 1996, may be determined
by the following:
²Reference the device owner's manual for verification
²The hand-held transmitter appears to program the HomeLinkt
Universal Transceiver but does not activate the device.
²Press and hold the trained HomeLinktbutton. The device has the
rolling code feature if the indicator light flashes rapidly and then turns
solid after 2 seconds.
After completing the ªProgrammingº functions, follow these steps to
train a garage door opener with the rolling code feature:
1. Locate thetraining buttonon the garage door motor head unit.
Refer to the garage door opener manual or call 1±800±355±3515 or on
the Internet atHomeLink.jci.com.if there is difficulty locating the
training button.
2. Press the training button on the garage door motor head unit (which
will activate theªtrainingº light.)
Controls and features
83
Page 84 of 248

3. Press and release the
programmed HomeLinktbutton.
Press and release the HomeLinkt
button asecond timeto complete
the training process. (Some garage
door openers may require this
procedure to be done a third time
to complete the training).
The 2nd or 3rd press from step 3 will activate the door. The HomeLinkt
Universal Transceiver has now been trained to the receiver. The
remaining two buttons may now be programmed if this has not
previously been done.
Erasing HomeLinkTbuttons
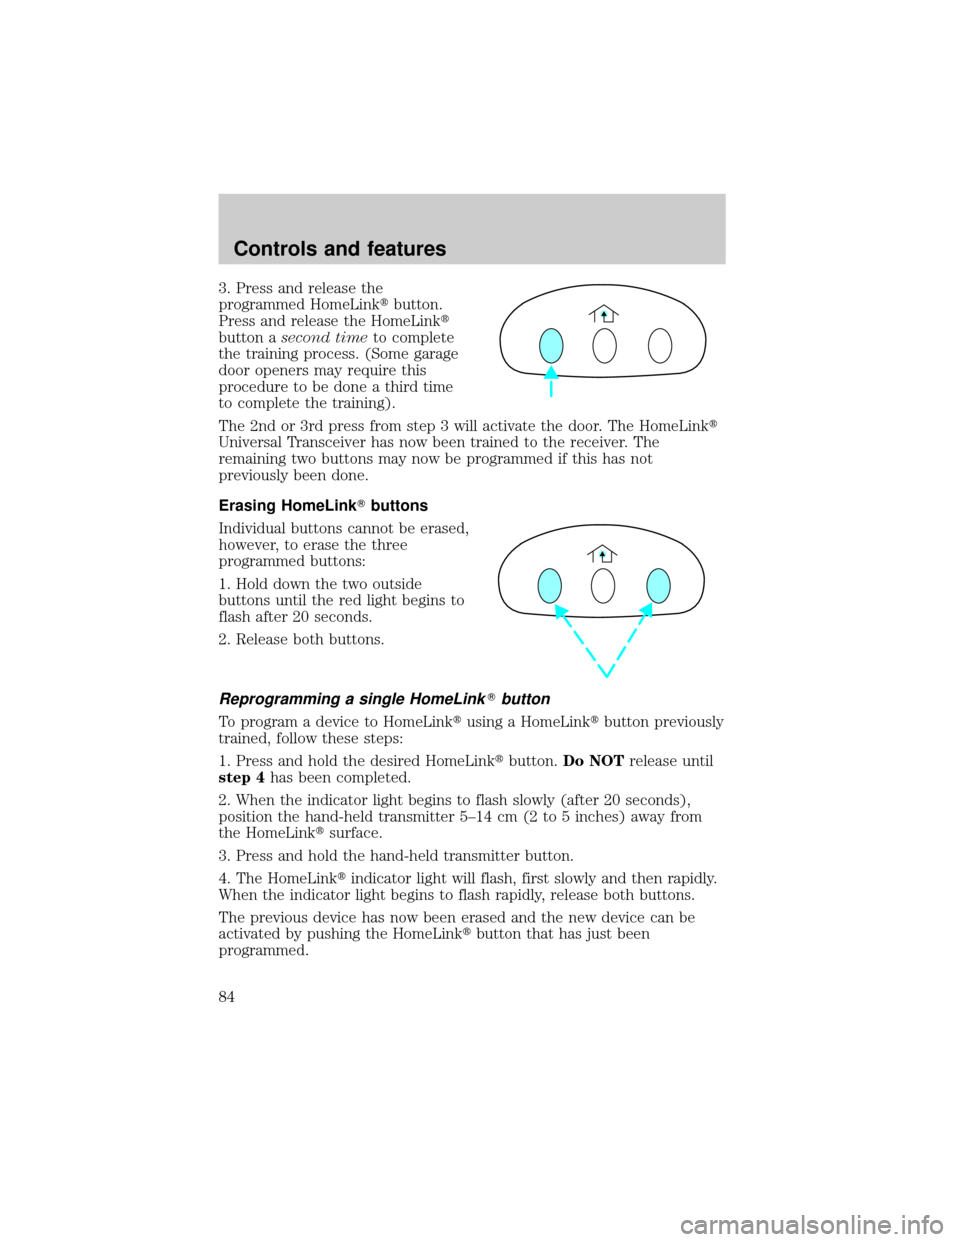
Individual buttons cannot be erased,
however, to erase the three
programmed buttons:
1. Hold down the two outside
buttons until the red light begins to
flash after 20 seconds.
2. Release both buttons.
Reprogramming a single HomeLinkTbutton
To program a device to HomeLinktusing a HomeLinktbutton previously
trained, follow these steps:
1. Press and hold the desired HomeLinktbutton.Do NOTrelease until
step 4has been completed.
2. When the indicator light begins to flash slowly (after 20 seconds),
position the hand-held transmitter 5±14 cm (2 to 5 inches) away from
the HomeLinktsurface.
3. Press and hold the hand-held transmitter button.
4. The HomeLinktindicator light will flash, first slowly and then rapidly.
When the indicator light begins to flash rapidly, release both buttons.
The previous device has now been erased and the new device can be
activated by pushing the HomeLinktbutton that has just been
programmed.
Controls and features
84
Page 86 of 248

With the ignition key in the ACC or ON position, the rear dome lamp can
be turned ON or OFF by sliding the control.
OVERHEAD CONSOLE (IF EQUIPPED)
The appearance of your vehicle's overhead console will vary according to
your option package.
Forward storage bins and conversation mirror (if equipped)
The storage compartments may be
used to store sunglasses or similar
objects. The conversation mirror
allows the driver to view the rear
seating area. This does not replace
your rear view mirror. Refer to
Power Sliding Doors (PSD)
(if equipped)in this chapter for
operation of doors.
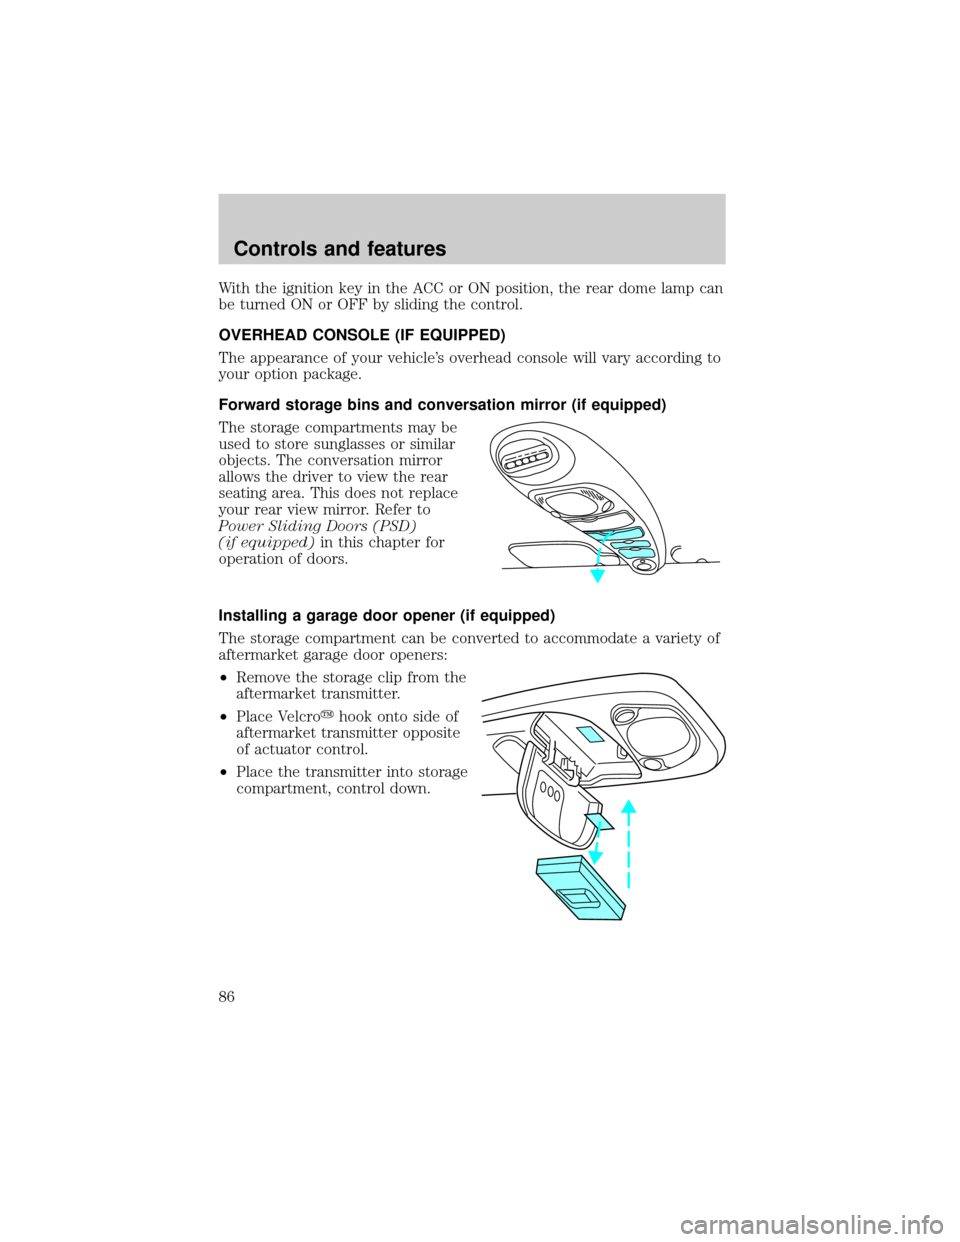
Installing a garage door opener (if equipped)
The storage compartment can be converted to accommodate a variety of
aftermarket garage door openers:
²Remove the storage clip from the
aftermarket transmitter.
²Place Velcroyhook onto side of
aftermarket transmitter opposite
of actuator control.
²Place the transmitter into storage
compartment, control down.
Controls and features
86
Page 245 of 248

Radio ...37,38,39,40,41,42,43,44,45,
46,47,48,49,50,51,52,53,54,
55,56,57,58,59,60,61,62,63
Relays ........................................168
Remote entry system .................91
illuminated entry ............26,96,99
locking/unlocking doors .92,93,94
replacement/additional
transmitters ...............................98
replacing the batteries .............97
Reverse sensing system .............67
Roof rack ...................................166
Safety belts (see Safety
restraints) ....................................11
Safety Compliance
Certification Label ....................241
Safety defects, reporting ..........242
Safety restraints
cleaning the safety belts .......123,
124,235
extension assembly ................122
for children .............................131
lap belt ....................................121
warning light and chime ..11,122,
123
Seat belts (see Safety
restraints) .............118,119,120,122
Seats ..........................................105
child safety seats ....................132
cleaning .....................233,234,235
Seats-easy access/easyout
feature .......................................106
Servicing your vehicle ..............188
Spark plugs, specifications .......236
Specification chart, lubricants .238
Speed control ..............................70
Speedometer ...............................13
Starting your vehicle .........147,149
jump starting ............182,183,185Steering wheel
tilting .........................................76
Tachometer .................................12
Tires .............................209,210,211
changing .............177,178,179,180
checking the pressure ............211
replacing ..................................212
rotating ....................................211
snow tires and chains ............213
tire grades ...............................210
treadwear ................................210
Towing ..................162,163,164,165
wrecker ....................................187
Traction control ...................69,153
active light ..................................6
Transaxle
fluid, refill capacities ..............237
Transmission
fluid, checking and adding
(automatic) ...............201,202,203
Trip odometer .............................14
Turn signal ..................................11
Universal transmitter (see
garage door opener) ....81,82,83,84
Vehicle dimensions ...................239
Vehicle Identification Number
(VIN) ..........................................241
Vehicle loading ..........................159
Ventilating your vehicle ...........150
Warning chimes .............................6
Washer fluid ..............................196
Water, Driving through .............159
Windows ......................................77
rear wiper/washer .....................75
Windshield washer fluid and
wipers
checking and cleaning ............208
operation ...................................74
replacing wiper blades ...........209
Index
245