ABS FORD WINDSTAR 2001 2.G Owners Manual
[x] Cancel search | Manufacturer: FORD, Model Year: 2001, Model line: WINDSTAR, Model: FORD WINDSTAR 2001 2.GPages: 288, PDF Size: 2.6 MB
Page 10 of 288
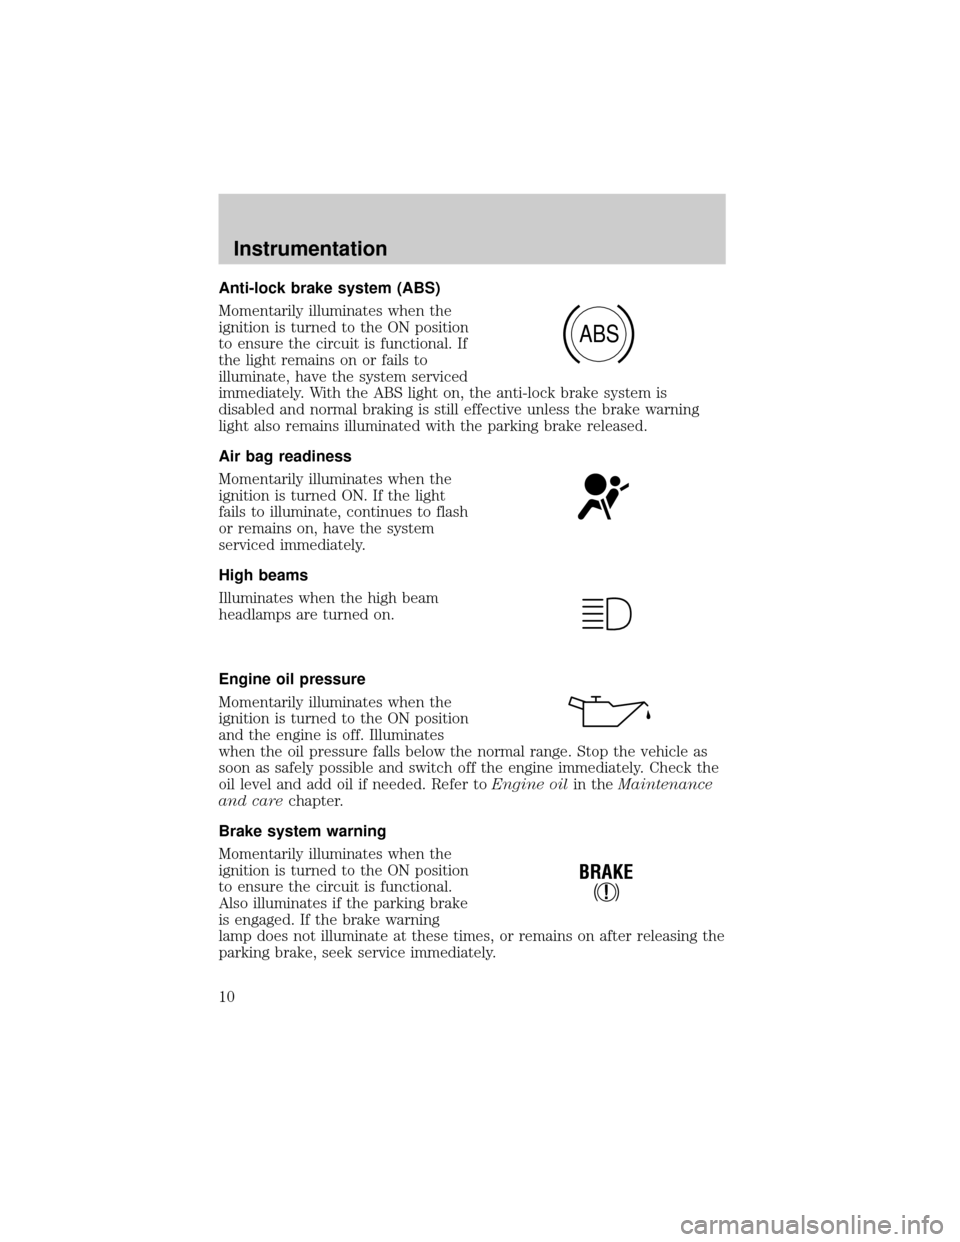
Anti-lock brake system (ABS)
Momentarily illuminates when the
ignition is turned to the ON position
to ensure the circuit is functional. If
the light remains on or fails to
illuminate, have the system serviced
immediately. With the ABS light on, the anti-lock brake system is
disabled and normal braking is still effective unless the brake warning
light also remains illuminated with the parking brake released.
Air bag readiness
Momentarily illuminates when the
ignition is turned ON. If the light
fails to illuminate, continues to flash
or remains on, have the system
serviced immediately.
High beams
Illuminates when the high beam
headlamps are turned on.
Engine oil pressure
Momentarily illuminates when the
ignition is turned to the ON position
and the engine is off. Illuminates
when the oil pressure falls below the normal range. Stop the vehicle as
soon as safely possible and switch off the engine immediately. Check the
oil level and add oil if needed. Refer toEngine oilin theMaintenance
and carechapter.
Brake system warning
Momentarily illuminates when the
ignition is turned to the ON position
to ensure the circuit is functional.
Also illuminates if the parking brake
is engaged. If the brake warning
lamp does not illuminate at these times, or remains on after releasing the
parking brake, seek service immediately.
ABS
!
BRAKE
Instrumentation
10
Page 11 of 288

One of the following conditions may exist:
²low brake fluid level in the reservoir.
²Brake force distribution system failure. The ABS light will also
illuminate if this condition is present.
O/D off
Illuminates when the Transmission
Control Switch (TCS), refer to
Overdrive controlin theControls
and Featureschapter, has been
pushed turning the transmission overdrive function OFF. When the light
is on, the transmission does not operate in the overdrive mode, refer to
theDrivingchapter for transmission function and operation.
The light may also flash steadily if a transmission malfunction is
detected. If the light does not come on when the Transmission Control
Switch is depressed or if the light flashes steadily, have your vehicle
serviced as soon as possible, damage to the transmission could occur.
Check engine
Your vehicle is equipped with a
computer that monitors the engine's
emission control system. This
system is commonly known as the
On Board Diagnostics System (OBD II). This OBD II system protects the
environment by ensuring that your vehicle continues to meet
government emission standards. The OBD II system also assists the
service technician in properly servicing your vehicle.
TheCheck Engineindicator light illuminates when the ignition is first
turned to the ON position to check the bulb. If it comes on after the
engine is started, one of the engine's emission control systems may be
malfunctioning. The light may illuminate without a driveability concern
being noted. The vehicle will usually be drivable and will not require
towing.
What you should do if the check engine light illuminates
Light turns on solid:
This means that the OBD II system has detected a malfunction.
O/D
OFF
Instrumentation
11
Page 128 of 288
To install the seat:
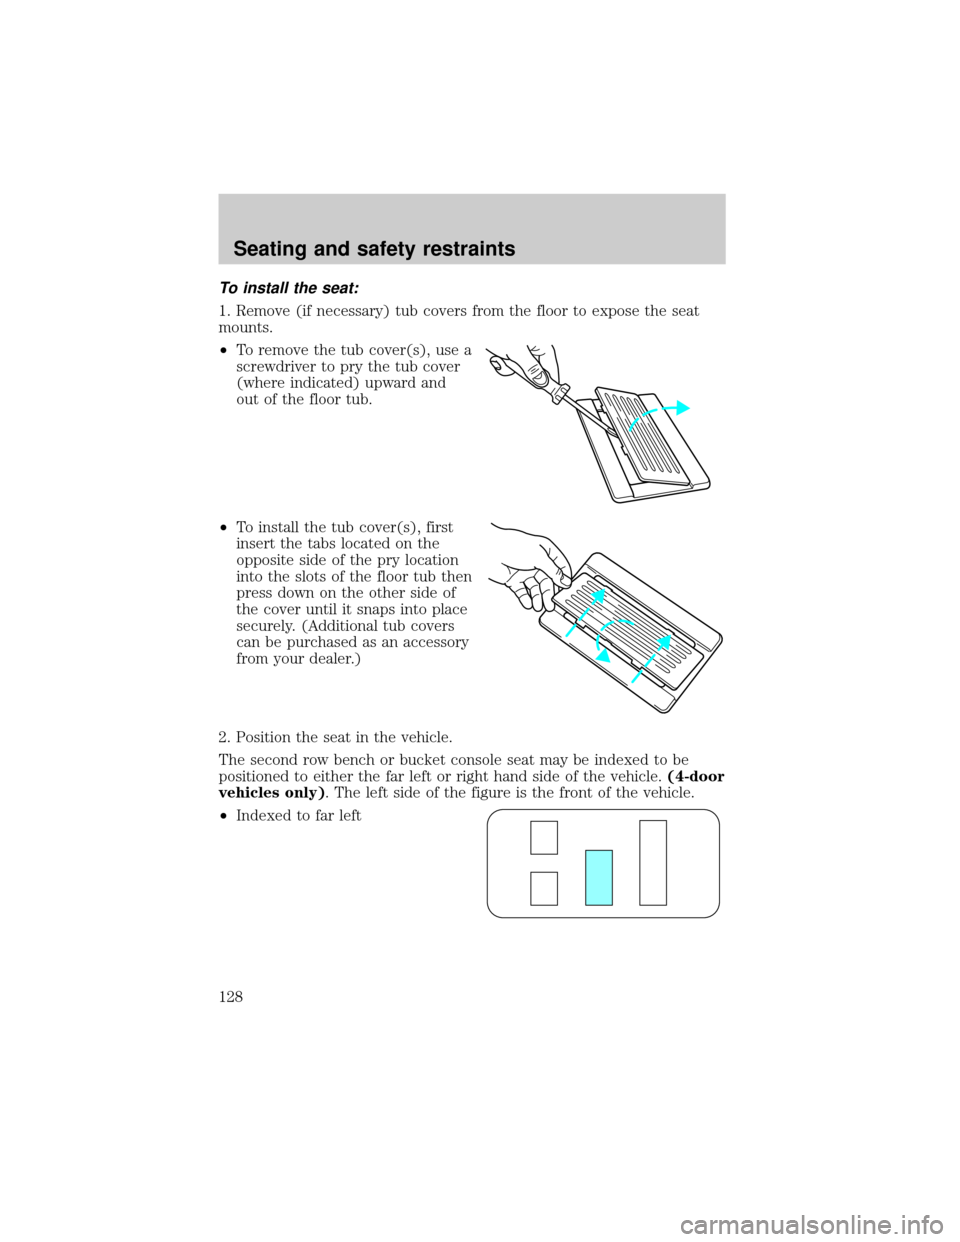
1. Remove (if necessary) tub covers from the floor to expose the seat
mounts.
²To remove the tub cover(s), use a
screwdriver to pry the tub cover
(where indicated) upward and
out of the floor tub.
²To install the tub cover(s), first
insert the tabs located on the
opposite side of the pry location
into the slots of the floor tub then
press down on the other side of
the cover until it snaps into place
securely. (Additional tub covers
can be purchased as an accessory
from your dealer.)
2. Position the seat in the vehicle.
The second row bench or bucket console seat may be indexed to be
positioned to either the far left or right hand side of the vehicle.(4-door
vehicles only). The left side of the figure is the front of the vehicle.
²Indexed to far left
Seating and safety restraints
128
Page 167 of 288
BRAKES
Your service brakes are self-adjusting. Refer to the scheduled
maintenance guide for scheduled maintenance.
Occasional brake noise is normal and often does not indicate a
performance concern with the vehicle's brake system. In normal
operation, automotive brake systems may emit occasional or intermittent
squeal or groan noises when the brakes are applied. Such noises are
usually heard during the first few brake applications in the morning;
however, they may be heard at any time while braking and can be
aggravated by environmental conditions such as cold, heat, moisture,
road dust, salt or mud. If a ªmetal-to-metal,º ªcontinuous grindingº or
ªcontinuous squealº sound is present while braking, the brake linings
may be worn-out and should be inspected by a qualified service
technician.
Anti-lock brake system (ABS)
On vehicles equipped with an anti-lock braking system (ABS), a noise
from the hydraulic pump motor and pulsation in the pedal may be
observed during ABS braking events. Pedal pulsation coupled with noise
while braking under panic conditions or on loose gravel, bumps, wet or
snowy roads is normal and indicates proper functioning of the vehicle's
anti-lock brake system. The ABS performs a self-check after you start
the engine and begin to drive away. A brief mechanical noise may be
heard during this test. This is normal. If a malfunction is found, the ABS
warning light will come on. If the vehicle has continuous vibration or
shudder in the steering wheel while braking, the vehicle should be
inspected by a qualified service technician.
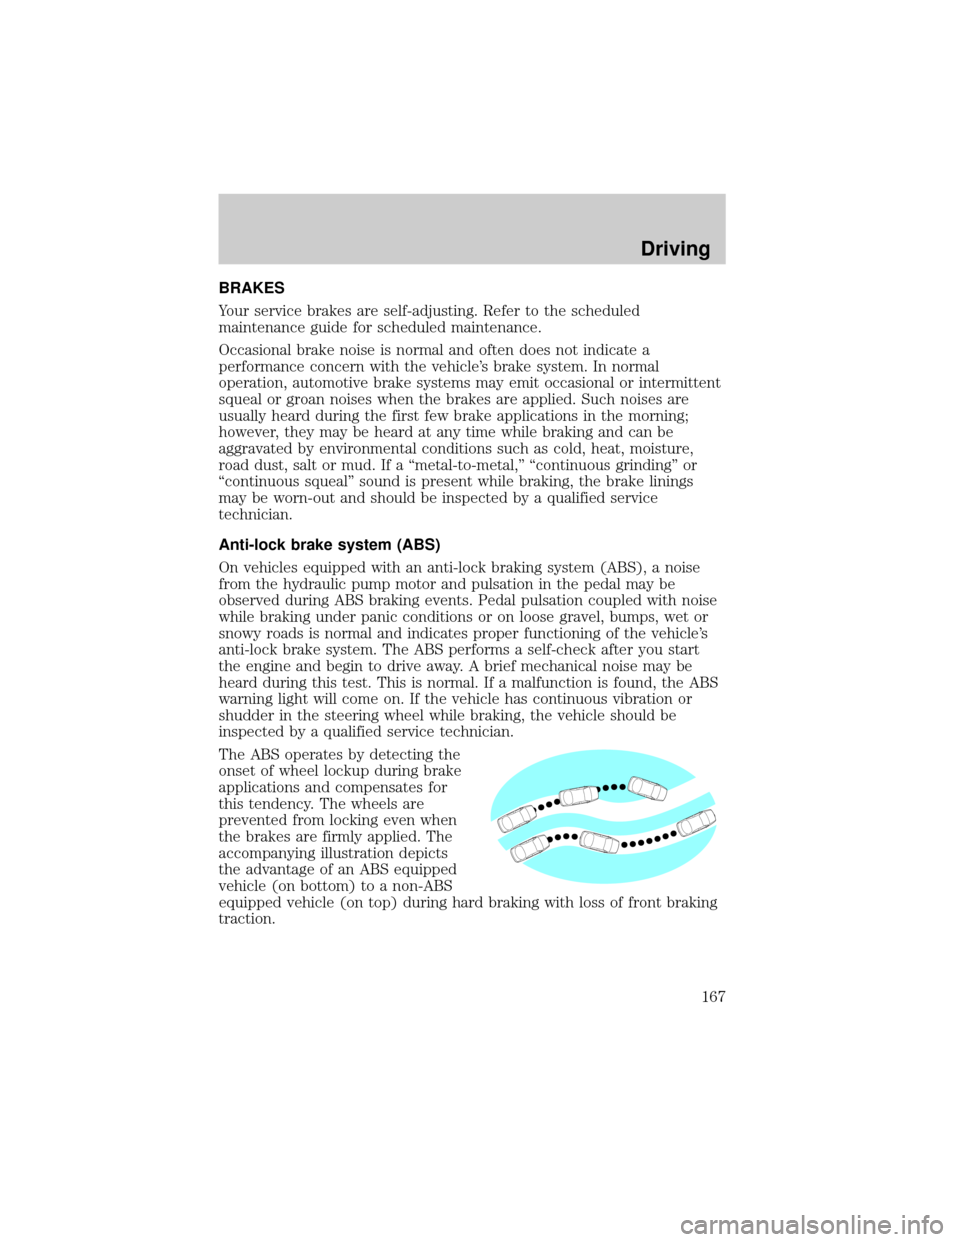
The ABS operates by detecting the
onset of wheel lockup during brake
applications and compensates for
this tendency. The wheels are
prevented from locking even when
the brakes are firmly applied. The
accompanying illustration depicts
the advantage of an ABS equipped
vehicle (on bottom) to a non-ABS
equipped vehicle (on top) during hard braking with loss of front braking
traction.
Driving
167
Page 168 of 288
ABS warning lampABS
TheABSwarning lamp in the instrument cluster momentarily illuminates
when the ignition is turned to the ON position. If the light does not
illuminate momentarily at start up or remains on the ABS needs to be
serviced.
With the ABS light on, the anti-lock
brake system is disabled and normal
braking is still effective unless the
brake warning light also remains
illuminated with parking brake
released. (If your brake warning lamp illuminates, have your vehicle
serviced immediately.)
Using ABS
²In an emergency or when maximum efficiency from the four wheel
ABS is required, apply continuous force on the brake. The four wheel
ABS will be activated immediately, thus allowing you to retain full
steering control of your vehicle and, providing there is sufficient
space, will enable you to avoid obstacles and bring the vehicle to a
controlled stop.
²The Anti-Lock system does not decrease the time necessary to apply
the brakes or always reduce stopping distance. Always leave enough
room between your vehicle and the vehicle in front of you to stop.
²We recommend that you familiarize yourself with this braking
technique. However, avoid taking any unnecessary risks.
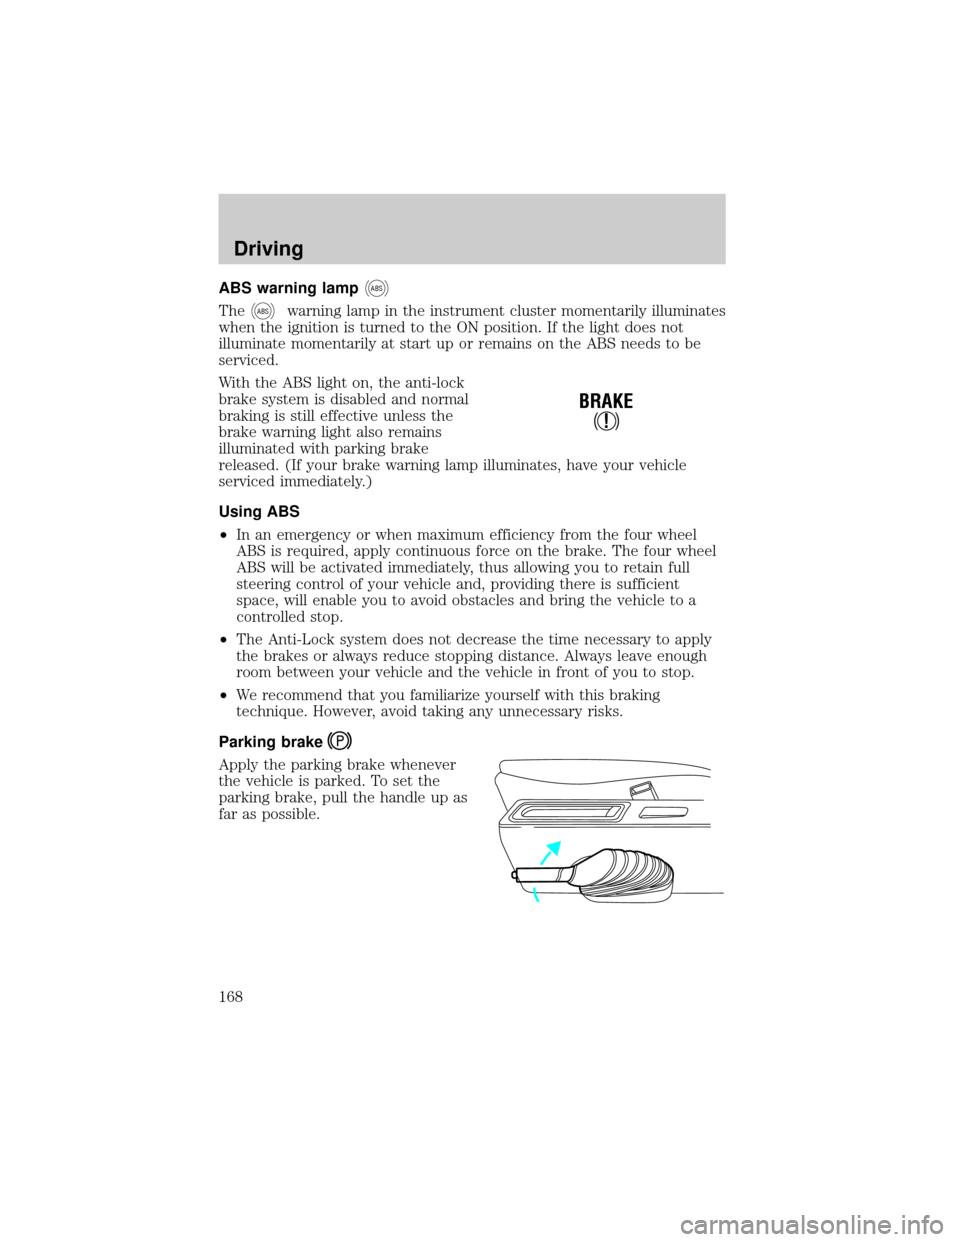
Parking brake
Apply the parking brake whenever
the vehicle is parked. To set the
parking brake, pull the handle up as
far as possible.
!
BRAKE
Driving
168
Page 169 of 288
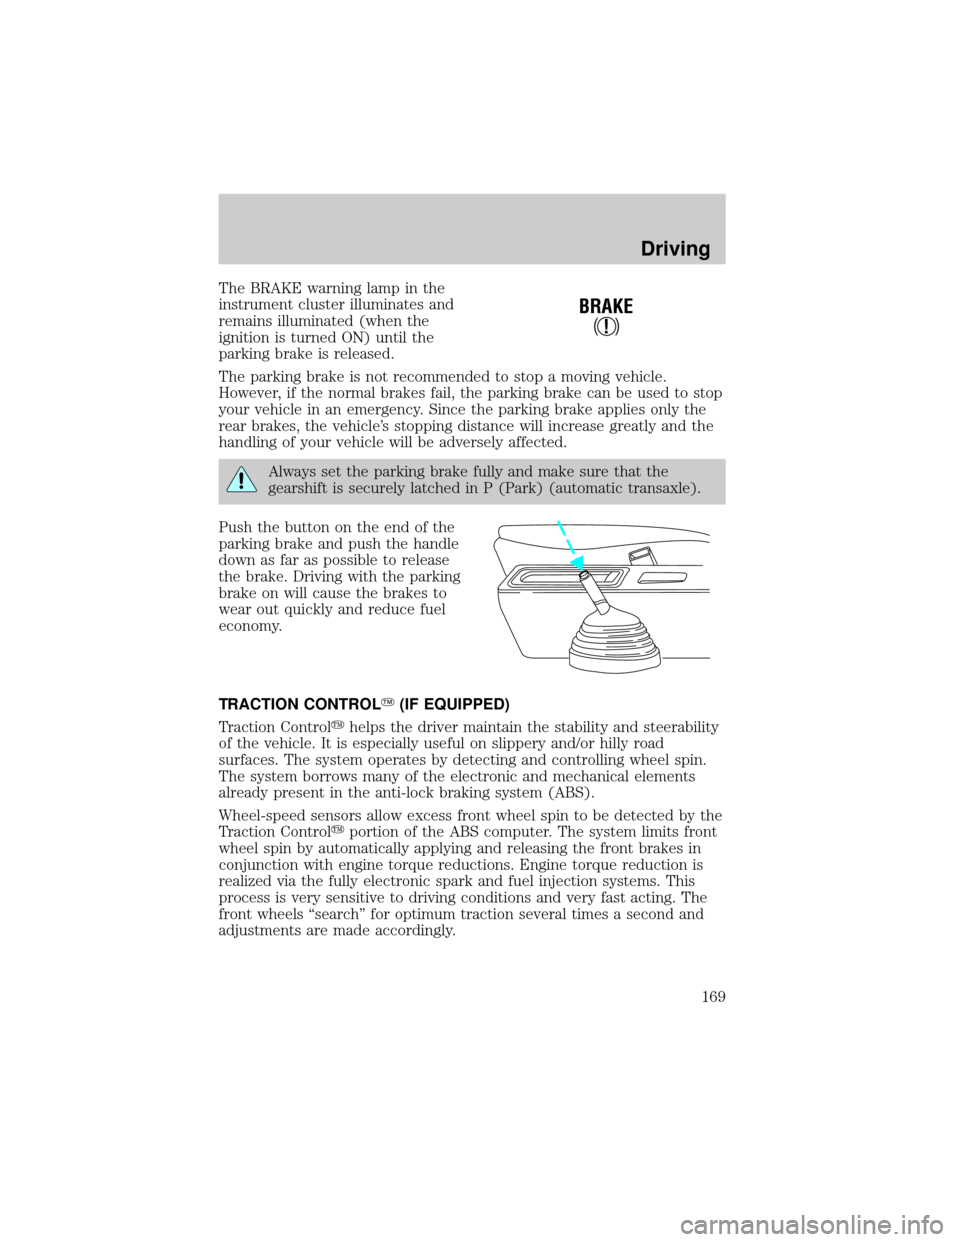
The BRAKE warning lamp in the
instrument cluster illuminates and
remains illuminated (when the
ignition is turned ON) until the
parking brake is released.
The parking brake is not recommended to stop a moving vehicle.
However, if the normal brakes fail, the parking brake can be used to stop
your vehicle in an emergency. Since the parking brake applies only the
rear brakes, the vehicle's stopping distance will increase greatly and the
handling of your vehicle will be adversely affected.
Always set the parking brake fully and make sure that the
gearshift is securely latched in P (Park) (automatic transaxle).
Push the button on the end of the
parking brake and push the handle
down as far as possible to release
the brake. Driving with the parking
brake on will cause the brakes to
wear out quickly and reduce fuel
economy.
TRACTION CONTROLY(IF EQUIPPED)
Traction Controlyhelps the driver maintain the stability and steerability
of the vehicle. It is especially useful on slippery and/or hilly road
surfaces. The system operates by detecting and controlling wheel spin.
The system borrows many of the electronic and mechanical elements
already present in the anti-lock braking system (ABS).
Wheel-speed sensors allow excess front wheel spin to be detected by the
Traction Controlyportion of the ABS computer. The system limits front
wheel spin by automatically applying and releasing the front brakes in
conjunction with engine torque reductions. Engine torque reduction is
realized via the fully electronic spark and fuel injection systems. This
process is very sensitive to driving conditions and very fast acting. The
front wheels ªsearchº for optimum traction several times a second and
adjustments are made accordingly.
!
BRAKE
Driving
169
Page 170 of 288
The Traction Controlysystem will assist you in making better use of
available traction on slippery surfaces. The system is a driver aid which
makes your vehicle easier to handle primarily on snow and ice covered
roads.
During Traction Controlyoperation, TRACTION CONTROL OK is
displayed on the message center (if equipped). You may hear an electric
motor type of sound coming from the engine compartment and the
engine will not ªrev-upº when you push further on the accelerator. This
is normal system behavior.
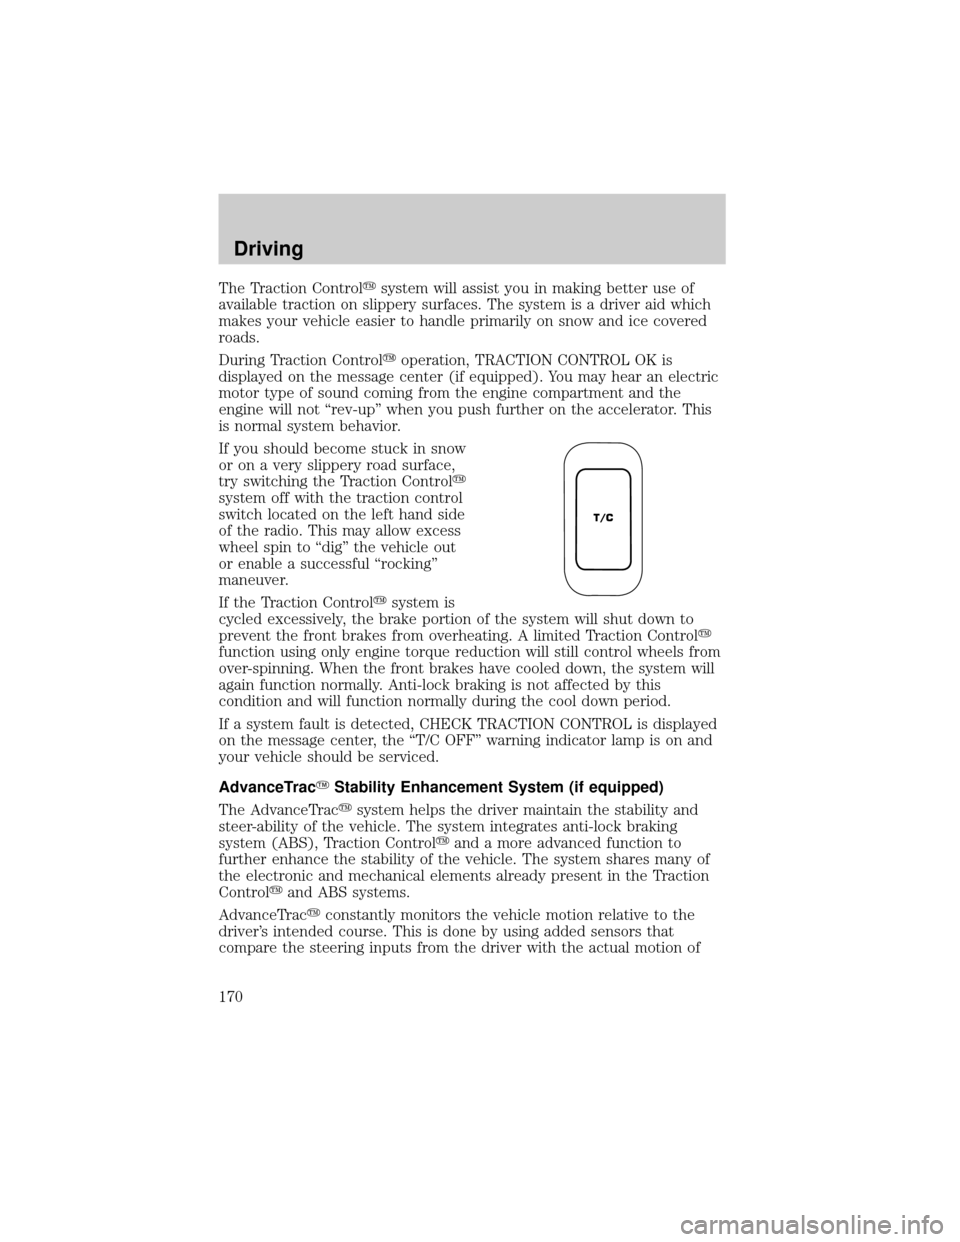
If you should become stuck in snow
or on a very slippery road surface,
try switching the Traction Controly
system off with the traction control
switch located on the left hand side
of the radio. This may allow excess
wheel spin to ªdigº the vehicle out
or enable a successful ªrockingº
maneuver.
If the Traction Controlysystem is
cycled excessively, the brake portion of the system will shut down to
prevent the front brakes from overheating. A limited Traction Controly
function using only engine torque reduction will still control wheels from
over-spinning. When the front brakes have cooled down, the system will
again function normally. Anti-lock braking is not affected by this
condition and will function normally during the cool down period.
If a system fault is detected, CHECK TRACTION CONTROL is displayed
on the message center, the ªT/C OFFº warning indicator lamp is on and
your vehicle should be serviced.
AdvanceTracYStability Enhancement System (if equipped)
The AdvanceTracysystem helps the driver maintain the stability and
steer-ability of the vehicle. The system integrates anti-lock braking
system (ABS), Traction Controlyand a more advanced function to
further enhance the stability of the vehicle. The system shares many of
the electronic and mechanical elements already present in the Traction
Controlyand ABS systems.
AdvanceTracyconstantly monitors the vehicle motion relative to the
driver's intended course. This is done by using added sensors that
compare the steering inputs from the driver with the actual motion of
T/C
Driving
170
Page 171 of 288

the vehicle. When there is a discrepancy between the driver's inputs and
the vehicle motion, AdvanceTracychanges the force at each tire to help
control the vehicle. If the vehicle begins to rotate excessively left or
right, spin out, or slide sideways, the system will attempt to correct the
excessive motion. If the vehicle does not respond to steering inputs, the
system will attempt to increase the turning response of the vehicle.
AdvanceTracyenhances stability during maneuvers that require all
available tire traction to control the vehicle. The system uses ABS and
Traction Controly(including control of the engine) as well as its more
advanced controls to enhance vehicle stability. The benefits of the
AdvanceTracysystem are most noticeable when driving in wet/snowy/icy
road conditions and/or when performing emergency maneuvers. In an
emergency lane-change, the driver will experience better overall control
of the vehicle.
Driving conditions which may activate AdvanceTracyinclude:
²Taking a turn too fast
²Evasively maneuvering to avoid an accident, pedestrian or obstacle
²Hitting a patch of ice
²Changing lanes on a snow-rutted road
²Entering a snow-covered side street from a snow-free road
²Entering a gravel road from a paved road
²Driving on slick surfaces
The AdvanceTracysystem is always ON when the engine is running.
The system does not work when the vehicle is traveling backwards. In
reverse, ABS and Traction Controlywill continue to function.
If you are operating the speed control system and road conditions
change causing the AdvanceTracyto activate, the AdvanceTracywill
disengage speed control. When driving conditions permit you can return
to speed control by pressing ªRESUMEº, refer toªSpeed Controlº
section in theControls and featureschapter.
Driving
171
Page 172 of 288
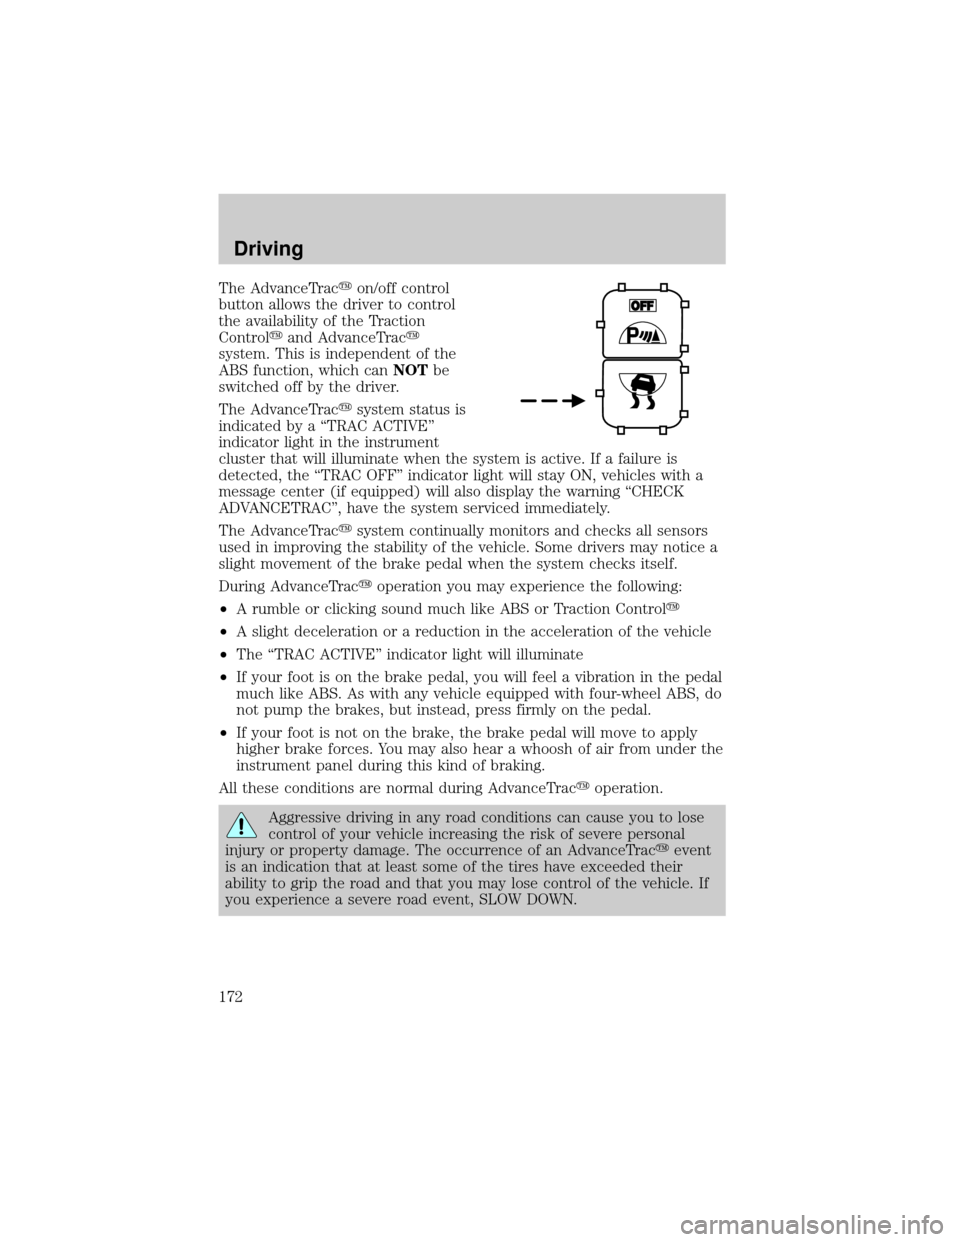
The AdvanceTracyon/off control
button allows the driver to control
the availability of the Traction
Controlyand AdvanceTracy
system. This is independent of the
ABS function, which canNOTbe
switched off by the driver.
The AdvanceTracysystem status is
indicated by a ªTRAC ACTIVEº
indicator light in the instrument
cluster that will illuminate when the system is active. If a failure is
detected, the ªTRAC OFFº indicator light will stay ON, vehicles with a
message center (if equipped) will also display the warning ªCHECK
ADVANCETRACº, have the system serviced immediately.
The AdvanceTracysystem continually monitors and checks all sensors
used in improving the stability of the vehicle. Some drivers may notice a
slight movement of the brake pedal when the system checks itself.
During AdvanceTracyoperation you may experience the following:
²A rumble or clicking sound much like ABS or Traction Controly
²A slight deceleration or a reduction in the acceleration of the vehicle
²The ªTRAC ACTIVEº indicator light will illuminate
²If your foot is on the brake pedal, you will feel a vibration in the pedal
much like ABS. As with any vehicle equipped with four-wheel ABS, do
not pump the brakes, but instead, press firmly on the pedal.
²If your foot is not on the brake, the brake pedal will move to apply
higher brake forces. You may also hear a whoosh of air from under the
instrument panel during this kind of braking.
All these conditions are normal during AdvanceTracyoperation.
Aggressive driving in any road conditions can cause you to lose
control of your vehicle increasing the risk of severe personal
injury or property damage. The occurrence of an AdvanceTracyevent
is an indication that at least some of the tires have exceeded their
ability to grip the road and that you may lose control of the vehicle. If
you experience a severe road event, SLOW DOWN.
Driving
172
Page 184 of 288
All Front Wheel Drive (FWD) vehicles
An example of recreational towing is towing your vehicle behind a
Motorhome. The following recreational towing guidelines are designed to
ensure that your transmission is not damaged. It is not recommended to
tow front wheel drive vehicles with the front drive wheels on the ground.
It is recommended to tow your vehicle with the drive wheels on a dolly
or two wheel car hauling trailer.
In case of a roadside emergency with a disabled vehicle (without access
to wheel dollies, car hauling trailer or flatbed transport vehicle) your
vehicle can be flat towed (all wheels on the ground) under the following
conditions:
²Place the transmission in N (Neutral).
²Maximum speed is 56 km/h (35 mph).
²Maximum distance is 80 km (50 miles).
LUGGAGE RACK (IF EQUIPPED)
Maximum load is 75 kg (165 lbs) on the roof rack structure, or 45 kg
(100 lbs) on the roof panel, evenly distributed. If it is not possible to
distribute the load, position it as far rearward as possible. Use the tie
down loops to secure the load.
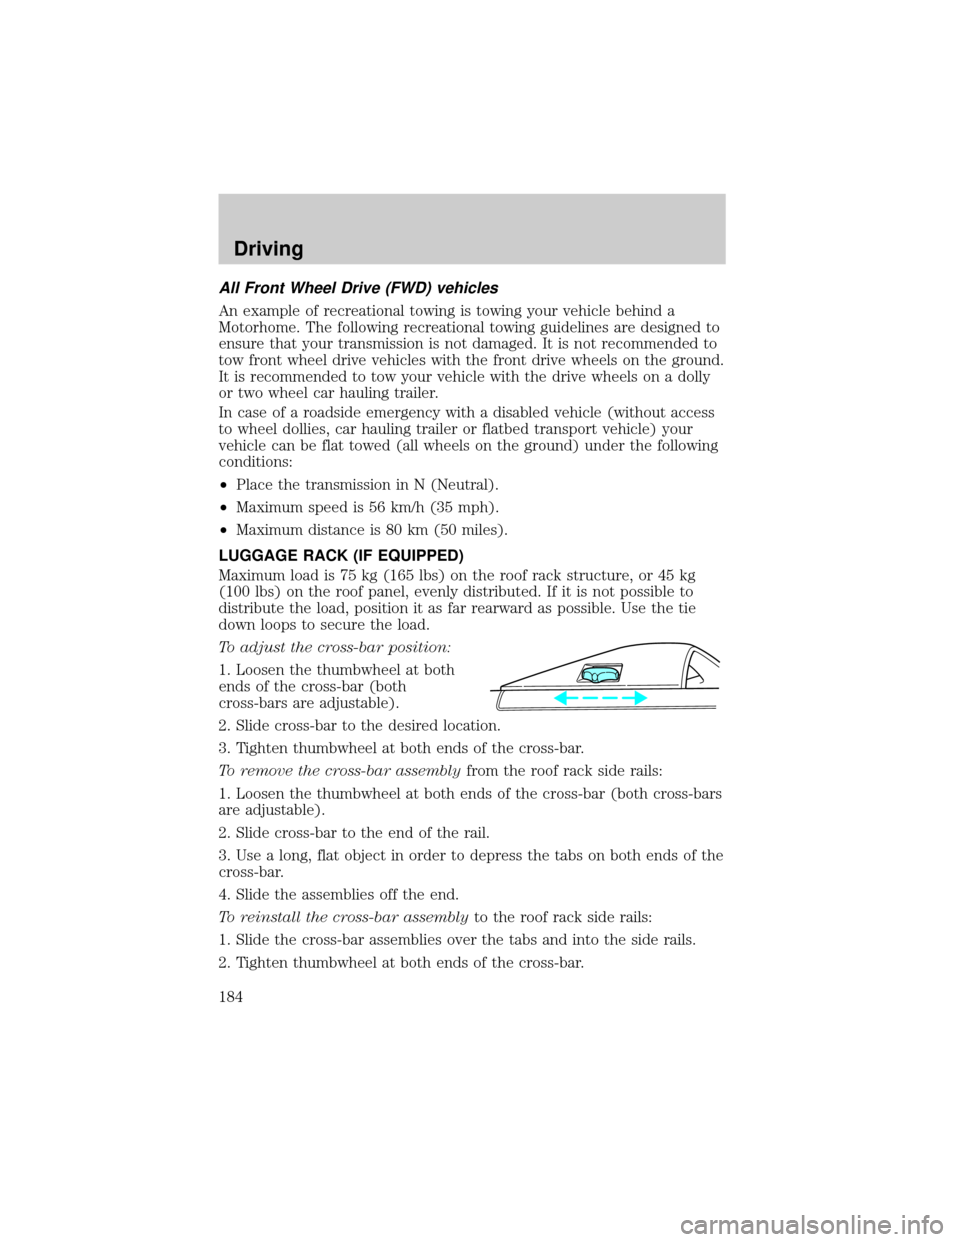
To adjust the cross-bar position:
1. Loosen the thumbwheel at both
ends of the cross-bar (both
cross-bars are adjustable).
2. Slide cross-bar to the desired location.
3. Tighten thumbwheel at both ends of the cross-bar.
To remove the cross-bar assemblyfrom the roof rack side rails:
1. Loosen the thumbwheel at both ends of the cross-bar (both cross-bars
are adjustable).
2. Slide cross-bar to the end of the rail.
3. Use a long, flat object in order to depress the tabs on both ends of the
cross-bar.
4. Slide the assemblies off the end.
To reinstall the cross-bar assemblyto the roof rack side rails:
1. Slide the cross-bar assemblies over the tabs and into the side rails.
2. Tighten thumbwheel at both ends of the cross-bar.
Driving
184