radio controls FORD WINDSTAR 2002 2.G Owners Manual
[x] Cancel search | Manufacturer: FORD, Model Year: 2002, Model line: WINDSTAR, Model: FORD WINDSTAR 2002 2.GPages: 296, PDF Size: 2.45 MB
Page 21 of 296
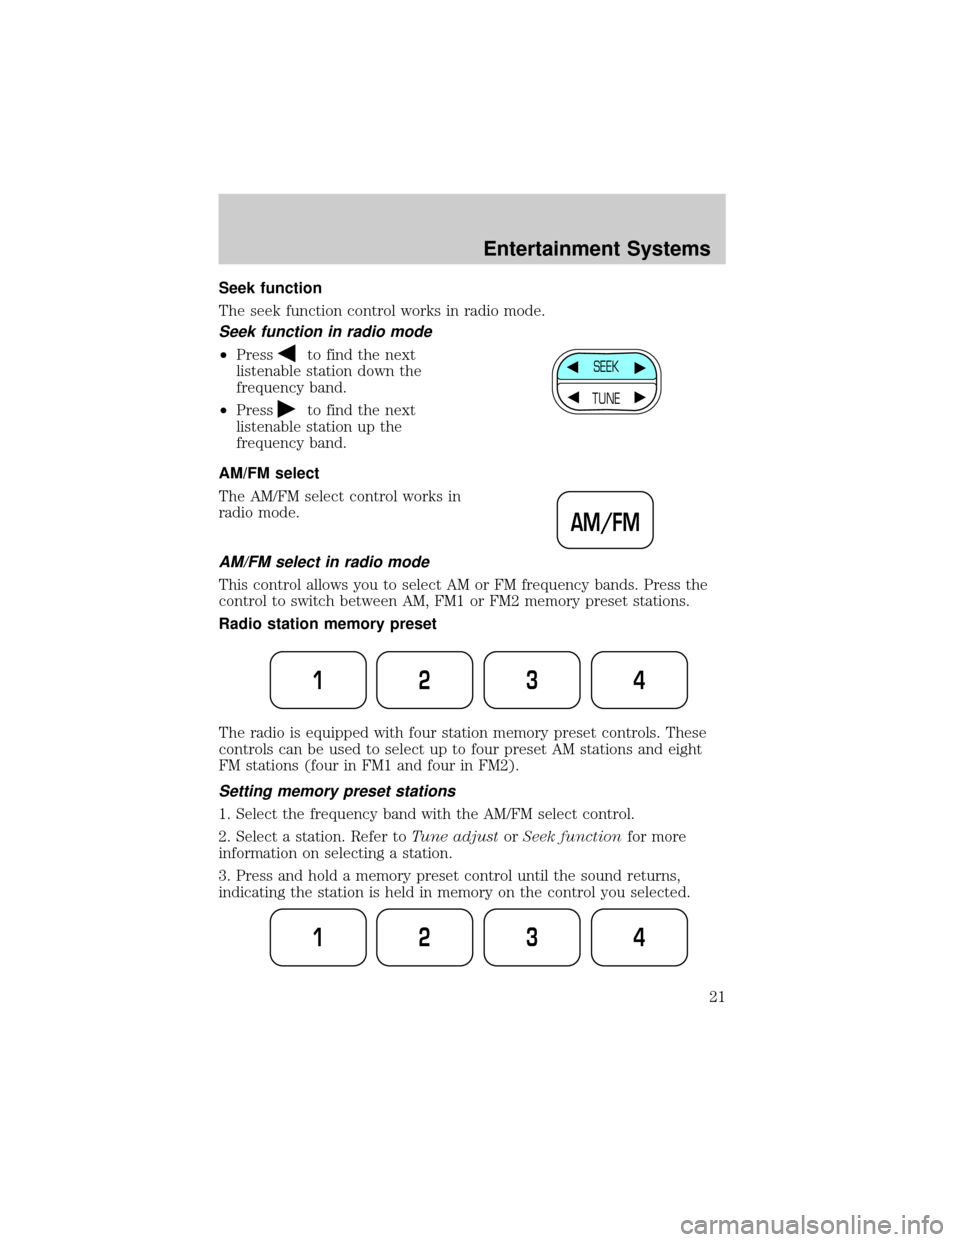
Seek function
The seek function control works in radio mode.
Seek function in radio mode
²Pressto find the next
listenable station down the
frequency band.
²Press
to find the next
listenable station up the
frequency band.
AM/FM select
The AM/FM select control works in
radio mode.
AM/FM select in radio mode
This control allows you to select AM or FM frequency bands. Press the
control to switch between AM, FM1 or FM2 memory preset stations.
Radio station memory preset
The radio is equipped with four station memory preset controls. These
controls can be used to select up to four preset AM stations and eight
FM stations (four in FM1 and four in FM2).
Setting memory preset stations
1. Select the frequency band with the AM/FM select control.
2. Select a station. Refer toTune adjustorSeek functionfor more
information on selecting a station.
3. Press and hold a memory preset control until the sound returns,
indicating the station is held in memory on the control you selected.
SEEK
TUNE
AM/FM
1234
1234
Entertainment Systems
21
Page 26 of 296
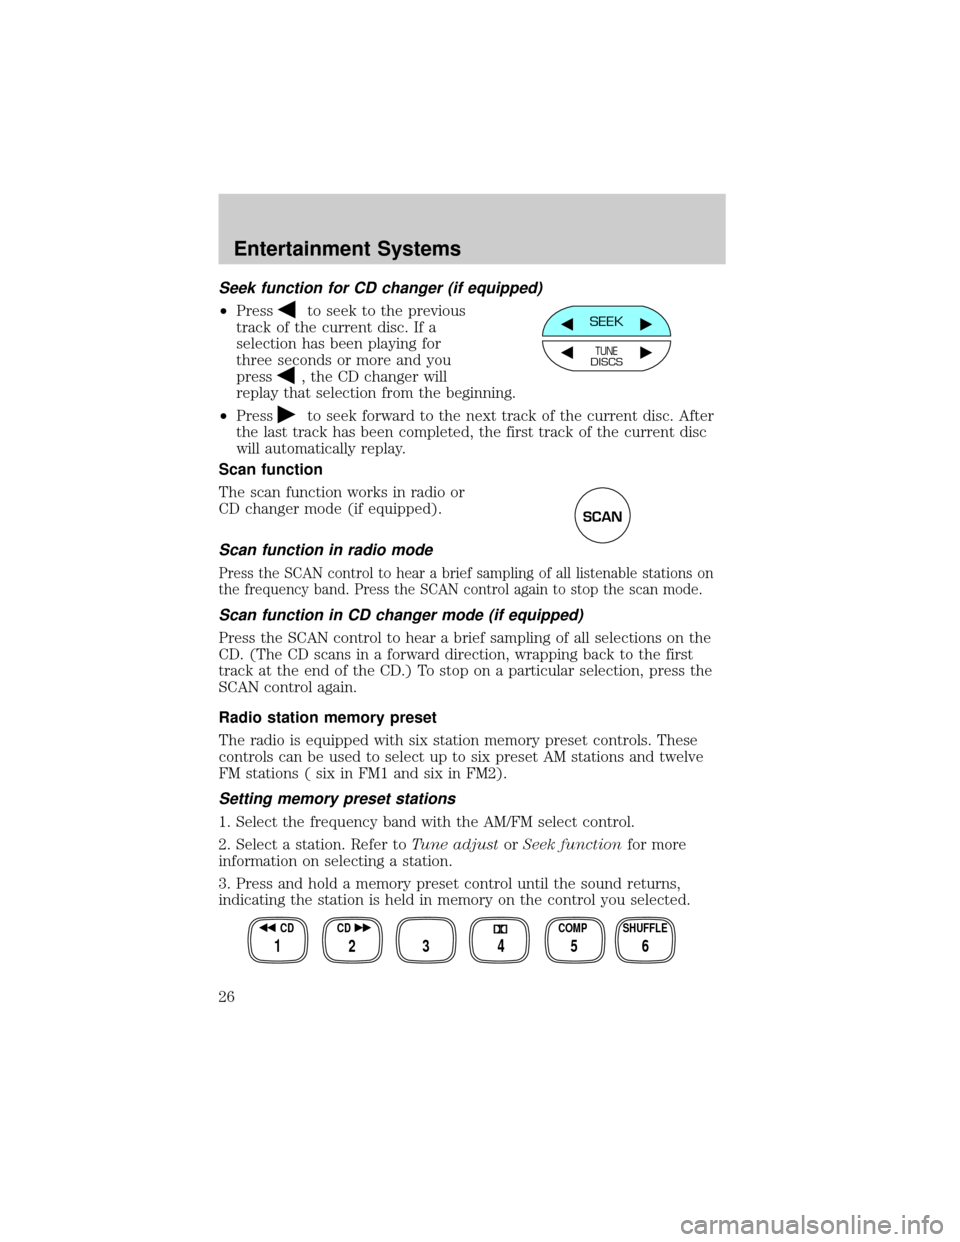
Seek function for CD changer (if equipped)
²Pressto seek to the previous
track of the current disc. If a
selection has been playing for
three seconds or more and you
press
, the CD changer will
replay that selection from the beginning.
²Press
to seek forward to the next track of the current disc. After
the last track has been completed, the first track of the current disc
will automatically replay.
Scan function
The scan function works in radio or
CD changer mode (if equipped).
Scan function in radio mode
Press the SCAN control to hear a brief sampling of all listenable stations on
the frequency band. Press the SCAN control again to stop the scan mode.
Scan function in CD changer mode (if equipped)
Press the SCAN control to hear a brief sampling of all selections on the
CD. (The CD scans in a forward direction, wrapping back to the first
track at the end of the CD.) To stop on a particular selection, press the
SCAN control again.
Radio station memory preset
The radio is equipped with six station memory preset controls. These
controls can be used to select up to six preset AM stations and twelve
FM stations ( six in FM1 and six in FM2).
Setting memory preset stations
1. Select the frequency band with the AM/FM select control.
2. Select a station. Refer toTune adjustorSeek functionfor more
information on selecting a station.
3. Press and hold a memory preset control until the sound returns,
indicating the station is held in memory on the control you selected.
SEEK
TUNEDISCS
SCAN
SHUFFLE COMP CD CD
3 2 1456
Entertainment Systems
26
Page 36 of 296
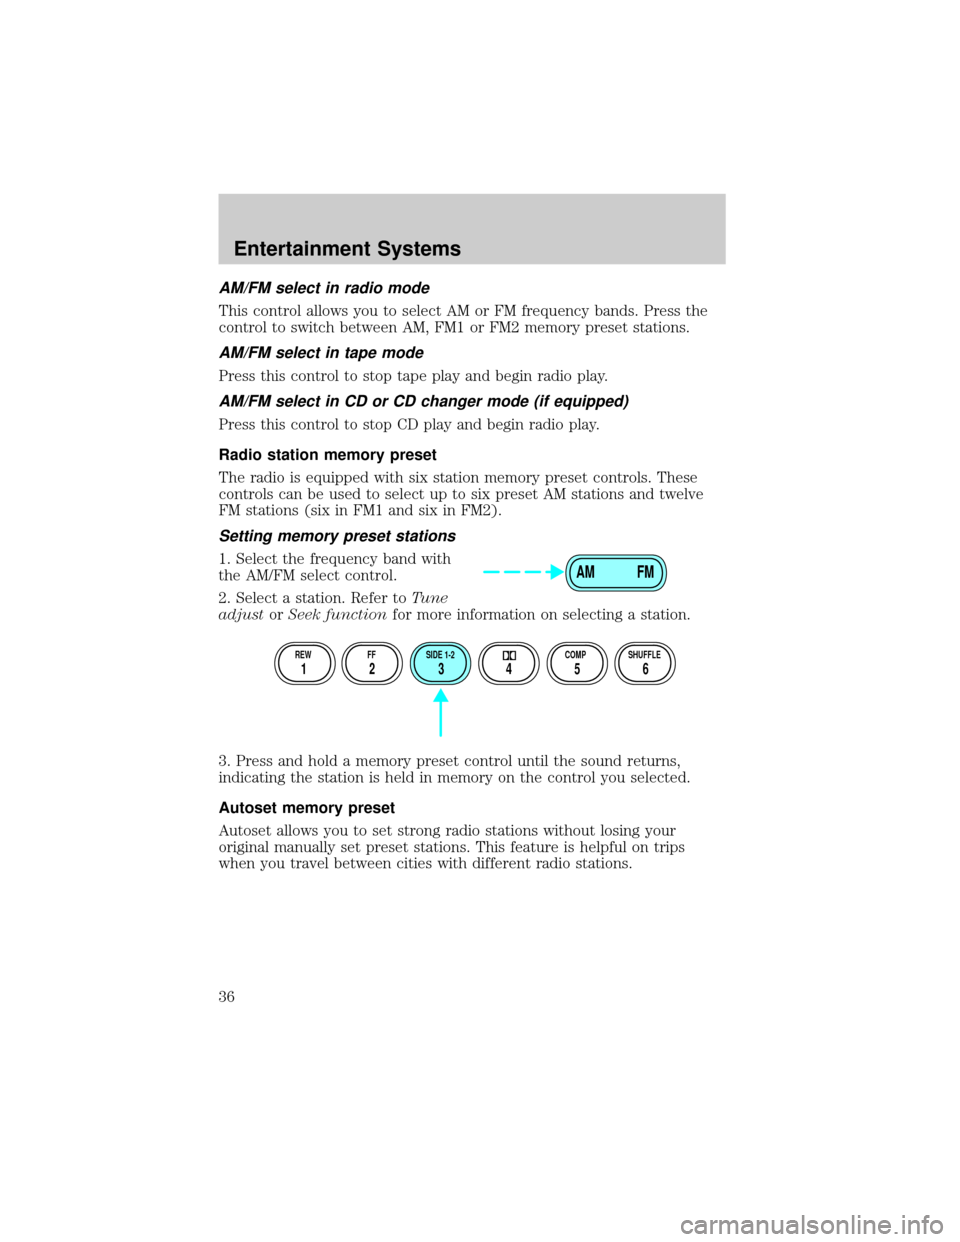
AM/FM select in radio mode
This control allows you to select AM or FM frequency bands. Press the
control to switch between AM, FM1 or FM2 memory preset stations.
AM/FM select in tape mode
Press this control to stop tape play and begin radio play.
AM/FM select in CD or CD changer mode (if equipped)
Press this control to stop CD play and begin radio play.
Radio station memory preset
The radio is equipped with six station memory preset controls. These
controls can be used to select up to six preset AM stations and twelve
FM stations (six in FM1 and six in FM2).
Setting memory preset stations
1. Select the frequency band with
the AM/FM select control.
2. Select a station. Refer toTune
adjustorSeek functionfor more information on selecting a station.
3. Press and hold a memory preset control until the sound returns,
indicating the station is held in memory on the control you selected.
Autoset memory preset
Autoset allows you to set strong radio stations without losing your
original manually set preset stations. This feature is helpful on trips
when you travel between cities with different radio stations.AM FM
REW FF SIDE 1-2 COMP SHUFFLE
12 3456
Entertainment Systems
36
Page 42 of 296
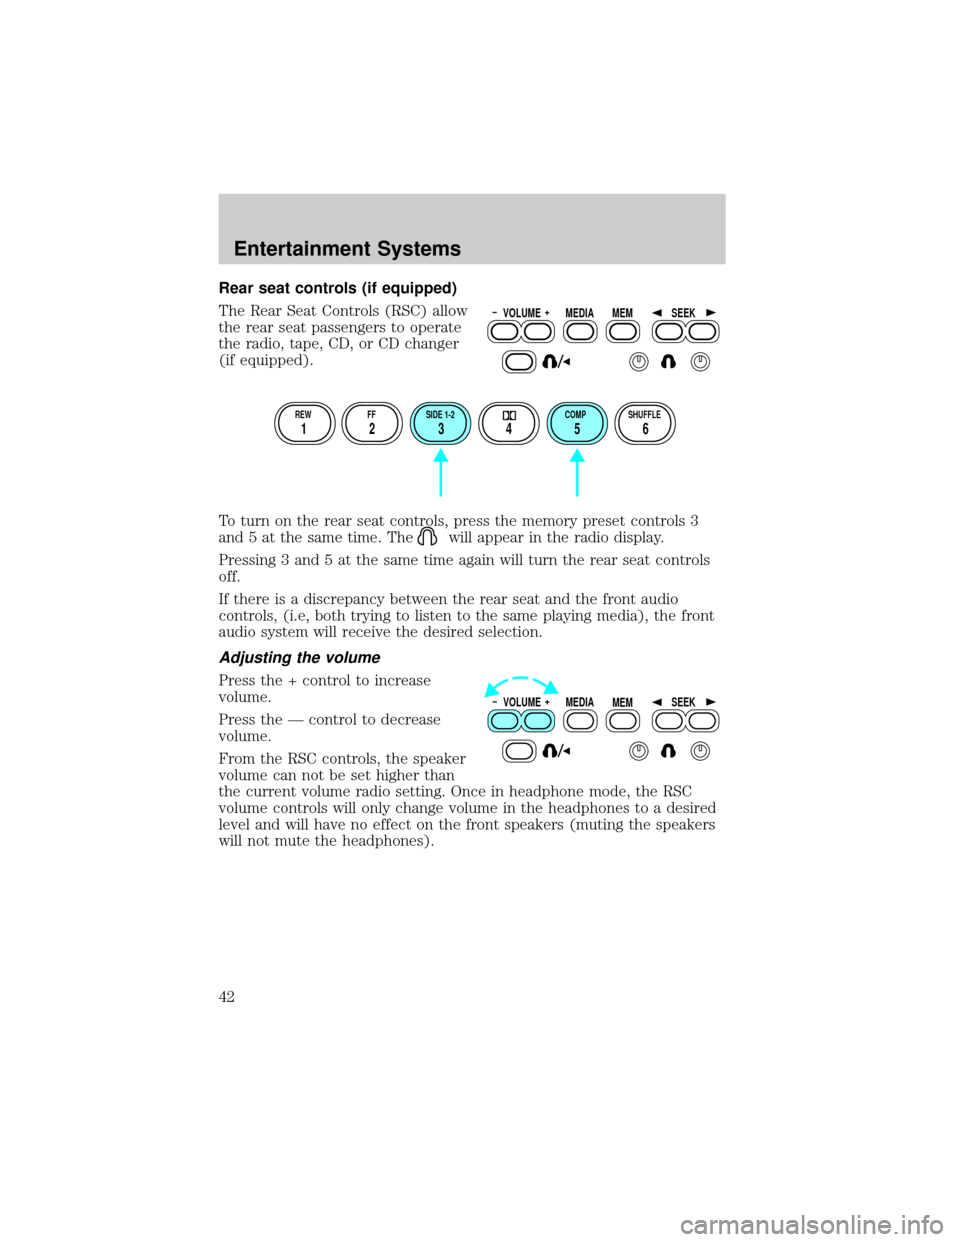
Rear seat controls (if equipped)
The Rear Seat Controls (RSC) allow
the rear seat passengers to operate
the radio, tape, CD, or CD changer
(if equipped).
To turn on the rear seat controls, press the memory preset controls 3
and 5 at the same time. The
will appear in the radio display.
Pressing 3 and 5 at the same time again will turn the rear seat controls
off.
If there is a discrepancy between the rear seat and the front audio
controls, (i.e, both trying to listen to the same playing media), the front
audio system will receive the desired selection.
Adjusting the volume
Press the + control to increase
volume.
Press the Ð control to decrease
volume.
From the RSC controls, the speaker
volume can not be set higher than
the current volume radio setting. Once in headphone mode, the RSC
volume controls will only change volume in the headphones to a desired
level and will have no effect on the front speakers (muting the speakers
will not mute the headphones).
VOLUME MEDIA
MEMSEEK
REW FF SIDE 1-2 COMP SHUFFLE
12 3456
VOLUME MEDIA
MEMSEEK
Entertainment Systems
42
Page 47 of 296
Scan function in CD mode
Press the SCAN control to hear a short sampling of all selections on the
CD. (The CD scans in a forward direction, wrapping back to the first
track at the end of the CD.) To stop on a particular selection, press the
control again.
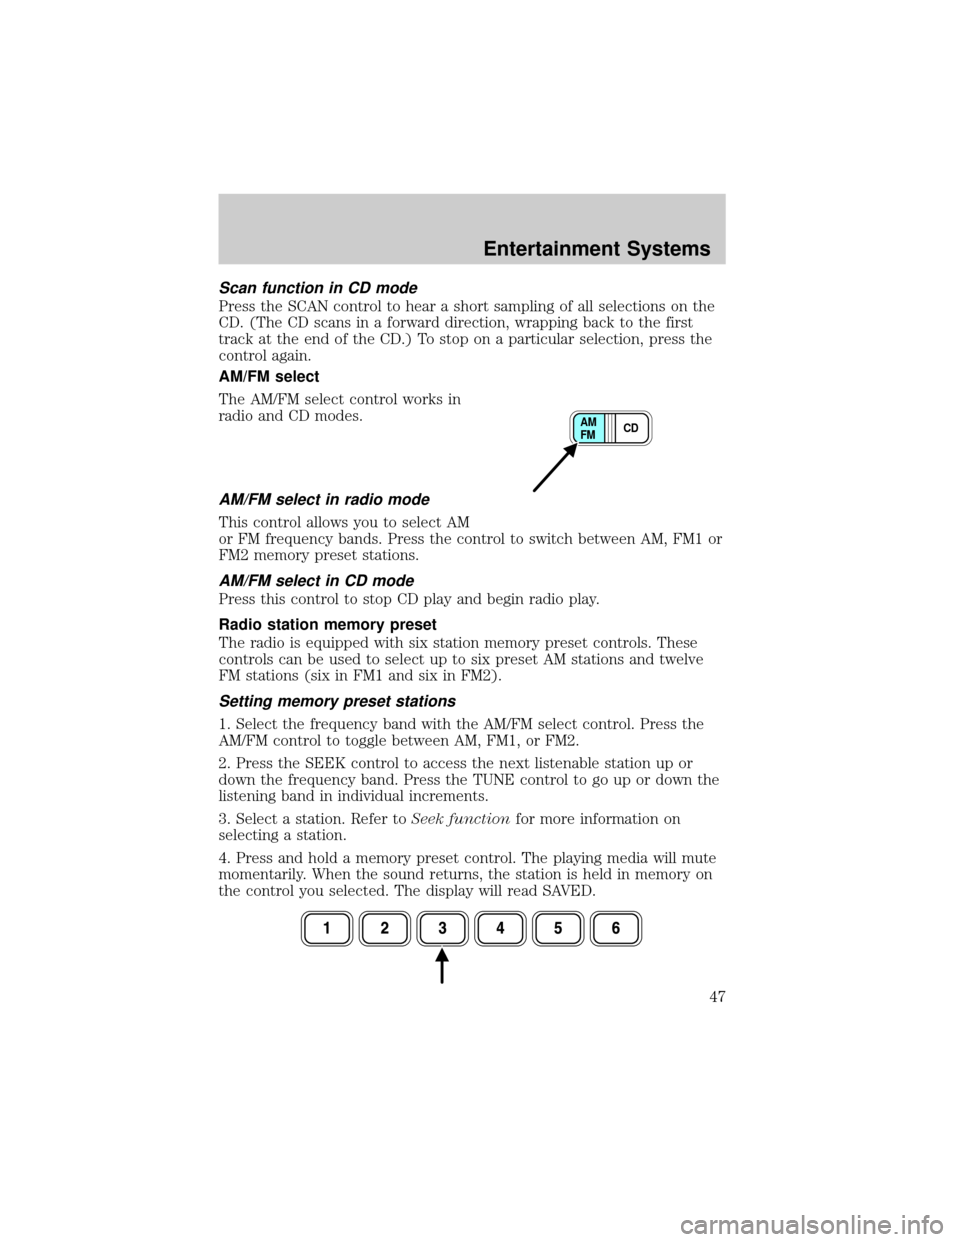
AM/FM select
The AM/FM select control works in
radio and CD modes.
AM/FM select in radio mode
This control allows you to select AM
or FM frequency bands. Press the control to switch between AM, FM1 or
FM2 memory preset stations.
AM/FM select in CD mode
Press this control to stop CD play and begin radio play.
Radio station memory preset
The radio is equipped with six station memory preset controls. These
controls can be used to select up to six preset AM stations and twelve
FM stations (six in FM1 and six in FM2).
Setting memory preset stations
1. Select the frequency band with the AM/FM select control. Press the
AM/FM control to toggle between AM, FM1, or FM2.
2. Press the SEEK control to access the next listenable station up or
down the frequency band. Press the TUNE control to go up or down the
listening band in individual increments.
3. Select a station. Refer toSeek functionfor more information on
selecting a station.
4. Press and hold a memory preset control. The playing media will mute
momentarily. When the sound returns, the station is held in memory on
the control you selected. The display will read SAVED.
CD AM
FM
Entertainment Systems
47
Page 48 of 296
Autostore
Autostore allows you to set the strongest local radio stations without
losing your original manually set preset stations. This feature is helpful
on trips when you travel between cities with different radio stations.
Starting autostore
1. Press and momentarily hold the AM/FM control.
2. AUTOSET will flash in the display
as the frequency band is scrolled
through.
3. When the six strongest stations
are filled, the station stored in
memory preset control 1 will start playing.
If there are less than six strong stations available on the frequency band,
the remaining memory preset controls will all store the last strong
station available.
To deactivate autoset and return to your audio system's manually set
memory stations, press the AM/FM control again.
Setting the clock
Press the MENU control until
SELECT HOUR or SELECT
MINUTE is displayed. (The menu
mode must be engaged to enable
clock mode).
Use the SEL control to manually set
the time.
²Press
to increase
hours/minutes.
²Press
to decrease
hours/minutes.
Press the MENU control again to disengage the clock mode.
Tune adjust
The tune control works in radio or CD mode.
SEL
Entertainment Systems
48
Page 95 of 296
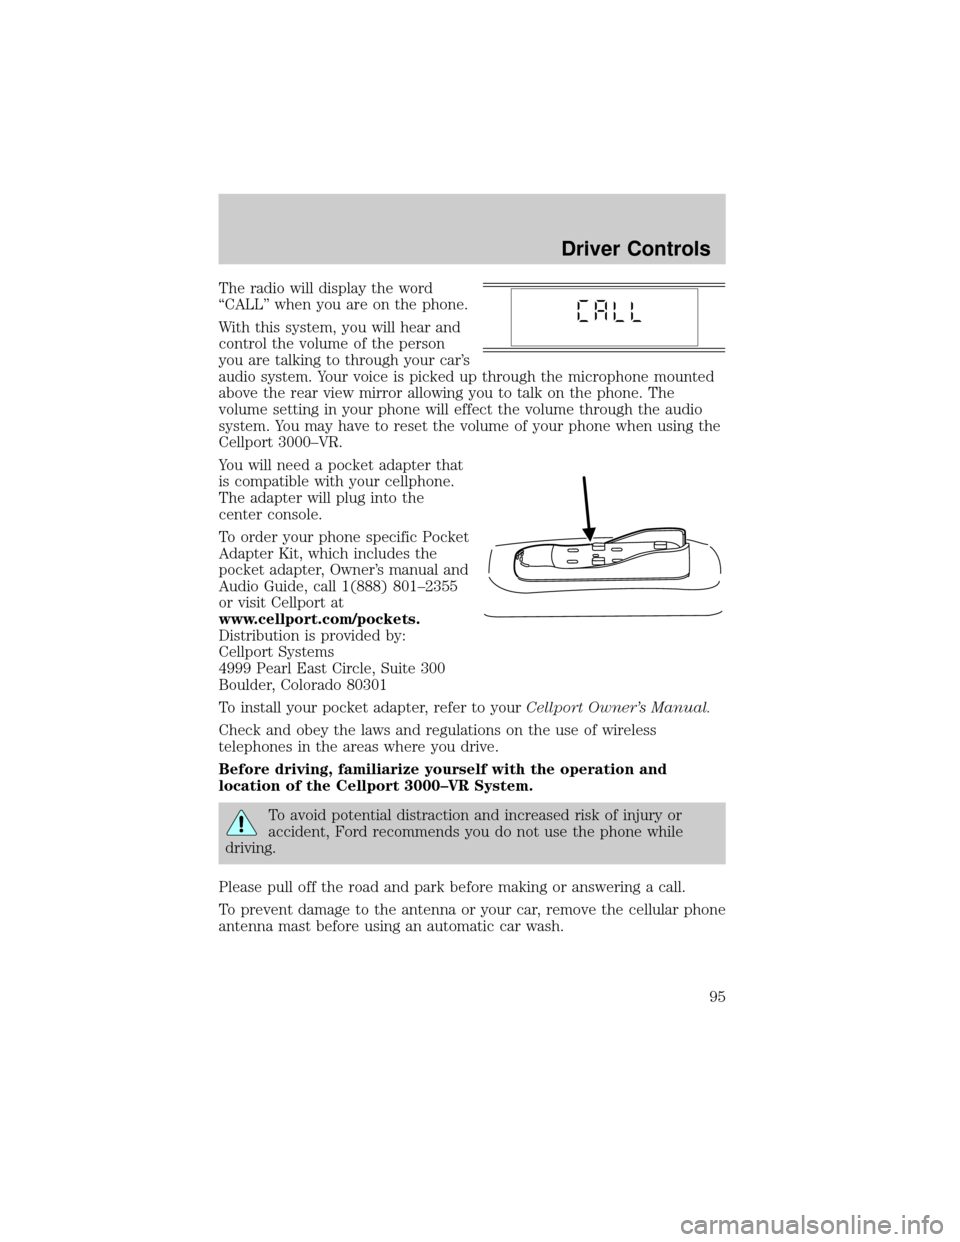
The radio will display the word
ªCALLº when you are on the phone.
With this system, you will hear and
control the volume of the person
you are talking to through your car's
audio system. Your voice is picked up through the microphone mounted
above the rear view mirror allowing you to talk on the phone. The
volume setting in your phone will effect the volume through the audio
system. You may have to reset the volume of your phone when using the
Cellport 3000±VR.
You will need a pocket adapter that
is compatible with your cellphone.
The adapter will plug into the
center console.
To order your phone specific Pocket
Adapter Kit, which includes the
pocket adapter, Owner's manual and
Audio Guide, call 1(888) 801±2355
or visit Cellport at
www.cellport.com/pockets.
Distribution is provided by:
Cellport Systems
4999 Pearl East Circle, Suite 300
Boulder, Colorado 80301
To install your pocket adapter, refer to yourCellport Owner's Manual.
Check and obey the laws and regulations on the use of wireless
telephones in the areas where you drive.
Before driving, familiarize yourself with the operation and
location of the Cellport 3000±VR System.
To avoid potential distraction and increased risk of injury or
accident, Ford recommends you do not use the phone while
driving.
Please pull off the road and park before making or answering a call.
To prevent damage to the antenna or your car, remove the cellular phone
antenna mast before using an automatic car wash.
Driver Controls
95
Page 96 of 296
POSITIVE RETENTION FLOOR MAT (IF EQUIPPED)
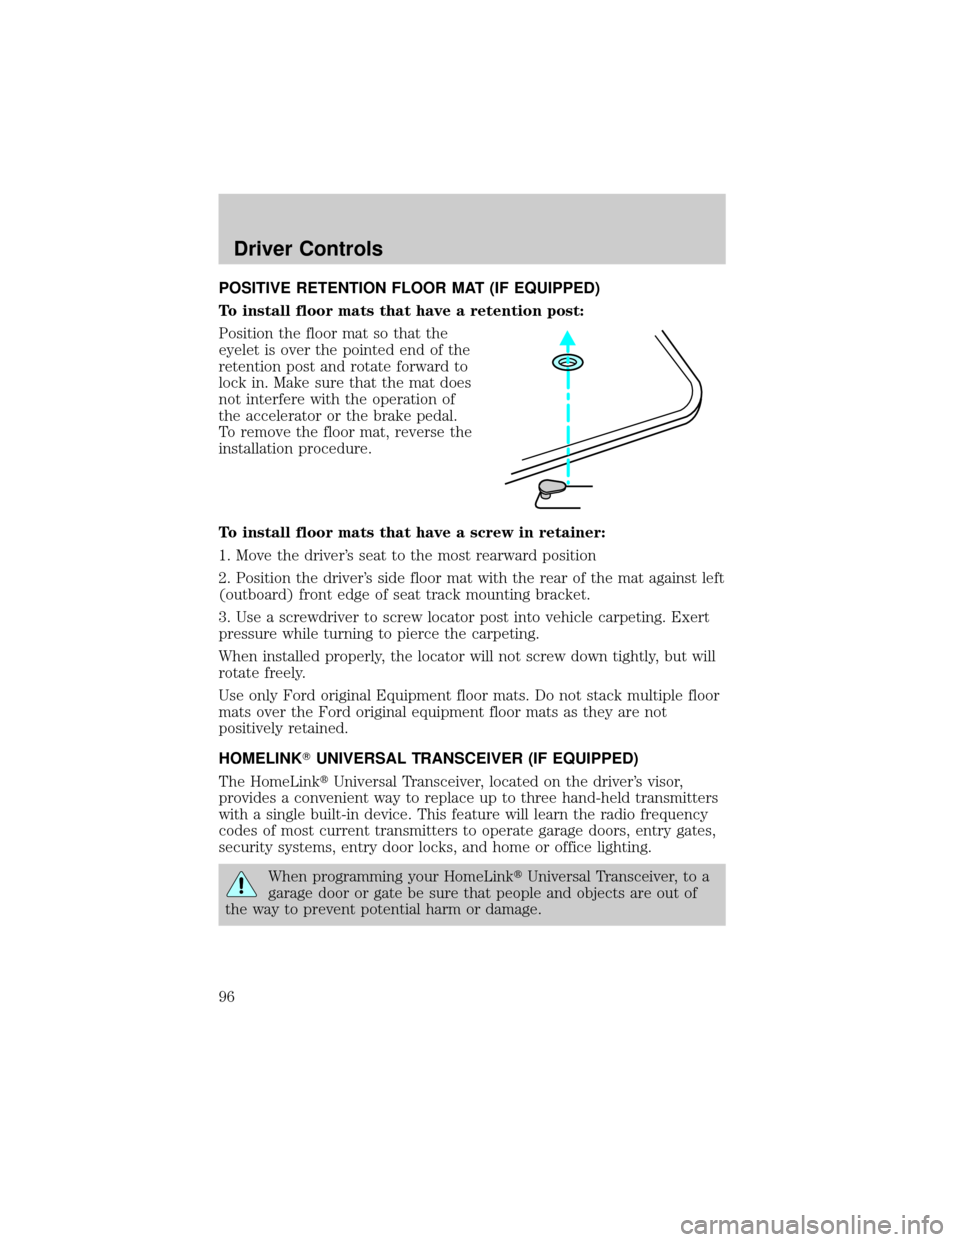
To install floor mats that have a retention post:
Position the floor mat so that the
eyelet is over the pointed end of the
retention post and rotate forward to
lock in. Make sure that the mat does
not interfere with the operation of
the accelerator or the brake pedal.
To remove the floor mat, reverse the
installation procedure.
To install floor mats that have a screw in retainer:
1. Move the driver's seat to the most rearward position
2. Position the driver's side floor mat with the rear of the mat against left
(outboard) front edge of seat track mounting bracket.
3. Use a screwdriver to screw locator post into vehicle carpeting. Exert
pressure while turning to pierce the carpeting.
When installed properly, the locator will not screw down tightly, but will
rotate freely.
Use only Ford original Equipment floor mats. Do not stack multiple floor
mats over the Ford original equipment floor mats as they are not
positively retained.
HOMELINKTUNIVERSAL TRANSCEIVER (IF EQUIPPED)
The HomeLinktUniversal Transceiver, located on the driver's visor,
provides a convenient way to replace up to three hand-held transmitters
with a single built-in device. This feature will learn the radio frequency
codes of most current transmitters to operate garage doors, entry gates,
security systems, entry door locks, and home or office lighting.
When programming your HomeLinktUniversal Transceiver, to a
garage door or gate be sure that people and objects are out of
the way to prevent potential harm or damage.
Driver Controls
96
Page 183 of 296
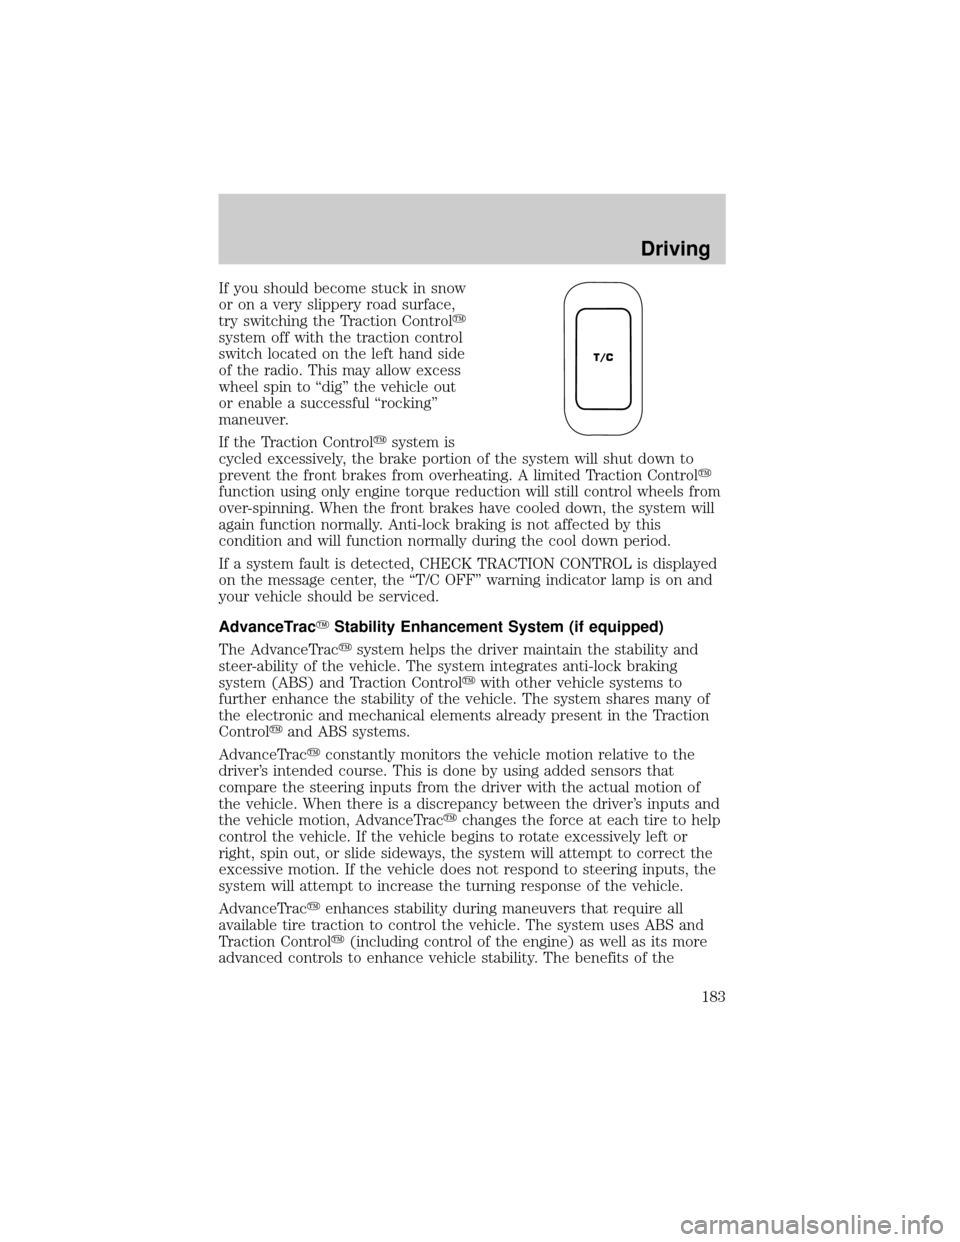
If you should become stuck in snow
or on a very slippery road surface,
try switching the Traction Controly
system off with the traction control
switch located on the left hand side
of the radio. This may allow excess
wheel spin to ªdigº the vehicle out
or enable a successful ªrockingº
maneuver.
If the Traction Controlysystem is
cycled excessively, the brake portion of the system will shut down to
prevent the front brakes from overheating. A limited Traction Controly
function using only engine torque reduction will still control wheels from
over-spinning. When the front brakes have cooled down, the system will
again function normally. Anti-lock braking is not affected by this
condition and will function normally during the cool down period.
If a system fault is detected, CHECK TRACTION CONTROL is displayed
on the message center, the ªT/C OFFº warning indicator lamp is on and
your vehicle should be serviced.
AdvanceTracYStability Enhancement System (if equipped)
The AdvanceTracysystem helps the driver maintain the stability and
steer-ability of the vehicle. The system integrates anti-lock braking
system (ABS) and Traction Controlywith other vehicle systems to
further enhance the stability of the vehicle. The system shares many of
the electronic and mechanical elements already present in the Traction
Controlyand ABS systems.
AdvanceTracyconstantly monitors the vehicle motion relative to the
driver's intended course. This is done by using added sensors that
compare the steering inputs from the driver with the actual motion of
the vehicle. When there is a discrepancy between the driver's inputs and
the vehicle motion, AdvanceTracychanges the force at each tire to help
control the vehicle. If the vehicle begins to rotate excessively left or
right, spin out, or slide sideways, the system will attempt to correct the
excessive motion. If the vehicle does not respond to steering inputs, the
system will attempt to increase the turning response of the vehicle.
AdvanceTracyenhances stability during maneuvers that require all
available tire traction to control the vehicle. The system uses ABS and
Traction Controly(including control of the engine) as well as its more
advanced controls to enhance vehicle stability. The benefits of the
T/C
Driving
183
Page 204 of 296

Passenger compartment fuse panel
The fuse panel is located below and to the left of the steering wheel by
the brake pedal. Remove the panel cover to access the fuses.
To remove a fuse use the fuse puller tool provided on the fuse panel
cover.
Your vehicle is equipped with a Pull Fuse feature that when used, can
extend the duration of your battery life while your vehicle is parked for
long periods of time. This time will be increased from 31 days to 45 ± 55
days (based on option content). You should use this feature when your
vehicle will be parked for long periods of times to ensure the vehicle
starts upon your return.
The pull fuse is located under the instrument panel and is visible from
the exterior of the fuse panel cover.
The fuse holder is designed to allow you to pull the fuse (#6) from the
fuse panel circuit without having to completely remove it from the fuse
panel. The fuse and fuse holder will remain in the fuse panel.
If the fuse (#6) must be replaced, the fuse and fuse holder can be
removed by pulling it completely out from the fuse panel cover.
With the fuse (#6) removed, the following systems will not be functional:
²radio
²power sliding door(s) ± (if equipped)
²keyless entry system± (if equipped)
When the pull fuse is reinstalled, the following features will need to be
reset.
²radio pre-sets
²power sliding door(s) ± (if equipped)
Please refer to theEntertainmentchapter andPower Sliding Door
section in theDriver controlschapter for instructions to reset these
features.
Roadside Emergencies
204