seats FORD WINDSTAR 2003 2.G Owners Manual
[x] Cancel search | Manufacturer: FORD, Model Year: 2003, Model line: WINDSTAR, Model: FORD WINDSTAR 2003 2.GPages: 240, PDF Size: 3.09 MB
Page 7 of 240
Special instructions
For your added safety, your vehicle is fitted with sophisticated electronic
controls.
Please read the sectionAir bagin theSeating and safety
restraintschapter. Failure to follow the specific warnings and
instructions could result in personal injury.
Front seat mounted rear facing child or infant seats should
NEVERbe used in front of a passenger side air bag unless the
air bag can be and is turned OFF.
MIDDLE EAST/NORTH AFRICA VEHICLE SPECIFIC INFORMATION
For your particular global region, your vehicle may be equipped with
features and options that are different from the ones that are described
in this Owner Guide; therefore, a supplement has been supplied that
complements this book. By referring to the pages in the provided
supplement, you can properly identify those features, recommendations
and specifications that are unique to your vehicle.Refer to this Owner
Guide for all other required information and warnings.
Introduction
7
Page 30 of 240
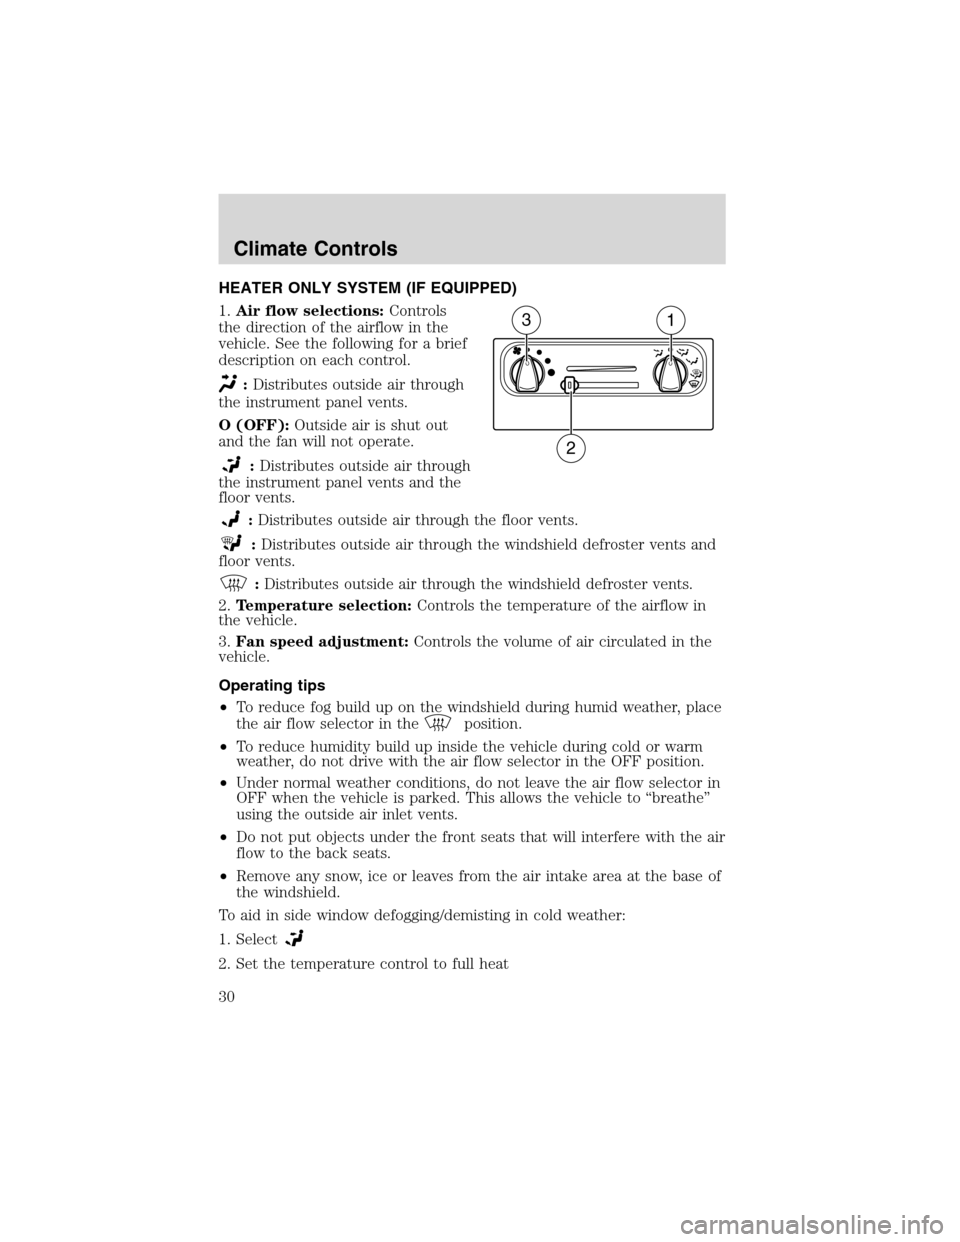
HEATER ONLY SYSTEM (IF EQUIPPED)
1.Air flow selections:Controls
the direction of the airflow in the
vehicle. See the following for a brief
description on each control.
:Distributes outside air through
the instrument panel vents.
O (OFF):Outside air is shut out
and the fan will not operate.
:Distributes outside air through
the instrument panel vents and the
floor vents.
:Distributes outside air through the floor vents.
:Distributes outside air through the windshield defroster vents and
floor vents.
:Distributes outside air through the windshield defroster vents.
2.Temperature selection:Controls the temperature of the airflow in
the vehicle.
3.Fan speed adjustment:Controls the volume of air circulated in the
vehicle.
Operating tips
•To reduce fog build up on the windshield during humid weather, place
the air flow selector in the
position.
•To reduce humidity build up inside the vehicle during cold or warm
weather, do not drive with the air flow selector in the OFF position.
•Under normal weather conditions, do not leave the air flow selector in
OFF when the vehicle is parked. This allows the vehicle to“breathe”
using the outside air inlet vents.
•Do not put objects under the front seats that will interfere with the air
flow to the back seats.
•Remove any snow, ice or leaves from the air intake area at the base of
the windshield.
To aid in side window defogging/demisting in cold weather:
1. Select
2. Set the temperature control to full heat
31
2
Climate Controls
30
Page 32 of 240
4.Rear defrost control:Clears the
rear window of thin ice and fog
when the engine is running.
5.Fan speed adjustment:Controls the volume of air circulated in the
vehicle.
Operating tips
•To reduce fog build up on the windshield during humid weather, place
the air flow selector in the
position.
•To reduce humidity build up inside the vehicle: do not drive with the
air flow selector in the OFF or MAX A/C position.
•Under normal weather conditions, do not leave the air flow selector in
MAX A/C or OFF when the vehicle is parked. This allows the vehicle
to“breathe”using the outside air inlet vents.
•Do not put objects under the front seats that will interfere with the
airflow to the back seats.
•Remove any snow, ice or leaves from the air intake area at the base of
the windshield.
To aid in side window defogging/demisting in cold weather:
1. Select
2. Select A/C
3. Modulate the temperature control to maintain comfort.
4. Set the fan speed to HI
5. Direct the outer instrument panel vents towards the side windows
To increase airflow to the outer instrument panel vents, close the vents
located in the middle of the instrument panel.
Do not place objects on top of the instrument panel as these
objects may become projectiles in a collision or sudden stop.
Climate Controls
32
Page 38 of 240
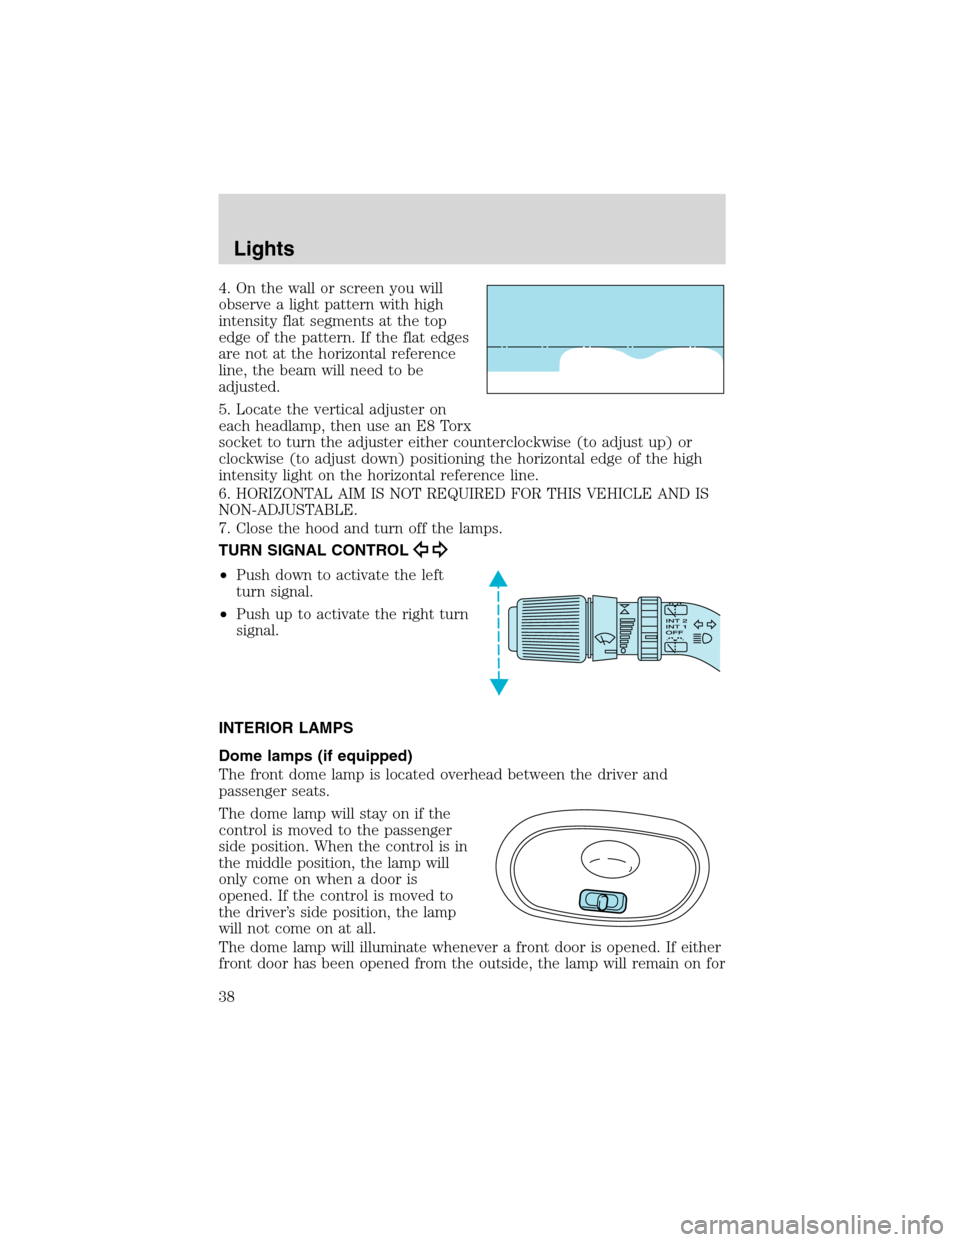
4. On the wall or screen you will
observe a light pattern with high
intensity flat segments at the top
edge of the pattern. If the flat edges
are not at the horizontal reference
line, the beam will need to be
adjusted.
5. Locate the vertical adjuster on
each headlamp, then use an E8 Torx
socket to turn the adjuster either counterclockwise (to adjust up) or
clockwise (to adjust down) positioning the horizontal edge of the high
intensity light on the horizontal reference line.
6. HORIZONTAL AIM IS NOT REQUIRED FOR THIS VEHICLE AND IS
NON-ADJUSTABLE.
7. Close the hood and turn off the lamps.
TURN SIGNAL CONTROL
•Push down to activate the left
turn signal.
•Push up to activate the right turn
signal.
INTERIOR LAMPS
Dome lamps (if equipped)
The front dome lamp is located overhead between the driver and
passenger seats.
The dome lamp will stay on if the
control is moved to the passenger
side position. When the control is in
the middle position, the lamp will
only come on when a door is
opened. If the control is moved to
the driver’s side position, the lamp
will not come on at all.
The dome lamp will illuminate whenever a front door is opened. If either
front door has been opened from the outside, the lamp will remain on for
Lights
38
Page 88 of 240
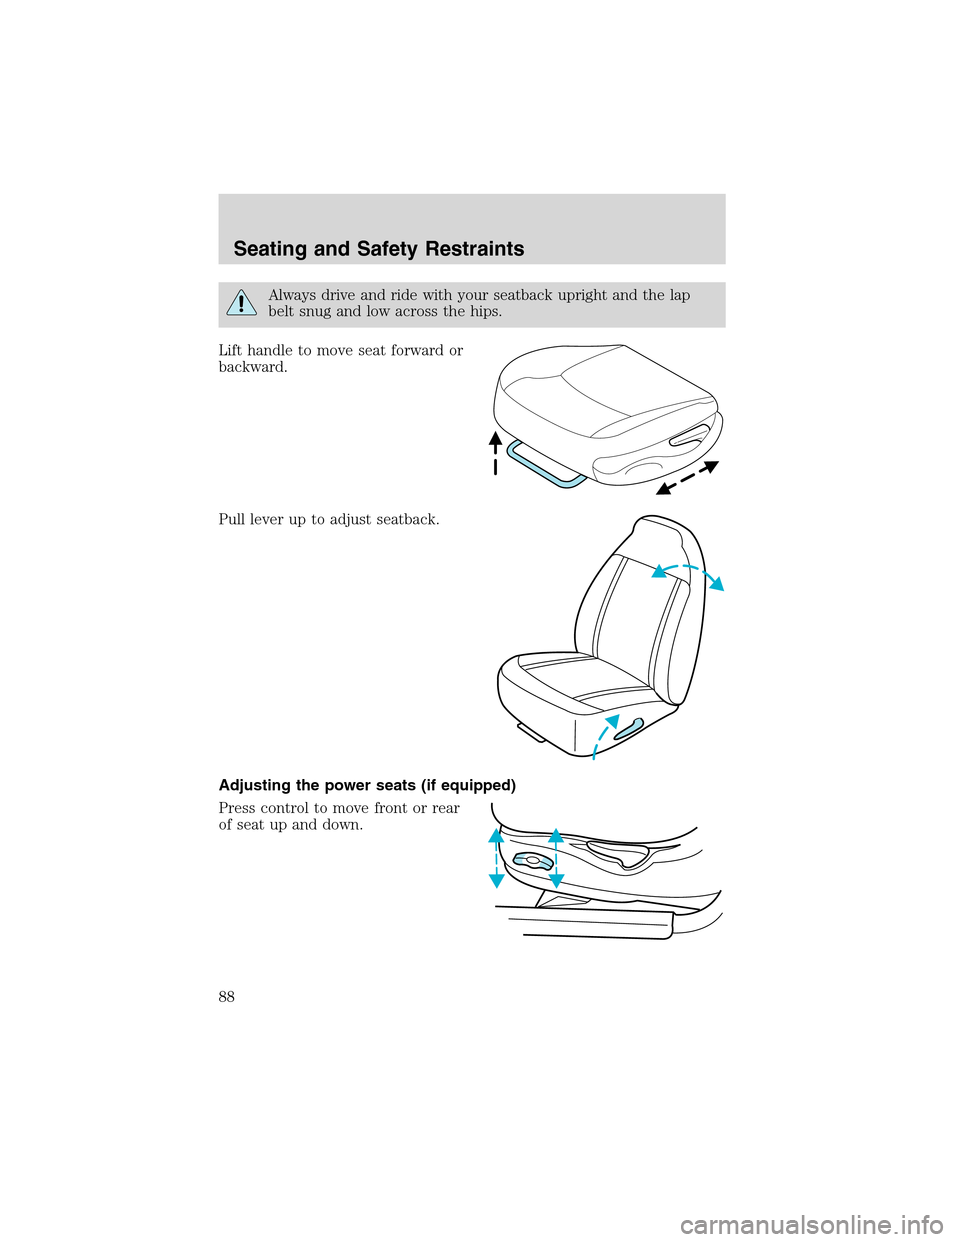
Always drive and ride with your seatback upright and the lap
belt snug and low across the hips.
Lift handle to move seat forward or
backward.
Pull lever up to adjust seatback.
Adjusting the power seats (if equipped)
Press control to move front or rear
of seat up and down.
Seating and Safety Restraints
88
Page 89 of 240
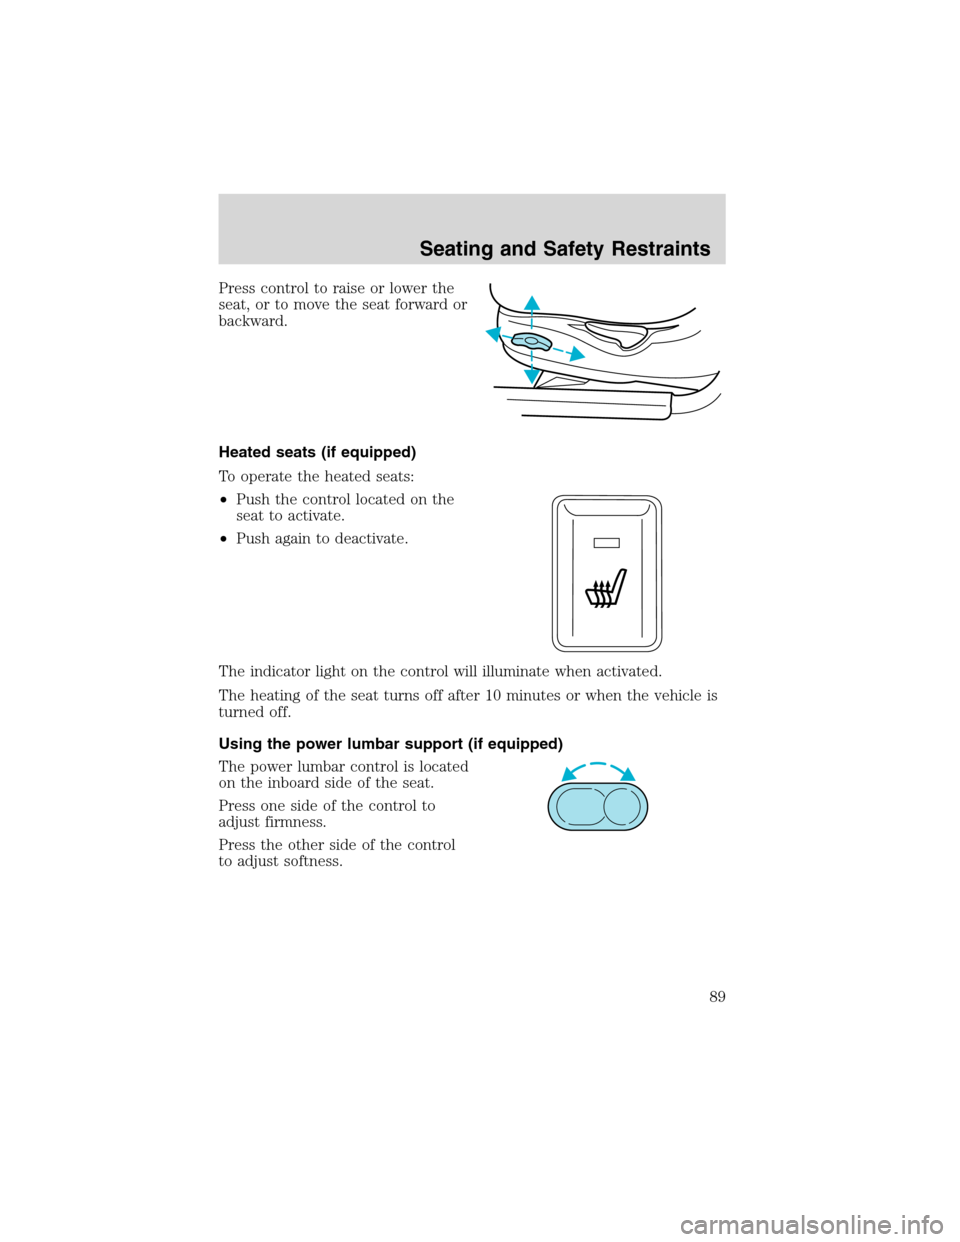
Press control to raise or lower the
seat, or to move the seat forward or
backward.
Heated seats (if equipped)
To operate the heated seats:
•Push the control located on the
seat to activate.
•Push again to deactivate.
The indicator light on the control will illuminate when activated.
The heating of the seat turns off after 10 minutes or when the vehicle is
turned off.
Using the power lumbar support (if equipped)
The power lumbar control is located
on the inboard side of the seat.
Press one side of the control to
adjust firmness.
Press the other side of the control
to adjust softness.
Seating and Safety Restraints
89
Page 90 of 240
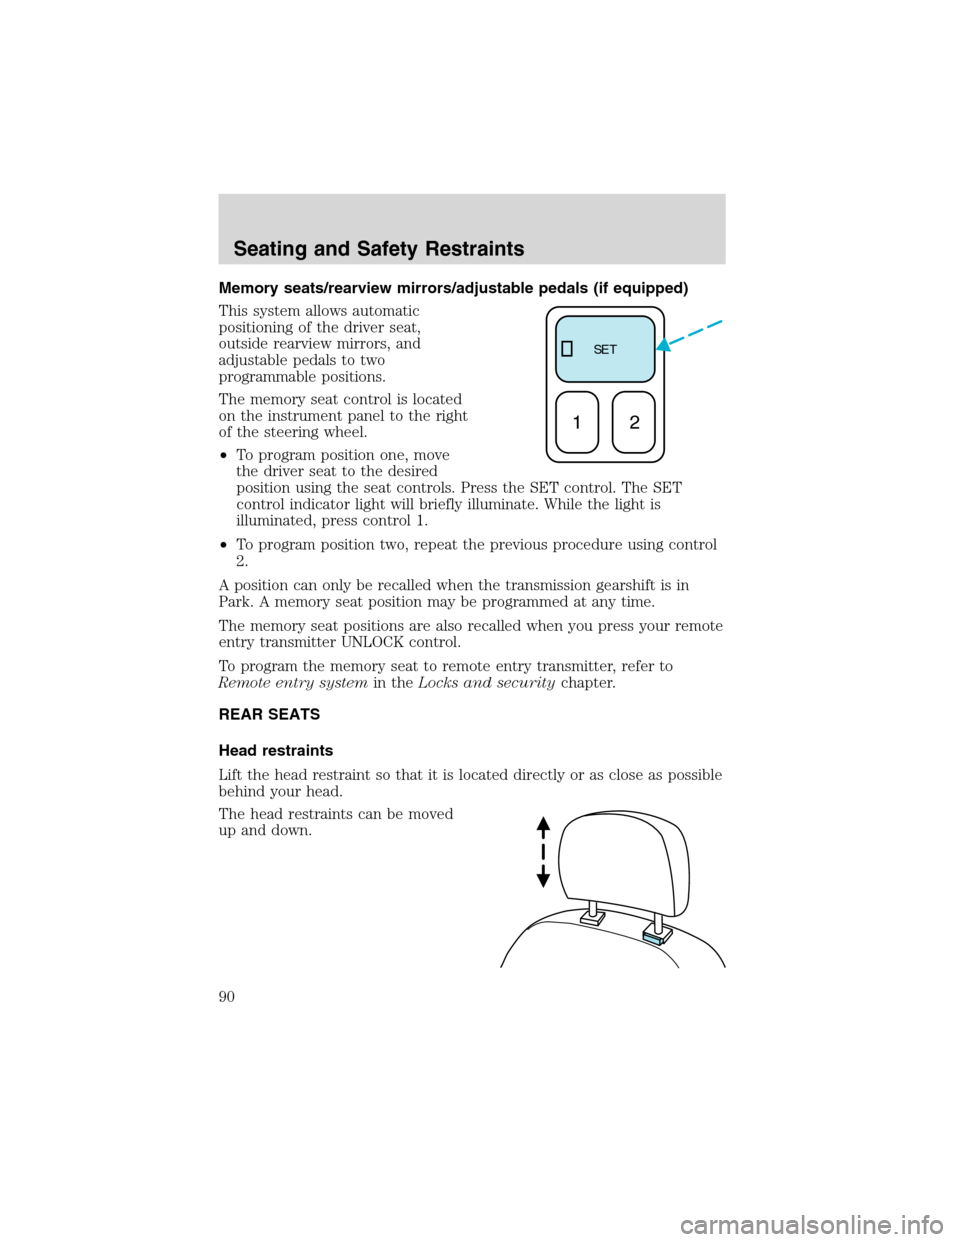
Memory seats/rearview mirrors/adjustable pedals (if equipped)
This system allows automatic
positioning of the driver seat,
outside rearview mirrors, and
adjustable pedals to two
programmable positions.
The memory seat control is located
on the instrument panel to the right
of the steering wheel.
•To program position one, move
the driver seat to the desired
position using the seat controls. Press the SET control. The SET
control indicator light will briefly illuminate. While the light is
illuminated, press control 1.
•To program position two, repeat the previous procedure using control
2.
A position can only be recalled when the transmission gearshift is in
Park. A memory seat position may be programmed at any time.
The memory seat positions are also recalled when you press your remote
entry transmitter UNLOCK control.
To program the memory seat to remote entry transmitter, refer to
Remote entry systemin theLocks and securitychapter.
REAR SEATS
Head restraints
Lift the head restraint so that it is located directly or as close as possible
behind your head.
The head restraints can be moved
up and down.
SE T
12
Seating and Safety Restraints
90
Page 92 of 240
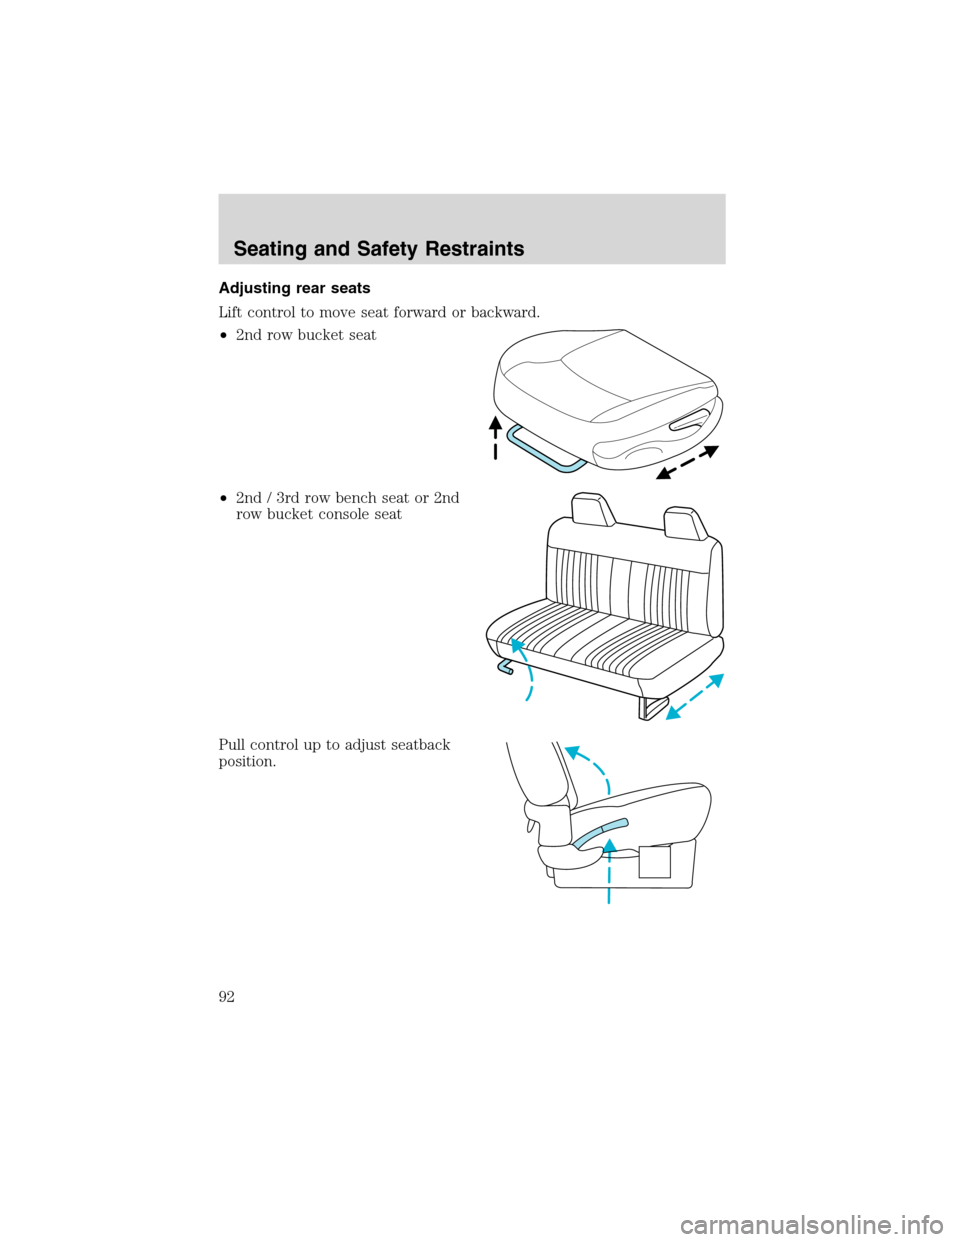
Adjusting rear seats
Lift control to move seat forward or backward.
•2nd row bucket seat
•2nd / 3rd row bench seat or 2nd
row bucket console seat
Pull control up to adjust seatback
position.
Seating and Safety Restraints
92
Page 94 of 240
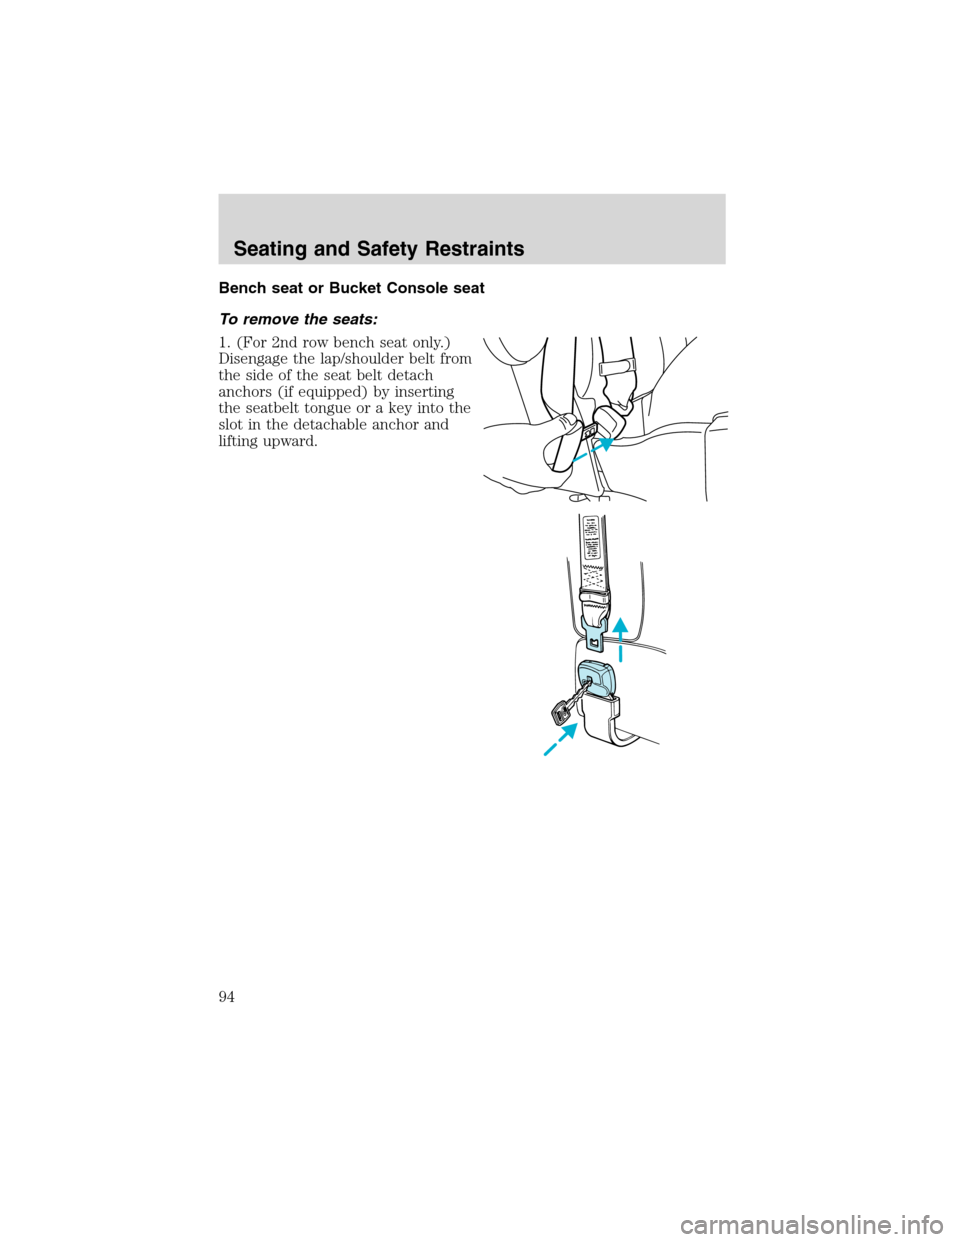
Bench seat or Bucket Console seat
To remove the seats:
1. (For 2nd row bench seat only.)
Disengage the lap/shoulder belt from
the side of the seat belt detach
anchors (if equipped) by inserting
the seatbelt tongue or a key into the
slot in the detachable anchor and
lifting upward.
Seating and Safety Restraints
94
Page 97 of 240
Always latch the vehicle seat to the floor, whether the seat is
occupied or empty. If not latched, the seat may cause injury
during a sudden stop.
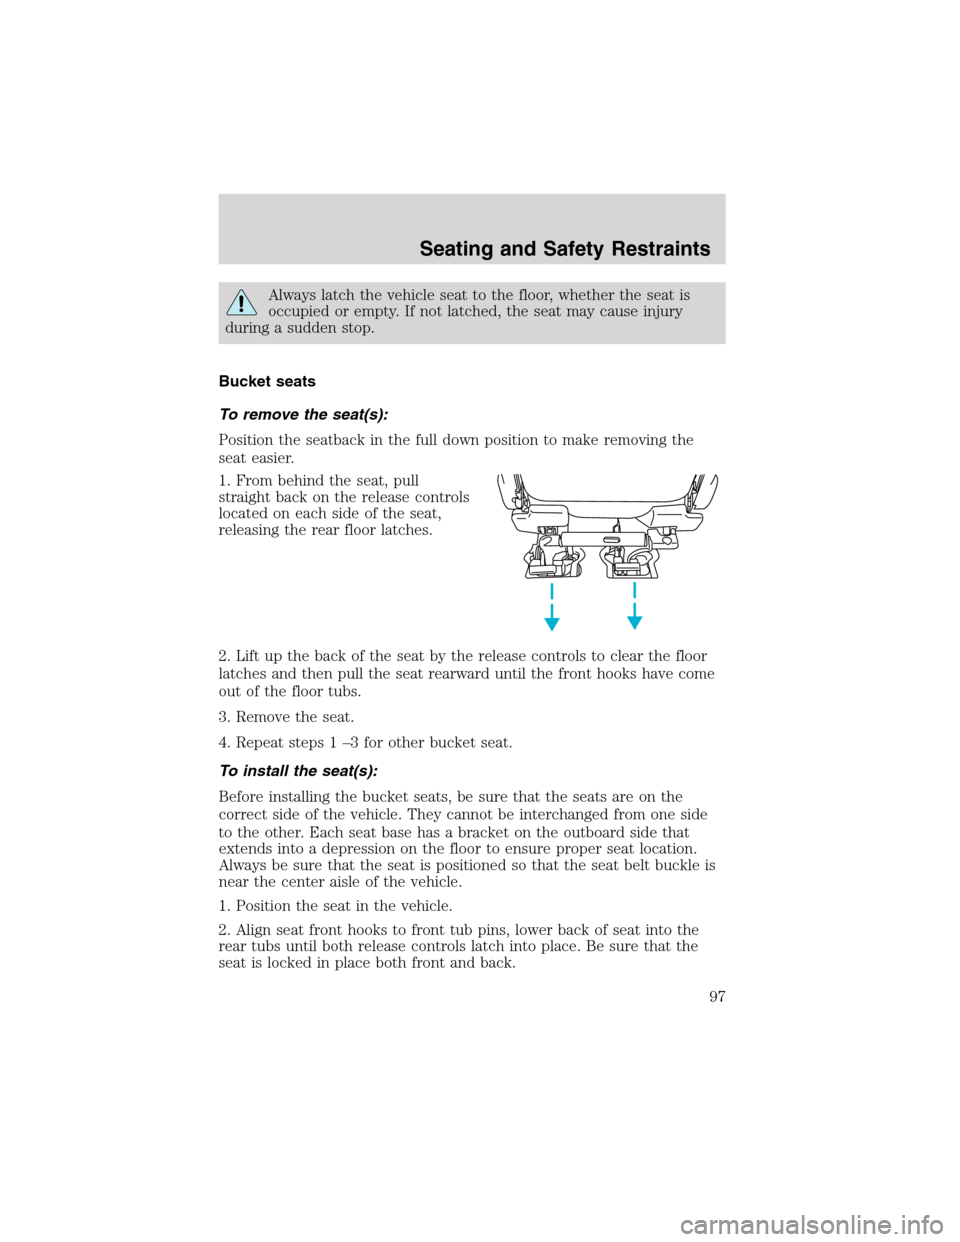
Bucket seats
To remove the seat(s):
Position the seatback in the full down position to make removing the
seat easier.
1. From behind the seat, pull
straight back on the release controls
located on each side of the seat,
releasing the rear floor latches.
2. Lift up the back of the seat by the release controls to clear the floor
latches and then pull the seat rearward until the front hooks have come
out of the floor tubs.
3. Remove the seat.
4. Repeat steps 1–3 for other bucket seat.
To install the seat(s):
Before installing the bucket seats, be sure that the seats are on the
correct side of the vehicle. They cannot be interchanged from one side
to the other. Each seat base has a bracket on the outboard side that
extends into a depression on the floor to ensure proper seat location.
Always be sure that the seat is positioned so that the seat belt buckle is
near the center aisle of the vehicle.
1. Position the seat in the vehicle.
2. Align seat front hooks to front tub pins, lower back of seat into the
rear tubs until both release controls latch into place. Be sure that the
seat is locked in place both front and back.
Seating and Safety Restraints
97