warning GENESIS G70 2021 Owner's Manual
[x] Cancel search | Manufacturer: GENESIS, Model Year: 2021, Model line: G70, Model: GENESIS G70 2021Pages: 516, PDF Size: 12.84 MB
Page 406 of 516

6-13
What to do in an emergency
6
You may not be able identify a tire
with low pressure by simply looking
at it. Always use a good quality tire
pressure gage to measure the tire's
inflation pressure. Please note that a
tire that is hot (from being driven) will
have a higher pressure measure-
ment than a tire that is cold.
A cold tire means the vehicle has
been sitting for 3 hours and driven for
less than 1 mile (1.6 km) in that 3
hour period.
Allow the tire to cool before measur-
ing the inflation pressure. Always be
sure the tire is cold before inflating to
the recommended pressure.Information
This device complies with Part 15 of
the FCC rules.
Operation is subject to the following
three conditions:
1. This device may not cause harmful
interference, and
2. This device must accept any inter-
ference received, including interfer-
ence that may cause undesired
operation.
3. Changes or modifications not
expressly approved by the party
responsible for compliance could
void the user's authority to operate
the equipment.
i
•The TPMS cannot alert you to
severe and sudden tire dam-
age caused by external fac-
tors such as nails or road
debris.
•If you feel any vehicle instabil-
ity, immediately take your foot
off the accelerator, apply the
brakes gradually with light
force, and slowly move to a
safe position off the road.
WARNING
Tampering with, modifying, or
disabling the Tire Pressure
Monitoring System (TPMS)
components may interfere with
the system's ability to warn the
driver of low tire pressure con-
ditions and/or TPMS malfunc-
tions. Tampering with, modify-
ing, or disabling the Tire
Pressure Monitoring System
(TPMS) components may void
the warranty for that portion of
the vehicle.
WARNING
Page 407 of 516

6-14
What to do in an emergency
Jack and Tools
➀Jack handle
②Jack
③Wheel lug nut wrench
The jack, jack handle, and wheel lug
nut wrench are stored in the luggage
compartment under the luggage box
cover.
The jack is provided for emergency
tire changing only.Turn the winged hold down bolt
counterclockwise to remove the
spare tire.
Store the spare tire in the same com-
partment by turning the winged hold
down bolt clockwise.
To prevent the spare tire and tools
from "rattling", store them in their
proper location.
IF YOU HAVE A FLAT TIRE (WITH SPARE TIRE, IF EQUIPPED)
Changing a tire can be danger-
ous. Follow the instructions in
this section when changing a
tire to reduce the risk of serious
injury or death.
WARNING
OIK067036L
OIK067037LBe careful as you use the jack
handle to stay clear of the flat
end. The flat end has sharp
edges that could cause cuts.
CAUTION
Page 408 of 516

6-15
What to do in an emergency
6
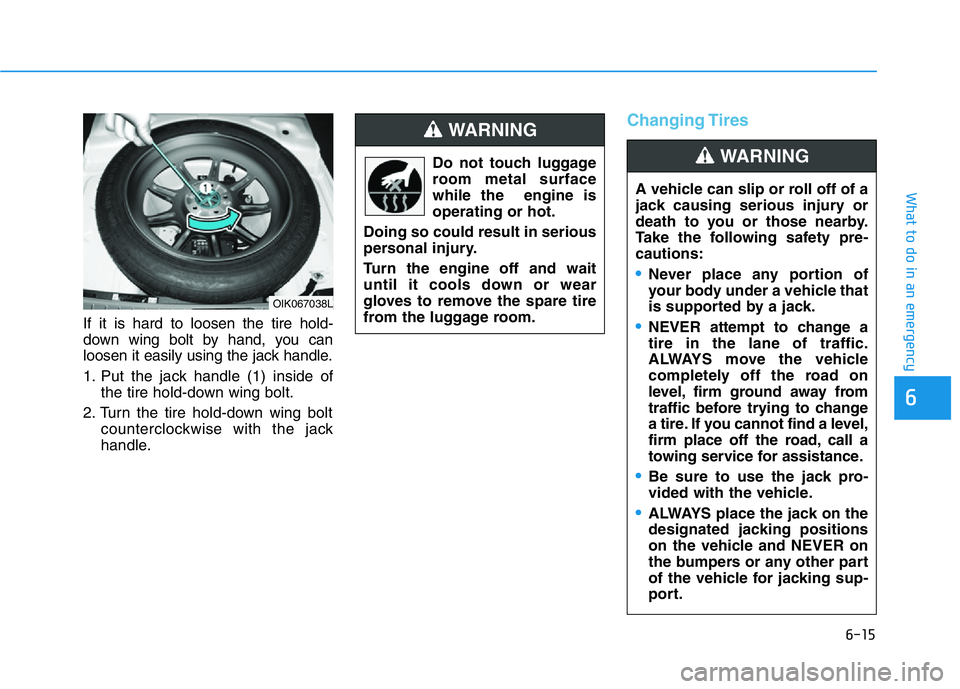
If it is hard to loosen the tire hold-
down wing bolt by hand, you can
loosen it easily using the jack handle.
1. Put the jack handle (1) inside of
the tire hold-down wing bolt.
2. Turn the tire hold-down wing bolt
counterclockwise with the jack
handle.
Changing Tires
A vehicle can slip or roll off of a
jack causing serious injury or
death to you or those nearby.
Take the following safety pre-
cautions:
•Never place any portion of
your body under a vehicle that
is supported by a jack.
•NEVER attempt to change a
tire in the lane of traffic.
ALWAYS move the vehicle
completely off the road on
level, firm ground away from
traffic before trying to change
a tire. If you cannot find a level,
firm place off the road, call a
towing service for assistance.
•Be sure to use the jack pro-
vided with the vehicle.
•ALWAYS place the jack on the
designated jacking positions
on the vehicle and NEVER on
the bumpers or any other part
of the vehicle for jacking sup-
port.
WARNING
OIK067038L
Do not touch luggage
room metal surface
while the engine is
operating or hot.
Doing so could result in serious
personal injury.
Turn the engine off and wait
until it cools down or wear
gloves to remove the spare tire
from the luggage room.
WARNING
Page 409 of 516

6-16
What to do in an emergency
Follow these steps to change your
vehicle's tire:
1. Park on a level, firm surface.
2. Shift the vehicle to P (Park, auto-
matic transmission vehicle) or
neutral (for manual transmission
vehicle), apply the parking brake,
and press the Engine Start/Stop
button to the OFF position.
3. Press the hazard warning flasher
button.
4. Remove the wheel lug nut wrench,
jack, jack handle, and spare tire
from the vehicle.
5. Block both the front and rear of the
tire diagonally opposite of the tire
you are changing.6. Loosen the wheel lug nuts coun-
terclockwise one turn each in the
order shown above, but do not
remove any lug nuts until the tire
has been raised off of the ground.7. Place the jack at the designated
jacking position under the frame
closest to the tire you are chang-
ing. The jacking positions are
plates welded to the frame with
two notches. Never jack at any
other position or part of the vehi-
cle. Doing so may damage the
side seal molding or other parts of
the vehicle.
OIK067034LOIK067035L
•Do not start or run the engine
while the vehicle is on the
jack.
•Do not allow anyone to remain
in the vehicle while it is on the
jack.
•Keep children away from the
road and the vehicle.
Page 411 of 516

6-18
What to do in an emergency
If you have a tire gage, check the tire
pressure (see "Tires and Wheels" in
chapter 8 for tire pressure instruc-
tions.). If the pressure is lower or
higher than recommended, drive
slowly to the nearest service station
and adjust it to the recommended
pressure. Always reinstall the valve
cap after checking or adjusting tire
pressure. If the cap is not replaced,
air may leak from the tire. If you lose
a valve cap, buy another and install it
as soon as possible. After changing
tires, secure the flat tire and return
the jack and tools to their proper stor-
age locations.
• Check the tire pressure as soon
as possible after installing a
spare tire. Adjust it to the rec-
ommended pressure.
• Check and tighten the wheel lug
nuts after driving over 30 miles
(50 km) if tires are replaced.
Recheck the tire wheel lug nuts
after driving over 600 miles
(1,000 km).If any of the equipment such as the
jack, lug nuts, studs, or other equip-
ment is damaged or in poor condi-
tion, do not attempt to change the
tire and call for assistance.
Use of compact spare tires
(if equipped)
Compact spare tires are designed for
emergency use only. Drive carefully
on the compact spare tire and
always follow the safety precautions.
NOTICE
Your vehicle has metric threads
on the studs and lug nuts. Make
certain during tire changing that
the same nuts that were
removed are reinstalled. If you
have to replace your lug nuts
make sure they have metric
threads to avoid damaging the
studs and ensure the wheel is
properly secured to the hub.
Consult an authorized retailer of
Genesis Branded products for
assistance.
CAUTION
To prevent compact spare tire
failure and loss of control pos-
sibly resulting in an accident:
•Use the compact spare tire
only in an emergency.
•NEVER operate your vehicle
over 50 mph (80 km/h).
•Do not exceed the vehicle's
maximum load rating or the
load carrying capacity shown
on the sidewall of the com-
pact spare tire.
•Do not use the compact spare
tire continuously. Repair or
replace the original tire as
soon as possible to avoid fail-
ure of the compact spare tire.
WARNING
Page 414 of 516

6-21
What to do in an emergency
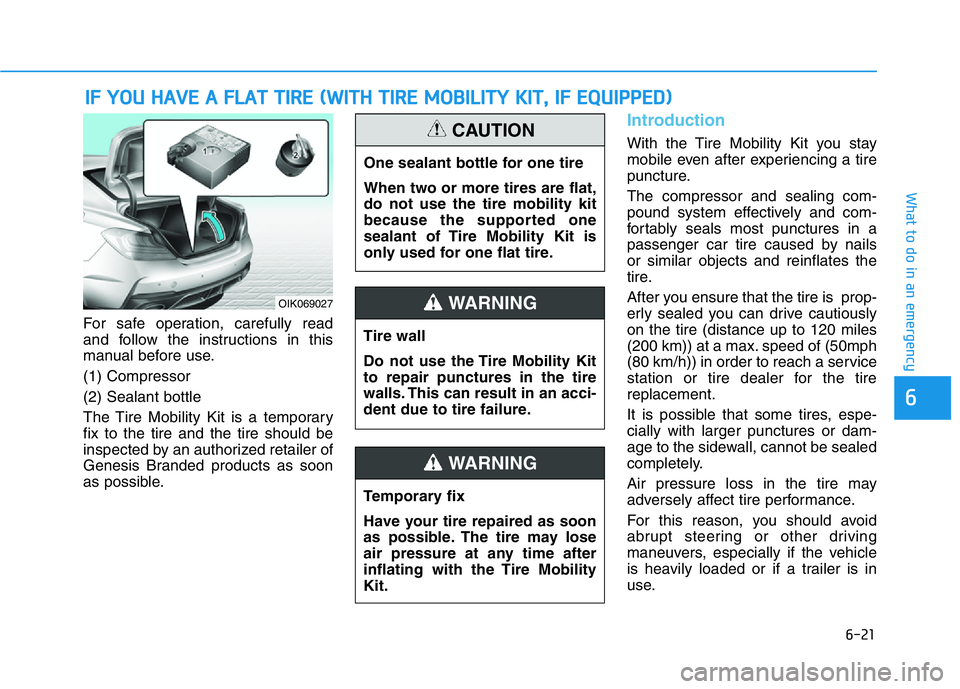
For safe operation, carefully read
and follow the instructions in this
manual before use.
(1) Compressor
(2) Sealant bottle
The Tire Mobility Kit is a temporary
fix to the tire and the tire should be
inspected by an authorized retailer of
Genesis Branded products as soon
as possible.
Introduction
With the Tire Mobility Kit you stay
mobile even after experiencing a tire
puncture.
The compressor and sealing com-
pound system effectively and com-
fortably seals most punctures in a
passenger car tire caused by nails
or similar objects and reinflates the
tire.
After you ensure that the tire is prop-
erly sealed you can drive cautiously
on the tire (distance up to 120 miles
(200 km)) at a max. speed of (50mph
(80 km/h)) in order to reach a service
station or tire dealer for the tire
replacement.
It is possible that some tires, espe-
cially with larger punctures or dam-
age to the sidewall, cannot be sealed
completely.
Air pressure loss in the tire may
adversely affect tire performance.
For this reason, you should avoid
abrupt steering or other driving
maneuvers, especially if the vehicle
is heavily loaded or if a trailer is in
use.
IF YOU HAVE A FLAT TIRE (WITH TIRE MOBILITY KIT, IF EQUIPPED)
6
OIK069027
One sealant bottle for one tire
When two or more tires are flat,
do not use the tire mobility kit
because the supported one
sealant of Tire Mobility Kit is
only used for one flat tire.
CAUTION
Tire wall
Do not use the Tire Mobility Kit
to repair punctures in the tire
walls. This can result in an acci-
dent due to tire failure.
WARNING
Temporary fix
Have your tire repaired as soon
as possible. The tire may lose
air pressure at any time after
inflating with the Tire Mobility
Kit.
WARNING
Page 416 of 516

6-23
What to do in an emergency
1. Speed restriction label
2. Sealant bottle and label with
speed restriction
3. Filling hose from sealant bottle to
wheel
4. Connectors and cable for power
outlet direct connection5. Holder for the sealant bottle
6. Compressor
7. ON/OFF switch
8. Pressure gage for displaying the
tire inflation pressure
9. Button for reducing tire inflation
pressureConnectors, cable and connection
hose are stored in the compressor
housing.
Strictly follow the specified
sequence, otherwise the sealant
may escape under high pressure.
6
ODE067044
Components of the Tire Mobility Kit
Do not use the tire sealant after
the sealant has expired (i.e.
pasted the expiration date on
the sealant container). This can
increase the risk of tire failure.
WARNING
•Keep out of reach of children.
•Avoid contact with eyes.
•Do not swallow.
WARNING
Page 418 of 516

6-25
What to do in an emergency
5. Plug the compressor power cord
(4) into the vehicle power outlet.
6. With the Engine Start/Stop button
in the ON position, switch on the
compressor and let it run for
approximately 5~7 minutes to fill
the sealant up to proper pressure.
(refer to the Tire and Wheels,
chapter 8). The inflation pressure
of the tire after filling is unimpor-
tant and will be checked/corrected
later.
Be careful not to overinflate the
tire and stay away from the tire
when filling it.7. Switch off the compressor.
8. Detach the hoses from the sealant
bottle connector and from the tire
valve.
Return the Tire Mobility Kit to its stor-
age location in the vehicle.
Distributing the sealant
9. Immediately drive approximately
4~6miles (7~10km or about 10
minutes) to evenly distribute the
sealant in the tire.
Do not exceed a speed of 50 mph
(80 km/h). If possible, do not fall
below a speed of 12 mph (20 km/h).
While driving, if you experience any
unusual vibration, ride disturbance or
noise, reduce your speed and drive
with caution until you can safely pull
off of the side of the road.
Call for road side service or towing.
When you use the Tire Mobility Kit,
the tire pressure sensors and wheel
may be damaged by sealant, have it
inspected at an authorized retailer of
Genesis Branded products.
6
OIK069010
Do not attempt to drive your
vehicle if the tire pressure is
below 29 psi (200 kpa). This
could result in an accident due
to sudden tire failure.
CAUTION
Do not leave your vehicle run-
ning in a poorly ventilated area
for extended periods of time.
Carbon monoxide poisoning
and suffocation can occur.
WARNING
Page 421 of 516

6-28
What to do in an emergency
On AWD vehicles, your vehicle must
be towed with a wheel lift and dollies
or flatbed equipment with all the
wheels off the ground.
The AWD vehicle should never be
towed with the wheels on the
ground. This can cause serious
damage to the transmission or the
AWD system.
On 2WD vehicles, it is acceptable to
tow the vehicle with the front wheels
on the ground (without dollies) and
the rear wheels off the ground.
If any of the loaded wheels or sus-
pension components are damaged
or the vehicle is being towed with the
rear wheels on the ground, use a
towing dolly under the rear wheels.
When being towed by a commercial
tow truck and wheel dollies are not
used, the rear of the vehicle should
always be lifted, not the front.• Do not tow the vehicle with the
front wheels on the ground as
this may cause damage to the
vehicle.
• Do not tow with sling-type
equipment. Use a wheel lift or
flatbed equipment.When towing your vehicle in an
emergency without wheel dollies:
1. Place the shift lever in N (Neutral).
2. Release the parking brake.
Failure to place the shift lever in N
(Neutral) when being towed with
the front wheels on the ground
can cause internal damage to the
transmission.
NOTICE
NOTICE
NOTICE
If your vehicle is equipped with
a rollover sensor, press the
Engine Start/Stop button to the
OFF or ACC position when the
vehicle is being towed. The side
impact and curtain air bag may
deploy if the sensor detects the
situation as a rollover.
WARNING
OIK067014
OIK067013
Page 424 of 516

6-31
What to do in an emergency
• Use a towing cable or chain less
than 16 feet (5 m) long. Attach a
white or red cloth (about 12 inch
(30 cm) wide) in the middle of the
cable or chain for easy visibility.
• Drive carefully so the towing cable
or chain remains tight during tow-
ing.
• Before towing, check the automat-
ic transmission for fluid leaks under
your vehicle. If the automatic trans-
mission fluid is leaking, flatbed
equipment or a towing dolly must
be used.Accelerate or decelerate the vehi-
cle in a slow and gradual manner
while maintaining tension on the
tow rope or chain to start or drive
the vehicle, otherwise tow hooks
and the vehicle may be damaged.
To avoid damage to your vehicle
and vehicle components when
towing:
• Always pull straight ahead when
using the towing hooks. Do not
pull from the side or at a vertical
angle.
• Do not use the towing hooks to
pull a vehicle out of mud, sand
or other conditions from which
the vehicle cannot be driven out
under its own power.
• Limit the vehicle speed to 10
mph (15 km/h) and drive less
than 1 mile (1.5 km) when towing
to avoid serious damage to
transmission. (for Automatic
transmission vehicle)• The vehicle should be towed at a
speed of 15 mph (25 km/h) or
less within the distance of 12
mph (20 km). (for Manual trans-
mission vehicle)
Tie-down Hook
NOTICE
NOTICE
6
Do not use the tie-down hook(s)
for towing purposes. If the tie-
down hook(s) are used for tow-
ing, the tie-down hook(s) or
bumper will be damaged and
this could lead to serious injury.
WARNING
OIK067020