battery GENESIS G90 2017 User Guide
[x] Cancel search | Manufacturer: GENESIS, Model Year: 2017, Model line: G90, Model: GENESIS G90 2017Pages: 524, PDF Size: 19.3 MB
Page 165 of 524
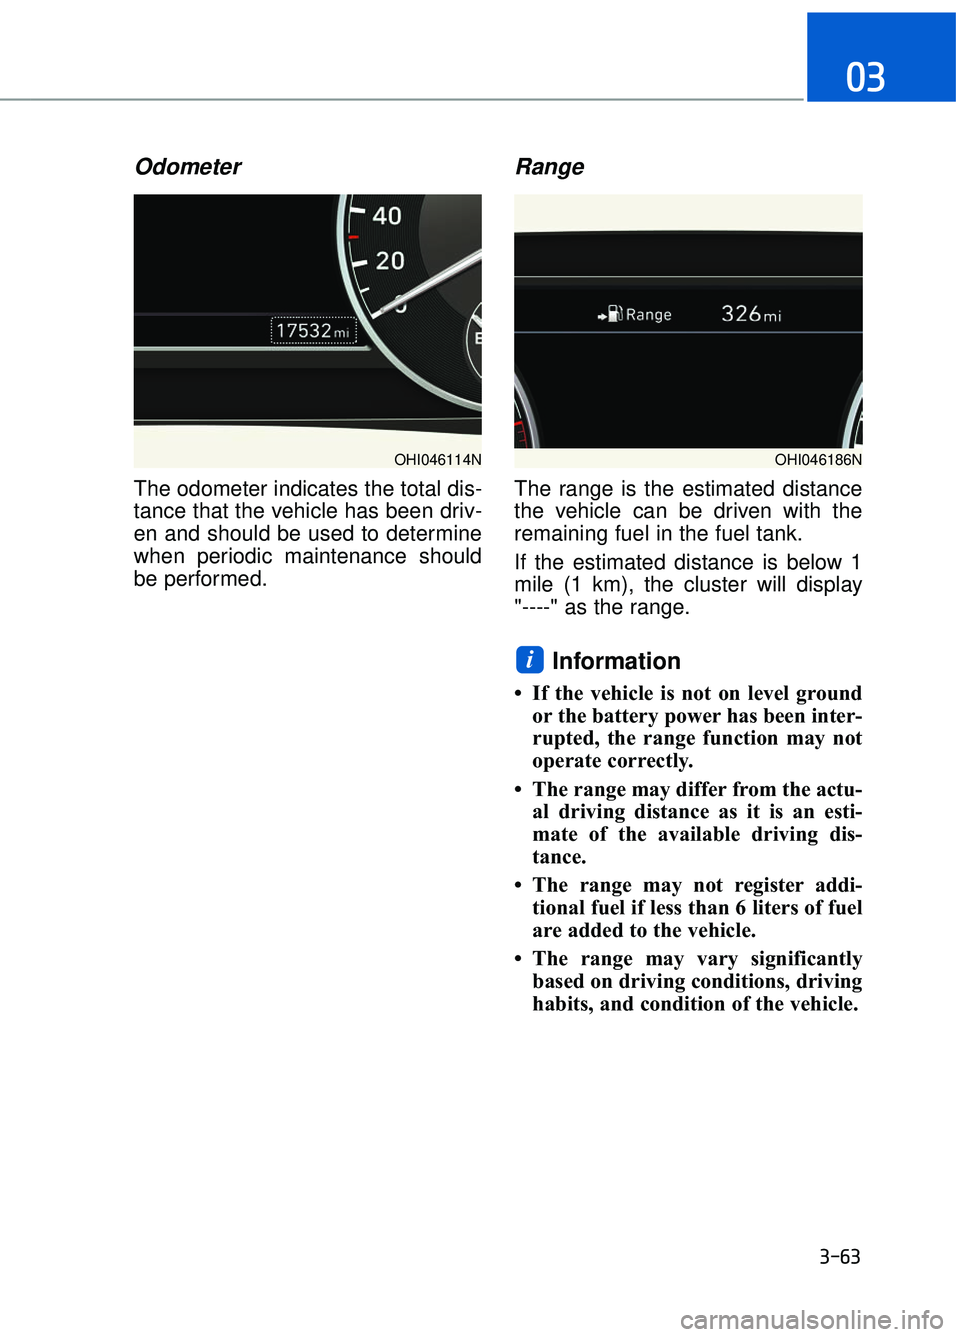
Odometer
The odometer indicates the total dis-
tance that the vehicle has been driv-
en and should be used to determine
when periodic maintenance should
be performed.
Range
The range is the estimated distance
the vehicle can be driven with the
remaining fuel in the fuel tank.
If the estimated distance is below 1
mile (1 km), the cluster will display
"----" as the range.
Information
• If the vehicle is not on level groundor the battery power has been inter-
rupted, the range function may not
operate correctly.
• The range may differ from the actu- al driving distance as it is an esti-
mate of the available driving dis-
tance.
• The range may not register addi- tional fuel if less than 6 liters of fuel
are added to the vehicle.
• The range may vary significantly based on driving conditions, driving
habits, and condition of the vehicle.
i
3-63
03
OHI046114NOHI046186N
Page 169 of 524
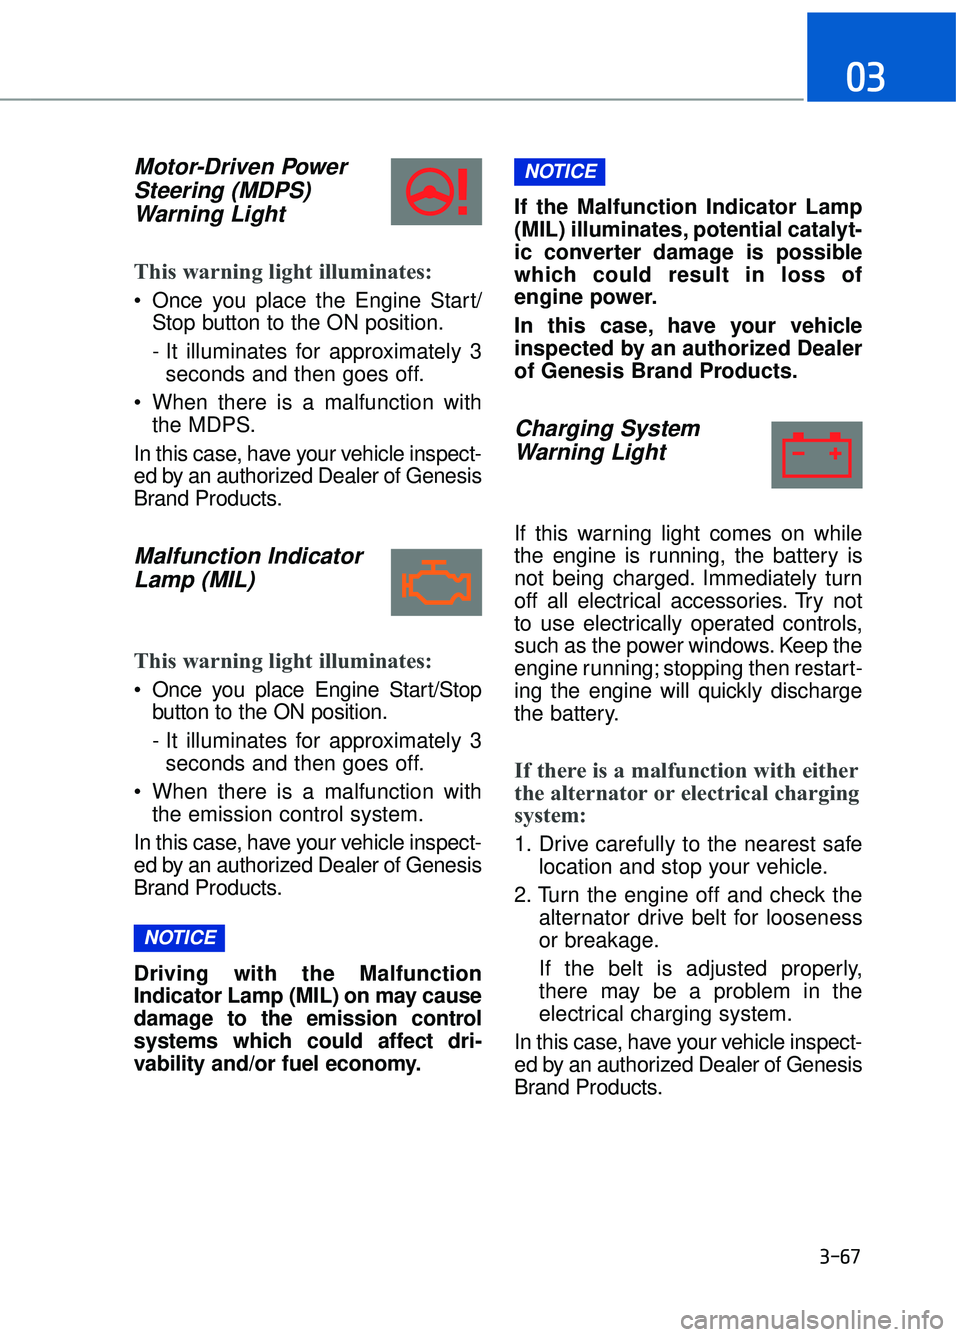
Motor-Driven PowerSteering (MDPS) Warning Light
This warning light illuminates:
Once you place the Engine Start/
Stop button to the ON position.
- It illuminates for approximately 3seconds and then goes off.
When there is a malfunction with the MDPS.
In this case, have your vehicle inspect-
ed by an authorized Dealer of Genesis
Brand Products.
Malfunction Indicator Lamp (MIL)
This warning light illuminates:
Once you place Engine Start/Stop
button to the ON position.
- It illuminates for approximately 3seconds and then goes off.
When there is a malfunction with the emission control system.
In this case, have your vehicle inspect-
ed by an authorized Dealer of Genesis
Brand Products.
Driving with the Malfunction
Indicator Lamp (MIL) on may cause
damage to the emission control
systems which could affect dri-
vability and/or fuel economy. If the Malfunction Indicator Lamp
(MIL) illuminates, potential catalyt-
ic converter damage is possible
which could result in loss of
engine power.
In this case, have your vehicle
inspected by an authorized Dealer
of Genesis Brand Products.
Charging System
Warning Light
If this warning light comes on while
the engine is running, the battery is
not being charged. Immediately turn
off all electrical accessories. Try not
to use electrically operated controls,
such as the power windows. Keep the
engine running; stopping then restart-
ing the engine will quickly discharge
the battery.
If there is a malfunction with either
the alternator or electrical charging
system:
1. Drive carefully to the nearest safe
location and stop your vehicle.
2. Turn the engine off and check the alternator drive belt for looseness
or breakage.
If the belt is adjusted properly,
there may be a problem in the
electrical charging system.
In this case, have your vehicle inspect-
ed by an authorized Dealer of Genesis
Brand Products.
NOTICE
NOTICE
3-67
03
Page 174 of 524
Immobilizer IndicatorLight
This indicator light illuminates for
up to 30 seconds:
When the vehicle detects the smart
key in the vehicle with the Engine
Start/Stop button in the ACC or ON
position.
- At this time, you can start the
engine.
- The indicator light goes off after starting the engine.
This indicator light blinks for a few
seconds:
When the smart key is not in the
vehicle.
- At this time, you cannot start theengine.
This indicator light illuminates for
2 seconds and goes off:
If the smart key is in the vehicle and
the Engine Start/Stop button is ON,
but the vehicle cannot detect the
smart key.
In this case, have your vehicle inspect-
ed by an authorized Dealer of Genesis
Brand Products.
This indicator light blinks:
When the battery voltage of thesmart key is low.
- At this time, you can not start theengine. However, you can start the
engine if you press the ignition
switch or the Engine Start/Stop but-
ton with the smart key. (For more
information, refer to "Starting
the Engine" in chapter 5). When there is a malfunction with
the immobilizer system.
In this case, have your vehicle inspect-
ed by an authorized Dealer of Genesis
Brand Products.
Turn Signal Indicator Light
This indicator light blinks:
When you operate the turn signal
indicator.
If any of the following occurs, there
may be a malfunction with the turn
signal system.
- The turn signal indicator light illu-minates but does not blink
- The turn signal indicator light blinks rapidly
- The turn signal indicator light does not illuminate at all
If either of these conditions occur,
have your vehicle inspected by an
authorized Dealer of Genesis Brand
Products.
3-72
Convenient features of your vehicle
Page 178 of 524
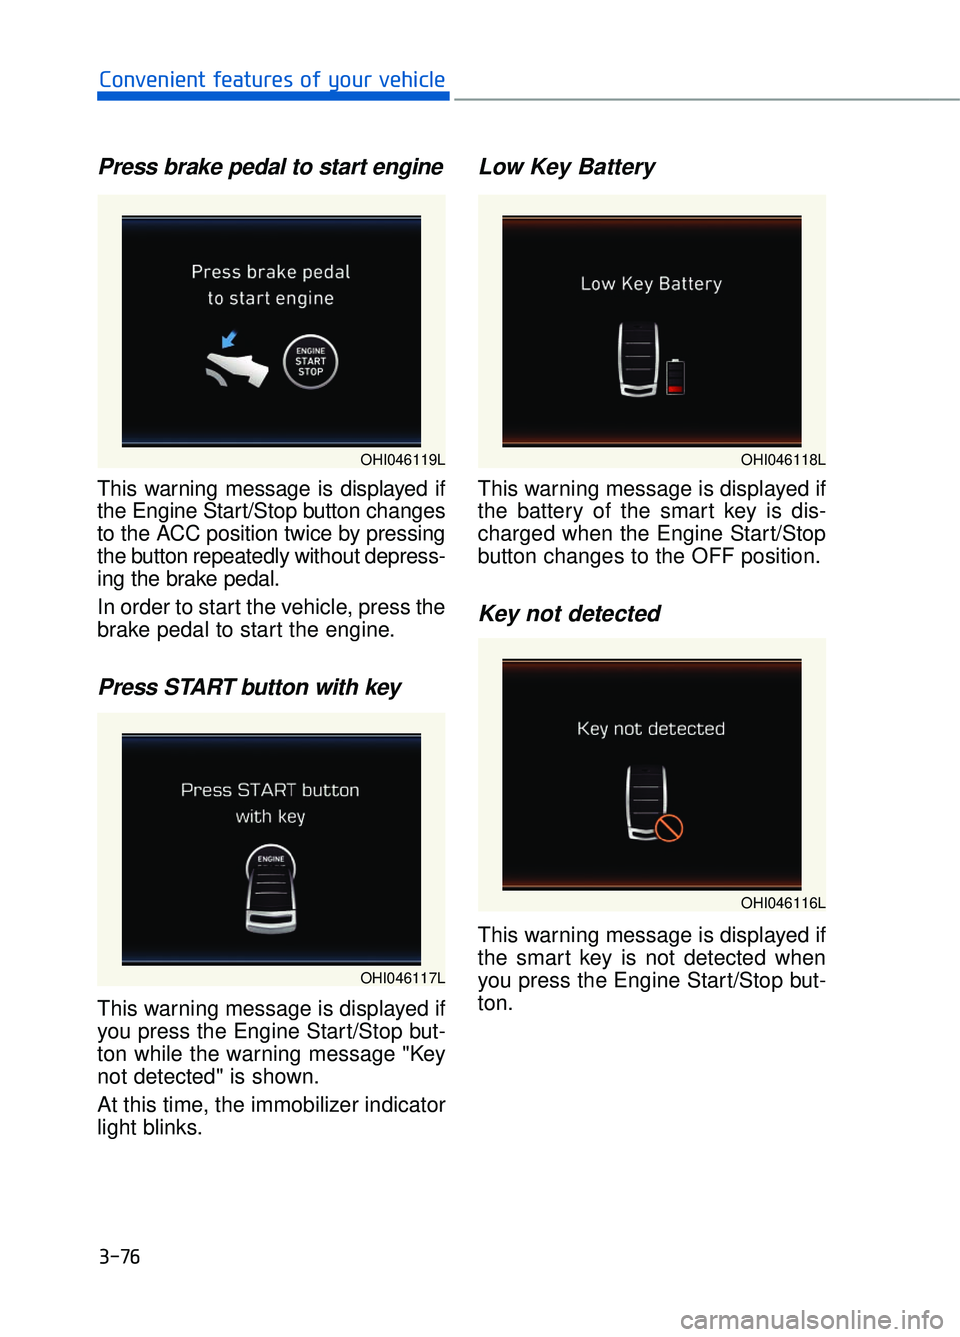
Press brake pedal to start engine
This warning message is displayed if
the Engine Start/Stop button changes
to the ACC position twice by pressing
the button repeatedly without depress-
ing the brake pedal.
In order to start the vehicle, press the
brake pedal to start the engine.
Press START button with key
This warning message is displayed if
you press the Engine Start/Stop but-
ton while the warning message "Key
not detected" is shown.
At this time, the immobilizer indicator
light blinks.
Low Key Battery
This warning message is displayed if
the battery of the smart key is dis-
charged when the Engine Start/Stop
button changes to the OFF position.
Key not detected
This warning message is displayed if
the smart key is not detected when
you press the Engine Start/Stop but-
ton.
3-76
Convenient features of your vehicle
OHI046117L
OHI046119LOHI046118L
OHI046116L
Page 197 of 524
3-95
03
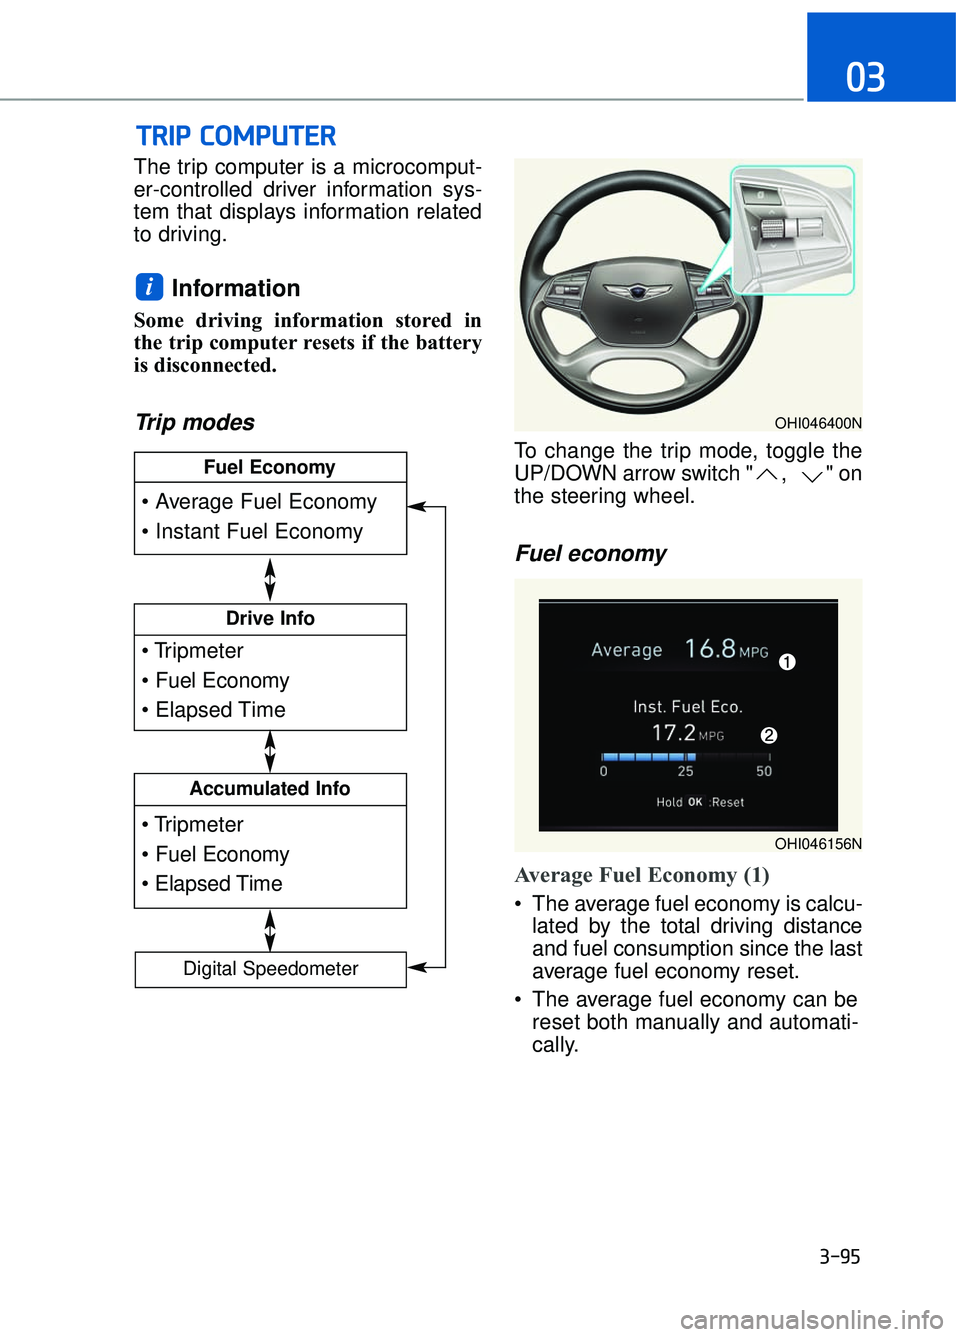
The trip computer is a microcomput-
er-controlled driver information sys-
tem that displays information related
to driving.
Information
Some driving information stored in
the trip computer resets if the battery
is disconnected.
Trip modes
To change the trip mode, toggle the
UP/DOWN arrow switch " , " on
the steering wheel.
Fuel economy
Average Fuel Economy (1)
The average fuel economy is calcu-lated by the total driving distance
and fuel consumption since the last
average fuel economy reset.
The average fuel economy can be reset both manually and automati-
cally.
i
T
TR
R I
IP
P
C
C O
O M
M P
PU
U T
TE
ER
R
Drive Info
Accumulated Info
Fuel Economy
Digital Speedometer
OHI046400N
OHI046156N
Page 208 of 524
3-106
Convenient features of your vehicle
Battery saver function
The purpose of this feature is to pre-
vent the battery from being dis-
charged. The system automatically
turns off the parking lamp when the
driver turns the engine off and opens
the driver-side door.
With this feature, the parking lamps
will turn off automatically if the driver
parks on the side of road at night.
If necessary, to keep the lamps on
when the engine is turned off, perform
the following:
1) Open the driver-side door.
2) Turn the parking lamps OFF andON again using the light switch on
the steering column.
Headlamp delay function
If the Engine Start/Stop button is
placed in the ACC position or the
OFF position with the headlamps
ON, the headlamps (and/or parking
lamps) remain on for about 5 min-
utes. However, if the driver’s door is
opened and closed, the headlights
are turned off after 15 seconds. Also,
with the engine off if the driver's door
is opened and closed, the headlamps
(and/or parking lamps) are turned off
after 15 seconds.
The headlamps (and/or parking
lamps) can be turned off by pressing
the lock button on the smart key
twice or turning the light switch to the
OFF or AUTO position.
You can activate or deactivate the
Headlamp Delay function from the
User Settings mode on the LCD dis-
play.
For more information, refer to the
"LCD Display" in this chapter.
If the driver gets out of the vehicle
through other doors (except dri-
ver’s door), the battery saver func-
tion does not operate and the
headlamp delay function does not
turn off automatically. Therefore, It
causes the battery to be dis-
charged. In this case, make sure
to turn off the lamp before getting
out of the vehicle.
NOTICE
Page 210 of 524
3-108
Convenient features of your vehicle
Interior Lights
Do not use the interior lights for
extended periods when the engine
is turned off or the battery will dis-
charge.
Interior lamp AUTO cut
The interior lamps will automatically
go off approximately 20 minutes after
the engine is turned off and the
doors closed. If a door is opened, the
lamp will go off 40 minutes after the
engine is turned off. If the doors are
locked by the remote key or smart
key and the vehicle enters the armed
stage of the theft alarm system, the
lamps will go off five seconds later.
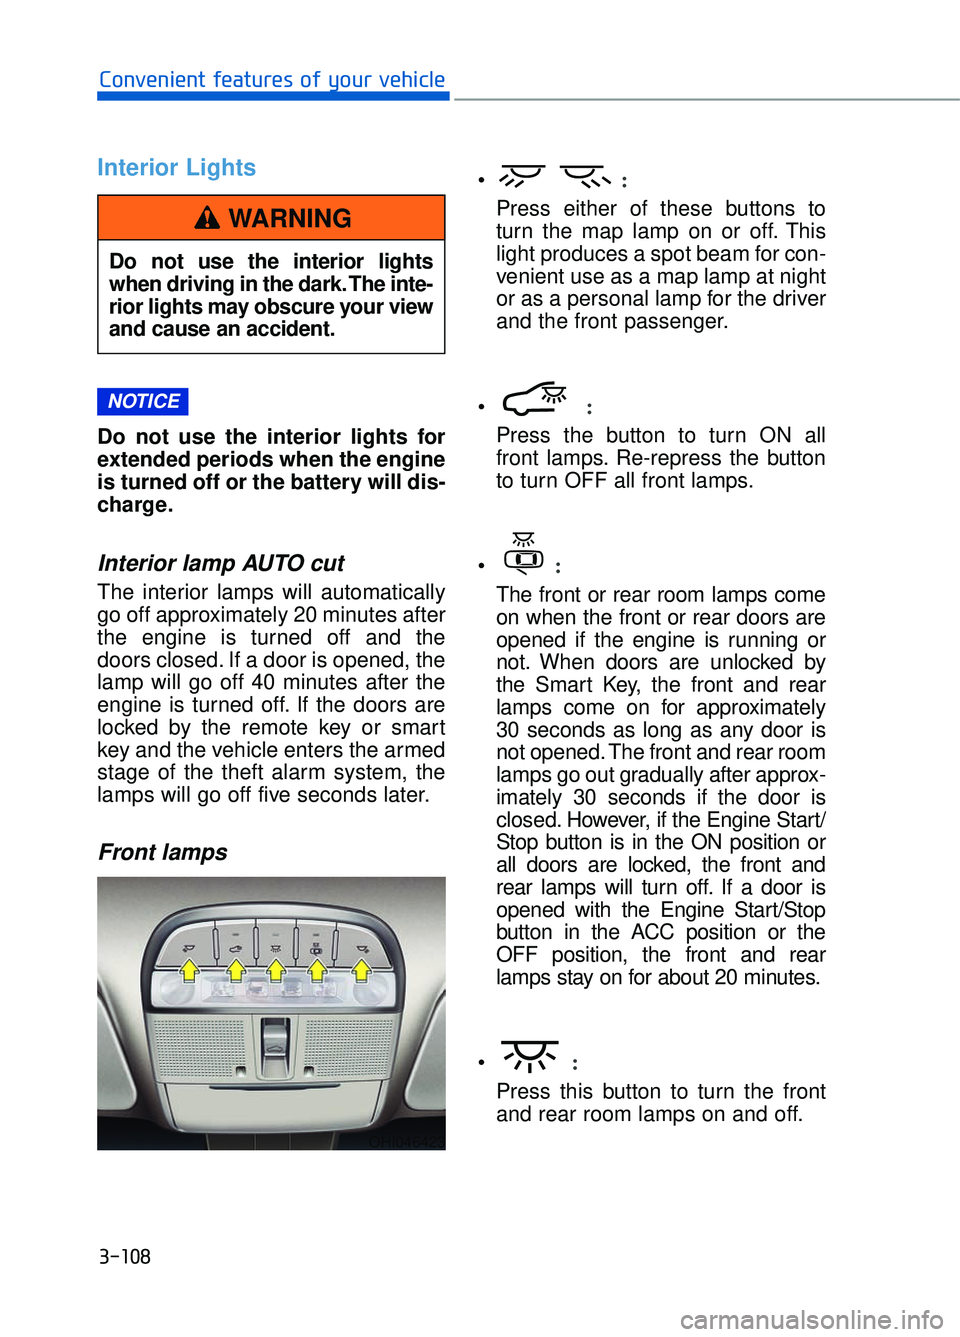
Front lamps
:
Press either of these buttons to
turn the map lamp on or off. This
light produces a spot beam for con-
venient use as a map lamp at night
or as a personal lamp for the driver
and the front passenger.
:
Press the button to turn ON all
front lamps. Re-repress the button
to turn OFF all front lamps.
:
The front or rear room lamps come
on when the front or rear doors are
opened if the engine is running or
not. When doors are unlocked by
the Smart Key, the front and rear
lamps come on for approximately
30 seconds as long as any door is
not opened. The front and rear room
lamps go out gradually after approx-
imately 30 seconds if the door is
closed. However, if the Engine Start/
Stop button is in the ON position or
all doors are locked, the front and
rear lamps will turn off. If a door is
opened with the Engine Start/Stop
button in the ACC position or the
OFF position, the front and rear
lamps stay on for about 20 minutes.
:
Press this button to turn the front
and rear room lamps on and off.
NOTICE
Do not use the interior lights
when driving in the dark. The inte-
rior lights may obscure your view
and cause an accident.
WARNING
OHI046423
Page 226 of 524
For your convenience and to improve
the effectiveness of the climate con-
trol, use the AUTO button and set the
temperature to 73°F (23°C).
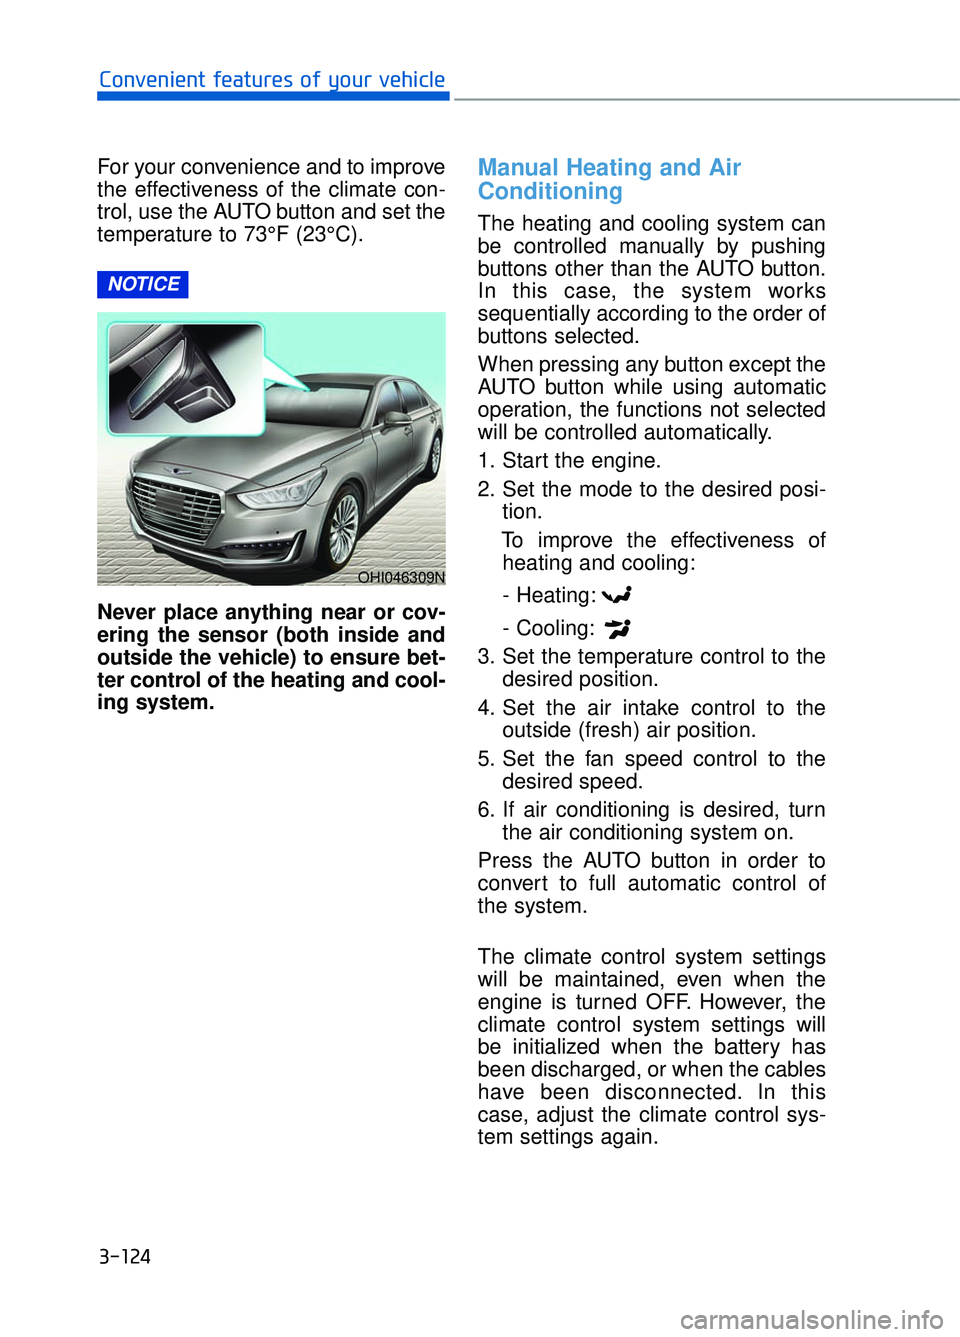
Never place anything near or cov-
ering the sensor (both inside and
outside the vehicle) to ensure bet-
ter control of the heating and cool-
ing system.Manual Heating and Air
Conditioning
The heating and cooling system can
be controlled manually by pushing
buttons other than the AUTO button.
In this case, the system works
sequentially according to the order of
buttons selected.
When pressing any button except the
AUTO button while using automatic
operation, the functions not selected
will be controlled automatically.
1. Start the engine.
2. Set the mode to the desired posi-tion.
To improve the effectiveness of heating and cooling:
- Heating:
- Cooling:
3. Set the temperature control to the desired position.
4. Set the air intake control to the outside (fresh) air position.
5. Set the fan speed control to the desired speed.
6. If air conditioning is desired, turn the air conditioning system on.
Press the AUTO button in order to
convert to full automatic control of
the system.
The climate control system settings
will be maintained, even when the
engine is turned OFF. However, the
climate control system settings will
be initialized when the battery has
been discharged, or when the cables
have been disconnected. In this
case, adjust the climate control sys-
tem settings again.
NOTICE
3-124
Convenient features of your vehicle
OHI046309N
Page 231 of 524
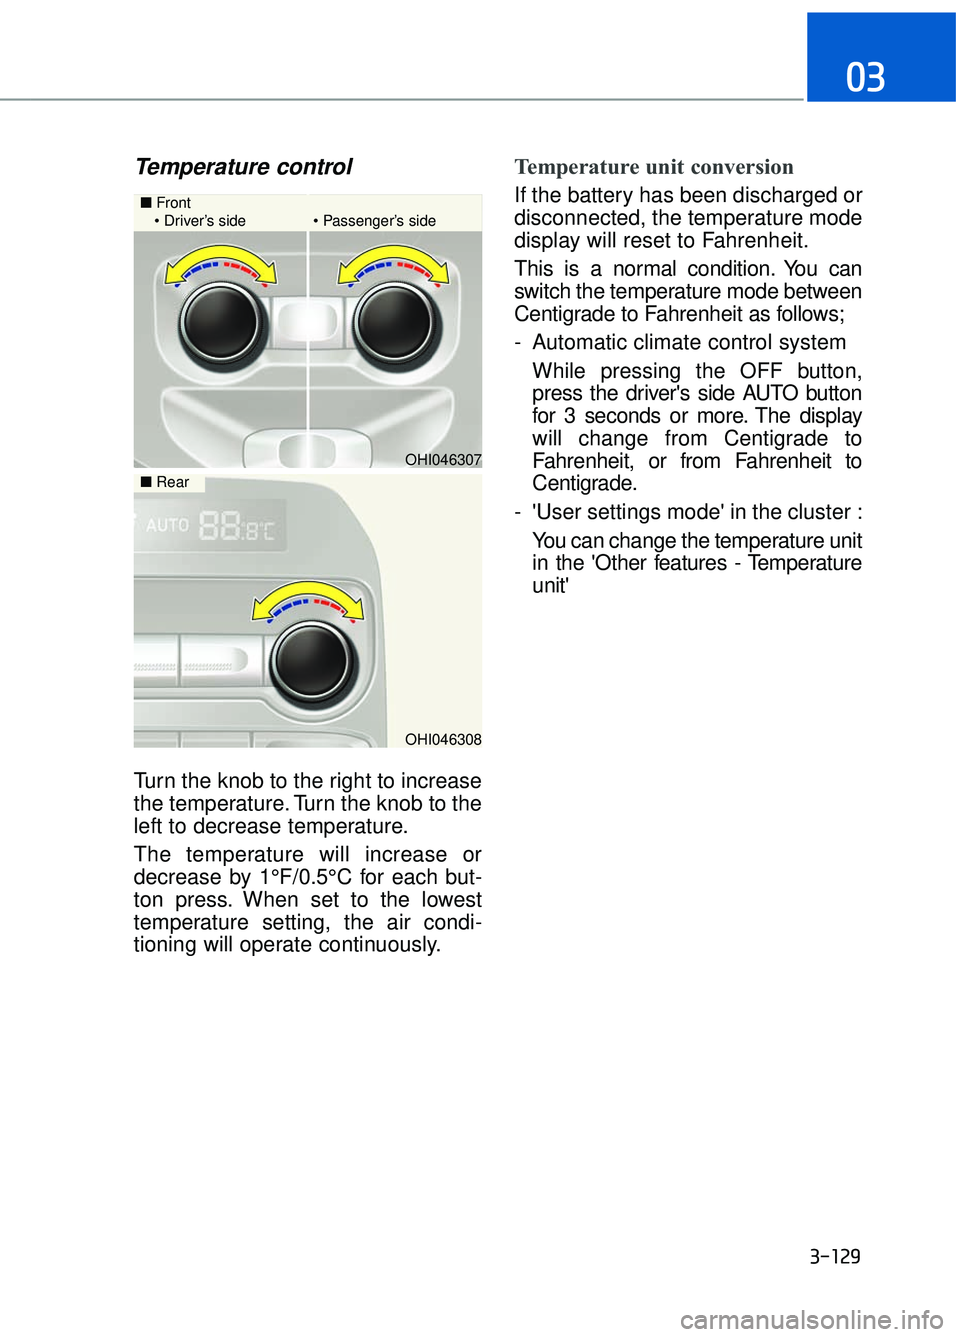
Temperature control
Turn the knob to the right to increase
the temperature. Turn the knob to the
left to decrease temperature.
The temperature will increase or
decrease by 1°F/0.5°C for each but-
ton press. When set to the lowest
temperature setting, the air condi-
tioning will operate continuously.
Temperature unit conversion
If the battery has been discharged or
disconnected, the temperature mode
display will reset to Fahrenheit.
This is a normal condition. You can
switch the temperature mode between
Centigrade to Fahrenheit as follows;
- Automatic climate control systemWhile pressing the OFF button,
press the driver's side AUTO button
for 3 seconds or more. The display
will change from Centigrade to
Fahrenheit, or from Fahrenheit to
Centigrade.
- 'User settings mode' in the cluster : You can change the temperature unit
in the 'Other features - Temperature
unit'
3-129
03
OHI046307
■ Front
Driver’s side Passenger’s side
OHI046308
■ Rear
Page 241 of 524

To defrost outside windshield
1. Set the fan speed to the highestposition.
2. Set the temperature to the extreme hot (HI) position.
3. Press the defroster button ( ).
4. The air conditioning will turn on according to the detected ambient
temperature and outside (fresh)
air position will be selected auto-
matically.
Defogging logic
To reduce the possibility of fogging
up the inside of the windshield, the
air intake is controlled automatically
according to certain conditions such
as or position. To cancel or
return the defogging logic, perform
the following steps:
1. Turn the Engine Start/Stop Buttonto the ON position.
2. Select the defrost position press- ing defrost button ( ).
3. While holding the air conditioning button (A/C) pressed, press the air
intake control button at least 5
times within 3 seconds.
The indicator on the air intake control
button blinks 3 times with 0.5 second
of interval. It indicates that the defog-
ging logic is canceled or returned to
the programmed status.
If the battery has been discharged or
disconnected, the system resets to
the preprogrammed defogging logic.
3-139
03
OHI046328NOHI046329N