lock GENESIS G90 2017 Repair Manual
[x] Cancel search | Manufacturer: GENESIS, Model Year: 2017, Model line: G90, Model: GENESIS G90 2017Pages: 524, PDF Size: 19.3 MB
Page 213 of 524

3-111
03
Escort light
When the Engine Start/Stop button
is in the OFF position and the driver's
door is opened, the puddle lamp will
come on for 30 seconds. If the dri-
ver's door is closed within the 30
seconds, the puddle lamp will turn off
after 15 seconds. If the driver's door
is closed and locked, the puddle
lamp will turn off immediately.
The Puddle Lamp Escort Light will
turn on only the first time the driver's
door is opened after the engine is
turned off.
Welcome System
Welcome light
Door handle lamp (if equipped)
When all the doors (and trunk) are
closed and locked, the door handle
lamp will come on for about 15 sec-
onds if any of the below is performed.
When the door unlock button ispressed on the smart key.
When the button of the outside door handle is pressed.
When the vehicle is approached with the smart key in possession.
Headlamp and Parking lamp
When the headlamp (with the lamp
switch in the headlamp or AUTO
position) is on and all doors (and
trunk) are locked and closed, the
parking lamp and headlamp will
come on for 15 seconds if/or any of
the below is performed.
When the door unlock button ispressed on the smart key.
At this time, if you press the door lock
or unlock button on the smart key the
parking lamp and headlamp will turn
off immediately.
You can activate or deactivate the
Welcome Light from the User Settings
mode on the LCD display.
For more information, refer to the
"LCD Display" in this chapter.
Interior lamp
When the interior lamp switch is in
the DOOR position and all doors (and
trunk) are closed and locked, the
room lamp will come on for 30 sec-
onds if any of the below is performed.
When the door unlock button is pressed on the smart key.
When you put your hand into the door handle while carrying the
smart key.
At this time, if you press the door lock
or unlock button on the remote key or
smart key the room lamp will turn off
immediately.
OHI046411N
Page 222 of 524
3-120
Convenient features of your vehicle
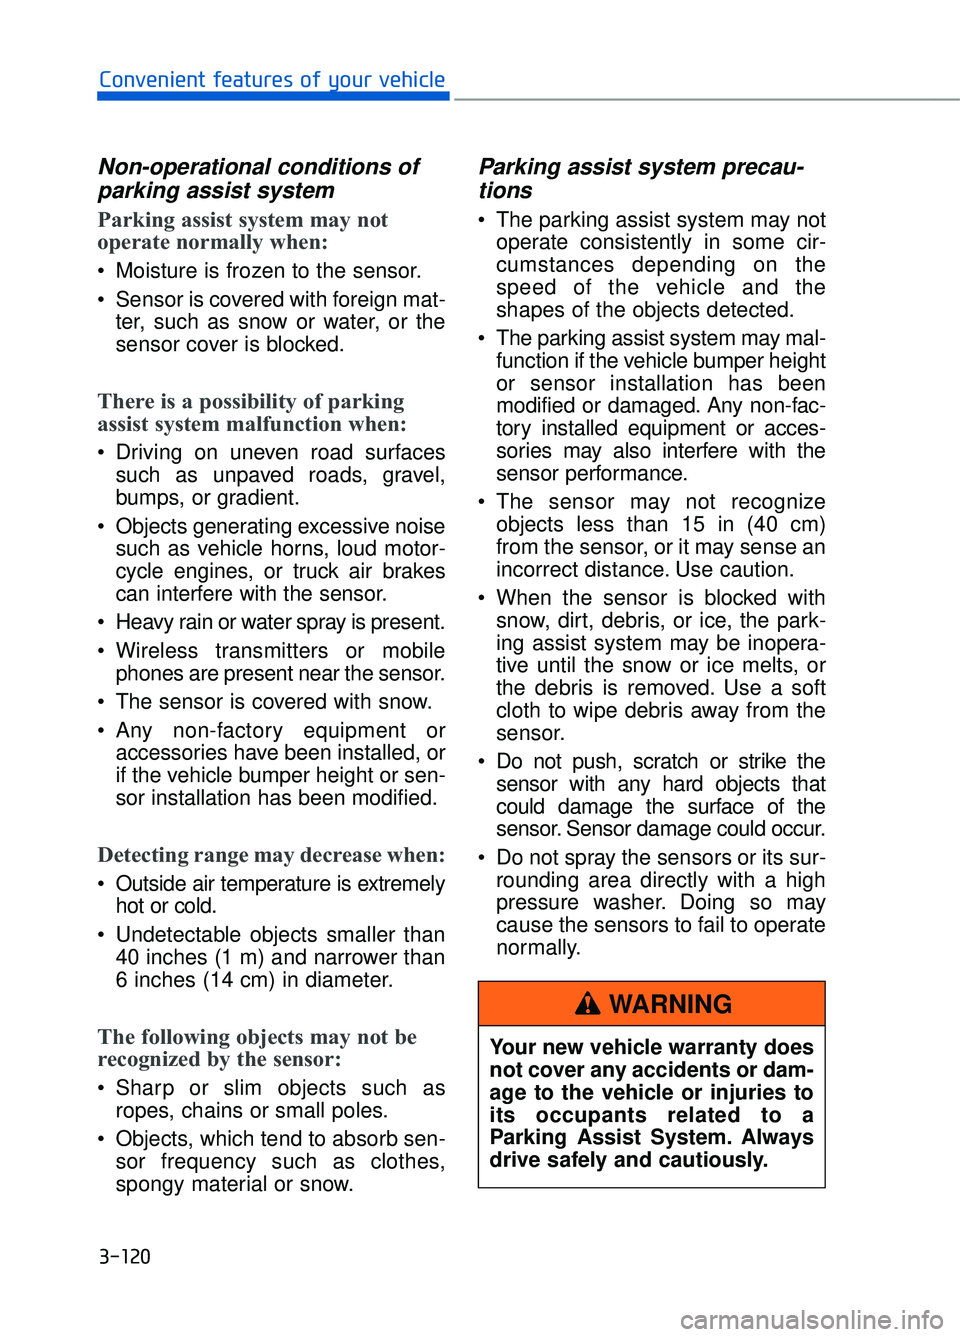
Non-operational conditions ofparking assist system
Parking assist system may not
operate normally when:
Moisture is frozen to the sensor.
Sensor is covered with foreign mat-
ter, such as snow or water, or the
sensor cover is blocked.
There is a possibility of parking
assist system malfunction when:
Driving on uneven road surfacessuch as unpaved roads, gravel,
bumps, or gradient.
Objects generating excessive noise such as vehicle horns, loud motor-
cycle engines, or truck air brakes
can interfere with the sensor.
Heavy rain or water spray is present.
Wireless transmitters or mobile phones are present near the sensor.
The sensor is covered with snow.
Any non-factory equipment or accessories have been installed, or
if the vehicle bumper height or sen-
sor installation has been modified.
Detecting range may decrease when:
Outside air temperature is extremelyhot or cold.
Undetectable objects smaller than 40 inches (1 m) and narrower than
6 inches (14 cm) in diameter.
The following objects may not be
recognized by the sensor:
Sharp or slim objects such asropes, chains or small poles.
Objects, which tend to absorb sen- sor frequency such as clothes,
spongy material or snow.
Parking assist system precau-tions
The parking assist system may not
operate consistently in some cir-
cumstances depending on the
speed of the vehicle and the
shapes of the objects detected.
The parking assist system may mal- function if the vehicle bumper height
or sensor installation has been
modified or damaged. Any non-fac-
tory installed equipment or acces-
sories may also interfere with the
sensor performance.
The sensor may not recognize objects less than 15 in (40 cm)
from the sensor, or it may sense an
incorrect distance. Use caution.
When the sensor is blocked with snow, dirt, debris, or ice, the park-
ing assist system may be inopera-
tive until the snow or ice melts, or
the debris is removed. Use a soft
cloth to wipe debris away from the
sensor.
Do not push, scratch or strike the sensor with any hard objects that
could damage the surface of the
sensor. Sensor damage could occur.
Do not spray the sensors or its sur- rounding area directly with a high
pressure washer. Doing so may
cause the sensors to fail to operate
normally.
Your new vehicle warranty does
not cover any accidents or dam-
age to the vehicle or injuries to
its occupants related to a
Parking Assist System. Always
drive safely and cautiously.
WARNING
Page 227 of 524

Mode selection
3-125
03
OHI046312
Rear outlet vents (F)
The rear outlet vents are controlled by the rear climate control system.
However, external conditions and manual settings also have influences on the
actual operation of the rear outlet vents by blocking air flows or changing air
flow volumes.
The rear outlet vents may blow slightly cooler air when the heater is operat-
ing due to some heat loss through the air ducts from the front of the vehicle.
To prevent this, the rear outlet vents may not blow any air immediately after a
cold start when the outside temperature is detected to be extremely low in
winter and the engine has not sufficiently warmed up.
Side outlet vents (D)
G90 is equipped with temperature sensors inside the side outlet vents to
accurately measure and control air temperature both in the driver’s seat and
the front passenger’s seat. However, when the side outlet vents are closed,
the temperature sensor will measure air temperature only inside the side out-
let vents. For accurate temperature control, open the side outlet vents.
Page 229 of 524
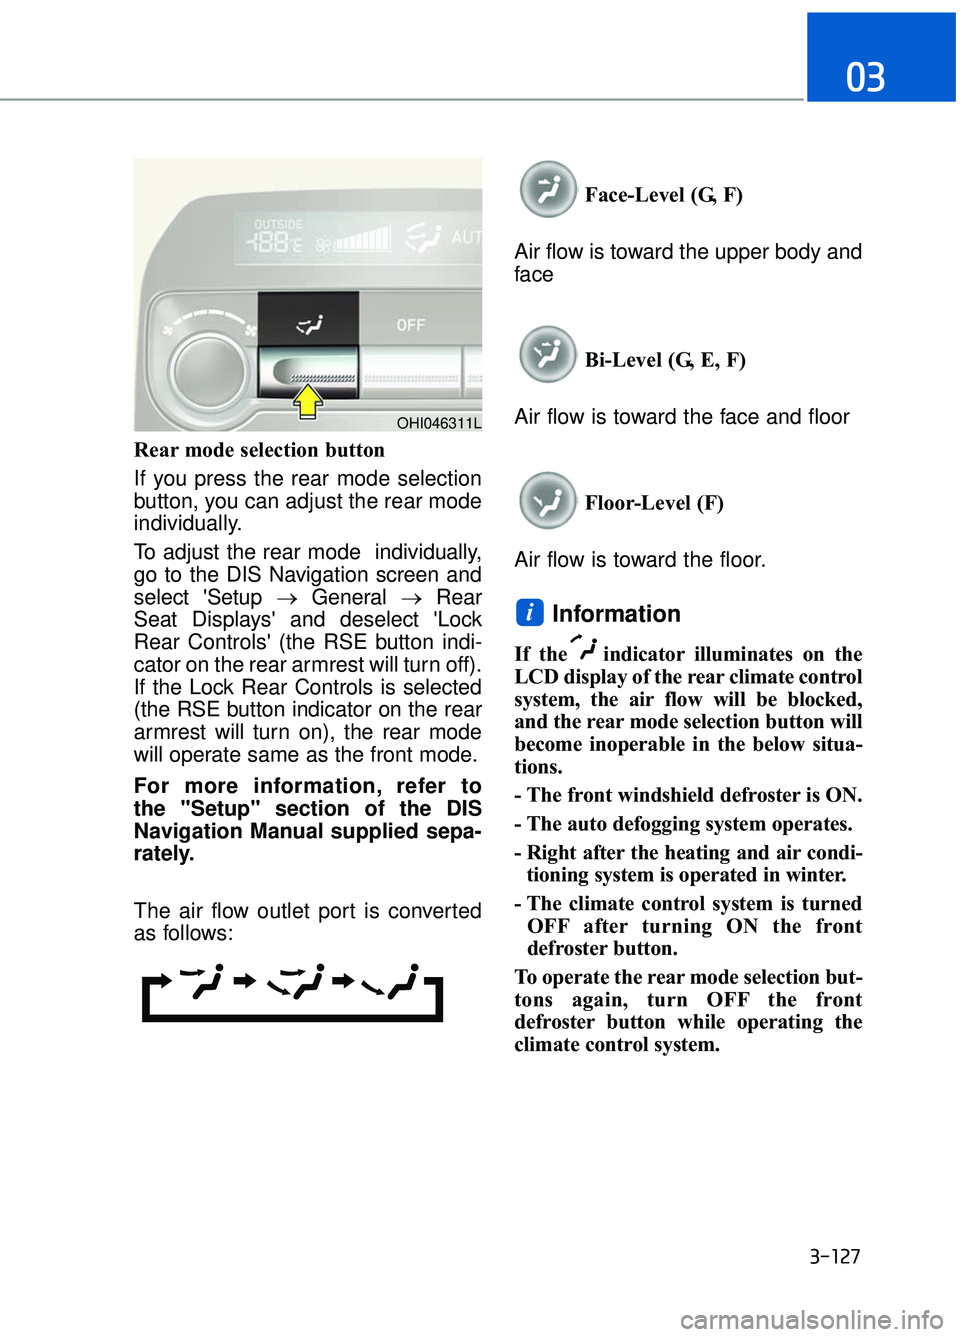
Rear mode selection button
If you press the rear mode selection
button, you can adjust the rear mode
individually.
To adjust the rear mode individually,
go to the DIS Navigation screen and
select 'Setup →General →Rear
Seat Displays' and deselect 'Lock
Rear Controls' (the RSE button indi-
cator on the rear armrest will turn off).
If the Lock Rear Controls is selected
(the RSE button indicator on the rear
armrest will turn on), the rear mode
will operate same as the front mode.
For more information, refer to
the "Setup" section of the DIS
Navigation Manual supplied sepa-
rately.
The air flow outlet port is converted
as follows: Face-Level (G, F)
Air flow is toward the upper body and
face
Bi-Level (G, E, F)
Air flow is toward the face and floor
Floor-Level (F)
Air flow is toward the floor.
Information
If the indicator illuminates on the
LCD display of the rear climate control
system, the air flow will be blocked,
and the rear mode selection button will
become inoperable in the below situa-
tions.
- The front windshield defroster is ON.
- The auto defogging system operates.
- Right after the heating and air condi- tioning system is operated in winter.
- The climate control system is turned OFF after turning ON the front
defroster button.
To operate the rear mode selection but-
tons again, turn OFF the front
defroster button while operating the
climate control system.
i
3-127
03
OHI046311L
Page 234 of 524

Air quality system (AQS)
The air inflow from outside the vehi-
cle can be automatically controlled.
Press the button to activate the air
quality control system.
When using AQS mode, AQS (Air
Quality System) automatically sens-
es outdoor air pollutants and mini-
mizes them from entering the vehi-
cle, however, unpleasant or foul
odors that might be present may still
be noticeable within the vehicle.
Exhaust gas cutoff mode :
Air enters the vehicle from the outside.
If exhaust gas from the outside of the
vehicle is detected, the exhaust gas cut-
off mode is automatically converted
from the outside air position to the recir-
culated air position to prevent exhaust
gas from entering the vehicle.
Information
• The AQS button indicator will imme-diately illuminate when the engine is
started with the AQS in the ON posi-
tion. However, the AQS starts oper-
ating after 40 seconds.
• The AQS filters out toxic exhaust (i.e. NO, NO2, SO2, CO, CxHy) to pre-
vent it from entering the passenger
compartment but, does not totally
block odor.
The AQS does not operate in any of
the following situations :
The AQS button is re-repressed tothe OFF position.
Either the outside (fresh) air posi- tion or the recirculated air position
is selected.
The defroster button is pressed to the ON position, or the floor &
defrost ( ) mode is selected.
The temperature is set to either the highest (HI) or the lowest (Lo) posi-
tion, while the climate control sys-
tem is automatically controlled
(AUTO button indicator ON).
The OFF button of the climate con- trol system is selected.
The auto defogging system oper- ates to defog the front windshield.
Information
If the windows fog up with the
Recirculation or AQS mode selected,
set the air intake control to the fresh
air position or or turn off the AQS
mode.
i
i
3-132
Convenient features of your vehicle
OHI046330
Page 235 of 524
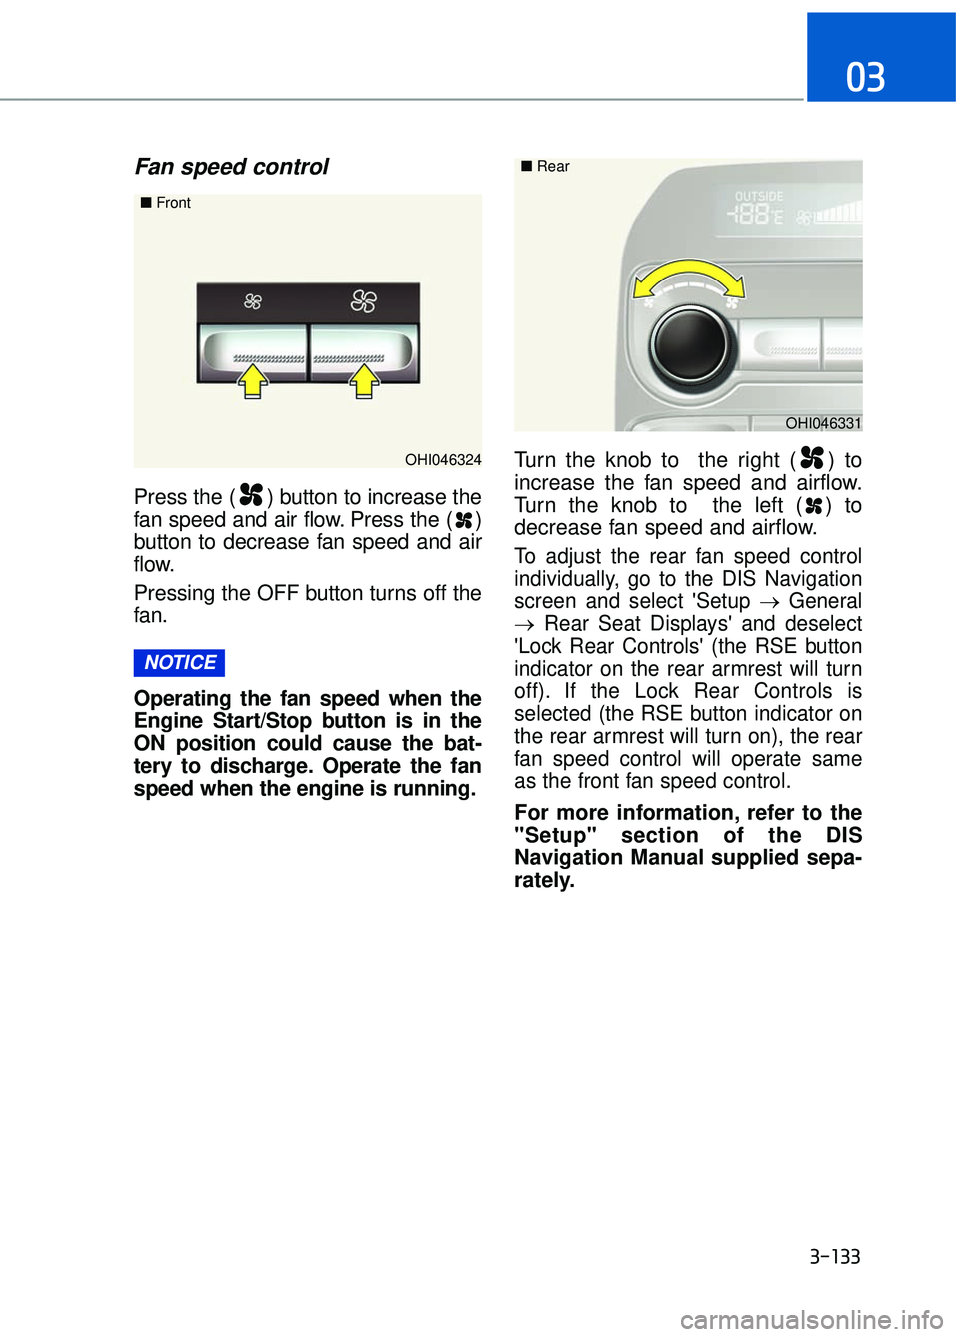
Fan speed control
Press the ( ) button to increase the
fan speed and air flow. Press the ( )
button to decrease fan speed and air
flow.
Pressing the OFF button turns off the
fan.
Operating the fan speed when the
Engine Start/Stop button is in the
ON position could cause the bat-
tery to discharge. Operate the fan
speed when the engine is running.Turn the knob to the right ( ) to
increase the fan speed and airflow.
Turn the knob to the left ( ) to
decrease fan speed and airflow.
To adjust the rear fan speed control
individually, go to the DIS Navigation
screen and select 'Setup →
General
→ Rear Seat Displays' and deselect
'Lock Rear Controls' (the RSE button
indicator on the rear armrest will turn
off). If the Lock Rear Controls is
selected (the RSE button indicator on
the rear armrest will turn on), the rear
fan speed control will operate same
as the front fan speed control.
For more information, refer to the
"Setup" section of the DIS
Navigation Manual supplied sepa-
rately.
NOTICE
3-133
03
OHI046324
■
Front
OHI046331
■
Rear
Page 246 of 524

3-144
Convenient features of your vehicle
Glove Box
The glove box can be locked and
unlocked with the mechanical key
(1).
To open:
Pull the lever (2).
Make sure the glove box is closed
while driving.
Sunglass Holder
To open:
Push and release the cover and the
holder will slowly open. Place your
sunglasses in the compartment door
with the lenses facing out.
To close:
Push back into position.
Make sure the sunglass holder is
closed while driving.
OHI046435
ALWAYS close the glove box
after use.
An open glove box can cause
serious injury to the passenger
in an accident, even if the pas-
senger is wearing a seat belt.
WARNING
OHI046436
Do not keep objects exceptsunglasses inside the sun-
glass holder. Such objects can
be thrown from the holder in
the event of a sudden stop or
an accident, possibly injuring
the passengers in the vehicle.
Do not open the sunglass holder while the vehicle is
moving. The rear view mirror of
the vehicle can be blocked by
an open sunglass holder.
Do not put the glasses forcibly into a sunglass holder. It may
cause personal injury if you try
to open it forcibly when the
glasses are jammed.
WARNING
Page 250 of 524

3-148
Convenient features of your vehicle
Sunvisor
To use a sunvisor, pull it downward.
To use a sunvisor for a side window,
pull it downward, unsnap it from the
bracket (1) and swing it to the side (2).
To use the vanity mirror, pull down the
sunvisor and slide the mirror cover (3).
Adjust the sunvisor forward or back-
ward (4) as needed. Use the ticket
holder (5) to hold tickets (if equipped).
Close the vanity mirror cover
securely and return the sunvisor
to its original position after use.
Do not put several tickets in theticket holder at one time. This
could cause damage to the tick-
et holder.
Avoid putting a plastic card such as a credit card in the tick-
et holder located in the outside
of the sunvisor. This could cause
damage to the plastic card.
Rear Vanity Mirror
Press the cover to open the rear van-
ity mirror. Push up the cover to close
the rear vanity mirror.
Make sure to close the rear vanity
mirror cover after use. If not, the
rear vanity mirror lamp remains
ON, possibly draining the battery
or damaging the rear vanity mirror.
NOTICE
NOTICE
NOTICE
OHI046444
For your safety, do not block your
view when using the sunvisor.
WARNING
OHI046430
Page 253 of 524
3-151
03
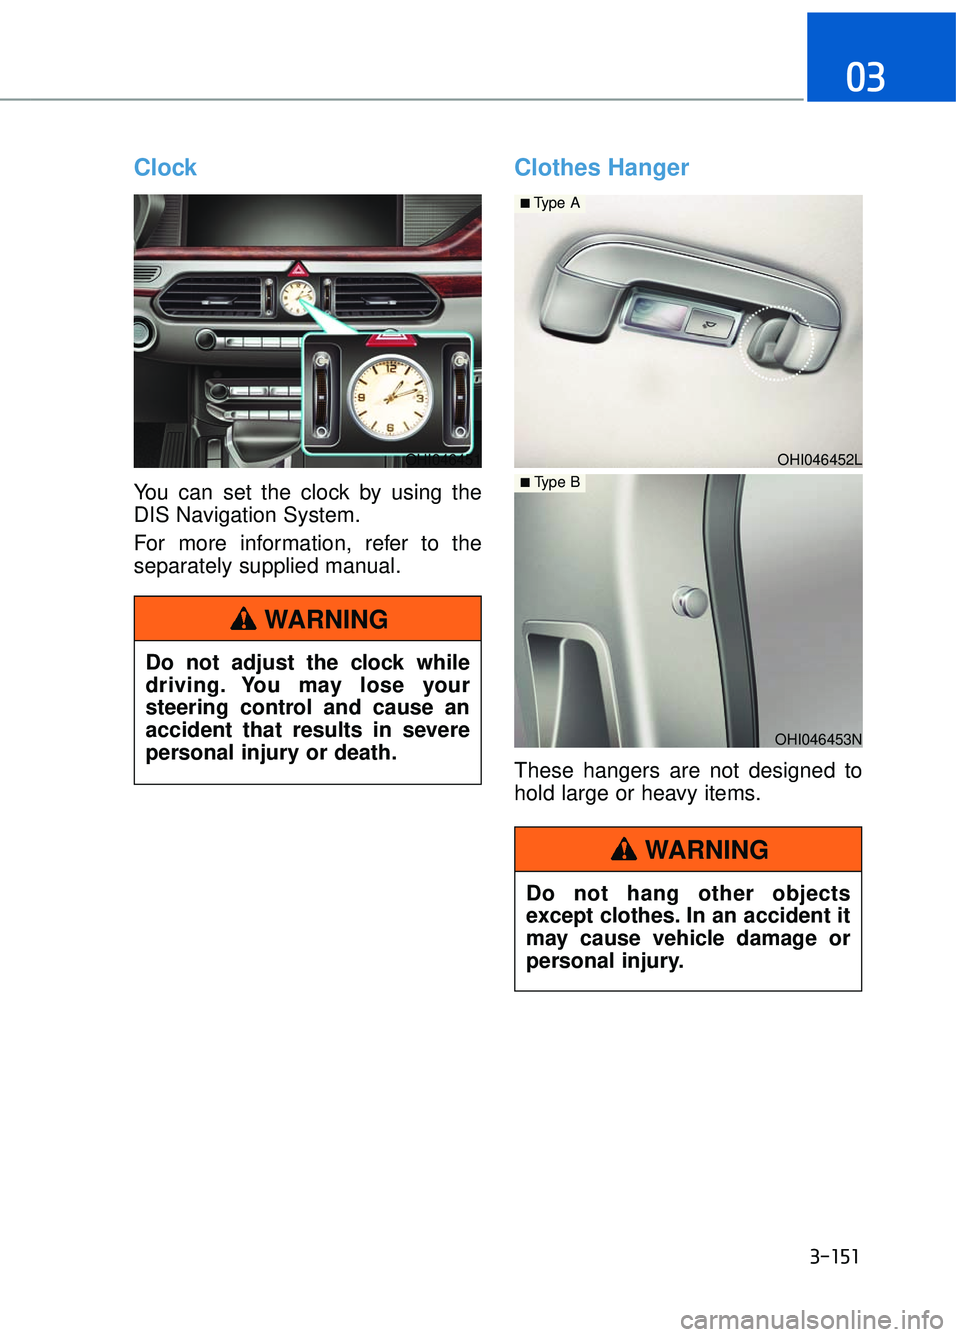
Clock
You can set the clock by using the
DIS Navigation System.
For more information, refer to the
separately supplied manual.
Clothes Hanger
These hangers are not designed to
hold large or heavy items.
OHI046451
Do not adjust the clock while
driving. You may lose your
steering control and cause an
accident that results in severe
personal injury or death.
WARNING
OHI046452L
■Type A
OHI046453N
■ Type B
Do not hang other objects
except clothes. In an accident it
may cause vehicle damage or
personal injury.
WARNING
Page 262 of 524
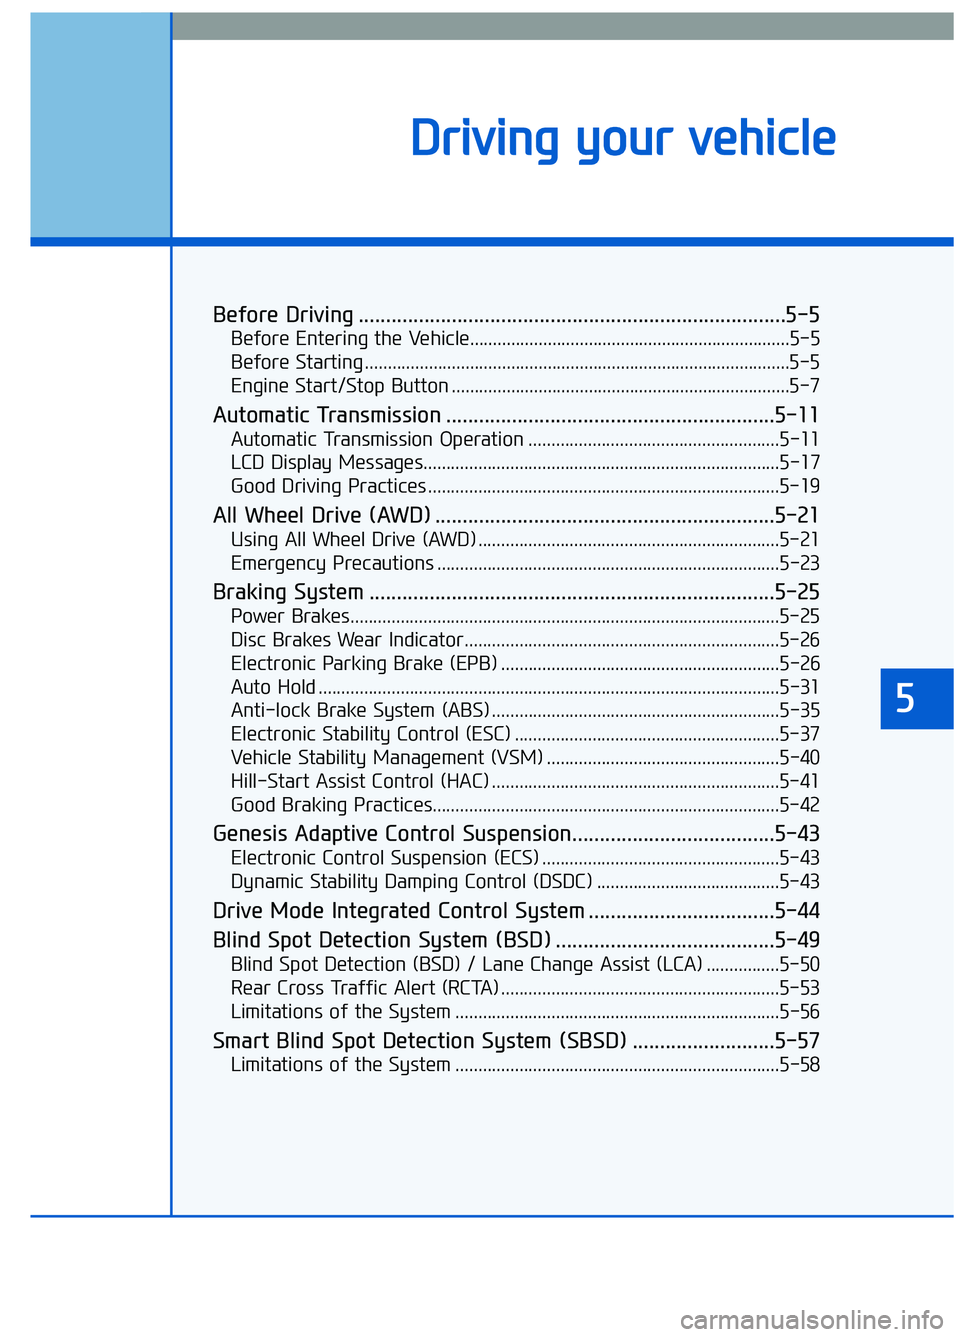
Before Driving ........................................................................\
......5-5
Before Entering the Vehicle......................................................................5-\
5
Before Starting ........................................................................\
.....................5-5
Engine Start/Stop Button ........................................................................\
..5-7
Automatic Transmission ............................................................5-11
Automatic Transmission Operation .......................................................5-11
LCD Display Messages........................................................................\
......5-17
Good Driving Practices ........................................................................\
.....5-19
All Wheel Drive (AWD) ..............................................................5-21
Using All Wheel Drive (AWD) ..................................................................5-21
Emergency Precautions ........................................................................\
...5-23
Braking System ........................................................................\
..5-25
Power Brakes........................................................................\
......................5-25
Disc Brakes Wear Indicator.....................................................................5-2\
6
Electronic Parking Brake (EPB) .............................................................5-26
Auto Hold ........................................................................\
.............................5-31
Anti-lock Brake System (ABS) ...............................................................5-35
Electronic Stability Control (ESC) ..........................................................5-37
Vehicle Stability Management (VSM) ...................................................5-40
Hill-Start Assist Control (HAC) ...............................................................5-41
Good Braking Practices.................................................................\
...........5-42
Genesis Adaptive Control Suspension.....................................5-43
Electronic Control Suspension (ECS) ....................................................5-43
Dynamic Stability Damping Control (DSDC) ........................................5-43
Drive Mode Integrated Control System ..................................5-44
Blind Spot Detection System (BSD) ........................................5-49
Blind Spot Detection (BSD) / Lane Change Assist (LCA) ................5-50
Rear Cross Traffic Alert (RCTA) .............................................................5-53
Limitations of the System .......................................................................5\
-56
Smart Blind Spot Detection System (SBSD) ..........................5-57
Limitations of the System .......................................................................5\
-58
5
D Dr
ri
iv
v i
in
n g
g
y
y o
o u
ur
r
v
v e
e h
h i
ic
c l
le
e