check engine GENESIS G90 2018 User Guide
[x] Cancel search | Manufacturer: GENESIS, Model Year: 2018, Model line: G90, Model: GENESIS G90 2018Pages: 519, PDF Size: 19.52 MB
Page 160 of 519

3-58
Convenient features of your vehicle(Continued)
Do not use cellular phones while refueling. Electric cur-
rent and/or electronic interfer-
ence from cellular phones can
potentially ignite fuel vapors
and cause a fire.
Do not get back into a vehicle once you have begun refuel-
ing. You can generate a build-
up of static electricity by
touching, rubbing or sliding
against any item or fabric
capable of producing static
electricity. Static electricity
discharge can ignite fuel
vapors causing a fire. If you
must re-enter the vehicle, you
should once again eliminate
potentially dangerous static
electricity discharge by touch-
ing a metal part of the vehicle,
away from the fuel filler neck,
nozzle or other gasoline
source, with your bare hand.
When using an approved portable fuel container, be
sure to place the container on
the ground prior to refueling.
Static electricity discharge
from the container can ignite
fuel vapors causing a fire.
Once refueling has begun,
contact between your bare
hand and the vehicle should
be maintained until the filling
is complete.
Use only approved portable plastic fuel containers designed
to carry and store gasoline.
(Continued)
(Continued)
When refueling, always movethe shift lever to the P (Park)
position, set the parking
brake, and place the Engine
Start/Stop button to the OFF
position. Sparks produced by
electrical components related
to the engine can ignite fuel
vapors causing a fire.
Do not use matches or a lighter and do not smoke or
leave a lit cigarette in your
vehicle while at a gas station,
especially during refueling.
Do not over-fill or top-off your vehicle tank, which can cause
gasoline spillage.
If a fire breaks out during refu- eling, leave the vicinity of the
vehicle, and immediately con-
tact the manager of the gas
station and then contact the
local fire department. Follow
any safety instructions they
provide.
If pressurized fuel sprays out, it can cover your clothes or
skin and thus subject you to
the risk of fire and burns.
Always remove the fuel cap
carefully and slowly. If the cap
is venting fuel or if you hear a
hissing sound, wait until the
condition stops before com-
pletely removing the cap.
Always check that the fuel cap is installed securely to pre-
vent fuel spillage in the event
of an accident.
Page 167 of 519

Warning and Indicator Lights
Supplemental RestraintSystem Warning Light
This warning light illuminates:
Once you place the Engine Start/
Stop button to the ON position.
- It illuminates for approximately 6seconds and then goes off.
When there is a malfunction with the SRS.
In this case, have your vehicle inspect-
ed by an authorized retailer of
Genesis Branded products.
Seat Belt Warning Light
This warning light informs the driver
that the seat belt is not fastened.
For more information, refer to the
"Seat Belts" in chapter 2.
Parking Brake & Brake Fluid Warning Light
This warning light illuminates:
Once you place the Engine Start/
Stop button to the ON position.
- It illuminates for approximately 3seconds.
- It remains on if the parking brake is applied.
When the parking brake is applied.
When the brake fluid level in the reservoir is low.
- If the warning light illuminateswith the parking brake released, it
indicates the brake fluid level in
reservoir is low.
If the brake fluid level in the reser-
voir is low:
1. Drive carefully to the nearest safe location and stop your vehicle.
2. With the engine stopped, check the brake fluid level immediately and
add fluid as required (For more
information, refer to "Brake
Fluid" in chapter 7) . After adding
brake fluid, check all brake compo-
nents for fluid leaks. If a brake fluid
leak is found, or if the warning light
remains on, or if the brakes do not
operate properly, do not drive the
vehicle. Have the vehicle inspected
by an authorized retailer of Genesis
Branded products.
Dual-diagonal braking system
Your vehicle is equipped with dual-
diagonal braking systems. This
means you still have braking on two
wheels even if one of the dual sys-
tems should fail.
3-65
03
Page 169 of 519
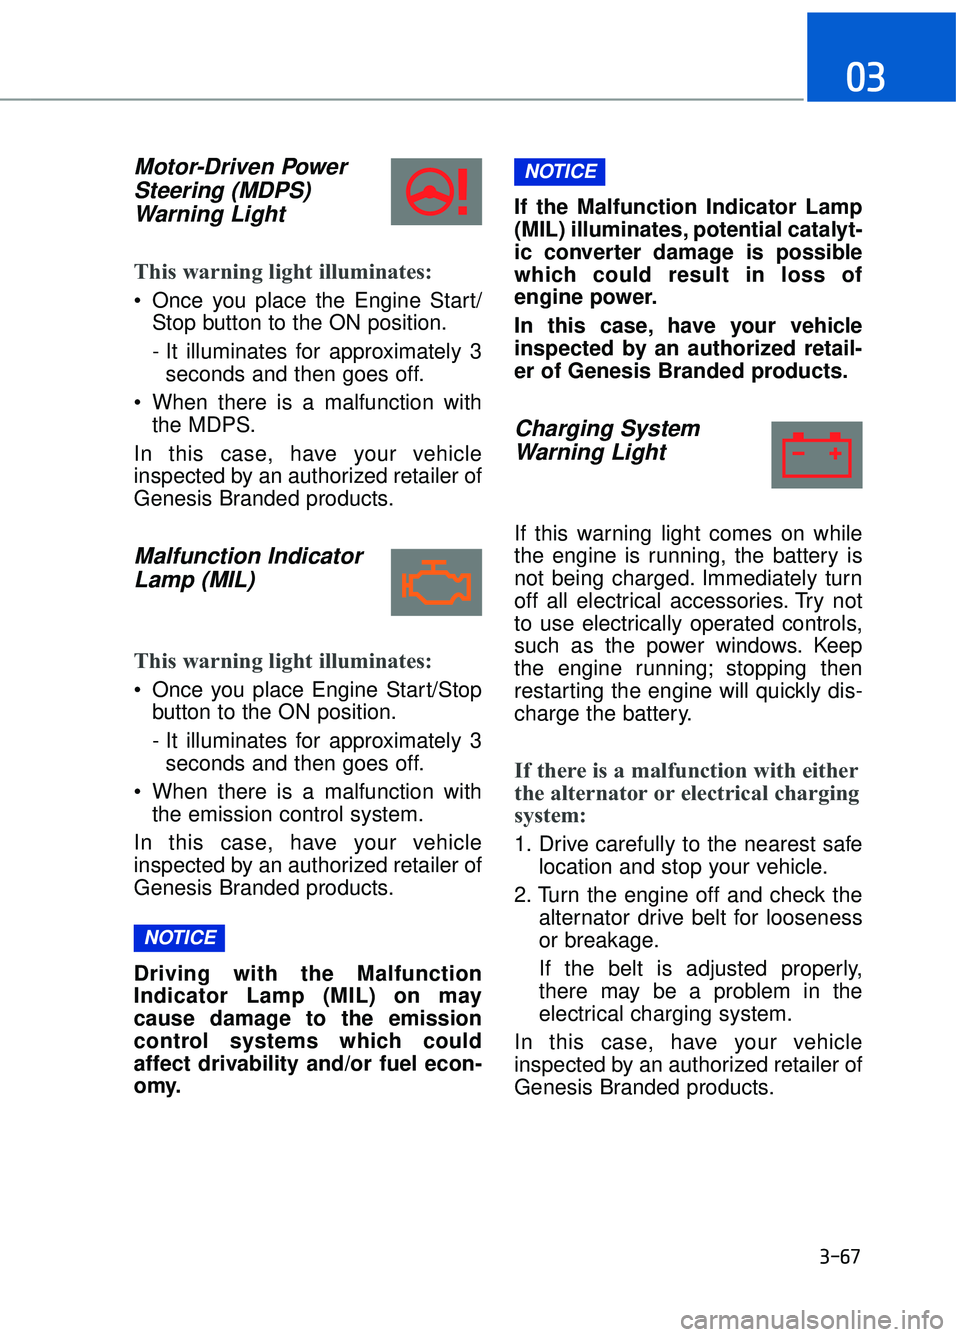
Motor-Driven PowerSteering (MDPS) Warning Light
This warning light illuminates:
Once you place the Engine Start/
Stop button to the ON position.
- It illuminates for approximately 3seconds and then goes off.
When there is a malfunction with the MDPS.
In this case, have your vehicle
inspected by an authorized retailer of
Genesis Branded products.
Malfunction Indicator Lamp (MIL)
This warning light illuminates:
Once you place Engine Start/Stop
button to the ON position.
- It illuminates for approximately 3seconds and then goes off.
When there is a malfunction with the emission control system.
In this case, have your vehicle
inspected by an authorized retailer of
Genesis Branded products.
Driving with the Malfunction
Indicator Lamp (MIL) on may
cause damage to the emission
control systems which could
affect drivability and/or fuel econ-
omy. If the Malfunction Indicator Lamp
(MIL) illuminates, potential catalyt-
ic converter damage is possible
which could result in loss of
engine power.
In this case, have your vehicle
inspected by an authorized retail-
er of Genesis Branded products.
Charging System
Warning Light
If this warning light comes on while
the engine is running, the battery is
not being charged. Immediately turn
off all electrical accessories. Try not
to use electrically operated controls,
such as the power windows. Keep
the engine running; stopping then
restarting the engine will quickly dis-
charge the battery.
If there is a malfunction with either
the alternator or electrical charging
system:
1. Drive carefully to the nearest safe
location and stop your vehicle.
2. Turn the engine off and check the alternator drive belt for looseness
or breakage.
If the belt is adjusted properly,
there may be a problem in the
electrical charging system.
In this case, have your vehicle
inspected by an authorized retailer of
Genesis Branded products.
NOTICE
NOTICE
3-67
03
Page 170 of 519

Engine Oil PressureWarning Light
This warning light illuminates:
Once you place the Engine Start/
Stop button to the ON position.
- It remains on until the engine isstarted.
When the engine oil pressure is low.
If the engine oil pressure is low:
1. Drive carefully to the nearest safe location and stop your vehicle.
2. Turn the engine off and check the engine oil level (For more infor-
mation, refer to "Engine Oil" in
chapter 7). If the level is low, add
oil as required.
If the warning light remains on
after adding oil and restarting the
engine or if oil is not available,
turn off the engine. There is a
mechanical concern that needs to
be repaired before you can contin-
ue driving. In this case, have your
vehicle inspected by an author-
ized retailer of Genesis Branded
products. To prevent severe engine damage,
after the Engine Oil Pressure
Warning Light is illuminated and
as soon as it is safe to do so, turn
the engine off and check the oil
level.
If the oil level is low, fill the engine
oil to the proper level and start the
engine again. If the light stays on
with the engine running, turn the
engine off immediately.
In this case, have your vehicle
inspected by an authorized retail-
er of Genesis Branded products.
Low Fuel Level
Warning Light
This warning light illuminates:
When the fuel tank is nearly empty.
Add fuel as soon as possible.
Driving with the Low Fuel Level
warning light on or with the fuel
level below "E" can cause the
engine to misfire and damage the
catalytic converter.
NOTICE
NOTICE
NOTICE
3-68
Convenient features of your vehicle
Page 172 of 519

Automatic EmergencyBraking (AEB) Warninglight
This warning light illuminates :
When the AEB system is turned off.
When the radar sensor or cover is
blocked with dirt or snow. Check
the sensor and cover and clean
them by using a soft cloth.
When there is a malfunction with AEB. In this case, have your vehi-
cle inspected by an authorized
retailer of Genesis Branded prod-
ucts.
Adaptive Front LightingSystem (AFLS)Warning Light
This warning light illuminates :
Once you place the Engine Start/
Stop Button to the ON position.
- It illuminates for approximately 3seconds and then goes off.
When there is a malfunction with the AFLS.
If there is a malfunction with the
AFLS:
1. Drive carefully to the nearest safe location and stop your vehicle.
2. Turn the engine off and restart the engine. If the warning light
remains on, have your vehicle
inspected by an authorized retailer
of Genesis Branded products.
All Wheel Drive (AWD)Warning Light (if equipped)
This warning light illuminates:
Once you place the Engine Start/
Stop button to the ON position.
- It illuminates for approximately 3seconds and then goes off.
When there is a malfunction with the AWD system.
In this case, have your vehicle
inspected by an authorized retailer of
Genesis Branded products.
3-70
Convenient features of your vehicle
Page 179 of 519
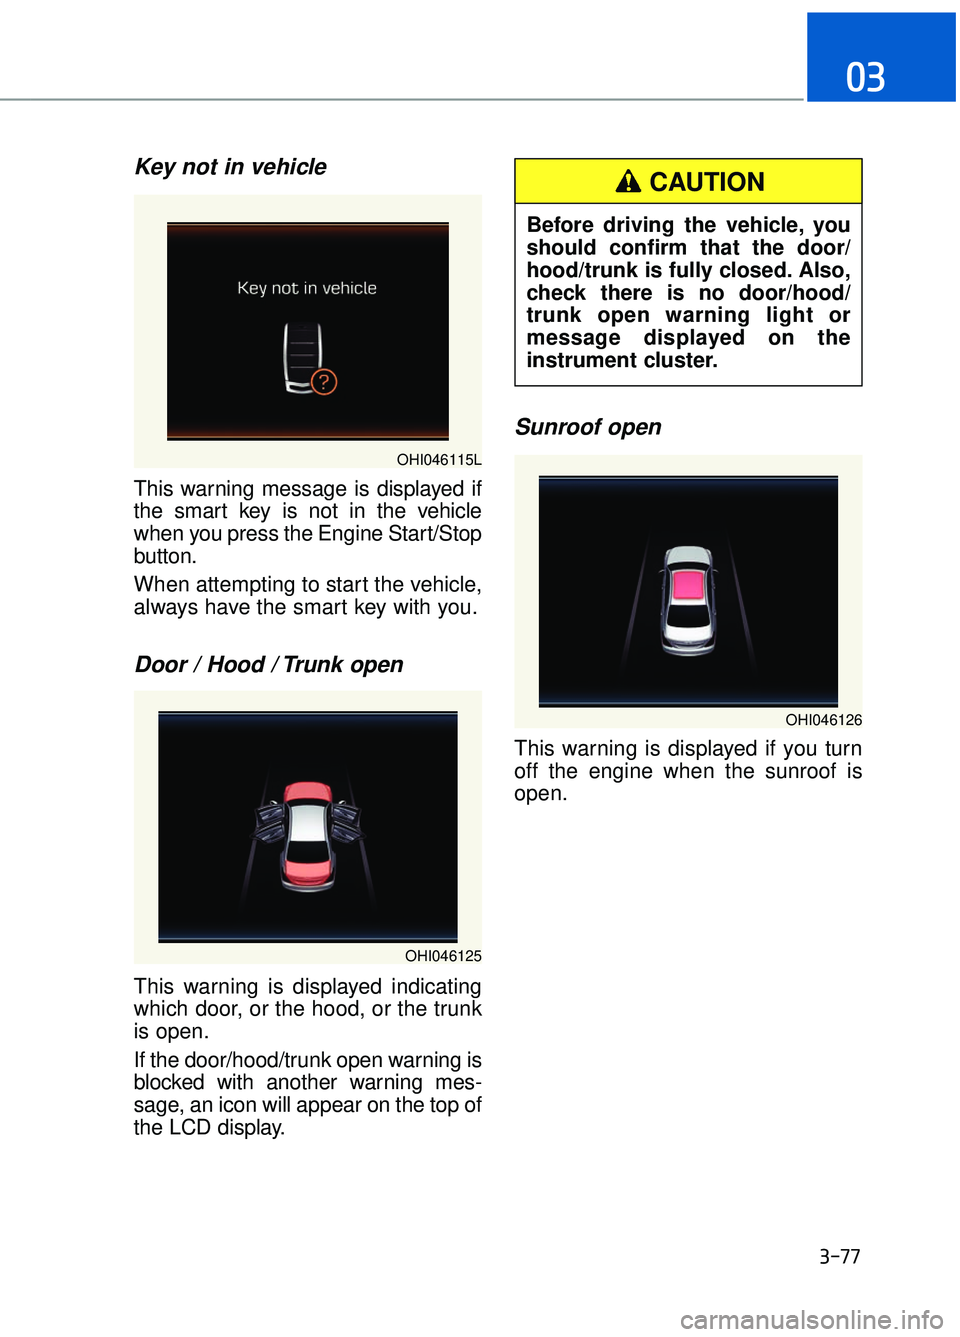
Key not in vehicle
This warning message is displayed if
the smart key is not in the vehicle
when you press the Engine Start/Stop
button.
When attempting to start the vehicle,
always have the smart key with you.
Door / Hood / Trunk open
This warning is displayed indicating
which door, or the hood, or the trunk
is open.
If the door/hood/trunk open warning is
blocked with another warning mes-
sage, an icon will appear on the top of
the LCD display.
Sunroof open
This warning is displayed if you turn
off the engine when the sunroof is
open.
3-77
03
OHI046115L
OHI046125
OHI046126
Before driving the vehicle, you
should confirm that the door/
hood/trunk is fully closed. Also,
check there is no door/hood/
trunk open warning light or
message displayed on the
instrument cluster.
CAUTION
Page 180 of 519
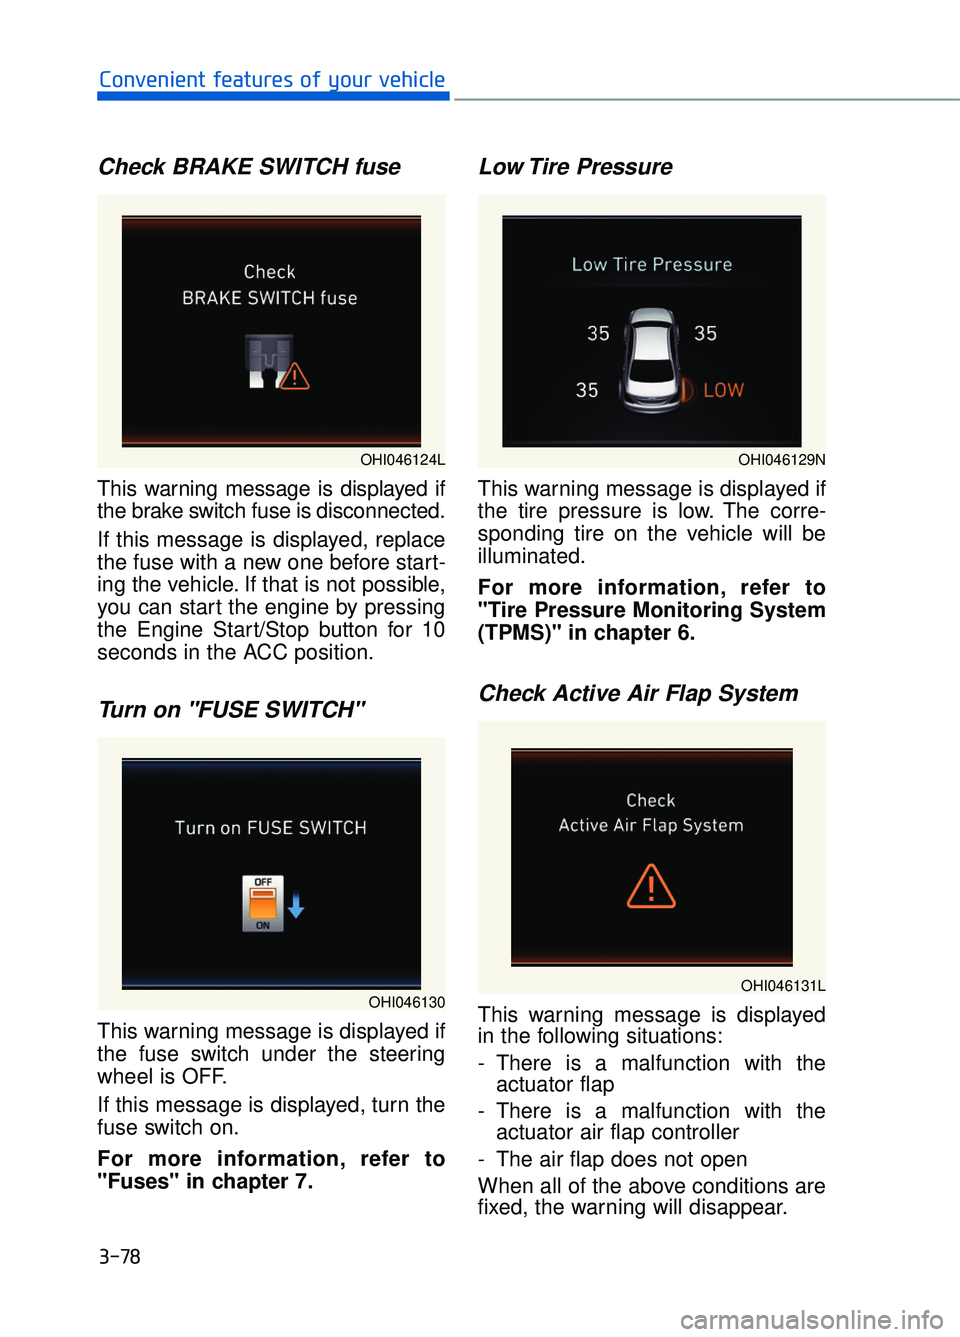
Check BRAKE SWITCH fuse
This warning message is displayed if
the brake switch fuse is disconnected.
If this message is displayed, replace
the fuse with a new one before start-
ing the vehicle. If that is not possible,
you can start the engine by pressing
the Engine Start/Stop button for 10
seconds in the ACC position.
Turn on "FUSE SWITCH"
This warning message is displayed if
the fuse switch under the steering
wheel is OFF.
If this message is displayed, turn the
fuse switch on.
For more information, refer to
"Fuses" in chapter 7.
Low Tire Pressure
This warning message is displayed if
the tire pressure is low. The corre-
sponding tire on the vehicle will be
illuminated.
For more information, refer to
"Tire Pressure Monitoring System
(TPMS)" in chapter 6.
Check Active Air Flap System
This warning message is displayed
in the following situations:
- There is a malfunction with theactuator flap
- There is a malfunction with the actuator air flap controller
- The air flap does not open
When all of the above conditions are
fixed, the warning will disappear.
3-78
Convenient features of your vehicle
OHI046130
OHI046129N
OHI046131L
OHI046124L
Page 209 of 519

3-107
03
AFLS (Adaptive Front LightingSystem) a.k.a. DBL (Dynamic Bending Light)
Adaptive front lighting system uses
the steering angle and vehicle
speed, to keep your field of vision
wide by swiveling and leveling the
headlamp.
Change the switch to the AUTO posi-
tion when the engine is running. The
adaptive front lighting system will
operate when the headlamp is ON.
To turn off the AFLS, change the
switch to other positions. After turn-
ing the AFLS off, headlamp swiveling
no longer occurs, but leveling oper-
ates continuously.
If the AFLS malfunction indicator
comes on, the AFLS is not working
properly. Drive to the nearest safe
location and restart the engine. If the
indicator continuously remains on,
we recommend that the system be
checked by an authorized retailer of
Genesis Branded products.
Daytime running light (DRL)
The Daytime Running Lights (DRL)
can help others to see the front of
your vehicle during the day, especial-
ly after dawn and before sunset.
The DRL system will turn OFF when:
The light switch is in the parking or
headlamp lamp position, including
the operation that the parking lamp
or headlamp is turned on automat-
ically in the AUTO light position.
The engine is turned off.
The hazard warning flasher is on.
The turn signal light is on. If you turn on the turn signal light,
only the corresponding daytime
running lights will turn off.
OHI046473
Page 215 of 519
3-113
03
AUTO (Automatic) control
The rain sensor located on the upper
end of the windshield glass senses
the amount of rainfall and controls
the wiping cycle for the proper inter-
val. The more it rains, the faster the
wiper operates.
When the rain stops, the wiper stops.
To vary the speed setting, turn the
speed control knob (B).
If the wiper switch is set in AUTO
mode when Engine Start/Stop button
is in the ON position, the wiper will
operate once to perform a self-check
of the system. Set the wiper to OFF
position when the wiper is not in use. When washing the vehicle, set
the wiper switch in the OFF (O)
position to stop the auto wiper
operation. The wiper may oper-
ate and be damaged if the switch
is set in the AUTO mode while
washing the vehicle.
Do not remove the sensor cover located on the upper end of the
passenger side windshield
glass. Damage to system parts
could occur and may not be cov-
ered by your vehicle warranty.
There may be a malfunction with the wiper sensor while operating
in the AUTO mode, when there
are interruptions by foreign sub-
stances, such as small pebbles,
dust, or insects, or when an out-
side brightness is abruptly
changed while driving.
There may be a malfunction with the wiper sensor in detecting a
rainfall amount, when the front
windshield is coated with wax,
or when the wiper blades are
worn out.
NOTICE
To avoid personal injury from
the windshield wipers, when the
engine is running and the wind-
shield wiper switch is placed in
the AUTO mode:
Do not touch the upper end ofthe windshield glass facing
the rain sensor.
Do not wipe the upper end of the windshield glass with a
damp or wet cloth.
Do not put pressure on the windshield glass.
WARNING
Page 247 of 519
3-145
03
To charge a cellular phone
The wireless cellular phone charging
system charges only the Qi-enabled
cellular phones ( ). Read the label
on the cellular phone accessory
cover or visit your cellular phone
manufacturer’s website to check
whether your cellular phone supports
the Qi technology.
The wireless charging process starts
when you put a Qi-enabled cellular
phone on the wireless charging unit.
1. Remove other items, including thesmart key, from the wireless charg-
ing unit. If not, the wireless charg-
ing process may be interrupted.
2. The indicator illuminates in orange during the charging process. The
indicator color changes to green,
when the charging process is
completed.
3. You can turn ON or OFF the wire- less charging function in the user
settings mode on the instrument
cluster. (For further information,
refer to the "LCD Modes" in this
chapter.)
Slightly change the cellular phone
position, when the cellular phone is
not being charged. Make sure that
the indicator illuminates in orange.
The indicator color may not change
to green in accordance with the cel-
lular phone type, even though the
charging process is completed. The
indicator blinks in orange for 10 sec-
onds when there is a malfunction
with the wireless charging system. In
this case, temporarily stop the charg-
ing process, and re-attempt to wire-
lessly charge your cellular phone
again. The system warns you with a mes-
sage on the LCD display when you
do not take out the cellular phone
from the wireless charging unit with
the front door open and the Engine
Start/Stop button in the OFF posi-
tion.
The wireless cellular phone
charging system may not sup-
port certain cellular phones,
which are not verified for the Qi
specification ( ).
Locate your cell phone well in the middle of the wireless cellular
phone charging system. Even
when your cell phone locates
slightly to one side, the charging
speed may decrease.
The wireless charging process may temporarily stop, when a
smart key function operates (i.e.
starting the engine, opening the
doors, closing the doors).
For certain cell phones, the indi- cator color may not change to
green, even when the wireless
charging process is properly
completed.
The wireless charging process may temporarily stop, when tempera-
ture abnormally increases inside
the wireless cellular phone charg-
ing system. The wireless charging
process restarts, when tempera-
ture falls to a proper level.
The wireless charging processmay temporarily stop when there
is any metallic item, such as a
coin, between the wireless cellu-
lar phone charging system and a
cellular phone.
NOTICE