sensor GENESIS G90 2021 Repair Manual
[x] Cancel search | Manufacturer: GENESIS, Model Year: 2021, Model line: G90, Model: GENESIS G90 2021Pages: 538, PDF Size: 13.02 MB
Page 389 of 538

5-137
05
• The lane markers are complicated
or a structure substitutes for the
lines such as a construction area.
• There are crosswalk signs or other
symbols on the road.
• The lane marker in a tunnel is
stained with oil, etc.
• The lane suddenly disappears
such as at the intersection.
When external condition is inter-
vened
• The brightness outside changes
suddenly such as when entering or
exiting a tunnel, or when passing
under a bridge.
• The brightness outside is too low
such as when the headlamps are
not on at night or the vehicle is
going through a tunnel.
• There is a boundary structure in
the roadway such as a concrete
barrier, guardrail and reflector post
that is inadvertently being detected
by the camera.
• When light coming from a street
light or an oncoming vehicle is
reflected on a wet road surface
such as a puddle in the road.
• The field of view in front is
obstructed by sun glare.
• There is not enough distance
between you and the vehicle in
front to be able to detect the lane
marker or the vehicle ahead is driv-
ing on the lane marker.
• Driving on a steep grade, over a hill,
or when driving on a curved road.
• The adverse road conditions cause
excessive vehicle vibrations while
driving.
• The surrounding of the inside rear
view mirror temperature is high
due to direct sunlight, etc.When front visibility is poor
• The windshield or the camera lens
is covered with dirt or debris.
• The windshield glass is fogged up;
a clear view of the road is obstruct-
ed.
• Placing objects on the dashboard,
etc.
• The sensor cannot detect the lane
because of fog, heavy rain or snow.
LKA System Setting
• Setting LKA function
The driver can change between
‘Lane Keeping Assist’ and ‘Lane
Departure Warning’ from the
Settings menu in the AVN system
screen. Select:
- Setup →Vehicle →Driver
Assistance →Lane Safety
For detailed information, scan
the QR code in a separately sup-
plied simple manual.
- Lane Keeping Assist
Lane Keeping Assist guides the
driver to help keep the vehicle with-
in the lanes. It rarely controls the
steering wheel, when the vehicle
drives well inside the lanes.
However, it starts to control the
steering wheel, when the vehicle is
about to deviate out of the lane.
- Lane Departure Warning
Lane Departure Warning alerts the
driver with a visual warning and a
warning alarm when the system
detects the vehicle departing the
lane. The steering wheel will not be
controlled.
-Off
If you select 'Off', the LKA system
is deactivated.
Page 400 of 538

5-148
Driving your vehicle
Information
The system may suggest a break
according to the driver's driving pat-
tern or habits even if the driver doesn't
feel fatigue.
The Driver Attention Warning sys-
tem utilizes the camera sensor on
the front windshield for its opera-
tion. To keep the camera sensor in
the best condition, you should
observe the followings:
• Never install any accessories or
stickers on the front windshield,
or tint the front windshield.
• NEVER place any reflective
objects (i.e. white paper, mirror)
over the dashboard. Any light
reflection may prevent the sys-
tem from functioning properly.
• Pay extreme caution to keep the
camera sensor dry.
• Never disassemble the camera
assembly, or apply any impact
on the camera assembly.
If the sensor is forcibly moved
out of proper alignment, the sys-
tem may not operate correctly.
Take your vehicle to an author-
ized retailer of Genesis Branded
products and have the system
checked for calibration.
NOTICE
i
The Driver Attention Warning
system may not provide alerts in
the following situations:
• The lane detection perform-
ance is limited. For more
information, refer to "Lane
Keeping Assist system" in
this chapter.
CAUTION
• The vehicle is erratically driv-
en or is abruptly turned for
obstacle avoidance (e.g. con-
struction area, other vehicles,
fallen objects, bumpy road).
• Forward drivability of the
vehicle is severely under-
mined (possibly due to wide
variation in tire pressures,
uneven tire wear-out, toe-
in/toe-out alignment).
• The vehicle drives on a curvy
road.
• The vehicle drives through a
windy area.
• The vehicle drives on a
bumpy road.
• The vehicle is controlled by
the following driving assist
systems:
- Forward Collision-avoidance
Assist
- Blind-Spot Collision Warning
/Blind-Spot Collision Assist
- Smart Cruise Control
- Lane Following Assist
- Lane Keeping Assist
Playing the vehicle audio sys-
tem at high volume may prevent
occupants from hearing the
Driver Attention Warning sys-
tem warning sounds.
CAUTION
Page 426 of 538

6-12
What to do in an emergency
Information
The spare tire is not equipped with a
tire pressure sensor.
In winter or cold weather, the Low
Tire Pressure Telltale may be illu-
minated if the tire pressure was
adjusted to the recommended tire
inflation pressure in warm weath-
er. It does not mean your TPMS is
malfunctioning because the
decreased temperature leads to a
proportional lowering of tire pres-
sure.
When you drive your vehicle from
a warm area to a cold area or from
a cold area to a warm area, or the
outside temperature is greatly
higher or lower, you should check
the tire inflation pressure and
adjust the tires to the recommend-
ed tire inflation pressure.
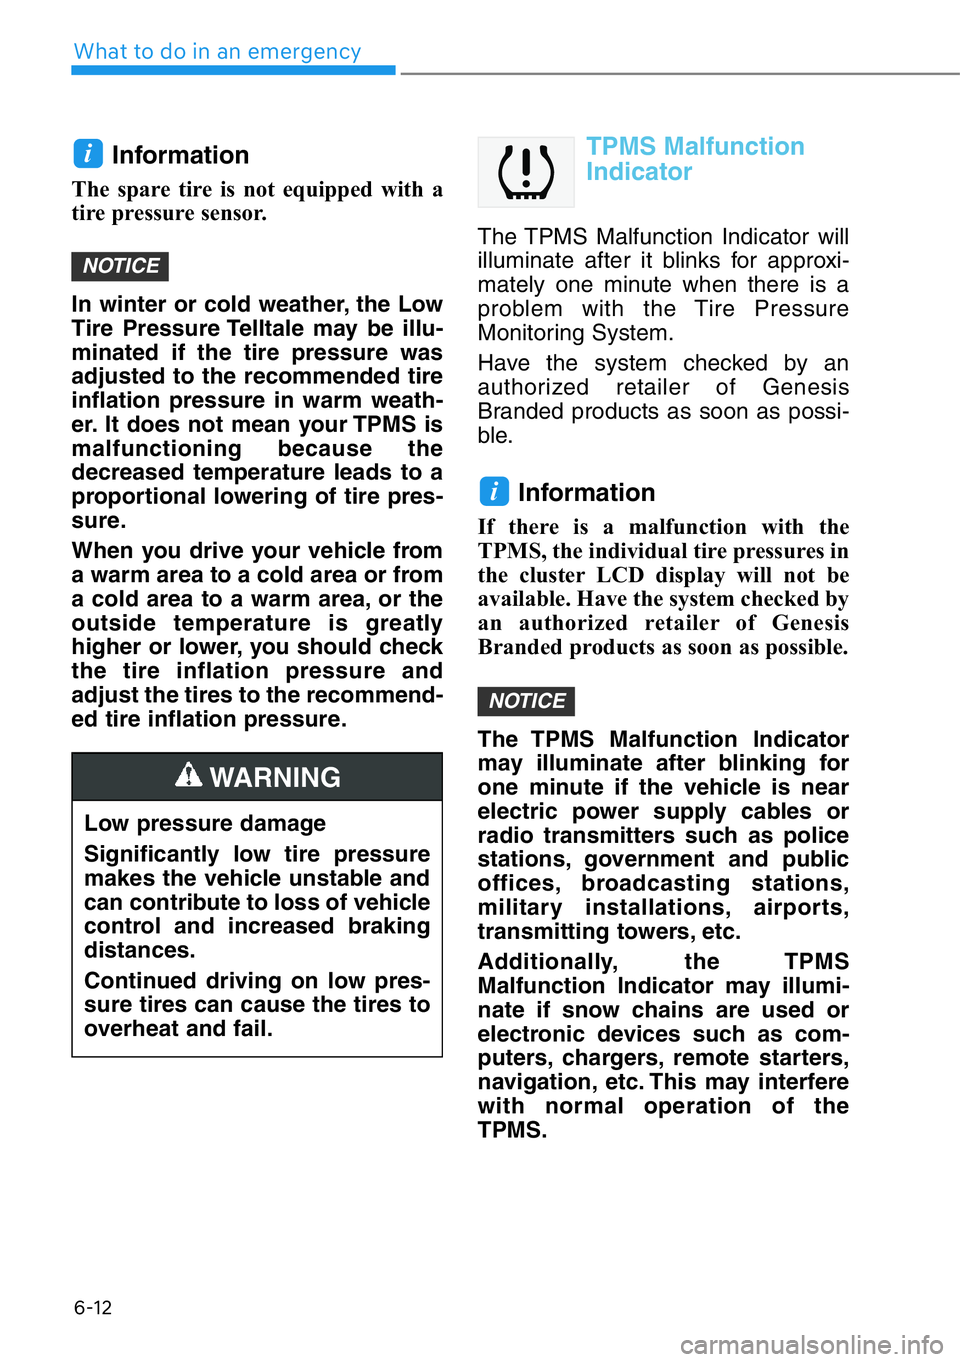
TPMS Malfunction
Indicator
The TPMS Malfunction Indicator will
illuminate after it blinks for approxi-
mately one minute when there is a
problem with the Tire Pressure
Monitoring System.
Have the system checked by an
authorized retailer of Genesis
Branded products as soon as possi-
ble.
Information
If there is a malfunction with the
TPMS, the individual tire pressures in
the cluster LCD display will not be
available. Have the system checked by
an authorized retailer of Genesis
Branded products as soon as possible.
The TPMS Malfunction Indicator
may illuminate after blinking for
one minute if the vehicle is near
electric power supply cables or
radio transmitters such as police
stations, government and public
offices, broadcasting stations,
military installations, airports,
transmitting towers, etc.
Additionally, the TPMS
Malfunction Indicator may illumi-
nate if snow chains are used or
electronic devices such as com-
puters, chargers, remote starters,
navigation, etc. This may interfere
with normal operation of the
TPMS.
NOTICE
i
NOTICE
i
Low pressure damage
Significantly low tire pressure
makes the vehicle unstable and
can contribute to loss of vehicle
control and increased braking
distances.
Continued driving on low pres-
sure tires can cause the tires to
overheat and fail.
WARNING
Page 427 of 538

6-13
06
Changing a Tire with TPMS
If you have a flat tire, the Low Tire
Pressure and LCD position indicator
will come on. Have the flat tire
repaired by an authorized retailer of
Genesis Branded products as soon
as possible or replace the flat tire
with the spare tire.
Never use a puncture-repairing
agent not approved by authorized
retailer of Genesis Branded prod-
ucts to repair and/or inflate a low
pressure tire. Tire sealant not
approved by authorized retailer of
Genesis Branded products may
damage the tire pressure sensor.
The spare tire does not come with a
tire pressure monitoring sensor.
When the low pressure tire or the flat
tire is replaced with the spare tire,
the Low Tire Pressure LCD position
indicator will remain on. Also, the
TPMS Malfunction Indicator will illu-
minate after blinking for one minute if
the vehicle is driven at speed above
15.5 mph (25 km/h) for approximate-
ly 20 minutes.
Once the original tire equipped with
a tire pressure monitoring sensor is
reinflated to the recommended pres-
sure and reinstalled on the vehicle,
the Low Tire Pressure LCD position
indicator and TPMS Malfunction
Indicator will go off within a few min-
utes of driving.
If the indicators do not disappear
after a few minutes, please visit an
authorized retailer of Genesis
Branded products.Each wheel is equipped with a tire
pressure sensor mounted inside the
tire behind the valve stem (except for
the spare tire). You must use TPMS
specific wheels. It is recommended
that you always have your tires serv-
iced by an authorized retailer of
Genesis Branded products.
You may not be able identify a tire
with low pressure by simply looking
at it. Always use a good quality tire
pressure gage to measure the tire's
inflation pressure. Please note that a
tire that is hot (from being driven) will
have a higher pressure measure-
ment than a tire that is cold.
A cold tire means the vehicle has
been sitting for 3 hours and driven for
less than 1 mile (1.6 km) in that 3
hour period.
Allow the tire to cool before measur-
ing the inflation pressure. Always be
sure the tire is cold before inflating to
the recommended pressure.
NOTICE
• The TPMS cannot alert you to
severe and sudden tire dam-
age caused by external fac-
tors such as nails or road
debris.
• If you feel any vehicle instabil-
ity, immediately take your foot
off the accelerator, apply the
brakes gradually with light
force, and slowly move to a
safe position off the road.
WARNING
Page 437 of 538

6-23
06
• Do not tow the vehicle with the
rear wheels on the ground as
this may cause damage to the
vehicle.
• Do not tow with sling-type equip-
ment. Use a wheel lift or flatbed
equipment.When towing your vehicle in an
emergency without wheel dollies:
1. Release EPB before turning off
the engine.
2. Press the Engine Start/Stop but-
ton to the OFF position.
3. Change the gear to N (Neutral) by
pressing the P release button
(need to remove cap-cover) while
pressing the brake pedal.
For more details, refer to
"Automatic Transmission –
When the Battery is Discharged"
in chapter 5.
Failure to place the shift lever in N
(Neutral) when being towed with
the front wheels on the ground
can cause internal damage to the
transmission.
NOTICE
NOTICE
If your vehicle is equipped with
a rollover sensor, place the
Engine Start/Stop button in the
OFF position. The side impact
and curtain air bag may deploy
if the sensor detects the situa-
tion as a rollover.
WARNING
OHI068019
OHI068018
Page 497 of 538

7-57
07
Instrument panel fuse panel
Fuse name Fuse rating Circuit protected
MODULE5 10AStop Lamp Switch, Driver/Passenger Door Module
MODULE7 10A
Electro Chromic Mirror, A/V & Navigation Head Unit, AMP,
A/C Control Module, Front A/C Controller, Air Quality
Sensor, Rear Seat Warmer Control Module LH/RH,
Driver/Passenger CCS Module, Rear CCS Module LH/RH,
Parking Collision Avoidance Assist Unit, Driver/Passenger
IMS Control Module, Rear IMS Control Module LH/RH, Rear
Seat Console Switch, Driver/Passenger Seat Warmer
Control Module
IBU3 10AIBU Control Module
E-SHIFTER2 10AElectronic ATM Shift Lever
MEMORY1 10A
Security Indicator, A/C Control Module, Front A/C Controller,
Instrument Cluster, Driver/Passenger IMS Control Module,
Rear IMS Control Module LH/RH, Head-Up Display, Analog
Clock, Driver/Passenger Seat Control Switch, Power Trunk
Module, Rear Seat Control Switch LH/RH, Driver/Passenger
Smart Key Outside Handle, Rear Smart Key Outside Handle
LH/RH, Blind Spot Collision Warning Unit LH/RH
P/SEAT
(RR LH) 225ARear IMS Control Module LH
P/SEAT
(DRV) 225ADriver IMS Control Module
P/WINDOW (RH)30APassenger Power Window Module, Rear Power Window
Module RH
MODULE 610ACrash Pad Switch, Blind Spot Collision Warning Unit LH/RH,
ECS Unit, Front Console Switch, Front Camera, Steering Tilt
& Telescopic Module
MODULE 10 10ACooling Fan Controller (BLDC), Rear Seat Console Switch,
Surround View Monitor, Parking Collision Avoidance Assist
Unit
MODULE3 10AGATEWAY (B+ (MCU)), Data Link Connector, Hazard
Switch
SUNROOF 25ASunroof Motor
P/SEAT (PASS) 225APassenger IMS Control Module
Page 499 of 538

7-59
07
Fuse name Fuse rating Circuit protected
PRE-SAFETY
SEAT BELT 10APre Active Seat Belt Unit
GATEWAY 10AGATEWAY (IG1 (MCU))
BRAKE
SWITCH 10AStop Lamp Switch, IBU Control Module
IBU2 10AStart/Stop Button Switch
IBU1 15AIBU Control Module
MODULE12 10ADriver/Passenger Door Module, Rear Door Module LH/RH
MODULE9 10AMultifunction Switch
E-SHIFTER1 10AElectronic ATM Shift Lever
MULTI MEDIA3 10ARear Audio Switch, Rear USB Jack, Keyboard
MODULE11 10AIBU Control Module
HEATED
STEERING20AIBU Control Module
MULTI MEDIA1 30AFuse - MULTI MEDIA2, MULTI MEDIA3
A/C310A
Metal Core Block (PCB #1 - Blower Relay), Co2 Sensor,
Rear Sub Junction Block (Rear Blower Relay), A/C Control
Module, Front Incar Temperature Sensor, Front A/C
Controller, Ionizer
MULTI MEDIA2 15AA/V & Navigation Head Unit
POWER
OUTLET515AFront Power Outlet RH
POWER
OUTLET620AFront Power Outlet LH
Page 502 of 538

7-62
Maintenance
Fuse name Fuse rating Circuit protected
POWER
OUTLET140A Power Outlet Relay
FUEL PUMP20AFuel Pump Relay
WIPER1 30AWiper Motor
SEAT VENT
DRV20A Driver CCS Module, Driver Seat Warmer Control Module
SEAT VENT
PASS20A Passenger CCS Module, Passenger Seat Warmer Control
Module
4WD 30A 4WD ECM
PRESAFETY
SEAT BELT1 30A Pre Active Seat Belt Unit
PRESAFETY
SEAT BELT2 30APre Active Seat Belt Unit
P/DOOR DRV15ADriver Door Latch
P/DOOR PASS15APassenger Door Latch
P/DOOR RR
LH15ARear Door Latch LH
P/DOOR RR
RH15ARear Door Latch RH
IG230AIG2 Relay
ECU330AEngine Control Relay
MODULE110A4WD ECM, Active Air Flap, Smart Cruse Control Radar
WIPER210AWiper Relay
WASHER20AWasher Relay
SENSOR210A
[3.3 T-GDI] Oxygen Sensor #1/#2/#3/#4, RCV Control
Solenoid Valve, Electronic Thermostat
[5.0 GDI] Oxygen Sensor #1/#2/#3/#4, Electronic
Thermostat
Page 503 of 538
![GENESIS G90 2021 Repair Manual 7-63
07
Fuse name Fuse rating Circuit protected
SENSOR110A
[3.3 T-GDI] Oil Controlvalve #1/#2/#3/#4 (Intake/Exhaust),
Purge Control Solenoid Valve, Oil Pressure
Solenoid Valve, Canister Close Valve
[5 GENESIS G90 2021 Repair Manual 7-63
07
Fuse name Fuse rating Circuit protected
SENSOR110A
[3.3 T-GDI] Oil Controlvalve #1/#2/#3/#4 (Intake/Exhaust),
Purge Control Solenoid Valve, Oil Pressure
Solenoid Valve, Canister Close Valve
[5](/img/46/35620/w960_35620-502.png)
7-63
07
Fuse name Fuse rating Circuit protected
SENSOR110A
[3.3 T-GDI] Oil Controlvalve #1/#2/#3/#4 (Intake/Exhaust),
Purge Control Solenoid Valve, Oil Pressure
Solenoid Valve, Canister Close Valve
[5.0 GDI] Oil Controlvalve #1/#2/#3/#4 (Intake/ Exhaust),
Purge Control Solenoid Valve, Canister Close
Valve
SENSOR310ARear Sub Junction Block (Fuel Pump Relay)
SENSOR410A[5.0 GDI] Camshaft Position Sensor #1/#2/#3/#4 (Intake/
Exhaust)
IGN COIL15A[3.3 T-GDI] Ignition Coil #1/#2/#3/#4/#5/#6
[5.0 GDI] Ignition Coil #1/#2/#3/#4/#5/#6/#7/#8
ECU420AECM
ECU520AECM
A/C210AA/Con Comp Relay
POWER
OUTLET4 20APower Outlet #2 Relay
A/C110AA/C Control Module
BLOWER FRT40AFront Blower Relay
IG140AIG1 Relay
START30AEngine Room Junction Block (Start Relay)
ECU115AECM
TCU120ATCM
ESC310AESC Control Module
Page 504 of 538
![GENESIS G90 2021 Repair Manual 7-64
Maintenance
Fuse name Fuse rating Circuit protected
MODULE210A4WD ECM, Active Air Flap, Smart Cruse Control Radar
MDPS210AMDPS Unit, Steering Angle Sensor
SENSOR510A[3.3 T-GDI] Engine Room Juncti GENESIS G90 2021 Repair Manual 7-64
Maintenance
Fuse name Fuse rating Circuit protected
MODULE210A4WD ECM, Active Air Flap, Smart Cruse Control Radar
MDPS210AMDPS Unit, Steering Angle Sensor
SENSOR510A[3.3 T-GDI] Engine Room Juncti](/img/46/35620/w960_35620-503.png)
7-64
Maintenance
Fuse name Fuse rating Circuit protected
MODULE210A4WD ECM, Active Air Flap, Smart Cruse Control Radar
MDPS210AMDPS Unit, Steering Angle Sensor
SENSOR510A[3.3 T-GDI] Engine Room Junction Block (Vacuum Pump-
Relay), Brake Vacuum Switch
HORN20AHorn Relay
ECU210AECM
TCU215ATCM, B/UP Lamp Relay, P/N Relay
B/UP
LAMP10AB/Up Lamp Relay
ACC40AACC Relay