dead battery GENESIS GV80 2021 Owner's Manual
[x] Cancel search | Manufacturer: GENESIS, Model Year: 2021, Model line: GV80, Model: GENESIS GV80 2021Pages: 632, PDF Size: 9.37 MB
Page 171 of 632

05
5-29
OJX1059231OJX1059231
Rear door
When the lock switch is pressed (door
indicator light ON), all the doors will lock.
However, if a door is opened, the doors
will not lock.
Note that the doors cannot be unlocked
with the rear door lock switch.
Information
If all doors are locked with the rear door
lock button, and the electronic child safety
lock button (if equipped) in the driver’s
seat is turned ON (indicator light ON), the
rear doors cannot be opened. If you want
to open the rear doors:
• Unlock the door with the smart key
from outside.
• Unlock the door with Genesis
Connected Service using your
smartphone.
• Press the electronic child safety lock
button on the driver’s door to turn
it off (indicator light OFF), then
unlock the doors with the driver’s or
passenger’s central door lock switch.
(Electronic child lock OFF → Door
unlocked)
• Press the electronic child safety lock
button on the driver’s door to turn it
off (indicator light OFF), then pull the
rear inner door handle twice.
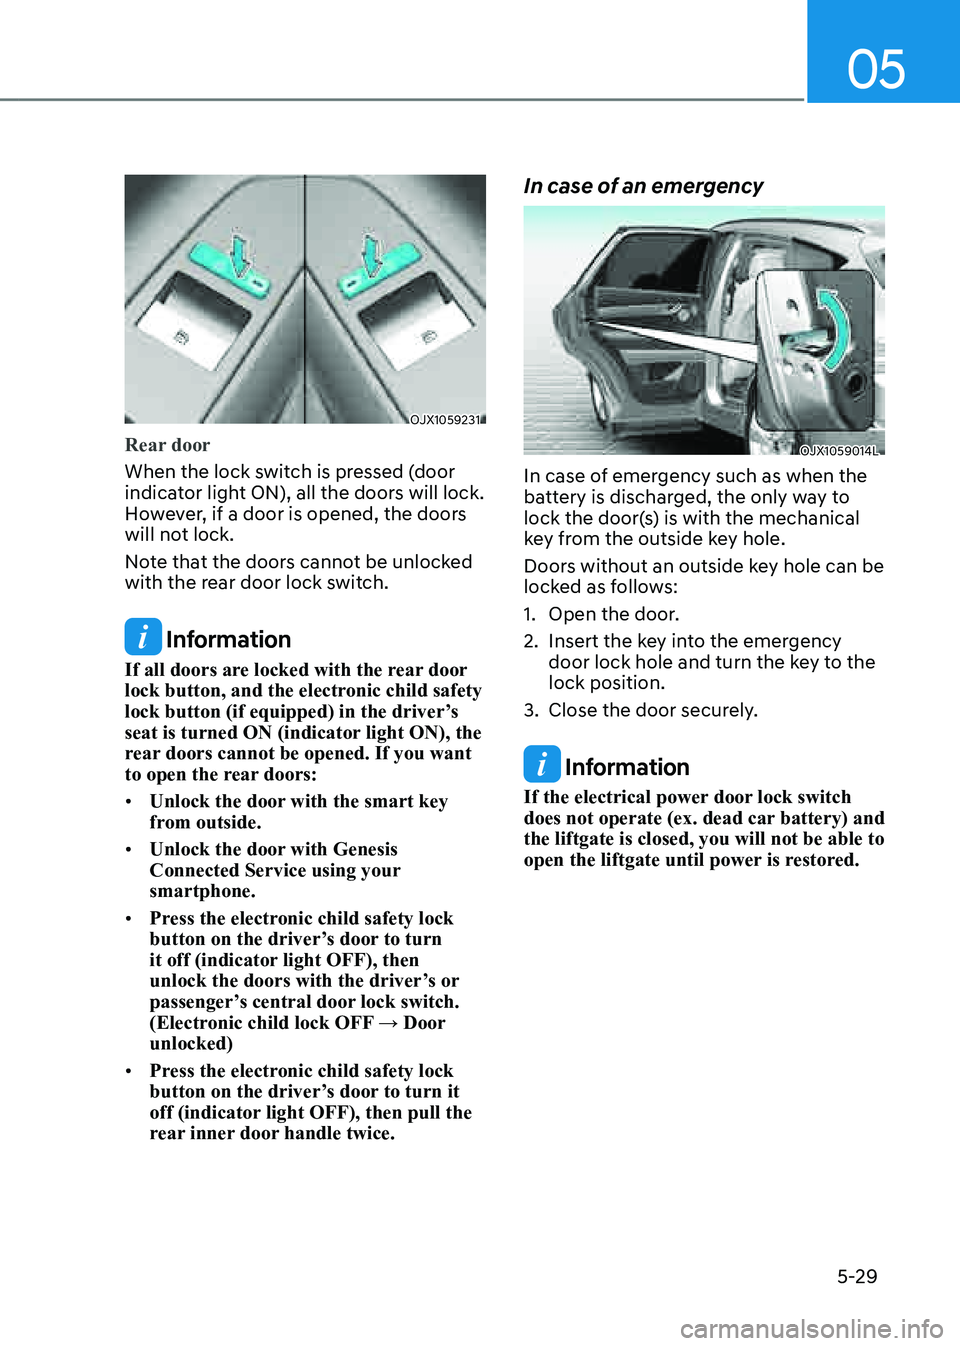
In case of an emergency
OJX1059014LOJX1059014L
In case of emergency such as when the
battery is discharged, the only way to
lock the door(s) is with the mechanical
key from the outside key hole.
Doors without an outside key hole can be
locked as follows:
1. Open the door.
2. Insert the key into the emergency
door lock hole and turn the key to the
lock position.
3. Close the door securely.
Information
If the electrical power door lock switch
does not operate (ex. dead car battery) and
the liftgate is closed, you will not be able to
open the liftgate until power is restored.
Page 516 of 632
![GENESIS GV80 2021 Owners Manual 08
8-5
OJX1080003NOJX1080003N[A] : Negative (-) Terminal,
[B] : Positive (+) Terminal
5. Open the small service cover with a
screwdriver.
6. Remove the engine compartment fuse
box cover.
OJX1080004 GENESIS GV80 2021 Owners Manual 08
8-5
OJX1080003NOJX1080003N[A] : Negative (-) Terminal,
[B] : Positive (+) Terminal
5. Open the small service cover with a
screwdriver.
6. Remove the engine compartment fuse
box cover.
OJX1080004](/img/46/35616/w960_35616-515.png)
08
8-5
OJX1080003NOJX1080003N[A] : Negative (-) Terminal,
[B] : Positive (+) Terminal
5. Open the small service cover with a
screwdriver.
6. Remove the engine compartment fuse
box cover.
OJX1080004LOJX1080004L
7. Connect the jumper cables in
the exact sequence shown in the
illustration. First connect one jumper
cable to the red, positive (+) jumper
terminal of your vehicle (1).
8. Connect the other end of the jumper
cable to the red, positive (+) battery/
jumper terminal of the assisting
vehicle (2).
9. Connect the second jumper cable to
the black, negative (-) battery/ chassis
ground of the assisting vehicle (3).
10. Connect the other end of the second
jumper cable to the black, negative (-)
chassis ground of your vehicle (4).
Do not allow the jumper cables to
contact anything except the correct
battery or jumper terminals or the
correct ground. Do not lean over the
battery when making connections.
11. Start the engine of the assisting
vehicle and let it run at approximately
2,000 rpm for a few minutes. Then
start your vehicle.
12. Keep your vehicle operating for at
least 30 minutes at idle or driving to
assure your battery receives enough
charge to be able to start on its
own after the vehicle is shut off. A
complete dead battery may require
as long as 60 minutes runtime to fully
recharge it. If vehicle is run for less,
the battery may not restart.
If your vehicle will not start after a few
attempts, it probably requires servicing.
In this event please seek qualified
assistance. If the cause of your battery
discharging is not apparent, have your
vehicle checked by an authorized retailer
of Genesis Branded products.