remove infotainment screen GENESIS GV80 2021 Owner's Manual
[x] Cancel search | Manufacturer: GENESIS, Model Year: 2021, Model line: GV80, Model: GENESIS GV80 2021Pages: 632, PDF Size: 9.37 MB
Page 55 of 632

Safety System
3-26
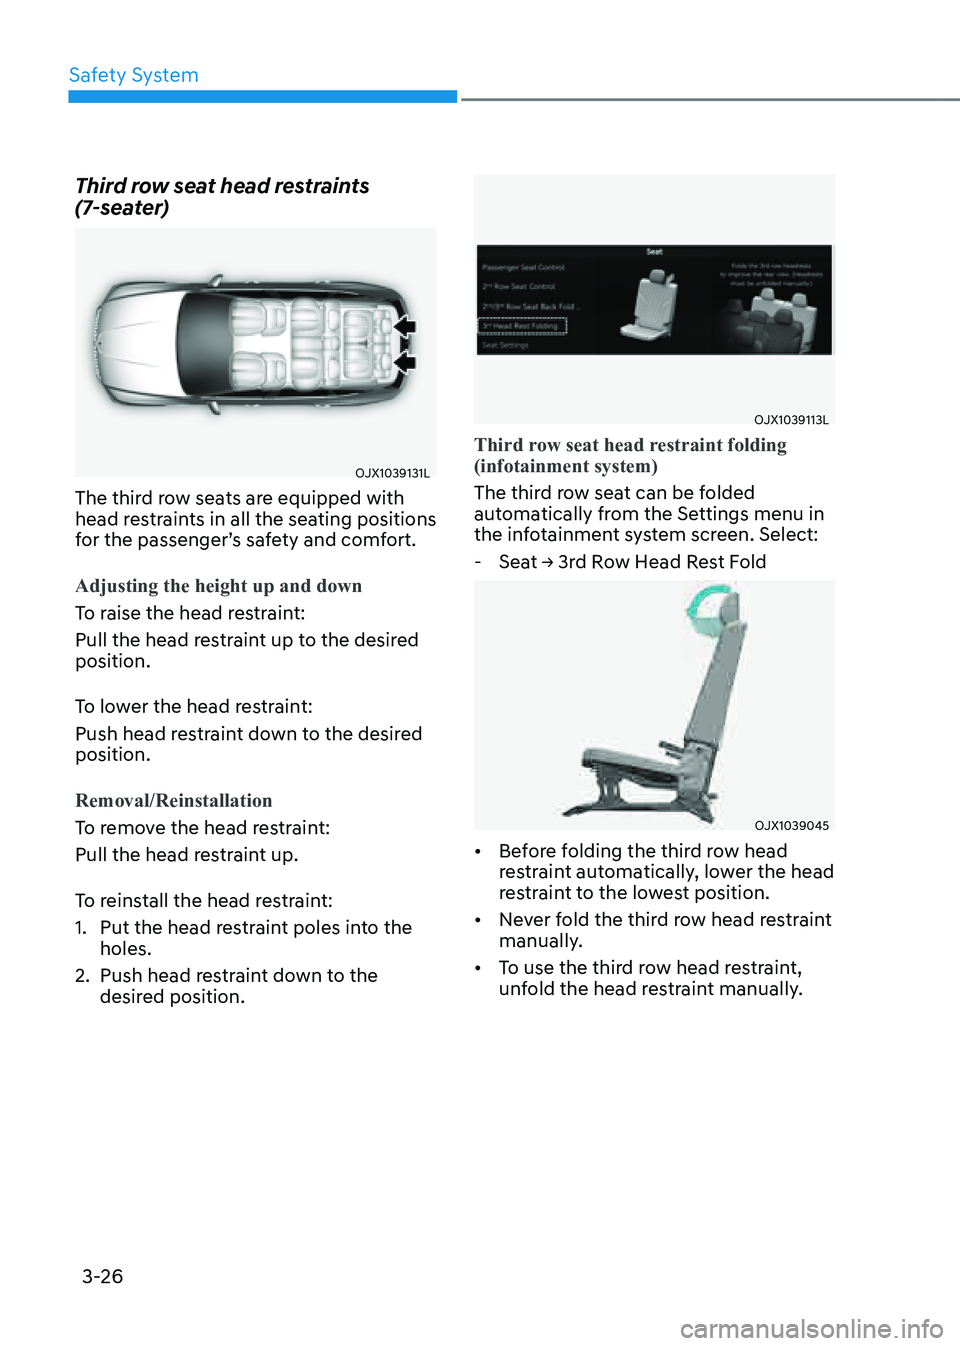
Third row seat head restraints
(7-seater)
OJX1039131LOJX1039131L
The third row seats are equipped with
head restraints in all the seating positions
for the passenger’s safety and comfort.
Adjusting the height up and down
To raise the head restraint:
Pull the head restraint up to the desired
position.
To lower the head restraint:
Push head restraint down to the desired
position.
Removal/Reinstallation
To remove the head restraint:
Pull the head restraint up.
To reinstall the head restraint:
1. Put the head restraint poles into the
holes.
2. Push head restraint down to the
desired position.
OJX1039113LOJX1039113L
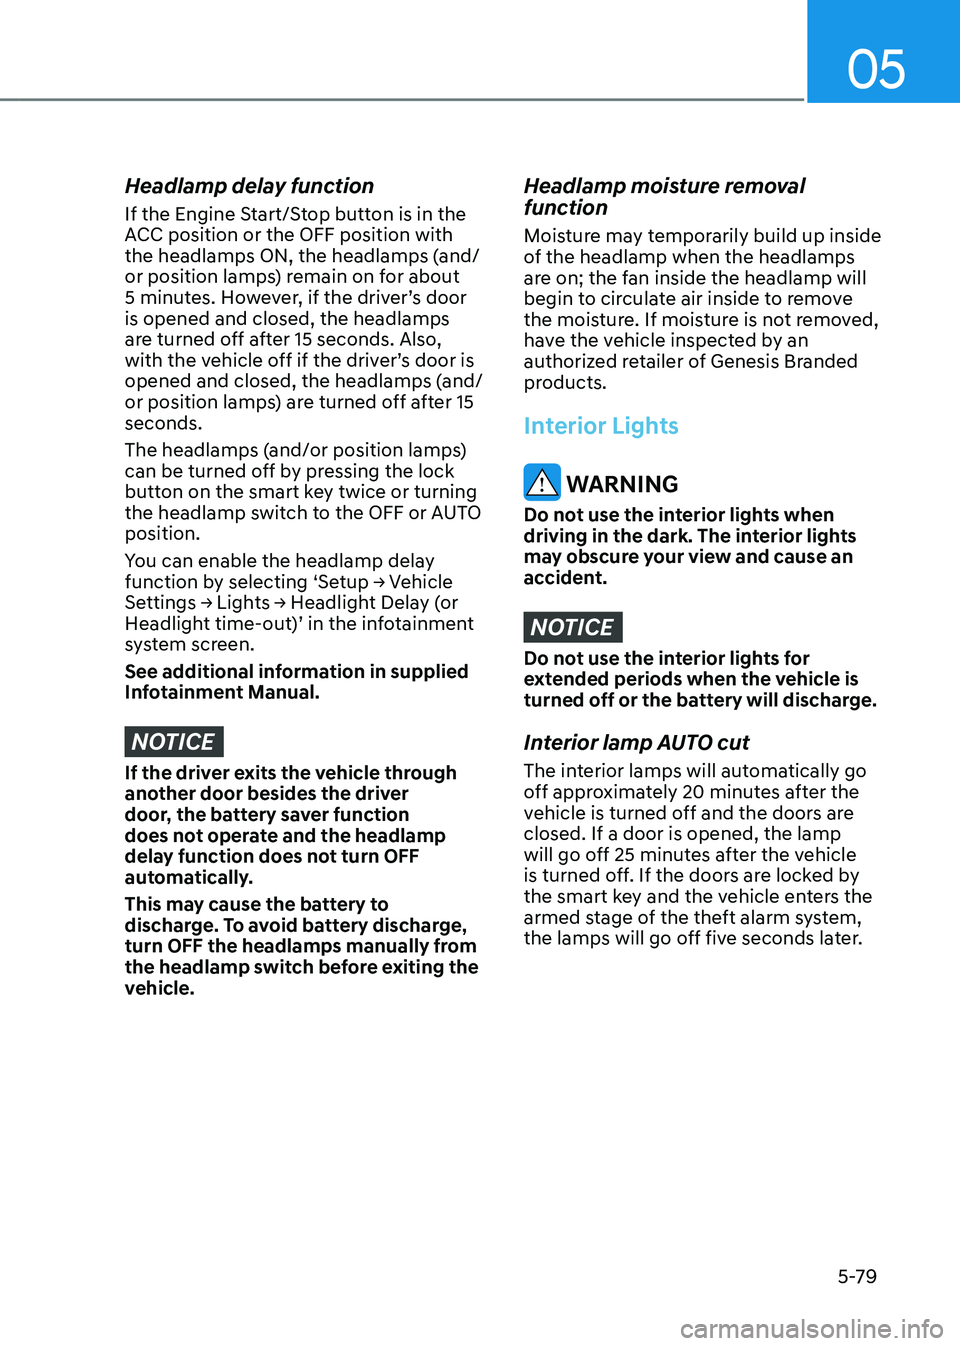
Third row seat head restraint folding
(infotainment system)
The third row seat can be folded
automatically from the Settings menu in
the infotainment system screen. Select:
-Seat -> 3rd Row Head Rest Fold
OJX1039045OJX1039045
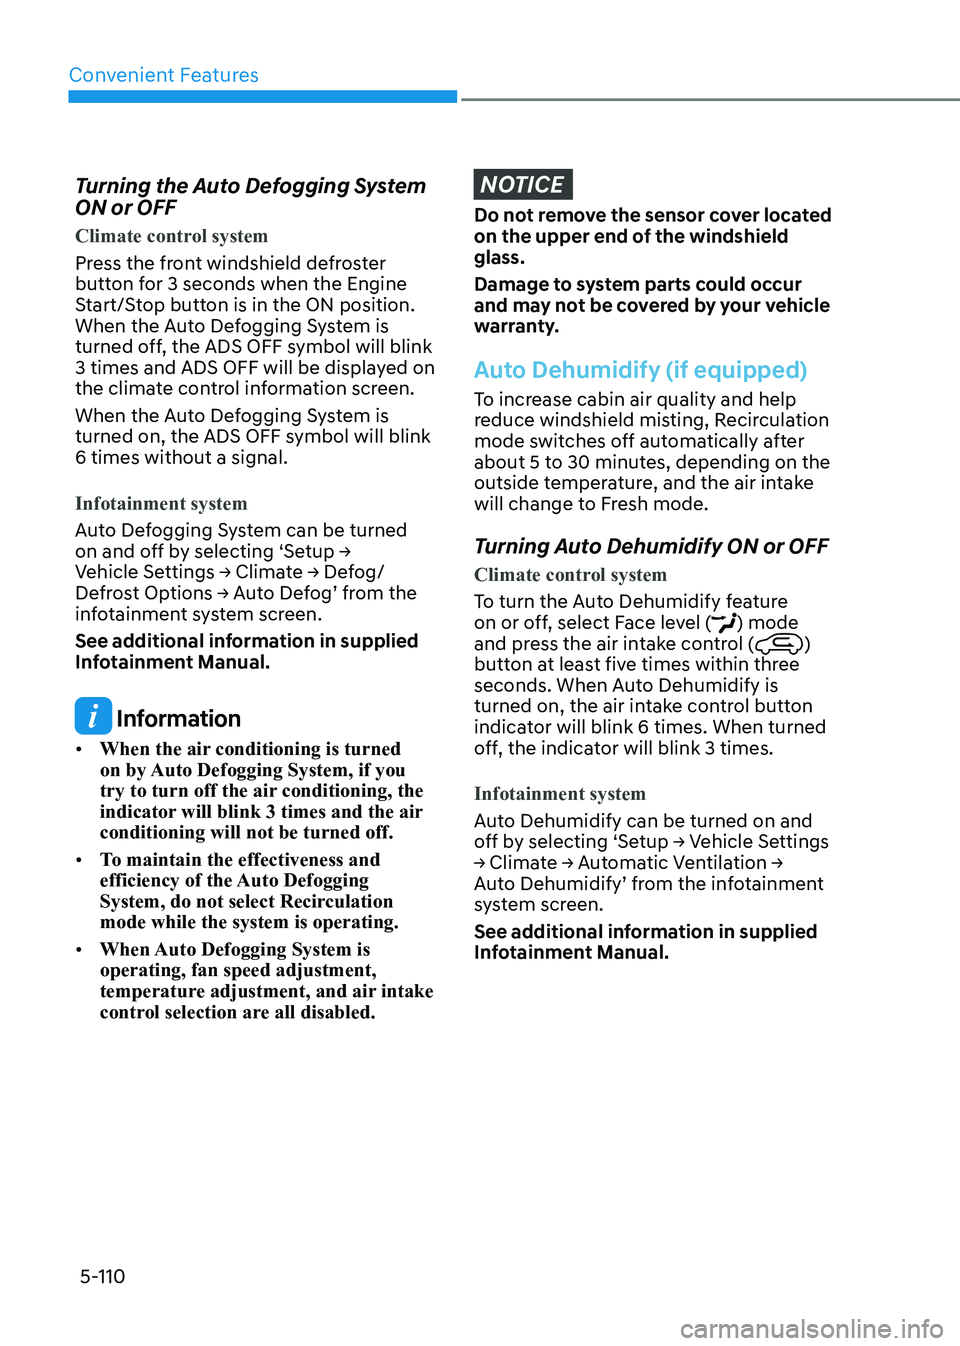
• Before folding the third row head
restraint automatically, lower the head
restraint to the lowest position.
• Never fold the third row head restraint
manually.
• To use the third row head restraint,
unfold the head restraint manually.
Page 155 of 632
![GENESIS GV80 2021 Owners Manual 05
5-13
OJX1059011LOJX1059011L[A] : In-vehicle authentication pad (Wireless charging pad)
4. After ‘Enabling Digital Key’ is selected,
place the backside of the smart phone
on the in-vehicle au GENESIS GV80 2021 Owners Manual 05
5-13
OJX1059011LOJX1059011L[A] : In-vehicle authentication pad (Wireless charging pad)
4. After ‘Enabling Digital Key’ is selected,
place the backside of the smart phone
on the in-vehicle au](/img/46/35616/w960_35616-154.png)
05
5-13
OJX1059011LOJX1059011L[A] : In-vehicle authentication pad (Wireless charging pad)
4. After ‘Enabling Digital Key’ is selected,
place the backside of the smart phone
on the in-vehicle authentication pad.
ORG3050222N ORG3050222N
5. Select ‘Smartphone Key → Save’
menu on the infotainment system
screen. The saving process will begin
automatically.
6. When the digital key (smart phone) is
saved, a message will appear on the
infotainment system screen.
7. Remove the smart phone from the
pad and complete the saving process
under the guidance of the smart
phone screen.
Information
• Vehicle
When there is a digital key (smart
phone) already saved in the vehicle, the
‘Save’ menu is disabled. If you want to
save a digital key again, refer to “How
to delete Digital Key (Smart phone)”
and follow the deleting procedure first
before saving a digital key.
• Smart phone
The digital key cannot be saved again
while the vehicle’s digital key is saved
in the owner’s smart phone. Save the
digital key after deleting the digital key
from the Digital Key App.
• During the digital key saving process,
the process will cancel when:
-The smart phone is removed from
the in-vehicle authentication pad
(wireless charging pad)
-Changing the infotainment system or
instrument cluster screen
-The vehicle is turned off
-The gear is shifted
-Saving digital key that does not
belong to the vehicle owner
-The smart phone screen is locked or
turned off
-NFC setting of your smart phone is
off (saving process will not begin)
-There is no smart key (saving process
will not begin)
Page 221 of 632

05
5-79
Headlamp delay function
If the Engine Start/Stop button is in the
ACC position or the OFF position with
the headlamps ON, the headlamps (and/
or position lamps) remain on for about
5 minutes. However, if the driver’s door
is opened and closed, the headlamps
are turned off after 15 seconds. Also,
with the vehicle off if the driver’s door is
opened and closed, the headlamps (and/
or position lamps) are turned off after 15
seconds.
The headlamps (and/or position lamps)
can be turned off by pressing the lock
button on the smart key twice or turning
the headlamp switch to the OFF or AUTO
position.
You can enable the headlamp delay
function by selecting ‘Setup → Vehicle
Settings → Lights → Headlight Delay (or
Headlight time-out)’ in the infotainment
system screen.
See additional information in supplied
Infotainment Manual.
NOTICE
If the driver exits the vehicle through
another door besides the driver
door, the battery saver function
does not operate and the headlamp
delay function does not turn OFF
automatically.
This may cause the battery to
discharge. To avoid battery discharge,
turn OFF the headlamps manually from
the headlamp switch before exiting the
vehicle.
Headlamp moisture removal
function
Moisture may temporarily build up inside
of the headlamp when the headlamps
are on; the fan inside the headlamp will
begin to circulate air inside to remove
the moisture. If moisture is not removed,
have the vehicle inspected by an
authorized retailer of Genesis Branded
products.
Interior Lights
WARNING
Do not use the interior lights when
driving in the dark. The interior lights
may obscure your view and cause an
accident.
NOTICE
Do not use the interior lights for
extended periods when the vehicle is
turned off or the battery will discharge.
Interior lamp AUTO cut
The interior lamps will automatically go
off approximately 20 minutes after the
vehicle is turned off and the doors are
closed. If a door is opened, the lamp
will go off 25 minutes after the vehicle
is turned off. If the doors are locked by
the smart key and the vehicle enters the
armed stage of the theft alarm system,
the lamps will go off five seconds later.
Page 252 of 632

Convenient Features
5-110
Turning the Auto Defogging System
ON or OFF
Climate control system
Press the front windshield defroster
button for 3 seconds when the Engine
Start/Stop button is in the ON position.
When the Auto Defogging System is
turned off, the ADS OFF symbol will blink
3 times and ADS OFF will be displayed on
the climate control information screen.
When the Auto Defogging System is
turned on, the ADS OFF symbol will blink
6 times without a signal.
Infotainment system
Auto Defogging System can be turned
on and off by selecting ‘Setup →
Vehicle Settings → Climate → Defog/
Defrost Options → Auto Defog’ from the
infotainment system screen.
See additional information in supplied
Infotainment Manual.
Information
• When the air conditioning is turned
on by Auto Defogging System, if you
try to turn off the air conditioning, the
indicator will blink 3 times and the air
conditioning will not be turned off.
• To maintain the effectiveness and
efficiency of the Auto Defogging
System, do not select Recirculation
mode while the system is operating.
• When Auto Defogging System is
operating, fan speed adjustment,
temperature adjustment, and air intake
control selection are all disabled.
NOTICE
Do not remove the sensor cover located
on the upper end of the windshield
glass.
Damage to system parts could occur
and may not be covered by your vehicle
warranty.
Auto Dehumidify (if equipped)
To increase cabin air quality and help
reduce windshield misting, Recirculation
mode switches off automatically after
about 5 to 30 minutes, depending on the
outside temperature, and the air intake
will change to Fresh mode.
Turning Auto Dehumidify ON or OFF
Climate control system
To turn the Auto Dehumidify feature
on or off, select Face level (
) mode
and press the air intake control ()
button at least five times within three
seconds. When Auto Dehumidify is
turned on, the air intake control button
indicator will blink 6 times. When turned
off, the indicator will blink 3 times.
Infotainment system
Auto Dehumidify can be turned on and
off by selecting ‘Setup → Vehicle Settings
→ Climate → Automatic Ventilation →
Auto Dehumidify’ from the infotainment
system screen.
See additional information in supplied
Infotainment Manual.