key GMC ACADIA 2012 Workshop Manual
[x] Cancel search | Manufacturer: GMC, Model Year: 2012, Model line: ACADIA, Model: GMC ACADIA 2012Pages: 468, PDF Size: 5.57 MB
Page 185 of 468
Black plate (7,1)GMC Acadia/Acadia Denali Owner Manual - 2012
Lighting 6-7
Delayed Exit Lighting
Delayed exit lighting illuminates the
interior for a period of time after the
key is removed from the ignition.
The ignition must be off for delayed
exit lighting to work. When the key
is removed, interior illumination
activates and remains on until one
of the following occurs:
.The ignition is in ON/RUN.
.The power door locks are
activated.
.An illumination period of
20 seconds has elapsed.
If during the illumination period a
door is opened, the timed
illumination period will be canceled
and the interior lamps will remain on
because a door is open.
Parade Dimming
This feature automatically prohibits
the dimming of the instrument panel
displays in daylight while the
headlamps are on so that the
displays are still able to be seen.
Battery Load
Management
The vehicle has Electric Power
Management (EPM) that estimates
the battery's temperature and state
of charge. It then adjusts the voltage
for best performance and extended
life of the battery.
When the battery's state of charge
is low, the voltage is raised slightly
to quickly bring the charge back up.
When the state of charge is high,
the voltage is lowered slightly to
prevent overcharging. If the vehicle
has a voltmeter gauge or a voltage display on the Driver Information
Center (DIC), you may see the
voltage move up or down. This is
normal. If there is a problem, an
alert will be displayed.
The battery can be discharged at
idle if the electrical loads are very
high. This is true for all vehicles.
This is because the generator
(alternator) may not be spinning
fast enough at idle to produce all
of the power needed for very high
electrical loads.
A high electrical load occurs when
several of the following are on,
such as: headlamps, high beams,
fog lamps, rear window defogger,
climate control fan at high speed,
heated seats, engine cooling fans,
trailer loads, and loads plugged into
accessory power outlets.
Page 190 of 468
Black plate (4,1)GMC Acadia/Acadia Denali Owner Manual - 2012
7-4 Infotainment System
Playing the Radio
O(Power/Volume):Press to turn
the system on and off. Turn to
increase or decrease the volume.
For vehicles with a Rear Seat
Entertainment (RSE) System,
press and hold for more than
two seconds to turn off the entire
radio and RSE system and to
start the parental control feature.
Parental control prevents the rear
seat occupant from operating the
Rear Seat Audio (RSA) system or
remote control.
A lock symbol displays next to the
clock display while the parental
control feature is being used.
The feature remains on until
Ois
pressed and held for more than
two seconds, or the driver turns the
ignition off and exits the vehicle.
4(Information): Press to switch
the display between the radio
station frequency and the time.
When the ignition is in the OFF
position, press
4to display the time.
For vehicles with XM, MP3, WMA,
or RDS features, press
4to display
additional text information related to
the current FM-RDS or XM station;
or CD, MP3, or WMA song.
If information is available during XM,
CD, MP3, or WMA playback, the
song title information displays on
the top line of the display and artist
information displays on the bottom
line. When information is not
available, “NO INFO” displays.
Auto Text (Satellite Radio Service,
CD, MP3, and WMA features):
If additional information is available
for the current song being played,
Auto Text will automatically
page/scroll the information every
five seconds above the FAV presets
on the radio display. To activate Auto Text:
1. Press MENU to display the radio
setup menu.
2. Press the softkey under the AUTO TXT tab on the radio
display.
3. Press the softkey under the ON tab on the radio display.
If
4is pressed and the song title or
artist information is longer than
what can be displayed, the extra
information will page every
five seconds when Auto Text is
activated.
Speed Compensated Volume
(SCV): The Speed Compensated
Volume (SCV) feature automatically
adjusts the radio volume to
compensate for road and wind noise
as the vehicle speeds up or slows
down, so that the volume level is
consistent.
Page 191 of 468
Black plate (5,1)GMC Acadia/Acadia Denali Owner Manual - 2012
Infotainment System 7-5
To activate SCV:
1. Set the radio volume.
2. Press the MENU button todisplay the radio setup menu.
3. Press the softkey under the AUTO VOLUM (automatic
volume) tab on the radio display.
4. Press the softkey under the Speed Compensated Volume
setting (OFF, Low, Med, or High)
to select the level of radio
volume compensation. Press the
softkey located below the BACK
tab on the MENU SETUP
display or let the display time out
after approximately 10 seconds.
Each higher setting allows
for more radio volume
compensation at faster vehicle
speeds.Setting the Tone
(Bass/Midrange/Treble)
BASS/MID/TREB (Bass, Midrange,
or Treble):
To adjust bass, midrange, or treble:
1. Press
funtil the tone control
tabs display.
2. Continue pressing
fto highlight
the tab, or press the softkey
under the tab.
3. To adjust the highlighted setting, do one of the following until the
levels are obtained:
.Turnfclockwise or
counterclockwise.
.Press\FWD, orsREV.
If a station's frequency is weak or if
there is static, decrease the treble. To quickly adjust bass, midrange,
or treble to the middle position,
press the softkey under the BASS,
MID, or TREB tab for more than
two seconds. A beep sounds and
the level adjusts to the middle
position.
To quickly adjust all tone and
speaker controls to the middle
position, press
ffor more than
two seconds until a beep sounds.
EQ (Equalization): Press to
choose bass and treble equalization
settings designed for different types
of music. The choices are pop, rock,
country, talk, jazz, and classical.
Selecting MANUAL or changing
bass or treble, returns the EQ to the
manual bass and treble settings.
Unique EQ settings can be saved
for each source.
If the radio has a Bose
®audio
system, the EQ settings are either
MANUAL or TALK.
Page 192 of 468
Black plate (6,1)GMC Acadia/Acadia Denali Owner Manual - 2012
7-6 Infotainment System
Adjusting the Speakers
(Balance/Fade)
BAL/FADE (Balance/Fade):
To adjust the balance or fade:
1. Press
funtil the speaker control
tabs display.
2. Continue pressing
fto highlight
the tab, or press the softkey
under the tab.
3. To adjust the highlighted setting, do one of the following until the
levels are obtained:
.Turnfclockwise or
counterclockwise.
.Press\FWD, orsREV.
To quickly adjust balance or fade
to the middle position, press the
softkey under the BAL or FADE tab
for more than two seconds. A beep
sounds and the level adjusts to the
middle position. To quickly adjust all speaker and
tone controls to the middle position,
press
ffor more than two seconds
until a beep sounds.
Radios with CD and DVD fade
differently depending on the DVD
Media type:
.With DVD‐A 5.1 Surround
media, the left front and right
front speakers fade rearward,
leaving the center front
speakers unaffected until the
last fade step, then all front
speakers mute.
.With DVD‐V 5.1 Surround
media, surround sound is
maintained until Step 4 of the
Fade control is reached while
fading rearward. At that point the
audio system output changes to
Stereo to prevent the loss of
Center channel output when the
full rearward fade position is
reached. If the Rear Seat Audio (RSA) is
turned on, the radio disables FADE
and mutes the rear speakers.
Radio Messages
Calibration Error:
The audio
system has been calibrated
for the vehicle from the factory.
If Calibration Error displays, it
means that the radio has not been
configured properly for the vehicle
and it must be returned to your
dealer for service.
Locked: This message displays
when the TheftLock
®system has
locked up the radio. Take the
vehicle to your dealer for service.
If any error occurs repeatedly or
if an error cannot be corrected,
contact your dealer.
Page 193 of 468
Black plate (7,1)GMC Acadia/Acadia Denali Owner Manual - 2012
Infotainment System 7-7
Radio
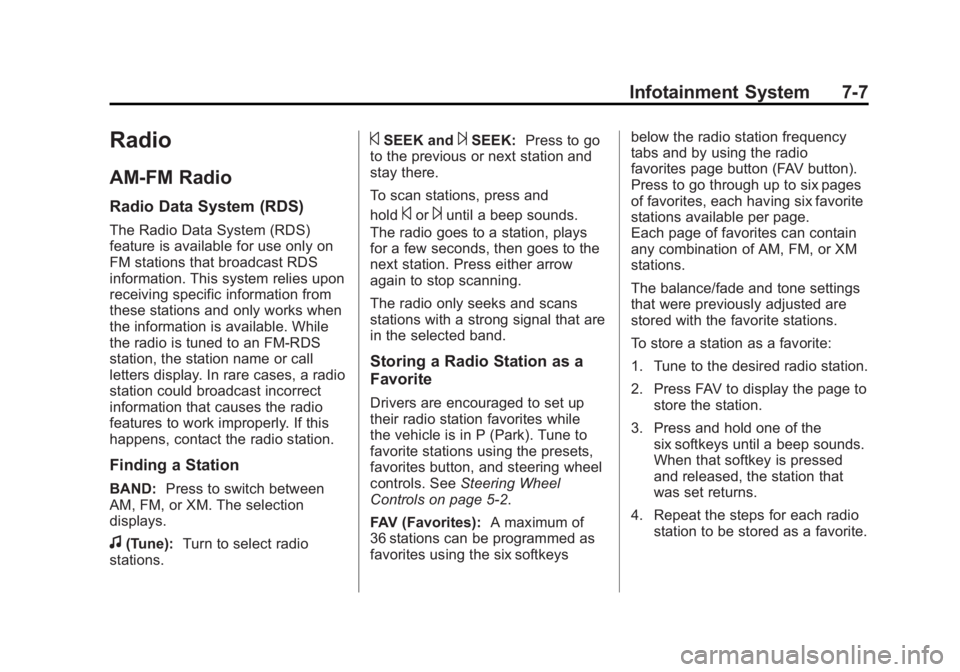
AM-FM Radio
Radio Data System (RDS)
The Radio Data System (RDS)
feature is available for use only on
FM stations that broadcast RDS
information. This system relies upon
receiving specific information from
these stations and only works when
the information is available. While
the radio is tuned to an FM-RDS
station, the station name or call
letters display. In rare cases, a radio
station could broadcast incorrect
information that causes the radio
features to work improperly. If this
happens, contact the radio station.
Finding a Station
BAND:Press to switch between
AM, FM, or XM. The selection
displays.
f(Tune): Turn to select radio
stations.
©SEEK and¨SEEK: Press to go
to the previous or next station and
stay there.
To scan stations, press and
hold
©or¨until a beep sounds.
The radio goes to a station, plays
for a few seconds, then goes to the
next station. Press either arrow
again to stop scanning.
The radio only seeks and scans
stations with a strong signal that are
in the selected band.
Storing a Radio Station as a
Favorite
Drivers are encouraged to set up
their radio station favorites while
the vehicle is in P (Park). Tune to
favorite stations using the presets,
favorites button, and steering wheel
controls. See Steering Wheel
Controls on page 5‑2.
FAV (Favorites): A maximum of
36 stations can be programmed as
favorites using the six softkeys below the radio station frequency
tabs and by using the radio
favorites page button (FAV button).
Press to go through up to six pages
of favorites, each having six favorite
stations available per page.
Each page of favorites can contain
any combination of AM, FM, or XM
stations.
The balance/fade and tone settings
that were previously adjusted are
stored with the favorite stations.
To store a station as a favorite:
1. Tune to the desired radio station.
2. Press FAV to display the page to
store the station.
3. Press and hold one of the six softkeys until a beep sounds.
When that softkey is pressed
and released, the station that
was set returns.
4. Repeat the steps for each radio station to be stored as a favorite.
Page 194 of 468
Black plate (8,1)GMC Acadia/Acadia Denali Owner Manual - 2012
7-8 Infotainment System
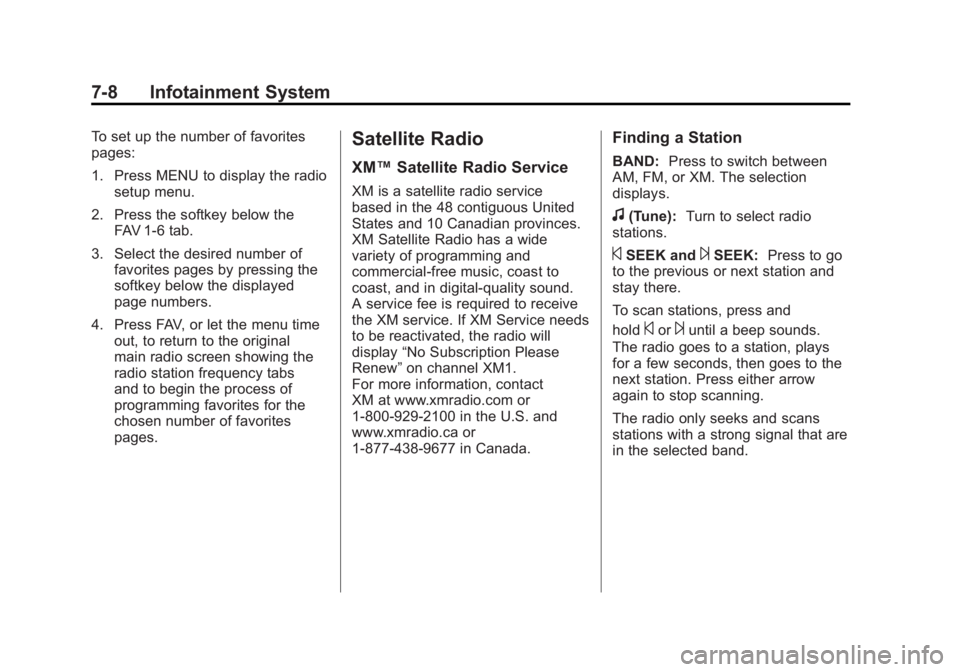
To set up the number of favorites
pages:
1. Press MENU to display the radiosetup menu.
2. Press the softkey below the FAV 1-6 tab.
3. Select the desired number of favorites pages by pressing the
softkey below the displayed
page numbers.
4. Press FAV, or let the menu time out, to return to the original
main radio screen showing the
radio station frequency tabs
and to begin the process of
programming favorites for the
chosen number of favorites
pages.Satellite Radio
XM™ Satellite Radio Service
XM is a satellite radio service
based in the 48 contiguous United
States and 10 Canadian provinces.
XM Satellite Radio has a wide
variety of programming and
commercial-free music, coast to
coast, and in digital-quality sound.
A service fee is required to receive
the XM service. If XM Service needs
to be reactivated, the radio will
display “No Subscription Please
Renew” on channel XM1.
For more information, contact
XM at www.xmradio.com or
1-800-929-2100 in the U.S. and
www.xmradio.ca or
1-877-438-9677 in Canada.
Finding a Station
BAND: Press to switch between
AM, FM, or XM. The selection
displays.
f(Tune): Turn to select radio
stations.
©SEEK and¨SEEK: Press to go
to the previous or next station and
stay there.
To scan stations, press and
hold
©or¨until a beep sounds.
The radio goes to a station, plays
for a few seconds, then goes to the
next station. Press either arrow
again to stop scanning.
The radio only seeks and scans
stations with a strong signal that are
in the selected band.
Page 195 of 468
Black plate (9,1)GMC Acadia/Acadia Denali Owner Manual - 2012
Infotainment System 7-9
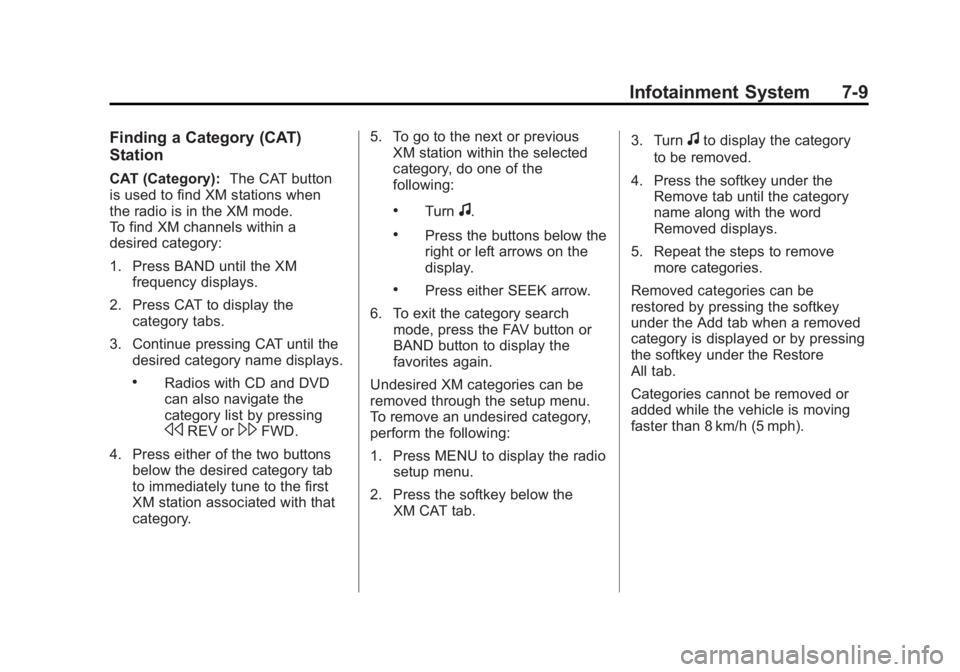
Finding a Category (CAT)
Station
CAT (Category):The CAT button
is used to find XM stations when
the radio is in the XM mode.
To find XM channels within a
desired category:
1. Press BAND until the XM frequency displays.
2. Press CAT to display the category tabs.
3. Continue pressing CAT until the desired category name displays.
.Radios with CD and DVD
can also navigate the
category list by pressing
sREV or\FWD.
4. Press either of the two buttons below the desired category tab
to immediately tune to the first
XM station associated with that
category. 5. To go to the next or previous
XM station within the selected
category, do one of the
following:
.Turnf.
.Press the buttons below the
right or left arrows on the
display.
.Press either SEEK arrow.
6. To exit the category search mode, press the FAV button or
BAND button to display the
favorites again.
Undesired XM categories can be
removed through the setup menu.
To remove an undesired category,
perform the following:
1. Press MENU to display the radio setup menu.
2. Press the softkey below the XM CAT tab. 3. Turn
fto display the category
to be removed.
4. Press the softkey under the Remove tab until the category
name along with the word
Removed displays.
5. Repeat the steps to remove more categories.
Removed categories can be
restored by pressing the softkey
under the Add tab when a removed
category is displayed or by pressing
the softkey under the Restore
All tab.
Categories cannot be removed or
added while the vehicle is moving
faster than 8 km/h (5 mph).
Page 196 of 468
Black plate (10,1)GMC Acadia/Acadia Denali Owner Manual - 2012
7-10 Infotainment System
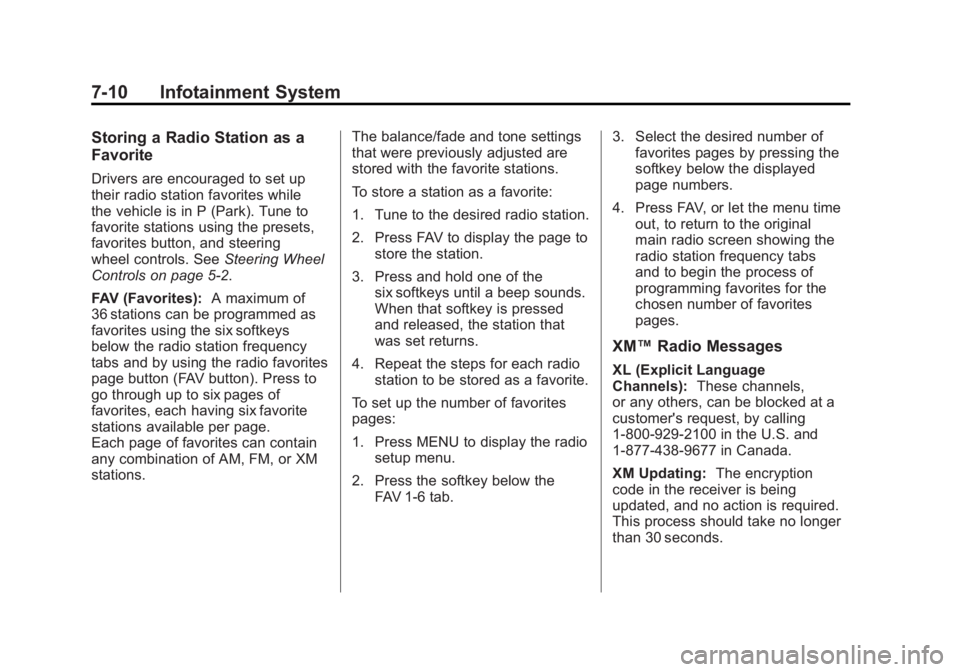
Storing a Radio Station as a
Favorite
Drivers are encouraged to set up
their radio station favorites while
the vehicle is in P (Park). Tune to
favorite stations using the presets,
favorites button, and steering
wheel controls. SeeSteering Wheel
Controls on page 5‑2.
FAV (Favorites): A maximum of
36 stations can be programmed as
favorites using the six softkeys
below the radio station frequency
tabs and by using the radio favorites
page button (FAV button). Press to
go through up to six pages of
favorites, each having six favorite
stations available per page.
Each page of favorites can contain
any combination of AM, FM, or XM
stations. The balance/fade and tone settings
that were previously adjusted are
stored with the favorite stations.
To store a station as a favorite:
1. Tune to the desired radio station.
2. Press FAV to display the page to
store the station.
3. Press and hold one of the six softkeys until a beep sounds.
When that softkey is pressed
and released, the station that
was set returns.
4. Repeat the steps for each radio station to be stored as a favorite.
To set up the number of favorites
pages:
1. Press MENU to display the radio setup menu.
2. Press the softkey below the FAV 1-6 tab. 3. Select the desired number of
favorites pages by pressing the
softkey below the displayed
page numbers.
4. Press FAV, or let the menu time out, to return to the original
main radio screen showing the
radio station frequency tabs
and to begin the process of
programming favorites for the
chosen number of favorites
pages.
XM™ Radio Messages
XL (Explicit Language
Channels): These channels,
or any others, can be blocked at a
customer's request, by calling
1-800-929-2100 in the U.S. and
1-877-438-9677 in Canada.
XM Updating: The encryption
code in the receiver is being
updated, and no action is required.
This process should take no longer
than 30 seconds.
Page 200 of 468
Black plate (14,1)GMC Acadia/Acadia Denali Owner Manual - 2012
7-14 Infotainment System
RDM (Random):CD tracks can be
listened to in random, rather than
sequential order with the random
setting. To use random, press the
softkey under the RDM label until
Random Current Disc displays.
Press the softkey again to turn off
random play.
BAND: Press to listen to the radio
when a CD is playing. The CD
remains inside the radio for future
listening.
CD/AUX (CD/Auxiliary): Press to
select between CD, or Auxiliary.
.When a CD is in the player, the
CD icon and a message
showing the disc and/or track
number display.
.If an auxiliary input device is not
connected, “No Input Device
Found” displays. Care of CDs
If playing a CD-R, the sound quality
can be reduced due to CD-R or
CD-RW quality, the method of
recording, the quality of the music
that has been recorded, and the
way the CD-R or CD-RW has been
handled. Handle them carefully.
Store CD-R(s) or CD-RW(s) in their
original cases or other protective
cases and away from direct sunlight
and dust. The CD player scans the
bottom surface of the disc. If the
surface of a CD is damaged, such
as cracked, broken, or scratched,
the CD does not play properly or not
at all. Do not touch the bottom side
of a CD while handling it; this could
damage the surface. Pick up CDs
by grasping the outer edges or the
edge of the hole and the outer edge.
If the surface of a CD is soiled, take
a soft, lint‐free cloth or dampen a
clean, soft cloth in a mild, neutral
detergent solution mixed with water,
and clean it. Make sure the wiping
process starts from the center to
the edge. Care of the CD Player
Do not add any label to a CD; it
could get caught in the CD player.
If a CD is recorded on a personal
computer and a description label is
needed, try labeling the top of the
recorded CD with a marking pen.
The use of CD lens cleaners for
CDs is not advised.
Notice:
If a label is added to a
CD, more than one CD is inserted
into the slot at a time, or an
attempt is made to play scratched
or damaged CDs, the CD player
could be damaged. While using
the CD player, use only CDs in
good condition without any label,
load one CD at a time, and keep
the CD player and the loading slot
free of foreign materials, liquids,
and debris.
If an error displays, see “CD
Messages” later in this section.
Page 202 of 468
Black plate (16,1)GMC Acadia/Acadia Denali Owner Manual - 2012
7-16 Infotainment System
The DVD/CD decks (the upper slot
is the DVD deck and the lower slot
is the CD deck) are compatible with
most audio CDs, CD-Rs, CD-RWs,
and MP3/WMAs.
When a CD is inserted, the text
label DVD or CD symbol displays
on the left side of the radio display.
As each new track starts to play,
the track number displays.
ZCD (Eject):Press and release
to eject the disc that is currently
playing. The disc ejects from the
bottom slot. A beep sounds and
Ejecting Disc displays. Once the
disc is ejected, Remove Disc
displays. The disc can be removed.
If the disc is not removed, after
several seconds, the disc
automatically pulls back into the
player.
ZDVD (Eject): Press and
release to eject the disc that is
currently playing in the top slot.
A beep sounds and Ejecting Disc
displays.
If loading and reading of a disc
cannot be completed, and the
disc fails to eject, press and hold
ZDVD for more than five seconds
to force the disc to eject.
f(Tune): Turn to select tracks on
the CD that is currently playing.
©and SEEK¨SEEK: Press©SEEK to go to the start of the
current track if the track has played
more than five seconds. If the track
has played less than five seconds,
the previous track will play.
Press
¨SEEK to go to the next
track.
If either arrow is held, or pressed
multiple times, the player continues
moving backward or forward
through the tracks on the CD.
sREV (Fast Reverse): Press
and hold to reverse playback quickly
within a track. Sound will be heard
at a reduced volume. Release to
resume playing the track. The
elapsed time of the track displays.
\FWD (Fast Forward): Press
and hold to advance playback
quickly within a track. Sound will
be heard at a reduced volume.
Release to resume playing the
track. The elapsed time of the track
displays.
RDM (Random): CD tracks can be
listened to in random, rather than
sequential order with the random
setting. To use random, press the
softkey under the RDM tab until
Random Current Disc displays.
Press the softkey again to turn off
random play.
BAND: Press to listen to the radio
when a CD or DVD is playing.
The CD or DVD remains inside the
radio for future listening or viewing.