glove box GMC CANYON 2006 Owner's Manual
[x] Cancel search | Manufacturer: GMC, Model Year: 2006, Model line: CANYON, Model: GMC CANYON 2006Pages: 434, PDF Size: 2.64 MB
Page 87 of 434
Keys...............................................................2-2
Remote Keyless Entry System.........................2-3
Remote Keyless Entry System Operation...........2-4
Doors and Locks.............................................2-7
Door Locks....................................................2-7
Power Door Locks..........................................2-8
Rear Door Security Locks (Crew Cab)...............2-8
Lockout Protection..........................................2-9
Rear Doors (Extended Cab).............................2-9
Tailgate........................................................2-9
Windows........................................................2-11
Manual Windows..........................................2-11
Power Windows............................................2-12
Sliding Rear Window.....................................2-13
Sun Visors...................................................2-13
Theft-Deterrent Systems..................................2-13
Content Theft-Deterrent.................................2-13
Passlock
®....................................................2-15
Starting and Operating Your Vehicle................2-15
New Vehicle Break-In....................................2-15
Ignition Positions..........................................2-16
Retained Accessory Power (RAP)...................2-17
Starting the Engine.......................................2-17
Engine Coolant Heater..................................2-19
Automatic Transmission Operation...................2-20
Manual Transmission Operation......................2-22Four-Wheel Drive..........................................2-24
Parking Brake..............................................2-28
Shifting Into Park (P)
(Automatic Transmission)............................2-29
Shifting Out of Park (P)
(Automatic Transmission)............................2-30
Parking Your Vehicle
(Manual Transmission)...............................2-31
Parking Over Things That Burn.......................2-31
Engine Exhaust............................................2-32
Running the Engine While Parked...................2-32
Mirrors...........................................................2-34
Manual Rearview Mirror.................................2-34
Manual Rearview Mirror with OnStar
®..............2-34
Automatic Dimming Rearview Mirror with
Compass and Temperature Display..............2-35
Outside Manual Mirrors..................................2-37
Outside Power Mirrors...................................2-37
Outside Convex Mirror...................................2-38
OnStar
®System.............................................2-38
Storage Areas................................................2-40
Glove Box...................................................2-40
Cupholder(s)................................................2-40
Front Armrest Storage Area...........................2-40
Assist Handles.............................................2-41
Rear Storage Area........................................2-41
Section 2 Features and Controls
2-1
Page 124 of 434

If the mirror begins making a ratcheting sound, the
mirror has reached the end of its travel and can go no
farther in that direction. To stop the sound, reverse
the mirror direction using the control pad.
The mirrors can be manually folded inward to prevent
damage when going through an automatic car wash.
To fold, push the mirror toward the vehicle. To return the
mirror to its original position, push outward. Be sure to
return both mirrors to the unfolded position before driving.
Outside Convex Mirror
Your passenger’s outside rearview mirror is convex.
A convex mirror’s surface is curved so you can see more
from the driver’s seat.
{CAUTION:
A convex mirror can make things (like other
vehicles) look farther away than they really are.
If you cut too sharply into the right lane, you
could hit a vehicle on your right. Check your
inside mirror or glance over your shoulder
before changing lanes.
OnStar®System
OnStar®uses global positioning system (GPS) satellite
technology, wireless communications, and live advisors
to provide you with a wide range of safety, security,
information, and convenience services. If your airbags
deploy, the system is designed to make an automatic call
to OnStar
®Emergency where we can request emergency
services be sent to your location. If you lock your keys in
the car, call OnStar
®at 1-888-4-ONSTAR and they can
send a signal to unlock your doors. If you need roadside
assistance, press the OnStar
®button and they will get
you the help you need.
A complete OnStar
®User’s Guide and the Terms and
Conditions of the OnStar®Subscription Service
Agreement are included in the vehicle’s glove box
literature. For more information, visit www.onstar.com or
www.onstar.ca. Contact OnStar
®at 1-888-4-ONSTAR
(1-888-466-7827), or press the OnStar®button to speak
to an OnStar®advisor 24 hours a day, 7 days a week.
2-38
Page 125 of 434

Terms and conditions of the Subscription Service
Agreement can be found at www.onstar.com or
www.onstar.ca.
OnStar®Services
For new vehicles equipped with OnStar®, the Safe and
Sound Plan is included for one year from the date of
purchase. You can extend this plan beyond the �rst year,
or upgrade to the Directions and Connections
®Plan to
meet your needs. For more information, press the
OnStar
®button to speak to an advisor.
Safe and Sound Plan
Automatic Noti�cation of Airbag Deployment
Emergency Services
Roadside Assistance
Stolen Vehicle Tracking
AccidentAssist
Remote Door Unlock/Vehicle Alert
Remote Diagnostics
Online Concierge
Directions and Connections®Plan
All Safe and Sound Plan Services
Driving Directions
RideAssist
Information and Convenience Services
OnStar®Personal Calling
As an OnStar®subscriber, the Personal Calling
capability allows you to make hands-free calls using a
wireless system that is integrated into the vehicle.
Calls can be placed nationwide using simple voice
commands with no additional contracts and no additional
roaming charges. To �nd out more about OnStar
®
Personal Calling, refer to the OnStar®User’s Guide in
the vehicle’s glove box, visit www.onstar.com or
www.onstar.ca, or speak to an OnStar
®advisor by
pressing the OnStar®button or calling 1-888-4-ONSTAR
(1-888-466-7827).
OnStar®Virtual Advisor
Your vehicle may have Virtual Advisor. It is a feature of
OnStar®Personal Calling that uses your minutes to
access weather, local traffic reports, and stock quotes.
By pressing the phone button and giving a few
simple voice commands, you can browse through the
various topics. Customize your information pro�le
at www.myonstar.com. See the OnStar
®user’s guide
for more information.
2-39
Page 126 of 434

Storage Areas
Glove Box
To open the glove box, pull on the lever.
Cupholder(s)
Your vehicle may have two cupholders located on the
lower part of the front doors as well as two cupholders
located at the front end of the console. Vehicles with
bench seats may have cupholders attached to the front
of the center seat.
If your vehicle is an extended cab or crew cab model,
your vehicle also has two rear cupholders. On crew cab
models, the cupholders are located at the front end
of the rear center seat cushion. On extended cab
models, the rear seat cupholders are located on top of
the rear center console.
If you have an ashtray, it will use one of the cupholders.
Front Armrest Storage Area
For vehicles with bench seats, you may have a center
armrest storage area. Lift up on the upper tab located at
the front of the armrest to release the latch. Lift the lid
to open the storage area.
For vehicles with bucket seats or uplevel packages, your
vehicle may have a two-tiered center armrest storage
area. Lift up on the upper tab located at the front of the
armrest to release the latch. Lift the lid to the top storage
area. A second tab is located below the top one and
allows you to access the bottom storage area. Lift up on
the lower tab to release the latch. Then, raise the lid of
the lower storage area. The upper storage area will lift up
with the lid of the lower storage area.
To close the storage area(s), lower the lid(s) until you
feel the latch close.
2-40
Page 133 of 434
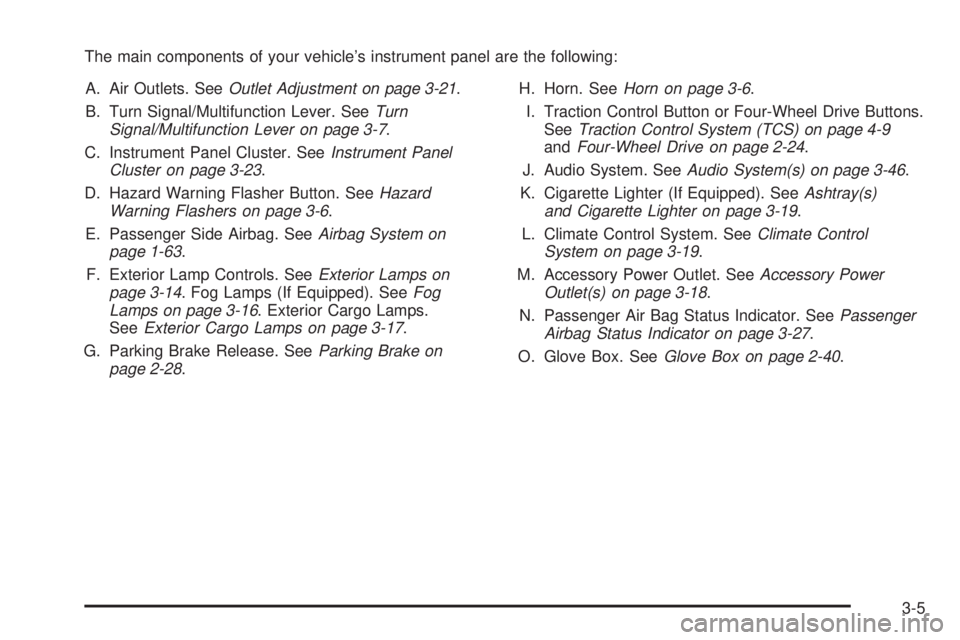
The main components of your vehicle’s instrument panel are the following:
A. Air Outlets. SeeOutlet Adjustment on page 3-21.
B. Turn Signal/Multifunction Lever. SeeTurn
Signal/Multifunction Lever on page 3-7.
C. Instrument Panel Cluster. SeeInstrument Panel
Cluster on page 3-23.
D. Hazard Warning Flasher Button. SeeHazard
Warning Flashers on page 3-6.
E. Passenger Side Airbag. SeeAirbag System on
page 1-63.
F. Exterior Lamp Controls. SeeExterior Lamps on
page 3-14. Fog Lamps (If Equipped). SeeFog
Lamps on page 3-16. Exterior Cargo Lamps.
SeeExterior Cargo Lamps on page 3-17.
G. Parking Brake Release. SeeParking Brake on
page 2-28.H. Horn. SeeHorn on page 3-6.
I. Traction Control Button or Four-Wheel Drive Buttons.
SeeTraction Control System (TCS) on page 4-9
andFour-Wheel Drive on page 2-24.
J. Audio System. SeeAudio System(s) on page 3-46.
K. Cigarette Lighter (If Equipped). SeeAshtray(s)
and Cigarette Lighter on page 3-19.
L. Climate Control System. SeeClimate Control
System on page 3-19.
M. Accessory Power Outlet. SeeAccessory Power
Outlet(s) on page 3-18.
N. Passenger Air Bag Status Indicator. SeePassenger
Airbag Status Indicator on page 3-27.
O. Glove Box. SeeGlove Box on page 2-40.
3-5
Page 377 of 434
Vehicle Identi�cation
Vehicle Identi�cation Number (VIN)
This is the legal identi�er for your vehicle. It appears on
a plate in the front corner of the instrument panel, on
the driver’s side. You can see it if you look through the
windshield from outside your vehicle. The VIN also
appears on the Vehicle Certi�cation and Service Parts
labels and the certi�cates of title and registration.
Engine Identi�cation
The eighth character in the VIN is the engine code.
This code will help you identify your vehicle’s engine,
speci�cations, and replacement parts.
Service Parts Identi�cation Label
You will �nd this label on the inside of the glove box.
It is very helpful if you ever need to order parts.
On this label, you will �nd the following:
VIN
Model designation
Paint information
Production options and special equipment
Be sure that this label is not removed from the vehicle.
Electrical System
Add-On Electrical Equipment
Notice:Don’t add anything electrical to your
vehicle unless you check with your dealer �rst.
Some electrical equipment can damage your vehicle
and the damage wouldn’t be covered by your
warranty. Some add-on electrical equipment can
keep other components from working as they
should.
Your vehicle has an air bag system. Before attempting
to add anything electrical to your vehicle, see
Servicing Your Airbag-Equipped Vehicle on page 1-77.
5-101
Page 394 of 434
(f)Lubricate all key lock cylinders, body door and fuel
door hinges, latches and locks (including glove box and
console doors), hood latch assembly, secondary
latch, pivots, spring anchor, release pawl, and any
moving seat hardware. Lubricate hood safety lever pivot
and prop rod pivot and tailgate latch bolt, handle
assembly pivot points, and hinges. More frequent
lubrication may be required when exposed to a corrosive
environment. Applying silicone grease on weatherstrips
with a clean cloth will make them last longer, seal
better, and not stick or squeak.
(g)A �uid loss in any vehicle system could indicate a
problem. Have the system inspected and repaired
and the �uid level checked. Add �uid if needed.
(h)Change automatic transmission �uid and �lter if the
vehicle is mainly driven under one or more of these
conditions:
�In heavy city traffic where the outside temperature
regularly reaches 90°F (32°C) or higher.
�In hilly or mountainous terrain.
�When doing frequent trailer towing.
�Uses such as found in taxi, police, or delivery
service.(i)Drain, �ush, and re�ll cooling system. This service
can be complex; you should have your dealer perform
this service. See Engine Coolant on page 5-25 for
what to use. Inspect hoses. Clean radiator, condenser,
pressure cap, and �ller neck. Pressure test the
cooling system and pressure cap.
(j)If you drive regularly under dusty conditions, inspect
the �lter at each engine oil change.
(k)Visually inspect belt for fraying, excessive cracks, or
obvious damage. Replace belt if necessary.
Owner Checks and Services
These owner checks and services should be performed
at the intervals speci�ed to help ensure the safety,
dependability and emission control performance of your
vehicle. Your GM Goodwrench
®dealer can assist
you with these checks and services.
Be sure any necessary repairs are completed at once.
Whenever any �uids or lubricants are added to your
vehicle, make sure they are the proper ones, as shown
inRecommended Fluids and Lubricants on page 6-13.
6-8
Page 426 of 434
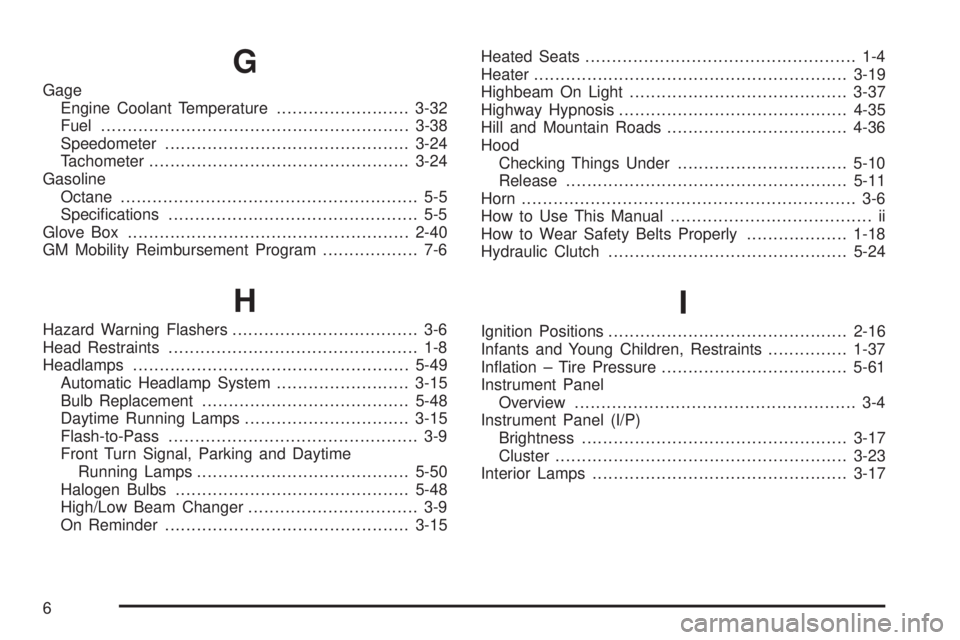
G
Gage
Engine Coolant Temperature.........................3-32
Fuel..........................................................3-38
Speedometer..............................................3-24
Tachometer.................................................3-24
Gasoline
Octane........................................................ 5-5
Speci�cations............................................... 5-5
Glove Box.....................................................2-40
GM Mobility Reimbursement Program.................. 7-6
H
Hazard Warning Flashers................................... 3-6
Head Restraints............................................... 1-8
Headlamps....................................................5-49
Automatic Headlamp System.........................3-15
Bulb Replacement.......................................5-48
Daytime Running Lamps...............................3-15
Flash-to-Pass............................................... 3-9
Front Turn Signal, Parking and Daytime
Running Lamps........................................5-50
Halogen Bulbs............................................5-48
High/Low Beam Changer................................ 3-9
On Reminder..............................................3-15Heated Seats................................................... 1-4
Heater...........................................................3-19
Highbeam On Light.........................................3-37
Highway Hypnosis...........................................4-35
Hill and Mountain Roads..................................4-36
Hood
Checking Things Under................................5-10
Release.....................................................5-11
Horn............................................................... 3-6
How to Use This Manual...................................... ii
How to Wear Safety Belts Properly...................1-18
Hydraulic Clutch.............................................5-24
I
Ignition Positions.............................................2-16
Infants and Young Children, Restraints...............1-37
In�ation – Tire Pressure...................................5-61
Instrument Panel
Overview..................................................... 3-4
Instrument Panel (I/P)
Brightness..................................................3-17
Cluster.......................................................3-23
Interior Lamps................................................3-17
6
Page 432 of 434
Service (cont.)
Engine Soon Light.......................................3-32
Publications Ordering Information...................7-15
Servicing Your Airbag-Equipped Vehicle..............1-77
Setting the Time
Radios with Radio Data Systems (RDS).........3-48
Radios without Radio Data Systems (RDS).....3-47
Sheet Metal Damage.......................................5-99
Shifting Into Park (P).......................................2-29
Shifting Out of Park (P)...................................2-30
Shoulder Belt Height Adjuster...........................1-25
Signals, Turn and Lane-Change.......................... 3-8
Sliding Rear Windows.....................................2-13
Spare Tire.....................................................5-92
Installing....................................................5-77
Removing...................................................5-73
Storing.......................................................5-88
Speci�cations, Capacities...............................5-108
Speedometer..................................................3-24
Starting Your Engine.......................................2-17
Steering........................................................4-10
Steering Wheel, Tilt Wheel................................. 3-7Storage Areas
Cupholder(s)...............................................2-40
Front Armrest Storage Area...........................2-40
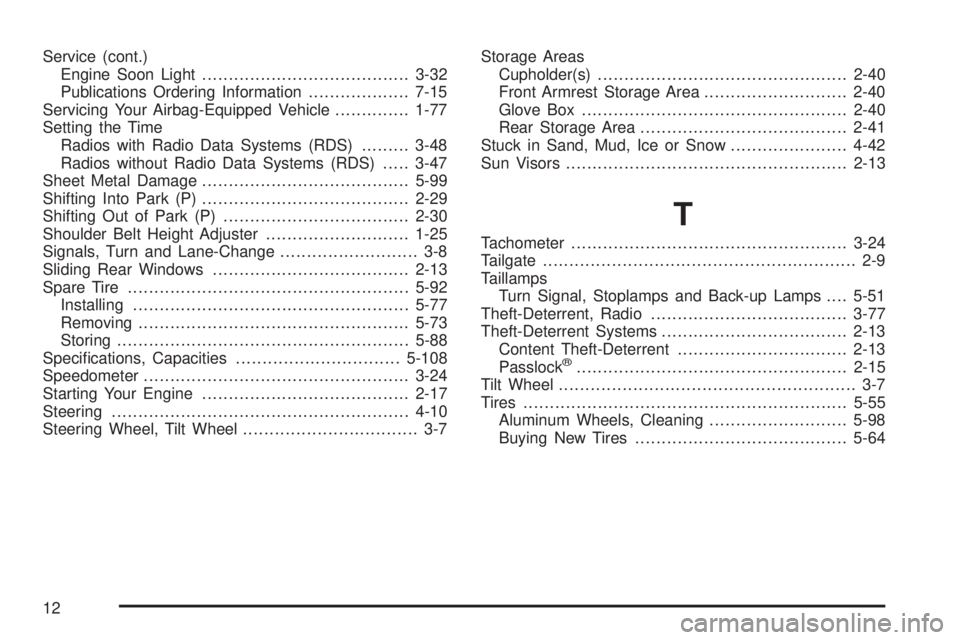
Glove Box..................................................2-40
Rear Storage Area.......................................2-41
Stuck in Sand, Mud, Ice or Snow......................4-42
Sun Visors.....................................................2-13
T
Tachometer....................................................3-24
Tailgate........................................................... 2-9
Taillamps
Turn Signal, Stoplamps and Back-up Lamps....5-51
Theft-Deterrent, Radio.....................................3-77
Theft-Deterrent Systems...................................2-13
Content Theft-Deterrent................................2-13
Passlock
®...................................................2-15
Tilt Wheel........................................................ 3-7
Tires.............................................................5-55
Aluminum Wheels, Cleaning..........................5-98
Buying New Tires........................................5-64
12