glove box GMC CANYON 2010 Owner's Manual
[x] Cancel search | Manufacturer: GMC, Model Year: 2010, Model line: CANYON, Model: GMC CANYON 2010Pages: 448, PDF Size: 2.62 MB
Page 9 of 448
A.Outlet Adjustment on page 4-18.
B.Turn Signal/Multifunction Lever on page 4-4.
C.Instrument Panel Cluster on page 4-19.
D.Hazard Warning Flashers on page 4-3.
E. Passenger Side Airbag. SeeAirbag System on
page 2-64.
F.Exterior Lamps on page 4-10.Fog Lamps on page 4-12
(If Equipped).Exterior Cargo Lamps on page 4-13.
G.Parking Brake on page 3-30.
H.Horn on page 4-3.
I.StabiliTrak
®System on page 5-6andFour-Wheel
Drive on page 3-25.
J.Audio System(s) on page 4-42.K. Cigarette Lighter (If Equipped). SeeAshtray(s) and
Cigarette Lighter on page 4-16.
L.Climate Control System on page 4-16.
M.Accessory Power Outlet(s) on page 4-15.
N.Passenger Airbag Status Indicator on page 4-23.
O.Glove Box on page 3-40.
Initial Drive Information
This section provides a brief overview about some of
the important features that may or may not be on your
specific vehicle.
For more detailed information, refer to each of the
features which can be found later in this owner manual.
1-3
Page 27 of 448
![GMC CANYON 2010 Owners Manual How OnStar Service Works
Q
:This blue button connects you to a specially
trained OnStar advisor to verify your account information
and to answer questions.
]:Push this red emergency button to get prio GMC CANYON 2010 Owners Manual How OnStar Service Works
Q
:This blue button connects you to a specially
trained OnStar advisor to verify your account information
and to answer questions.
]:Push this red emergency button to get prio](/img/44/35520/w960_35520-26.png)
How OnStar Service Works
Q
:This blue button connects you to a specially
trained OnStar advisor to verify your account information
and to answer questions.
]:Push this red emergency button to get priority help
from specially trained OnStar emergency advisors.
X:Push this button for hands-free, voice-activated
calling and to give voice commands for turn-by-turn
navigation.
Crisis Assist, Stolen Vehicle Assistance, Vehicle
Diagnostics, Remote Door Unlock, Roadside Assistance,
Turn-by-Turn Navigation and Hands-Free Calling are
available on most vehicles. Not all OnStar services are
available on all vehicles. For more information see
the OnStar Owner’s Guide or visit www.onstar.com
(U.S.) or www.onstar.ca (Canada), contact OnStar at
1-888-4-ONSTAR (1-888-466-7827) or TTY
1-877-248-2080, or press
Qto speak with an OnStar
advisor 24 hours a day, 7 days a week.
For a full description of OnStar services and system
limitations, see the OnStar Owner’s Guide in the
glove box.OnStar service is subject to the OnStar terms and
conditions included in the OnStar Subscriber
Information.
OnStar service cannot work unless the vehicle is in a
place where OnStar has an agreement with a wireless
service provider for service in that area. OnStar
service also cannot work unless the vehicle is in a place
where the wireless service provider OnStar has hired
for that area has coverage, network capacity and
reception when the service is needed, and technology
that is compatible with the OnStar service. Not all
services are available everywhere, particularly in remote
or enclosed areas, or at all times.
The OnStar system can record and transmit vehicle
information. This information is automatically sent to an
OnStar call center when
Qis pressed,]is pressed,
or if the airbags or ACR system deploy. This information
usually includes the vehicle’s GPS location and, in
the event of a crash, additional information regarding
the crash that the vehicle was involved in (e.g. the
direction from which the vehicle was hit). When
the virtual advisor feature of OnStar hands-free calling
is used, the vehicle also sends OnStar the vehicle’s
GPS location so they can provide services where it is
located.
1-21
Page 111 of 448
Keys...............................................................3-2
Remote Keyless Entry (RKE) System................3-3
Remote Keyless Entry (RKE) System
Operation...................................................3-3
Doors and Locks.............................................3-5
Door Locks....................................................3-5
Power Door Locks..........................................3-6
Programmable Automatic Door Locks................3-6
Rear Door Security Locks (Crew Cab).................3-7
Lockout Protection..........................................3-7
Rear Doors (Extended Cab)..............................3-7
Tailgate........................................................3-8
Windows........................................................3-10
Manual Windows..........................................3-10
Power Windows............................................3-11
Sliding Rear Window.....................................3-12
Sun Visors...................................................3-12
Theft-Deterrent Systems..................................3-13
Content Theft-Deterrent.................................3-13
Passlock
®(U.S. Only)...................................3-14
PASS-Key®III+ Electronic Immobilizer.............3-15
PASS-Key®III+ Electronic Immobilizer
Operation (Canada Only).............................3-15
Starting and Operating Your Vehicle................3-16
New Vehicle Break-In....................................3-16
Ignition Positions..........................................3-17
Retained Accessory Power (RAP)...................3-18Starting the Engine.......................................3-18
Engine Coolant Heater..................................3-20
Automatic Transmission Operation...................3-21
Manual Transmission Operation......................3-23
Four-Wheel Drive..........................................3-25
Parking Brake..............................................3-30
Shifting Into Park (Automatic Transmission)......3-31
Shifting Out of Park (Automatic Transmission).....3-32
Parking the Vehicle (Manual Transmission).......3-33
Parking Over Things That Burn.......................3-33
Engine Exhaust............................................3-34
Running the Vehicle While Parked..................3-34
Mirrors...........................................................3-36
Manual Rearview Mirror.................................3-36
Automatic Dimming Rearview Mirror................3-36
Compass.....................................................3-37
Outside Manual Mirrors..................................3-38
Outside Power Mirrors...................................3-38
Outside Convex Mirror...................................3-39
Storage Areas................................................3-40
Glove Box...................................................3-40
Cupholders..................................................3-40
Center Console Storage.................................3-40
Assist Handles.............................................3-40
Rear Storage Area........................................3-41
Sunroof.........................................................3-42
Section 3 Features and Controls
3-1
Page 150 of 448
Storage Areas
Glove Box
Lift up on the glove box lever to open it.
Cupholders
This vehicle may have two cupholders located on the
lower part of the front doors as well as two cupholders
located at the front end of the console. Vehicles with
bench seats may have cupholders attached to the front
of the center seat.
For vehicles that are an extended cab or crew cab
model, the vehicle also has two rear cupholders.
On crew cab models, the cupholders are located at the
front end of the rear center seat cushion. On extended
cab models, the rear seat cupholders are located on top
of the rear center console.
Vehicles with ashtrays will use one of the cupholders.
Center Console Storage
For vehicles with bench seats, there may be a center
armrest storage area. Lift up on the upper tab located at
the front of the armrest to release the latch. Lift the lid
to open the storage area.
For vehicles with bucket seats or uplevel packages, the
vehicle may have a two-tiered center armrest storage
area. Lift up on the upper tab located at the front of the
armrest to release the latch. Lift the lid to the top
storage area. A second tab is located below the top one
and allows you to access the bottom storage area.
Lift up on the lower tab to release the latch. Then, raise
the lid of the lower storage area. The upper storage
area will lift up with the lid of the lower storage area.
To close the storage area(s), lower the lid(s) until
you feel the latch close.
Assist Handles
This vehicle may have assist handles to be used when
getting out of the vehicle. The assist handles are
located above the doors.
If the vehicle has roof-mounted side impact air bags,
there are assist handles located above both the
driver and front passenger doors.
3-40
Page 386 of 448
Vehicle Identi�cation
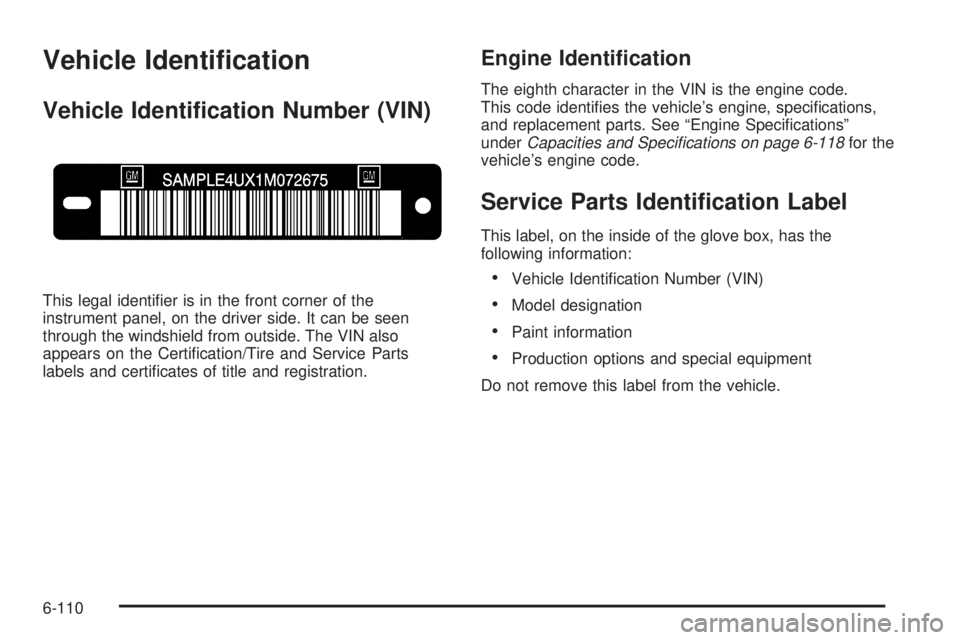
Vehicle Identi�cation Number (VIN)
This legal identifier is in the front corner of the
instrument panel, on the driver side. It can be seen
through the windshield from outside. The VIN also
appears on the Certification/Tire and Service Parts
labels and certificates of title and registration.
Engine Identi�cation
The eighth character in the VIN is the engine code.
This code identifies the vehicle’s engine, specifications,
and replacement parts. See “Engine Specifications”
underCapacities and Speci�cations on page 6-118for the
vehicle’s engine code.
Service Parts Identi�cation Label
This label, on the inside of the glove box, has the
following information:
•Vehicle Identification Number (VIN)
•Model designation
•Paint information
•Production options and special equipment
Do not remove this label from the vehicle.
6-110
Page 437 of 448
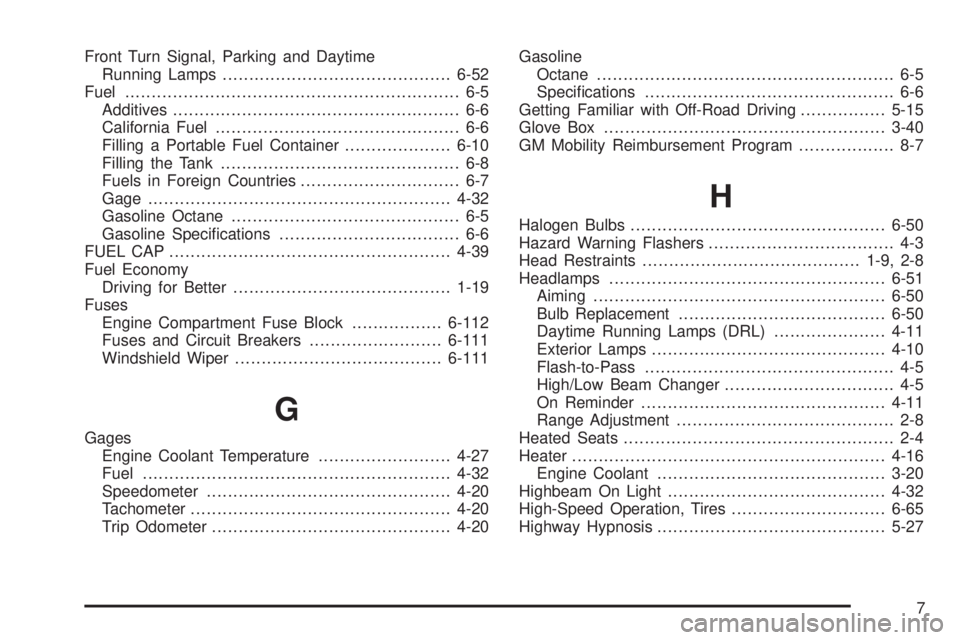
Front Turn Signal, Parking and Daytime
Running Lamps...........................................6-52
Fuel............................................................... 6-5
Additives...................................................... 6-6
California Fuel.............................................. 6-6
Filling a Portable Fuel Container....................6-10
Filling the Tank............................................. 6-8
Fuels in Foreign Countries.............................. 6-7
Gage .........................................................4-32
Gasoline Octane........................................... 6-5
Gasoline Specifications.................................. 6-6
FUEL CAP .....................................................4-39
Fuel Economy
Driving for Better.........................................1-19
Fuses
Engine Compartment Fuse Block.................6-112
Fuses and Circuit Breakers.........................6-111
Windshield Wiper.......................................6-111
G
Gages
Engine Coolant Temperature.........................4-27
Fuel..........................................................4-32
Speedometer..............................................4-20
Tachometer.................................................4-20
Trip Odometer.............................................4-20Gasoline
Octane........................................................ 6-5
Specifications............................................... 6-6
Getting Familiar with Off-Road Driving................5-15
Glove Box.....................................................3-40
GM Mobility Reimbursement Program.................. 8-7
H
Halogen Bulbs................................................6-50
Hazard Warning Flashers................................... 4-3
Head Restraints.........................................1-9, 2-8
Headlamps....................................................6-51
Aiming .......................................................6-50
Bulb Replacement.......................................6-50
Daytime Running Lamps (DRL).....................4-11
Exterior Lamps............................................4-10
Flash-to-Pass............................................... 4-5
High/Low Beam Changer................................ 4-5
On Reminder..............................................4-11
Range Adjustment......................................... 2-8
Heated Seats................................................... 2-4
Heater...........................................................4-16
Engine Coolant...........................................3-20
Highbeam On Light.........................................4-32
High-Speed Operation, Tires.............................6-65
Highway Hypnosis...........................................5-27
7
Page 445 of 448
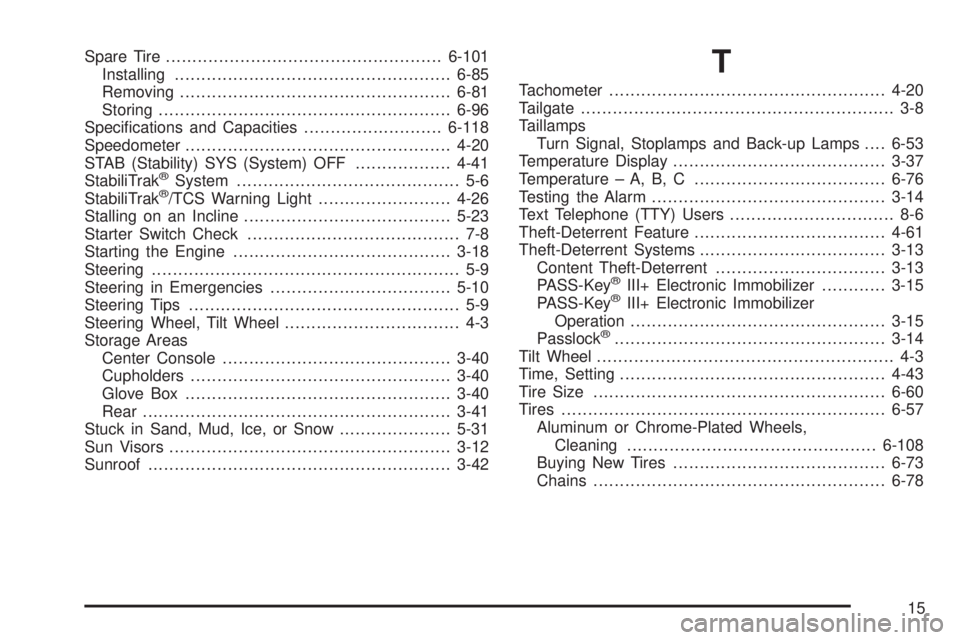
Spare Tire....................................................6-101
Installing....................................................6-85
Removing...................................................6-81
Storing.......................................................6-96
Specifications and Capacities..........................6-118
Speedometer..................................................4-20
STAB (Stability) SYS (System) OFF..................4-41
StabiliTrak
®System.......................................... 5-6
StabiliTrak®/TCS Warning Light.........................4-26
Stalling on an Incline.......................................5-23
Starter Switch Check........................................ 7-8
Starting the Engine.........................................3-18
Steering.......................................................... 5-9
Steering in Emergencies..................................5-10
Steering Tips................................................... 5-9
Steering Wheel, Tilt Wheel................................. 4-3
Storage Areas
Center Console...........................................3-40
Cupholders.................................................3-40
Glove Box..................................................3-40
Rear ..........................................................3-41
Stuck in Sand, Mud, Ice, or Snow.....................5-31
Sun Visors.....................................................3-12
Sunroof.........................................................3-42
T
Tachometer....................................................4-20
Tailgate........................................................... 3-8
Taillamps
Turn Signal, Stoplamps and Back-up Lamps....6-53
Temperature Display........................................3-37
Temperature – A, B, C....................................6-76
Testing the Alarm............................................3-14
Text Telephone (TTY) Users............................... 8-6
Theft-Deterrent Feature....................................4-61
Theft-Deterrent Systems...................................3-13
Content Theft-Deterrent................................3-13
PASS-Key
®III+ Electronic Immobilizer............3-15
PASS-Key®III+ Electronic Immobilizer
Operation................................................3-15
Passlock
®...................................................3-14
Tilt Wheel........................................................ 4-3
Time, Setting..................................................4-43
Tire Size.......................................................6-60
Tires.............................................................6-57
Aluminum or Chrome-Plated Wheels,
Cleaning...............................................6-108
Buying New Tires........................................6-73
Chains.......................................................6-78
15