radiator cap GMC CANYON 2010 Owner's Manual
[x] Cancel search | Manufacturer: GMC, Model Year: 2010, Model line: CANYON, Model: GMC CANYON 2010Pages: 448, PDF Size: 2.62 MB
Page 289 of 448
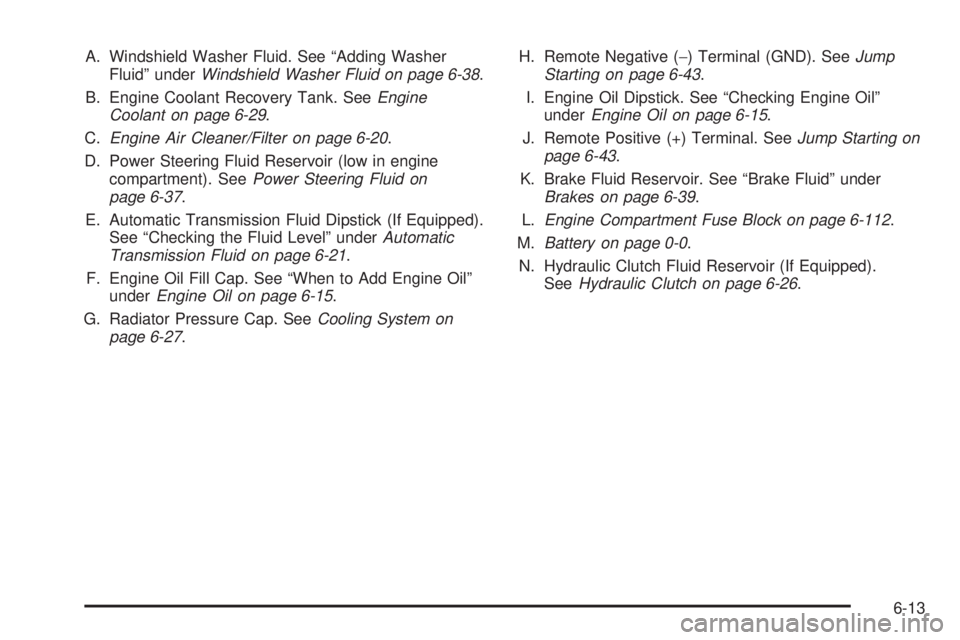
A. Windshield Washer Fluid. See “Adding Washer
Fluid” underWindshield Washer Fluid on page 6-38.
B. Engine Coolant Recovery Tank. SeeEngine
Coolant on page 6-29.
C.Engine Air Cleaner/Filter on page 6-20.
D. Power Steering Fluid Reservoir (low in engine
compartment). SeePower Steering Fluid on
page 6-37.
E. Automatic Transmission Fluid Dipstick (If Equipped).
See “Checking the Fluid Level” underAutomatic
Transmission Fluid on page 6-21.
F. Engine Oil Fill Cap. See “When to Add Engine Oil”
underEngine Oil on page 6-15.
G. Radiator Pressure Cap. SeeCooling System on
page 6-27.H. Remote Negative (−) Terminal (GND). SeeJump
Starting on page 6-43.
I. Engine Oil Dipstick. See “Checking Engine Oil”
underEngine Oil on page 6-15.
J. Remote Positive (+) Terminal. SeeJump Starting on
page 6-43.
K. Brake Fluid Reservoir. See “Brake Fluid” under
Brakes on page 6-39.
L.Engine Compartment Fuse Block on page 6-112.
M.Battery on page 0-0.
N. Hydraulic Clutch Fluid Reservoir (If Equipped).
SeeHydraulic Clutch on page 6-26.
6-13
Page 291 of 448
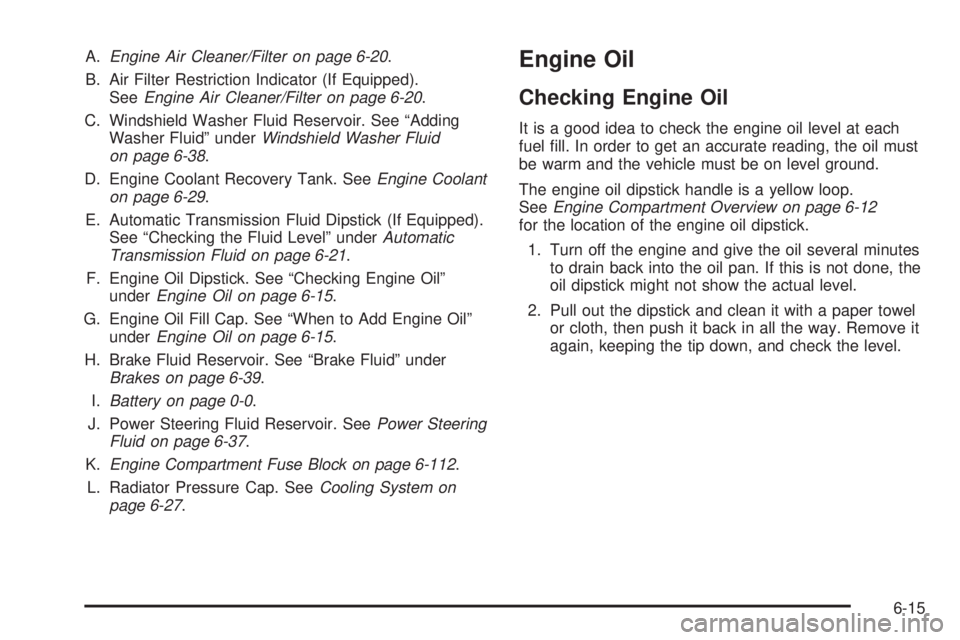
A.Engine Air Cleaner/Filter on page 6-20.
B. Air Filter Restriction Indicator (If Equipped).
SeeEngine Air Cleaner/Filter on page 6-20.
C. Windshield Washer Fluid Reservoir. See “Adding
Washer Fluid” underWindshield Washer Fluid
on page 6-38.
D. Engine Coolant Recovery Tank. SeeEngine Coolant
on page 6-29.
E. Automatic Transmission Fluid Dipstick (If Equipped).
See “Checking the Fluid Level” underAutomatic
Transmission Fluid on page 6-21.
F. Engine Oil Dipstick. See “Checking Engine Oil”
underEngine Oil on page 6-15.
G. Engine Oil Fill Cap. See “When to Add Engine Oil”
underEngine Oil on page 6-15.
H. Brake Fluid Reservoir. See “Brake Fluid” under
Brakes on page 6-39.
I.Battery on page 0-0.
J. Power Steering Fluid Reservoir. SeePower Steering
Fluid on page 6-37.
K.Engine Compartment Fuse Block on page 6-112.
L. Radiator Pressure Cap. SeeCooling System on
page 6-27.Engine Oil
Checking Engine Oil
It is a good idea to check the engine oil level at each
fuel fill. In order to get an accurate reading, the oil must
be warm and the vehicle must be on level ground.
The engine oil dipstick handle is a yellow loop.
SeeEngine Compartment Overview on page 6-12
for the location of the engine oil dipstick.
1. Turn off the engine and give the oil several minutes
to drain back into the oil pan. If this is not done, the
oil dipstick might not show the actual level.
2. Pull out the dipstick and clean it with a paper towel
or cloth, then push it back in all the way. Remove it
again, keeping the tip down, and check the level.
6-15
Page 303 of 448
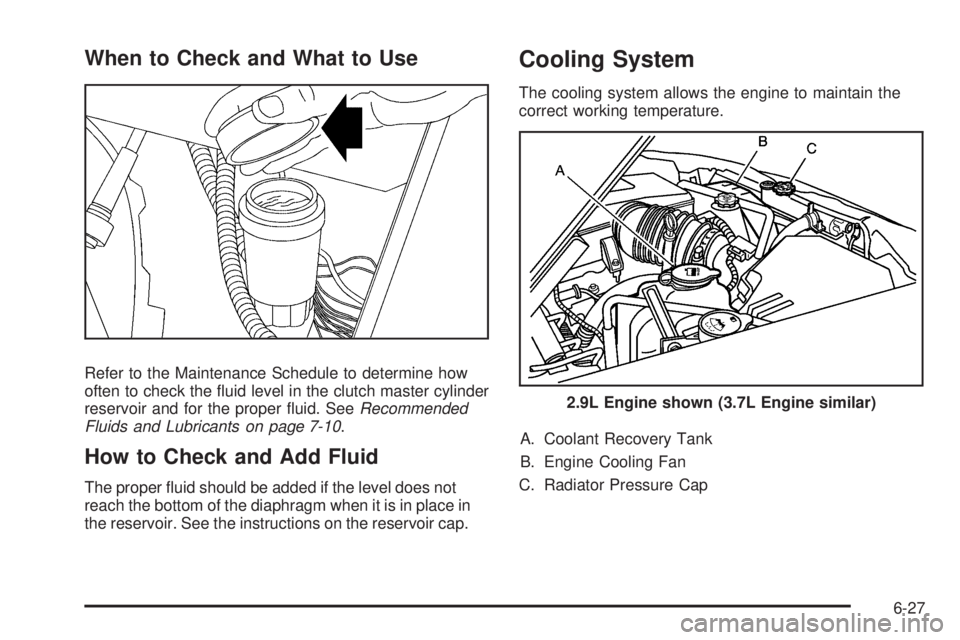
When to Check and What to Use
Refer to the Maintenance Schedule to determine how
often to check the fluid level in the clutch master cylinder
reservoir and for the proper fluid. SeeRecommended
Fluids and Lubricants on page 7-10.
How to Check and Add Fluid
The proper fluid should be added if the level does not
reach the bottom of the diaphragm when it is in place in
the reservoir. See the instructions on the reservoir cap.
Cooling System
The cooling system allows the engine to maintain the
correct working temperature.
A. Coolant Recovery Tank
B. Engine Cooling Fan
C. Radiator Pressure Cap
2.9L Engine shown (3.7L Engine similar)
6-27
Page 304 of 448
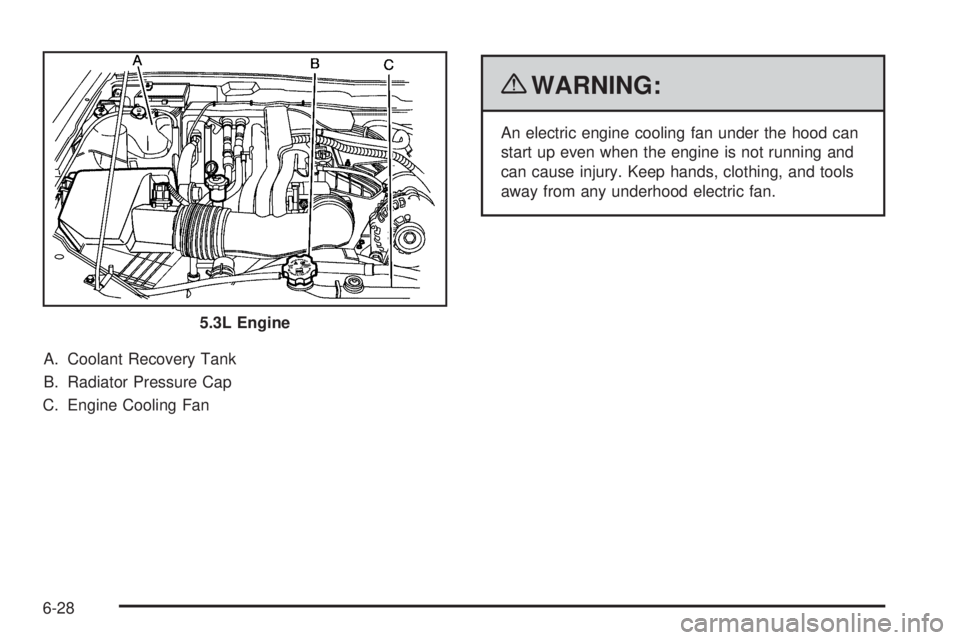
A. Coolant Recovery Tank
B. Radiator Pressure Cap
C. Engine Cooling Fan
{WARNING:
An electric engine cooling fan under the hood can
start up even when the engine is not running and
can cause injury. Keep hands, clothing, and tools
away from any underhood electric fan.
5.3L Engine
6-28
Page 308 of 448
How to Add Coolant to the
Recovery Tank
{WARNING:
You can be burned if you spill coolant on hot
engine parts. Coolant contains ethylene glycol
and it will burn if the engine parts are hot enough.
Do not spill coolant on a hot engine.
Notice:This vehicle has a speci�c coolant �ll
procedure. Failure to follow this procedure could
cause the engine to overheat and be severely
damaged.
When the coolant in the coolant recovery tank is at the
FULL COLD mark, start the vehicle.
If coolant is needed, add the proper DEX-COOL
®
coolant mixture at the coolant recovery tank.
How to Add Coolant to the Radiator
{WARNING:
An electric engine cooling fan under the hood can
start up even when the engine is not running and
can cause injury. Keep hands, clothing, and tools
away from any underhood electric fan.
{WARNING:
Steam and scalding liquids from a hot cooling
system can blow out and burn you badly. They are
under pressure, and if you turn the surge tank
pressure cap — even a little — they can come
out at high speed. Never turn the cap when the
cooling system, including the surge tank pressure
cap, is hot. Wait for the cooling system and surge
tank pressure cap to cool if you ever have to turn
the pressure cap.
6-32
Page 309 of 448
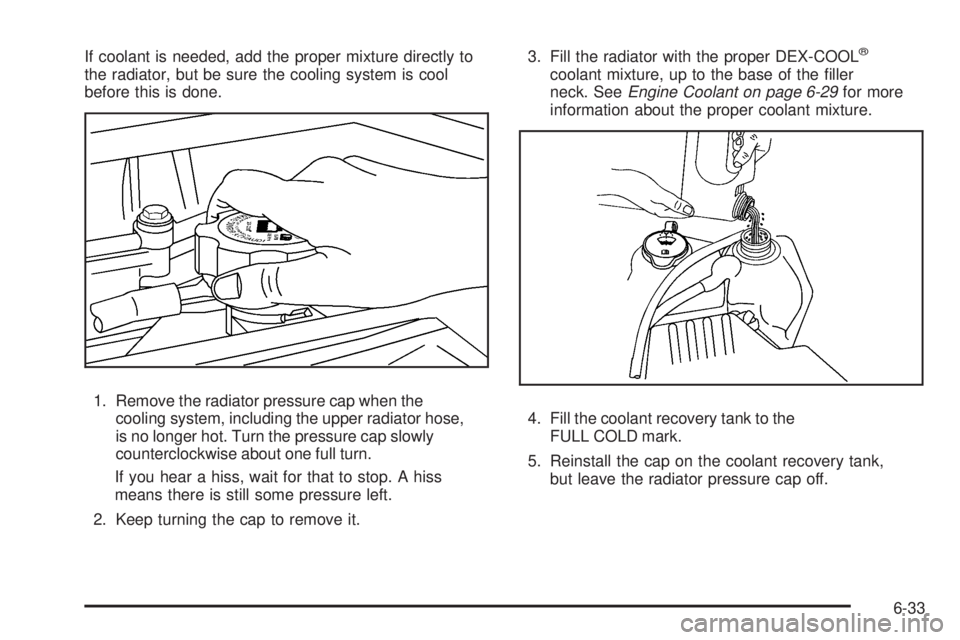
If coolant is needed, add the proper mixture directly to
the radiator, but be sure the cooling system is cool
before this is done.
1. Remove the radiator pressure cap when the
cooling system, including the upper radiator hose,
is no longer hot. Turn the pressure cap slowly
counterclockwise about one full turn.
If you hear a hiss, wait for that to stop. A hiss
means there is still some pressure left.
2. Keep turning the cap to remove it.3. Fill the radiator with the proper DEX-COOL®
coolant mixture, up to the base of the filler
neck. SeeEngine Coolant on page 6-29for more
information about the proper coolant mixture.
4. Fill the coolant recovery tank to the
FULL COLD mark.
5. Reinstall the cap on the coolant recovery tank,
but leave the radiator pressure cap off.
6-33
Page 310 of 448
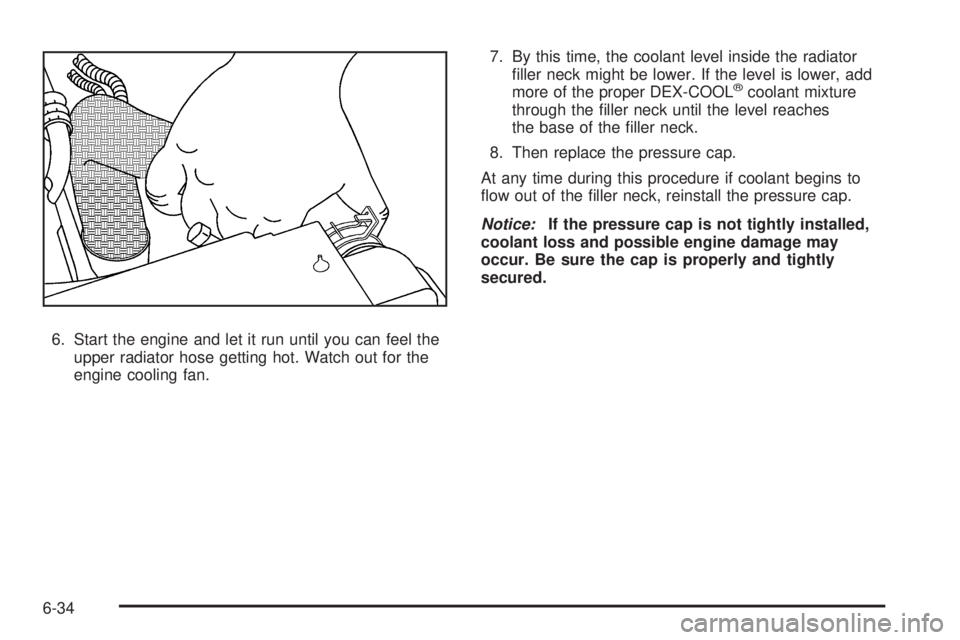
6. Start the engine and let it run until you can feel the
upper radiator hose getting hot. Watch out for the
engine cooling fan.7. By this time, the coolant level inside the radiator
filler neck might be lower. If the level is lower, add
more of the proper DEX-COOL
®coolant mixture
through the filler neck until the level reaches
the base of the filler neck.
8. Then replace the pressure cap.
At any time during this procedure if coolant begins to
flow out of the filler neck, reinstall the pressure cap.
Notice:If the pressure cap is not tightly installed,
coolant loss and possible engine damage may
occur. Be sure the cap is properly and tightly
secured.
6-34
Page 313 of 448
Power Steering Fluid
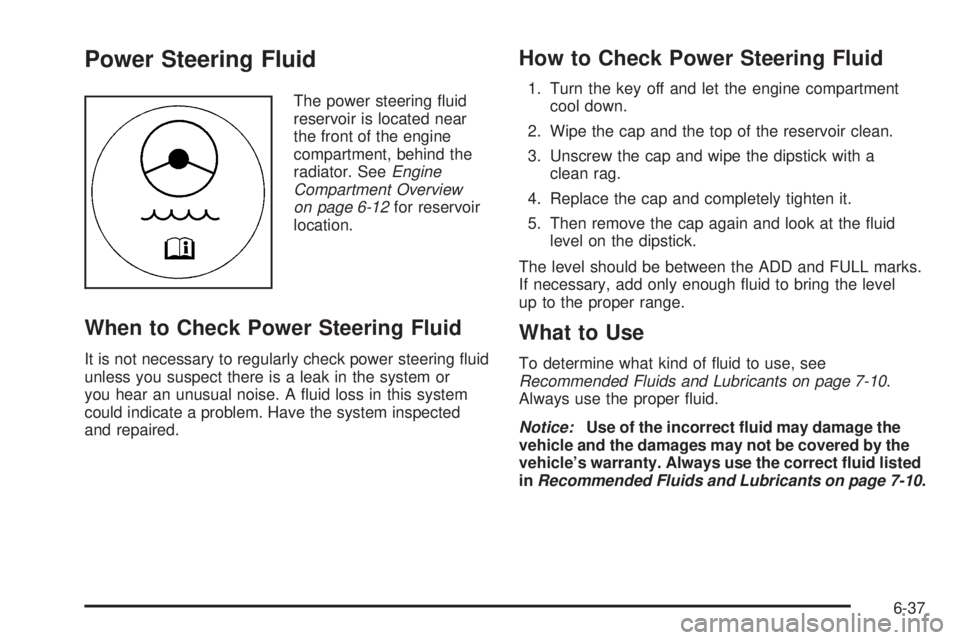
The power steering fluid
reservoir is located near
the front of the engine
compartment, behind the
radiator. SeeEngine
Compartment Overview
on page 6-12for reservoir
location.
When to Check Power Steering Fluid
It is not necessary to regularly check power steering fluid
unless you suspect there is a leak in the system or
you hear an unusual noise. A fluid loss in this system
could indicate a problem. Have the system inspected
and repaired.
How to Check Power Steering Fluid
1. Turn the key off and let the engine compartment
cool down.
2. Wipe the cap and the top of the reservoir clean.
3. Unscrew the cap and wipe the dipstick with a
clean rag.
4. Replace the cap and completely tighten it.
5. Then remove the cap again and look at the fluid
level on the dipstick.
The level should be between the ADD and FULL marks.
If necessary, add only enough fluid to bring the level
up to the proper range.
What to Use
To determine what kind of fluid to use, see
Recommended Fluids and Lubricants on page 7-10.
Always use the proper fluid.
Notice:Use of the incorrect �uid may damage the
vehicle and the damages may not be covered by the
vehicle’s warranty. Always use the correct �uid listed
inRecommended Fluids and Lubricants on page 7-10.
6-37
Page 401 of 448
Additional Required Services
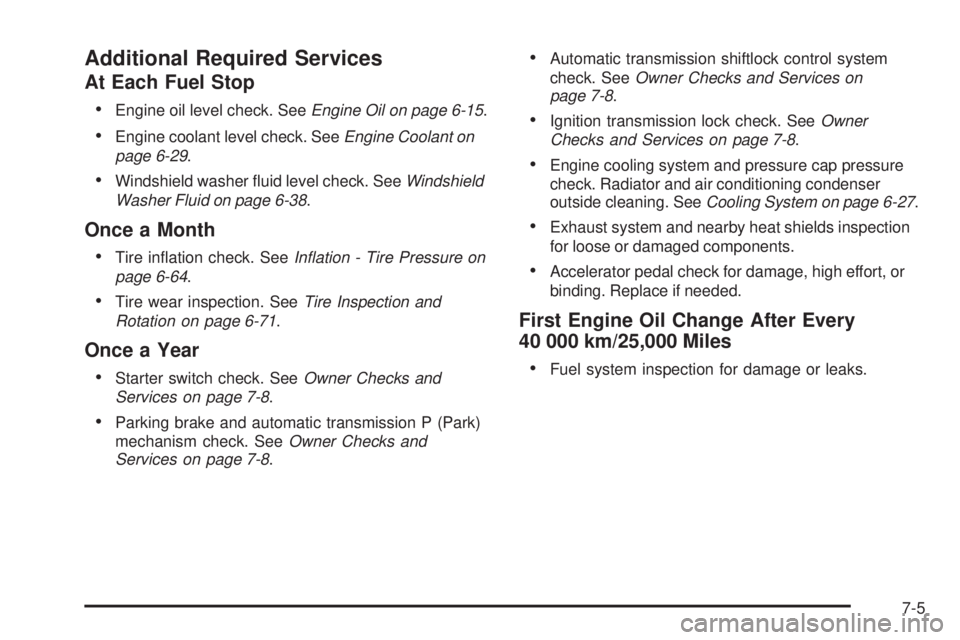
At Each Fuel Stop
•
Engine oil level check. SeeEngine Oil on page 6-15.
•Engine coolant level check. SeeEngine Coolant on
page 6-29.
•Windshield washer fluid level check. SeeWindshield
Washer Fluid on page 6-38.
Once a Month
•
Tire inflation check. SeeIn�ation - Tire Pressure on
page 6-64.
•Tire wear inspection. SeeTire Inspection and
Rotation on page 6-71.
Once a Year
•
Starter switch check. SeeOwner Checks and
Services on page 7-8.
•Parking brake and automatic transmission P (Park)
mechanism check. SeeOwner Checks and
Services on page 7-8.
•Automatic transmission shiftlock control system
check. SeeOwner Checks and Services on
page 7-8.
•Ignition transmission lock check. SeeOwner
Checks and Services on page 7-8.
•Engine cooling system and pressure cap pressure
check. Radiator and air conditioning condenser
outside cleaning. SeeCooling System on page 6-27.
•Exhaust system and nearby heat shields inspection
for loose or damaged components.
•Accelerator pedal check for damage, high effort, or
binding. Replace if needed.
First Engine Oil Change After Every
40 000 km/25,000 Miles
•
Fuel system inspection for damage or leaks.
7-5
Page 402 of 448
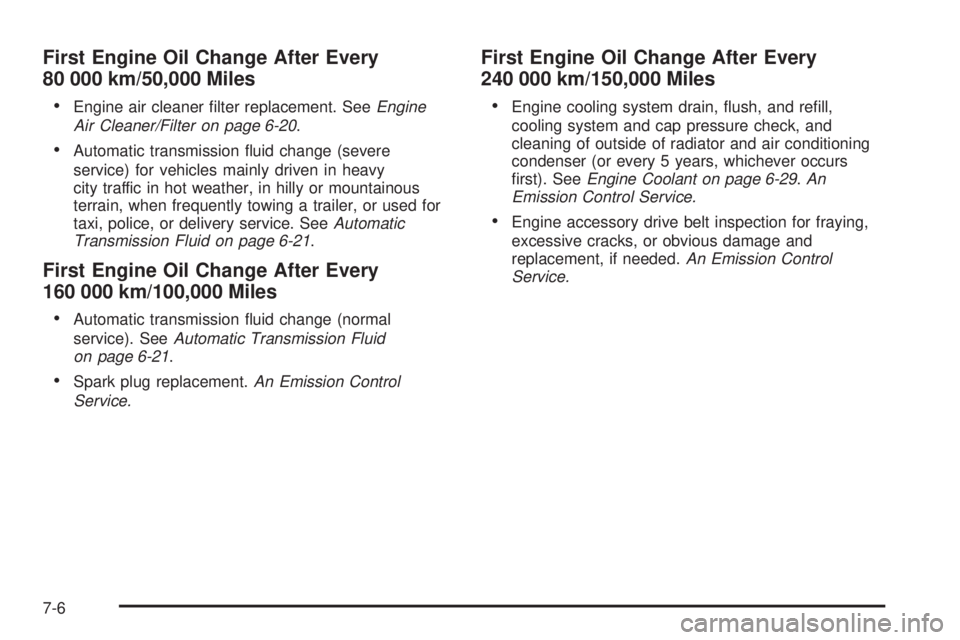
First Engine Oil Change After Every
80 000 km/50,000 Miles
•
Engine air cleaner filter replacement. SeeEngine
Air Cleaner/Filter on page 6-20.
•Automatic transmission fluid change (severe
service) for vehicles mainly driven in heavy
city traffic in hot weather, in hilly or mountainous
terrain, when frequently towing a trailer, or used for
taxi, police, or delivery service. SeeAutomatic
Transmission Fluid on page 6-21.
First Engine Oil Change After Every
160 000 km/100,000 Miles
•
Automatic transmission fluid change (normal
service). SeeAutomatic Transmission Fluid
on page 6-21.
•Spark plug replacement.An Emission Control
Service.
First Engine Oil Change After Every
240 000 km/150,000 Miles
•
Engine cooling system drain, flush, and refill,
cooling system and cap pressure check, and
cleaning of outside of radiator and air conditioning
condenser (or every 5 years, whichever occurs
first). SeeEngine Coolant on page 6-29.An
Emission Control Service.
•Engine accessory drive belt inspection for fraying,
excessive cracks, or obvious damage and
replacement, if needed.An Emission Control
Service.
7-6