turn signal GMC CANYON 2018 Get To Know Guide
[x] Cancel search | Manufacturer: GMC, Model Year: 2018, Model line: CANYON, Model: GMC CANYON 2018Pages: 417, PDF Size: 5.47 MB
Page 109 of 417
GMC Canyon/Canyon Denali Owner Manual (GMNA-Localizing-U.S./Canada-
11354423) - 2018 - crc - 10/12/17
108 Instruments and Controls
will automatically determine when a
GPS signal is restored and provide
a heading again.
Clock
Setting the Time and Date
To set the time:1. Touch SETTINGS on the Home Page, then touch Time
and Date.
2. Touch Set Time, then touch
«
orªto increase or decrease
hours, minutes, and AM or PM.
Touch 12–24 Hr for 12 or
24 hour clock.
3. Touch
Sto go back to the
previous menu.
Auto Set requires an OnStar
service plan.
If auto timing is set, the time
displayed on the clock may not
update immediately when driving
into a new time zone. To set the date:
1. Touch SETTINGS on the Home Page, then touch Time
and Date.
2. Touch Set Date, then touch
«
orªto increase or decrease
month, day, or year.
3. Touch
Sto go back to the
previous menu.
To set the clock display:
1. Touch SETTINGS on the Home Page, then touch Time
and Date.
2. Touch Clock Display, then touch Off or On to turn the
clock display off or on.
3. Touch
Sto go back to the
previous menu.
Power Outlets
For USB charging port locations,
see USB Port 0160. Accessory power outlets can be
used to plug in electrical equipment,
such as a cell phone, MP3
player, etc.
The vehicle may have accessory
power outlets:
.
On the center stack below the
climate control system,
if equipped.
. On the center floor console,
if equipped.
. On the rear of the center storage
console.
Lift the cover to access and replace
when not in use.
{Warning
Power is always supplied to the
outlets. Do not leave electrical
equipment plugged in when the
vehicle is not in use because the
vehicle could catch fire and cause
injury or death.
Page 125 of 417
GMC Canyon/Canyon Denali Owner Manual (GMNA-Localizing-U.S./Canada-
11354423) - 2018 - crc - 10/12/17
124 Instruments and Controls
Some delay between the shifting
and the light coming on is normal.
SeeFour-Wheel Drive 0232 for
more information.
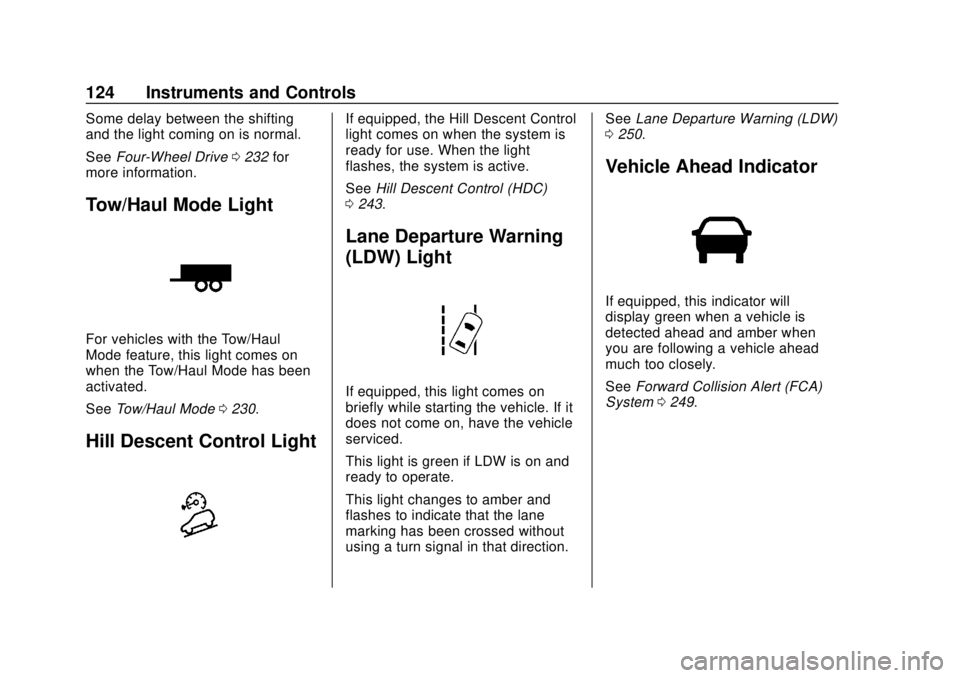
Tow/Haul Mode Light
For vehicles with the Tow/Haul
Mode feature, this light comes on
when the Tow/Haul Mode has been
activated.
See Tow/Haul Mode 0230.
Hill Descent Control Light
If equipped, the Hill Descent Control
light comes on when the system is
ready for use. When the light
flashes, the system is active.
See Hill Descent Control (HDC)
0 243.
Lane Departure Warning
(LDW) Light
If equipped, this light comes on
briefly while starting the vehicle. If it
does not come on, have the vehicle
serviced.
This light is green if LDW is on and
ready to operate.
This light changes to amber and
flashes to indicate that the lane
marking has been crossed without
using a turn signal in that direction. See
Lane Departure Warning (LDW)
0 250.
Vehicle Ahead Indicator
If equipped, this indicator will
display green when a vehicle is
detected ahead and amber when
you are following a vehicle ahead
much too closely.
See Forward Collision Alert (FCA)
System 0249.
Page 130 of 417
GMC Canyon/Canyon Denali Owner Manual (GMNA-Localizing-U.S./Canada-
11354423) - 2018 - crc - 10/12/17
Instruments and Controls 129
Information Displays
Driver Information Center
(DIC) (Base Level)
The DIC displays information about
your vehicle. It also displays
warning messages if a system
problem is detected. SeeVehicle
Messages 0135. All messages
appear in the DIC display in the
center of the instrument cluster.
DIC Operation and Displays
The DIC has different displays
which can be accessed by using the
DIC buttons on the turn signal lever.
DIC Buttons
1. SET/CLR: Press to set,
or press and hold to clear, the
menu item displayed. 2.
w x:
Use the band to scroll
through the items in
each menu.
3. MENU: Press to display the
Trip/Fuel Menu, the Vehicle
Information Menu, and the
ECO Menu. This button is also
used to return to or exit the last
screen displayed on the DIC.
If the vehicle has a diesel engine,
see the Duramax diesel supplement
for additional DIC pages.
Trip/Fuel Menu (TRIP) Items
Press MENU on the turn signal
lever until the TRIP menu displays.
Use
w xto scroll through the
menu items. Not all items are
available on every vehicle. The
following is a list of all possible
menu items:
Digital Speed : Displays how fast
the vehicle is moving in either
kilometers per hour (km/h) or miles
per hour (mph). The speedometer
cannot be reset. Trip 1 or Trip 2, Average Fuel
Economy :
Displays the current
distance traveled, in either
kilometers (km) or miles (mi), from
the last reset for the trip odometer.
The trip odometer can be reset to
zero by pressing and holding the
SET/CLR button while the trip
odometer display is showing.
Also displays the approximate
average liters per 100 kilometers (L/
100 km) or miles per gallon (mpg).
This number is based on the
number of L/100 km (mpg) recorded
since the last time this menu item
was reset. This number reflects only
the approximate average fuel
economy that the vehicle has right
now, and will change as driving
conditions change. Reset the
average consumption by pressing
SET/CLR when it is displayed.
Fuel Range : Displays the
approximate distance the vehicle
can be driven without refueling. The
fuel range estimate is based on an
average of the vehicle's fuel
economy over recent driving history
Page 131 of 417
GMC Canyon/Canyon Denali Owner Manual (GMNA-Localizing-U.S./Canada-
11354423) - 2018 - crc - 10/12/17
130 Instruments and Controls
and the amount of fuel remaining in
the fuel tank. Fuel range cannot be
reset.
Average Vehicle Speed :Displays
the average vehicle speed of the
vehicle in kilometers per hour (km/h)
or miles per hour (mph). This
average is based on the various
vehicle speeds recorded since the
last reset. Reset the average speed
by pressing SET/CLR when it is
displayed.
Timer : To start the timer, press
SET/CLR while Timer is displayed.
The display will show the amount of
time that has passed since the timer
was last reset, not including time the
ignition is off. Time will continue to
be counted as long as the ignition is
on, even if another display is being
shown on the DIC. The timer will
record up to 99 hours, 59 minutes,
and 59 seconds (99:59:59) after
which the display will return to zero.
To stop the timer, press SET/CLR
briefly while Timer is displayed. To
reset the timer to zero, press and
hold SET/CLR. Navigation :
Used for the OnStar
Turn-by-Turn guidance. See OnStar
Overview 0392.
Blank Display : Displays no
information.
Vehicle Information Menu
(VEHICLE) Items
Press MENU on the turn signal
lever until the VEHICLE menu is
displayed. Use
w xto scroll
through the menu items. Not all
items are available on every vehicle.
The following is a list of all possible
menu items:
Remaining Oil Life : Displays an
estimate of the oil's remaining useful
life. If REMAINING OIL LIFE 99% is
displayed, that means 99% of the
current oil life remains.
When the remaining oil life is low,
the CHANGE ENGINE OIL SOON
message will appear on the display.
The oil should be changed as soon
as possible. See Engine Oil0278.
In addition to the engine oil life
system monitoring the oil life,
additional maintenance is recommended in the Maintenance
Schedule in this manual. See
Maintenance Schedule
0361.
The Oil Life display must be reset
after each oil change. Do not reset
the Oil Life display accidentally at
any time other than when the oil has
just been changed. It cannot be
reset accurately until the next oil
change. To reset the engine oil life
system, see Engine Oil Life System
0 280.
Oil Pressure : Oil pressure is
displayed in either kilopascal (kPa)
or in pounds per square inch (psi).
Tire Pressure : Displays a vehicle
with the approximate pressures of
all four tires. Tire pressure is
displayed in either kilopascal (kPa)
or in pounds per square inch (psi).
See Tire Pressure Monitor System
0 318 andTire Pressure Monitor
Operation 0319.
Page 132 of 417
GMC Canyon/Canyon Denali Owner Manual (GMNA-Localizing-U.S./Canada-
11354423) - 2018 - crc - 10/12/17
Instruments and Controls 131
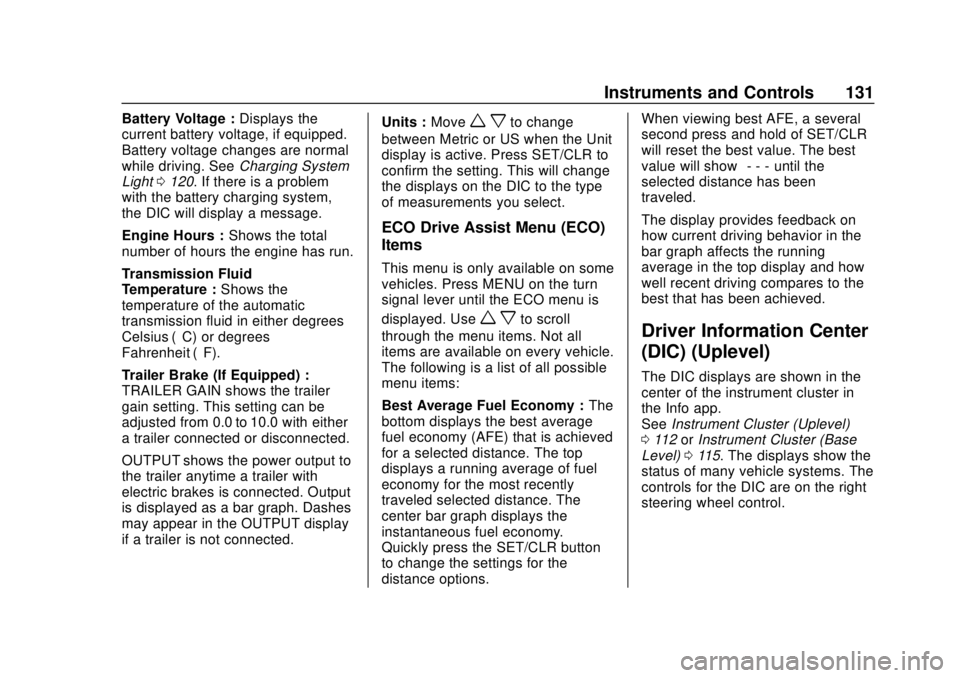
Battery Voltage :Displays the
current battery voltage, if equipped.
Battery voltage changes are normal
while driving. See Charging System
Light 0120. If there is a problem
with the battery charging system,
the DIC will display a message.
Engine Hours : Shows the total
number of hours the engine has run.
Transmission Fluid
Temperature : Shows the
temperature of the automatic
transmission fluid in either degrees
Celsius (°C) or degrees
Fahrenheit (°F).
Trailer Brake (If Equipped) :
TRAILER GAIN shows the trailer
gain setting. This setting can be
adjusted from 0.0 to 10.0 with either
a trailer connected or disconnected.
OUTPUT shows the power output to
the trailer anytime a trailer with
electric brakes is connected. Output
is displayed as a bar graph. Dashes
may appear in the OUTPUT display
if a trailer is not connected. Units :
Movew xto change
between Metric or US when the Unit
display is active. Press SET/CLR to
confirm the setting. This will change
the displays on the DIC to the type
of measurements you select.
ECO Drive Assist Menu (ECO)
Items
This menu is only available on some
vehicles. Press MENU on the turn
signal lever until the ECO menu is
displayed. Use
w xto scroll
through the menu items. Not all
items are available on every vehicle.
The following is a list of all possible
menu items:
Best Average Fuel Economy : The
bottom displays the best average
fuel economy (AFE) that is achieved
for a selected distance. The top
displays a running average of fuel
economy for the most recently
traveled selected distance. The
center bar graph displays the
instantaneous fuel economy.
Quickly press the SET/CLR button
to change the settings for the
distance options. When viewing best AFE, a several
second press and hold of SET/CLR
will reset the best value. The best
value will show
“- - -“until the
selected distance has been
traveled.
The display provides feedback on
how current driving behavior in the
bar graph affects the running
average in the top display and how
well recent driving compares to the
best that has been achieved.Driver Information Center
(DIC) (Uplevel)
The DIC displays are shown in the
center of the instrument cluster in
the Info app.
See Instrument Cluster (Uplevel)
0 112 orInstrument Cluster (Base
Level) 0115. The displays show the
status of many vehicle systems. The
controls for the DIC are on the right
steering wheel control.
Page 144 of 417
GMC Canyon/Canyon Denali Owner Manual (GMNA-Localizing-U.S./Canada-
11354423) - 2018 - crc - 10/12/17
Lighting 143
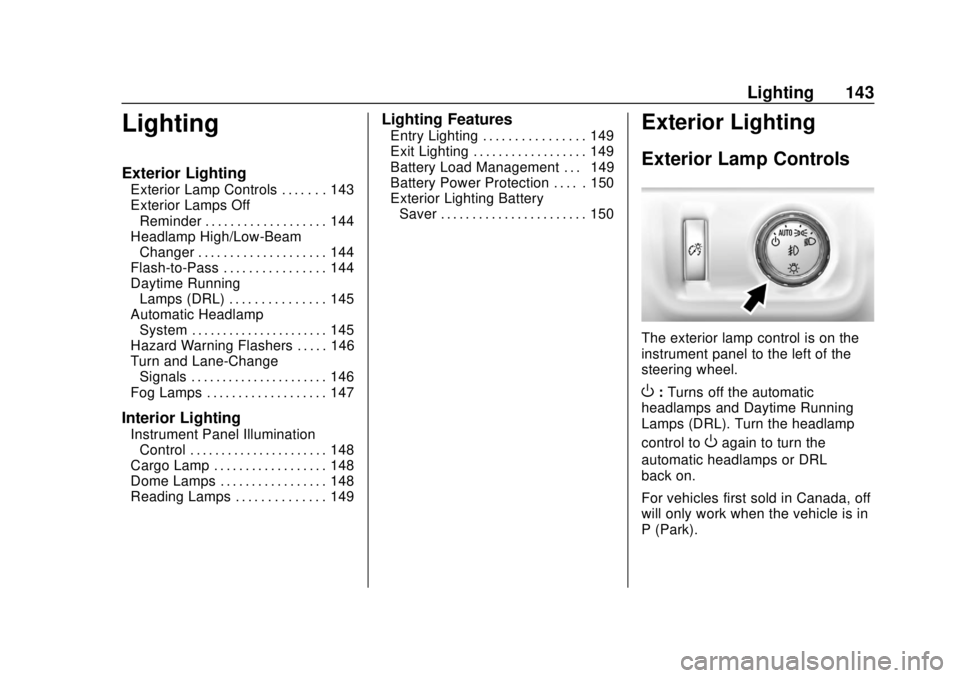
Lighting
Exterior Lighting
Exterior Lamp Controls . . . . . . . 143
Exterior Lamps OffReminder . . . . . . . . . . . . . . . . . . . 144
Headlamp High/Low-Beam Changer . . . . . . . . . . . . . . . . . . . . 144
Flash-to-Pass . . . . . . . . . . . . . . . . 144
Daytime Running Lamps (DRL) . . . . . . . . . . . . . . . 145
Automatic Headlamp System . . . . . . . . . . . . . . . . . . . . . . 145
Hazard Warning Flashers . . . . . 146
Turn and Lane-Change Signals . . . . . . . . . . . . . . . . . . . . . . 146
Fog Lamps . . . . . . . . . . . . . . . . . . . 147
Interior Lighting
Instrument Panel Illumination Control . . . . . . . . . . . . . . . . . . . . . . 148
Cargo Lamp . . . . . . . . . . . . . . . . . . 148
Dome Lamps . . . . . . . . . . . . . . . . . 148
Reading Lamps . . . . . . . . . . . . . . 149
Lighting Features
Entry Lighting . . . . . . . . . . . . . . . . 149
Exit Lighting . . . . . . . . . . . . . . . . . . 149
Battery Load Management . . . 149
Battery Power Protection . . . . . 150
Exterior Lighting Battery Saver . . . . . . . . . . . . . . . . . . . . . . . 150Exterior Lighting
Exterior Lamp Controls
The exterior lamp control is on the
instrument panel to the left of the
steering wheel.
O: Turns off the automatic
headlamps and Daytime Running
Lamps (DRL). Turn the headlamp
control to
Oagain to turn the
automatic headlamps or DRL
back on.
For vehicles first sold in Canada, off
will only work when the vehicle is in
P (Park).
Page 145 of 417
GMC Canyon/Canyon Denali Owner Manual (GMNA-Localizing-U.S./Canada-
11354423) - 2018 - crc - 10/12/17
144 Lighting
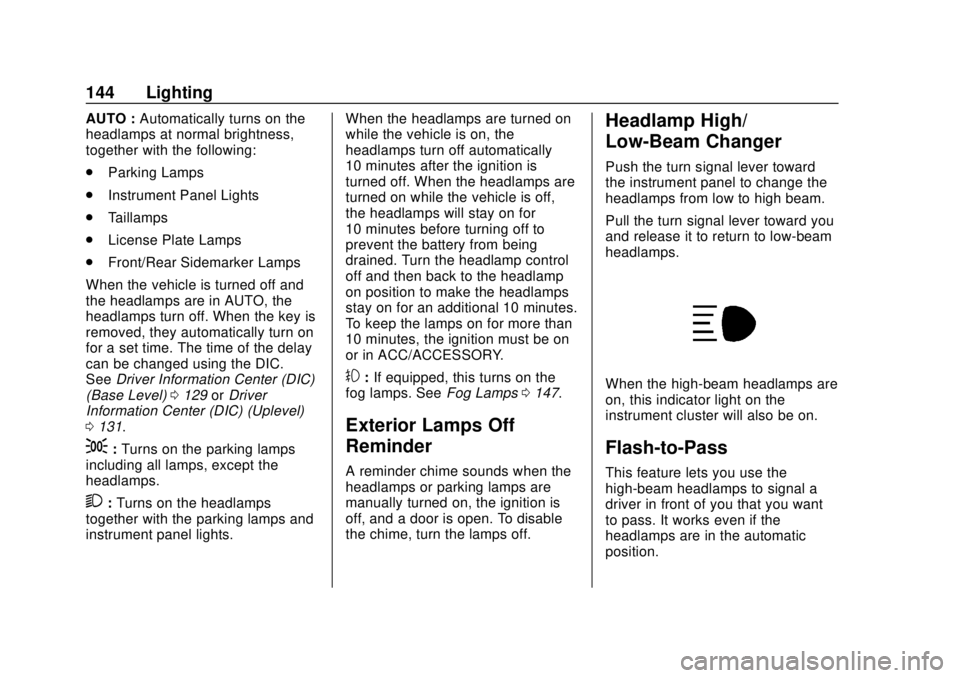
AUTO :Automatically turns on the
headlamps at normal brightness,
together with the following:
. Parking Lamps
. Instrument Panel Lights
. Taillamps
. License Plate Lamps
. Front/Rear Sidemarker Lamps
When the vehicle is turned off and
the headlamps are in AUTO, the
headlamps turn off. When the key is
removed, they automatically turn on
for a set time. The time of the delay
can be changed using the DIC.
See Driver Information Center (DIC)
(Base Level) 0129 orDriver
Information Center (DIC) (Uplevel)
0 131.
;:Turns on the parking lamps
including all lamps, except the
headlamps.
2: Turns on the headlamps
together with the parking lamps and
instrument panel lights. When the headlamps are turned on
while the vehicle is on, the
headlamps turn off automatically
10 minutes after the ignition is
turned off. When the headlamps are
turned on while the vehicle is off,
the headlamps will stay on for
10 minutes before turning off to
prevent the battery from being
drained. Turn the headlamp control
off and then back to the headlamp
on position to make the headlamps
stay on for an additional 10 minutes.
To keep the lamps on for more than
10 minutes, the ignition must be on
or in ACC/ACCESSORY.
#:
If equipped, this turns on the
fog lamps. See Fog Lamps0147.
Exterior Lamps Off
Reminder
A reminder chime sounds when the
headlamps or parking lamps are
manually turned on, the ignition is
off, and a door is open. To disable
the chime, turn the lamps off.
Headlamp High/
Low-Beam Changer
Push the turn signal lever toward
the instrument panel to change the
headlamps from low to high beam.
Pull the turn signal lever toward you
and release it to return to low-beam
headlamps.
When the high-beam headlamps are
on, this indicator light on the
instrument cluster will also be on.
Flash-to-Pass
This feature lets you use the
high-beam headlamps to signal a
driver in front of you that you want
to pass. It works even if the
headlamps are in the automatic
position.
Page 146 of 417
GMC Canyon/Canyon Denali Owner Manual (GMNA-Localizing-U.S./Canada-
11354423) - 2018 - crc - 10/12/17
Lighting 145
To use it, pull the turn signal lever
toward you, then release it.
If the headlamps are in the
automatic position or on low beam,
the high-beam headlamps will turn
on. They will stay on as long as you
hold the lever toward you. The
high-beam indicator on the
instrument cluster will come on.
Release the lever to return to
normal operation.
Daytime Running
Lamps (DRL)
DRL can make it easier for others to
see the front of the vehicle during
the day. Fully functional DRL are
required on all vehicles first sold in
Canada.
The DRL system comes on when
the following conditions are met:
.The ignition is on.
. The exterior lamp control is
in AUTO.
. The transmission is not in
P (Park). .
The light sensor determines it is
daytime.
When the DRL system is on, only
the DRL are on. The taillamps,
sidemarker lamps, instrument panel
lights, and other lamps will not
be on.
When it begins to get dark, the
automatic headlamp system
switches from DRL to the
headlamps.
To turn off the DRL, turn the exterior
lamp control to
Oand then release.
For vehicles first sold in Canada, off
will only work when the vehicle is
parked.
Automatic Headlamp
System
When the exterior lamp control is
set to AUTO and it is dark enough
outside, the headlamps come on
automatically.
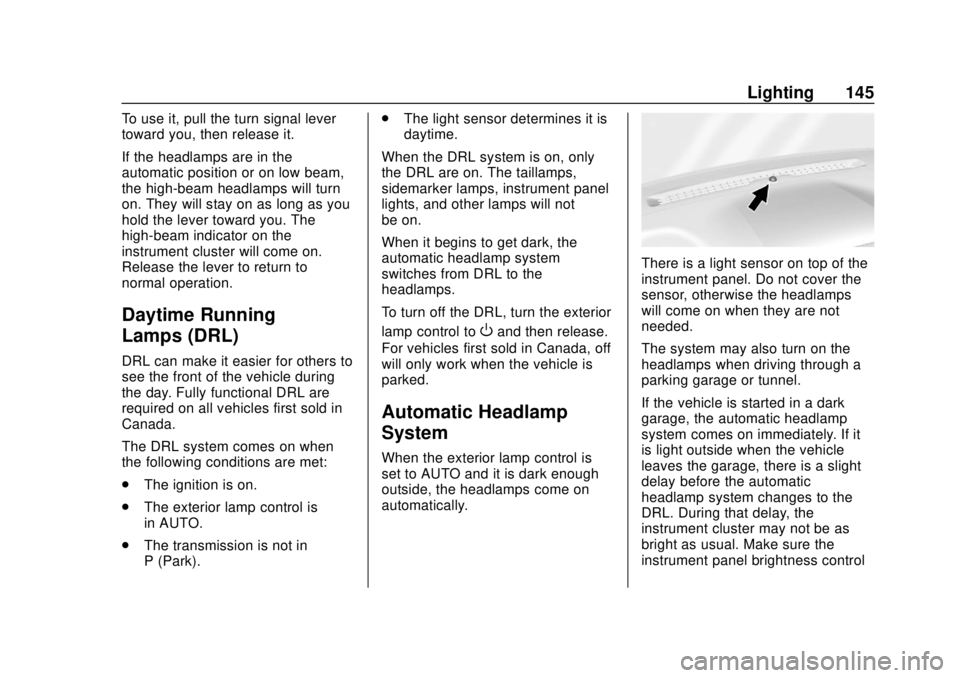
There is a light sensor on top of the
instrument panel. Do not cover the
sensor, otherwise the headlamps
will come on when they are not
needed.
The system may also turn on the
headlamps when driving through a
parking garage or tunnel.
If the vehicle is started in a dark
garage, the automatic headlamp
system comes on immediately. If it
is light outside when the vehicle
leaves the garage, there is a slight
delay before the automatic
headlamp system changes to the
DRL. During that delay, the
instrument cluster may not be as
bright as usual. Make sure the
instrument panel brightness control
Page 147 of 417
GMC Canyon/Canyon Denali Owner Manual (GMNA-Localizing-U.S./Canada-
11354423) - 2018 - crc - 10/12/17
146 Lighting
is in the full bright position. See
Instrument Panel Illumination
Control0148.
When it is bright enough outside,
the headlamps will turn off or may
change to Daytime Running
Lamps (DRL).
The automatic headlamp system
turns off when the exterior lamp
control is turned to
Oor the ignition
is off.
Lights On with Wipers
If the windshield wipers are
activated in daylight with the engine
on, and the exterior lamp control is
in AUTO, the headlamps, parking
lamps, and other exterior lamps
come on. The transition time for the
lamps coming on varies based on
wiper speed. When the wipers are
not operating, these lamps turn off.
Move the exterior lamp control to
O
or;to disable this feature.
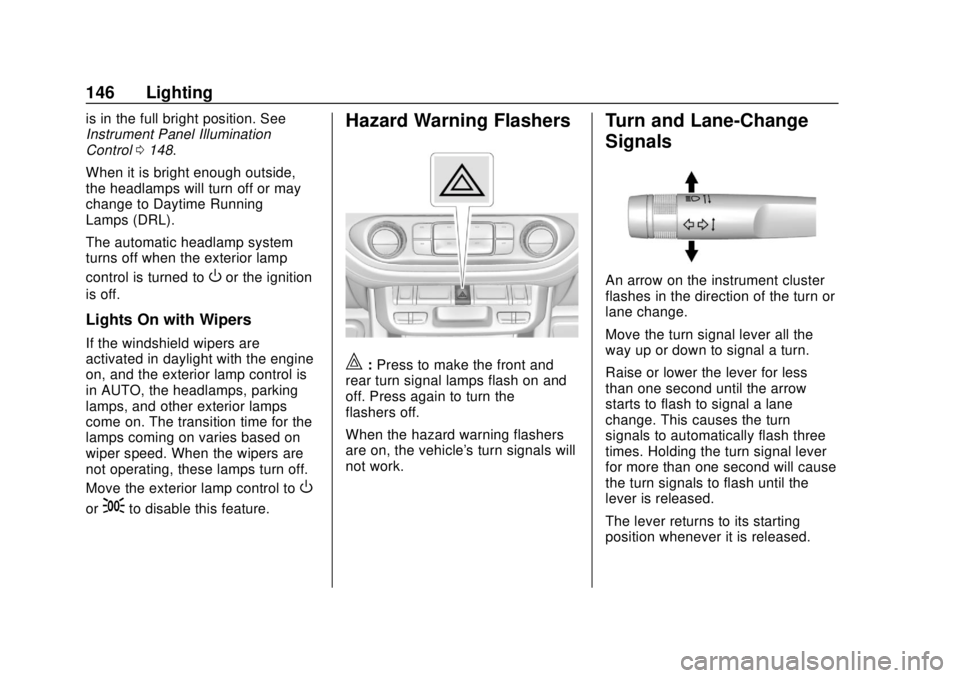
Hazard Warning Flashers
|: Press to make the front and
rear turn signal lamps flash on and
off. Press again to turn the
flashers off.
When the hazard warning flashers
are on, the vehicle's turn signals will
not work.
Turn and Lane-Change
Signals
An arrow on the instrument cluster
flashes in the direction of the turn or
lane change.
Move the turn signal lever all the
way up or down to signal a turn.
Raise or lower the lever for less
than one second until the arrow
starts to flash to signal a lane
change. This causes the turn
signals to automatically flash three
times. Holding the turn signal lever
for more than one second will cause
the turn signals to flash until the
lever is released.
The lever returns to its starting
position whenever it is released.
Page 148 of 417
GMC Canyon/Canyon Denali Owner Manual (GMNA-Localizing-U.S./Canada-
11354423) - 2018 - crc - 10/12/17
Lighting 147
If after signaling a turn or a lane
change the arrows flash rapidly or
do not come on, a signal bulb could
be burned out.
Replace any burned out bulbs. If a
bulb is not burned out, check the
fuse. SeeFuses and Circuit
Breakers 0302.
Turn Signal On Chime
If the turn signal is left on for more
than 1.2 km (0.75 mi), a chime
sounds at each flash of the turn
signal. The message TURN
SIGNAL ON will also appear in the
Driver Information Center (DIC). To
turn the chime and message off,
move the turn signal lever to the off
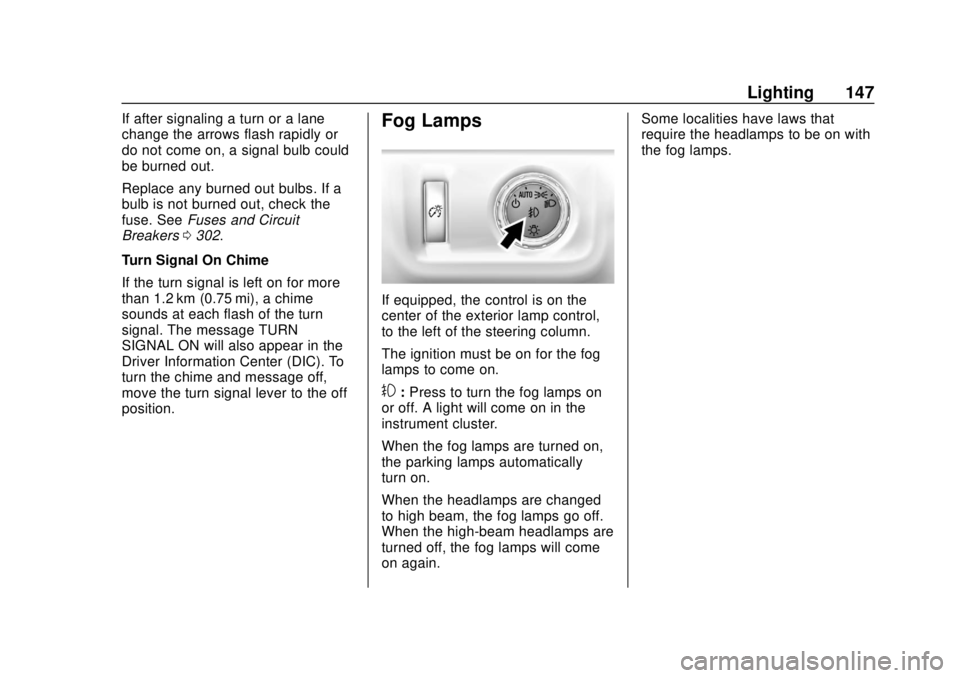
position.Fog Lamps
If equipped, the control is on the
center of the exterior lamp control,
to the left of the steering column.
The ignition must be on for the fog
lamps to come on.
#: Press to turn the fog lamps on
or off. A light will come on in the
instrument cluster.
When the fog lamps are turned on,
the parking lamps automatically
turn on.
When the headlamps are changed
to high beam, the fog lamps go off.
When the high-beam headlamps are
turned off, the fog lamps will come
on again. Some localities have laws that
require the headlamps to be on with
the fog lamps.