display GMC ENVOY 2003 Repair Manual
[x] Cancel search | Manufacturer: GMC, Model Year: 2003, Model line: ENVOY, Model: GMC ENVOY 2003Pages: 442, PDF Size: 3.1 MB
Page 218 of 442
XEJECT/LOAD:Press this button to eject a DVD
while it is playing. If the disc has been ejected and not
removed from the player, pressing this button will
load the disc. The stop/eject button on the DVD player
will also load the disc if the disc is ejected and not
removed.
rREW (Rewind):Press this button to reverse the
DVD at 5x speed. To stop reversing, press this
button again. This button may not work when the DVD
is playing the copyright or the previews.
[FWD (Fast Forward):Press this button to fast
forward the DVD at 5x speed. To stop fast forwarding,
press this button again. This button may not work
when the DVD is playing the copyright or the previews.
gPREV (Previous):Press this button to return to
the start of the current chapter. Press this button again
to return to the previous chapter. This button may
not work when the DVD is playing the copyright or the
previews.
lNEXT:Press this button to jump to the beginning
of the next chapter. This button may not work when
the DVD is playing the copyright or the previews.MENU:Press this button to view the media menu. The
media menu is different on every disc. Use the up
and down and the right and the left arrow buttons to
move the cursor around the media menu. After making
your selection, press the ENTER button. Some discs
may contain a short skit leading up to the media menu.
~WIRED VOLUME:Press the plus or the minus
symbol to increase or to decrease the volume of
the wired headphones. You can press repeatedly or
press and hold the plus or the minus symbol to increase
or to decrease the volume in large amounts.
bSIZE/ANGLE:This button controls the screen
ratio of the video display. Press and release this button
to stretch a 4:3 picture to ®t the wide aspect ratio 16:9
screen.
Press and release this button to choose different angles
of the same scene. Press and hold this button again
to change angles. This feature is not available on
all DVD discs.
DISP/S-TITLE (Display Subtitle) CHAP TRK (Chapter
Track):Press and release this button to display the
title, chapter and elapsed time of the current video
segment or the track and time if a CD is being played.
3-98
Page 219 of 442
Press and hold this button to see the DVDs subtitle
language. Press and release this button again to change
it. This feature is not available on all DVD discs.
COMP/AUDIO (Compression) COMP:Press and
release this button to display the current compression
displayed on the screen. Press this button again to
select the next compression state. Three compression
states are available including minimum, standard
and off. The compression feature only functions on AC3
(Dolby
žDigital Surround) encoded DVD video discs.
Press and hold this button to see if the DVD playing has
optional audio tracks, such as different languages or
commentaries. Press and release to change selections.
INPUT/TITLE DVD AUX (Auxiliary):Press and
release this button to switch between the auxiliary input
device and the DVD player.
Press and hold this button to see a display of the DVD's
titles. Press and release to change the titles available.
qRTN (Return):When a DVD menu is active
and this button is pressed, the selected option will be
disabled. This button could have different functions with
different discs.
ESCREEN BRIGHTNESS:Press the plus or the
minus symbol to increase or to decrease the brightness
of the screen. This button can also be found on the
video screen.
OLIGHT:Press this button to illuminate the keypad
for about eight seconds.
Setup Menu
To access the setup menu, ensure a DVD is in the
player and the video is in stop mode. Press the menu
key. Once the menu is activated, use the UP, DOWN,
RIGHT, LEFT, and Enter buttons to navigate the screen.
The setup menu allows the use to select default
preferences for Menu Language, Subtitle Language,
Audio Language, TV Aspect, TV Mode, and Dynamic
Range Compression.
Not all DVDs support all the feature defaults in the
setup menus. In the event a particular feature is
not supported, defaults will be provided by the DVD
media.
Exit the setup menu by pressing the RETURN button on
the remote control. If you make changes to the system
setup defaults, the disc will resume play from the
beginning and not where it previously left off.
3-99
Page 224 of 442
SEEK:Press the SEEK button to seek to the next
station and stay there. The display will show your
selection.
To scan preset stations, press and hold the SEEK
button. The radio will scan to a preset station, play for a
few seconds, then go the next preset station. The
display will show your selections. The SEEK button is
inactive if the front radio is in use.
While listening to a cassette tape, press the SEEK
button to hear the next selection on the tape. Press and
hold the SEEK button to go to the other side of the
tape. The SEEK button is inactive if the tape mode on
the front radio is in use.
While listening to a CD, press the SEEK button to hear
the next track on the CD. The SEEK button is inactive
if the CD mode on the front radio or the CD changer
is in use.
Radio Personalization
If your vehicle has this feature, it allows the driver to
return to the last used audio source (radio, cassette or
CD) using the remote keyless entry transmitter. This
feature can also store and recall AM and FM presets,
volume, tone and the last selected radio station.The number on the back of each transmitter (1 or 2)
corresponds to driver 1 or 2. If transmitter 1 is used to
enter the vehicle, the last used audio source and/or
settings set by driver 1 will be recalled. If transmitter 2 is
used to enter the vehicle, the last used audio source
and/or settings set by driver 2 will be recalled.
Theft-Deterrent Feature
(RDS Radios)
THEFTLOCKžis designed to discourage theft of your
radio. The feature works automatically by learning
a portion of the Vehicle Identi®cation Number (VIN). If
the radio is moved to a different vehicle, it will not
operate and LOCKED will be displayed.
When the radio and vehicle are turned off, the blinking
red light indicates that THEFTLOCK
žis armed.
With THEFTLOCK
žactivated, your radio will not operate
if stolen.
3-104
Page 226 of 442
Care of Your Cassette Tape Player
A tape player that is not cleaned regularly can cause
reduced sound quality, ruined cassettes or a damaged
mechanism. Cassette tapes should be stored in their
cases away from contaminants, direct sunlight and
extreme heat. If they aren't, they may not operate
properly or may cause failure of the tape player.
Your tape player should be cleaned regularly after every
50 hours of use. Your radio may display CLEAN to
indicate that you have used your tape player for
50 hours without resetting the tape clean timer. If this
message appears on the display, your cassette
tape player needs to be cleaned. It will still play tapes,
but you should clean it as soon as possible to
prevent damage to your tapes and player. If you notice
a reduction in sound quality, try a known good
cassette to see if the tape or the tape player is at fault.
If this other cassette has no improvement in sound
quality, clean the tape player.
For best results, use a scrubbing action, non-abrasive
cleaning cassette with pads which scrub the tape
head as the hubs of the cleaner cassette turn. The
recommended cleaning cassette is available through
your dealership.
The broken tape detection feature of your cassette tape
player may identify the cleaning cassette as a
damaged tape, in error.To prevent the cleaning cassette from being ejected,
use the following steps:
1. Turn the ignition on.
2. Turn the radio off.
3. Press and hold the TAPE CD button for ®ve
seconds. READY will appear on the display and a
cassette symbol will ¯ash for ®ve seconds.
4. Insert the scrubbing action cleaning cassette.
5. Eject the cleaning cassette after the manufacturer's
recommended cleaning time.
After the cleaning cassette is ejected, the broken tape
detection feature will be active again.
You may also choose a non-scrubbing action, wet-type
cleaner which uses a cassette with a fabric belt to
clean the tape head. This type of cleaning cassette will
not eject on its own. A non-scrubbing action cleaner
may not clean as thoroughly as the scrubbing type
cleaner. The use of a non-scrubbing action, dry-type
cleaning cassette is not recommended.
After you clean the player, press and hold the EJT
button for ®ve seconds to reset the CLEAN indicator.
The radio will display CLEANED to show the indicator
was reset.
Cassettes are subject to wear and the sound quality
may degrade over time. Always make sure the cassette
tape is in good condition before you have your tape
player serviced.
3-106
Page 227 of 442
Care of Your CDs and DVDs
Handle discs carefully. Store them in their original cases
or other protective cases and away from direct sunlight
and dust. If the surface of a disc is soiled, dampen
a clean, soft cloth in a mild, neutral detergent solution
and clean it, wiping from the center to the edge.
Be sure never to touch the side without writing when
handling discs. Pick up discs by grasping the outer
edges or the edge of the hole and the outer edge.
Care of Your CD and DVD Player
The use of CD lens cleaner discs is not advised, due to
the risk of contaminating the lens of the CD optics
with lubricants internal to the CD mechanism.
Cleaning the Video Screen
Pour some isopropyl or rubbing alcohol on a clean cloth
and gently wipe the video screen. Do not spray
directly onto the screen and do not press too hard or
too long on the video screen.
Fixed Mast Antenna
The ®xed mast antenna can withstand most car washes
without being damaged. If the mast should ever
become slightly bent, you can straighten it out by hand.
If the mast is badly bent, as it might be by vandals,
you should replace it.
Check occasionally to be sure the mast is still tightened
to the fender. If tightening is required, tighten by
hand, then with a wrench one quarter turn.
Chime Level Adjustment
The volume level of the vehicle's chimes can be
controlled by the radio. To change the volume level,
press and hold pushbutton 6 with the ignition on and the
radio power off. The chime volume level will change
from the normal level to loud, and LOUD will be
displayed on the radio. To change back to the default or
normal setting, press and hold pushbutton 6 again.
The chime level will change from the loud level
to normal, and NORMAL will be displayed.
3-107
Page 315 of 442
Engine Overheating
You will ®nd a coolant temperature gage on your
vehicle's instrument panel. If your vehicle has a DIC,
the display will show an Engine Coolant Hot/Idle Engine
message.
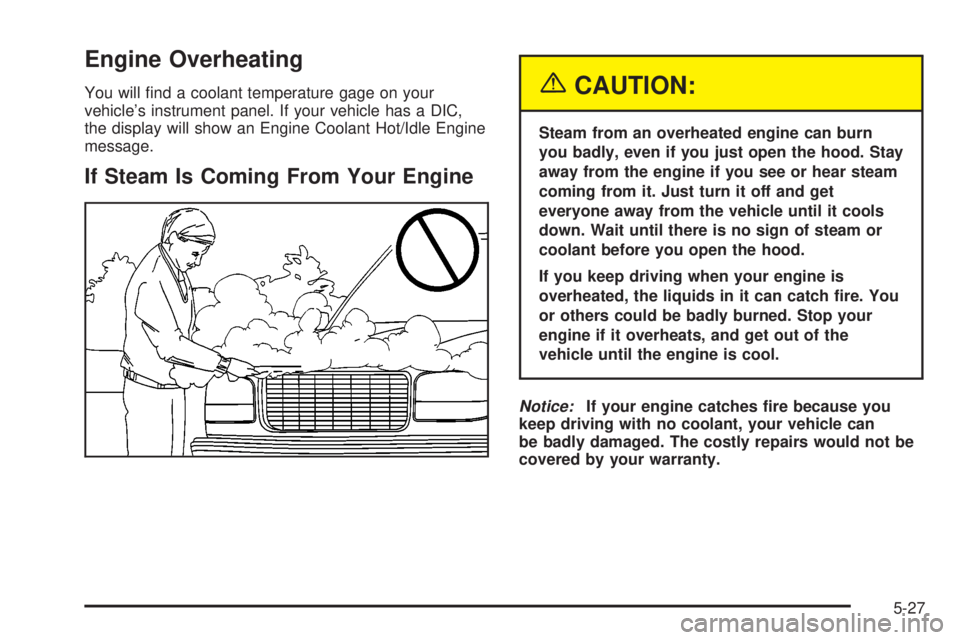
If Steam Is Coming From Your Engine
{CAUTION:
Steam from an overheated engine can burn
you badly, even if you just open the hood. Stay
away from the engine if you see or hear steam
coming from it. Just turn it off and get
everyone away from the vehicle until it cools
down. Wait until there is no sign of steam or
coolant before you open the hood.
If you keep driving when your engine is
overheated, the liquids in it can catch ®re. You
or others could be badly burned. Stop your
engine if it overheats, and get out of the
vehicle until the engine is cool.
Notice:If your engine catches ®re because you
keep driving with no coolant, your vehicle can
be badly damaged. The costly repairs would not be
covered by your warranty.
5-27
Page 430 of 442
Convenience Net............................................2-49
Coolant.........................................................3-41
Engine Temperature Gage............................3-41
Heater, Engine............................................2-22
Cooling System..............................................5-29
Cruise Control Light........................................3-47
Cruise Control................................................3-12
Current and Past Model Order Forms................7-11
Customer Assistance Information........................ 7-7
Courtesy Transportation.................................. 7-7
Customer Assistance for Text Telephone
(TTY) Users.............................................. 7-4
Customer Assistance Offices........................... 7-4
Customer Satisfaction Procedure..................... 7-2
GM Mobility Program for Persons with
Disabilities................................................ 7-5
Reporting Safety Defects to General Motors....7-10
Reporting Safety Defects to the Canadian
Government.............................................. 7-9
Reporting Safety Defects to the United
States Government.................................... 7-9
Roadside Assistance Program......................... 7-5
Service Publications Ordering Information........7-10
D
Daytime Running Lamps (DRL).........................3-16
Defensive Driving............................................. 4-2
Defogging and Defrosting.........................3-22, 3-27Delayed Locking............................................... 2-9
Dinghy Towing................................................4-46
Doing Your Own Service Work........................... 5-3
Dome Lamp Override......................................3-18
Dome Lamps.................................................3-19
Door............................................................... 2-9
Delayed Locking........................................... 2-9
Locks.......................................................... 2-8
Power Door Locks......................................... 2-9
Programmable Automatic Door Locks.............2-10
Rear Door Security Locks.............................2-12
DRIVER DOOR AJAR.....................................3-62
Driver Information Center (DIC).........................3-50
DIC Operation and Displays..........................3-51
DIC Warnings and Messages........................3-60
Driver............................................................1-14
Position, Safety Belt.....................................1-14
Driving Across an Incline..................................4-24
Driving Downhill..............................................4-23
Driving in Mud, Sand, Snow or Ice....................4-26
Driving in Water..............................................4-27
Driving On Grades..........................................4-58
Driving on Off-Road Hills.................................4-19
Driving on Snow or Ice....................................4-40
Driving Through Deep Standing Water...............4-31
Driving Through Flowing Water.........................4-32
Driving Uphill..................................................4-20
Driving with a Trailer.......................................4-56
Driving..........................................................4-28
At Night.....................................................4-28
4