jump start GMC ENVOY 2003 Owner's Manual
[x] Cancel search | Manufacturer: GMC, Model Year: 2003, Model line: ENVOY, Model: GMC ENVOY 2003Pages: 442, PDF Size: 3.1 MB
Page 218 of 442
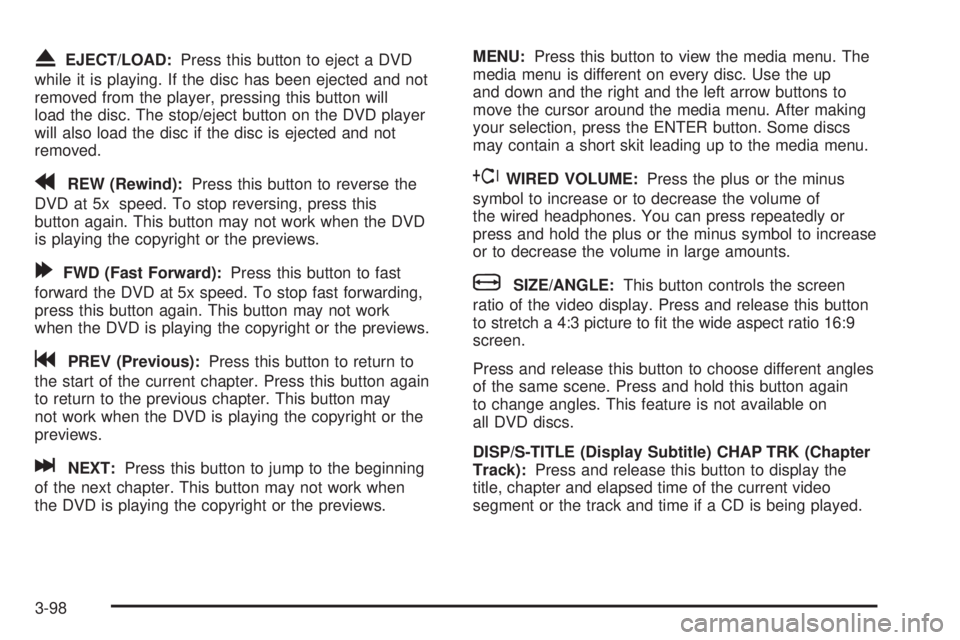
XEJECT/LOAD:Press this button to eject a DVD
while it is playing. If the disc has been ejected and not
removed from the player, pressing this button will
load the disc. The stop/eject button on the DVD player
will also load the disc if the disc is ejected and not
removed.
rREW (Rewind):Press this button to reverse the
DVD at 5x speed. To stop reversing, press this
button again. This button may not work when the DVD
is playing the copyright or the previews.
[FWD (Fast Forward):Press this button to fast
forward the DVD at 5x speed. To stop fast forwarding,
press this button again. This button may not work
when the DVD is playing the copyright or the previews.
gPREV (Previous):Press this button to return to
the start of the current chapter. Press this button again
to return to the previous chapter. This button may
not work when the DVD is playing the copyright or the
previews.
lNEXT:Press this button to jump to the beginning
of the next chapter. This button may not work when
the DVD is playing the copyright or the previews.MENU:Press this button to view the media menu. The
media menu is different on every disc. Use the up
and down and the right and the left arrow buttons to
move the cursor around the media menu. After making
your selection, press the ENTER button. Some discs
may contain a short skit leading up to the media menu.
~WIRED VOLUME:Press the plus or the minus
symbol to increase or to decrease the volume of
the wired headphones. You can press repeatedly or
press and hold the plus or the minus symbol to increase
or to decrease the volume in large amounts.
bSIZE/ANGLE:This button controls the screen
ratio of the video display. Press and release this button
to stretch a 4:3 picture to ®t the wide aspect ratio 16:9
screen.
Press and release this button to choose different angles
of the same scene. Press and hold this button again
to change angles. This feature is not available on
all DVD discs.
DISP/S-TITLE (Display Subtitle) CHAP TRK (Chapter
Track):Press and release this button to display the
title, chapter and elapsed time of the current video
segment or the track and time if a CD is being played.
3-98
Page 222 of 442
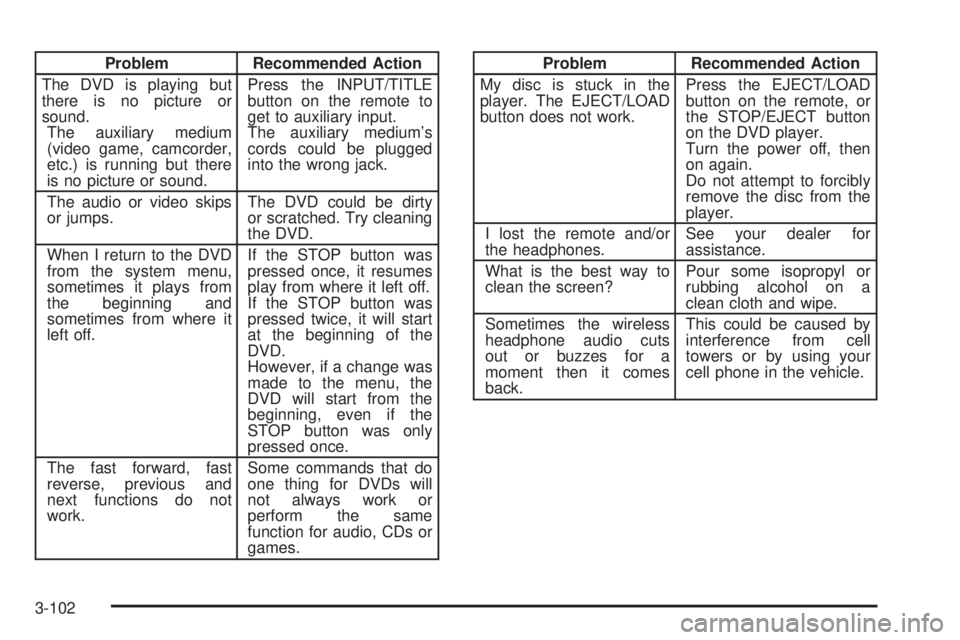
Problem Recommended Action
The DVD is playing but
there is no picture or
sound.
The auxiliary medium
(video game, camcorder,
etc.) is running but there
is no picture or sound.Press the INPUT/TITLE
button on the remote to
get to auxiliary input.
The auxiliary medium's
cords could be plugged
into the wrong jack.
The audio or video skips
or jumps.The DVD could be dirty
or scratched. Try cleaning
the DVD.
When I return to the DVD
from the system menu,
sometimes it plays from
the beginning and
sometimes from where it
left off.If the STOP button was
pressed once, it resumes
play from where it left off.
If the STOP button was
pressed twice, it will start
at the beginning of the
DVD.
However, if a change was
made to the menu, the
DVD will start from the
beginning, even if the
STOP button was only
pressed once.
The fast forward, fast
reverse, previous and
next functions do not
work.Some commands that do
one thing for DVDs will
not always work or
perform the same
function for audio, CDs or
games.Problem Recommended Action
My disc is stuck in the
player. The EJECT/LOAD
button does not work.Press the EJECT/LOAD
button on the remote, or
the STOP/EJECT button
on the DVD player.
Turn the power off, then
on again.
Do not attempt to forcibly
remove the disc from the
player.
I lost the remote and/or
the headphones.See your dealer for
assistance.
What is the best way to
clean the screen?Pour some isopropyl or
rubbing alcohol on a
clean cloth and wipe.
Sometimes the wireless
headphone audio cuts
out or buzzes for a
moment then it comes
back.This could be caused by
interference from cell
towers or by using your
cell phone in the vehicle.
3-102
Page 289 of 442
Service............................................................5-3
Doing Your Own Service Work.........................5-3
Adding Equipment to the Outside of Your
Vehicle......................................................5-4
Fuel................................................................5-4
Gasoline Octane............................................5-4
Gasoline Speci®cations....................................5-5
California Fuel...............................................5-5
Additives.......................................................5-6
Fuels in Foreign Countries...............................5-7
Filling Your Tank............................................5-7
Filling a Portable Fuel Container.......................5-9
Checking Things Under the Hood....................5-10
Hood Release..............................................5-10
Engine Compartment Overview.......................5-12
Engine Oil...................................................5-15
Engine Air Cleaner/Filter................................5-20
Automatic Transmission Fluid.........................5-21
Engine Coolant.............................................5-24
Radiator Pressure Cap..................................5-26
Engine Overheating.......................................5-27
Cooling System............................................5-29
Engine Fan Noise.........................................5-35
Power Steering Fluid.....................................5-36
Windshield Washer Fluid................................5-37Brakes........................................................5-38
Battery........................................................5-41
Jump Starting...............................................5-42
Rear Axle.......................................................5-48
Four-Wheel Drive............................................5-48
Bulb Replacement..........................................5-50
Halogen Bulbs..............................................5-50
Headlamps..................................................5-50
Front Turn Signal and Sidemarker Lamps........5-51
Taillamps and Turn Signal Lamps...................5-51
Replacement Bulbs.......................................5-52
Windshield Wiper Blade Replacement..............5-52
Tires..............................................................5-54
In¯ation -- Tire Pressure................................5-55
Tire Inspection and Rotation...........................5-55
When It Is Time for New Tires.......................5-57
Buying New Tires.........................................5-58
Uniform Tire Quality Grading..........................5-59
Wheel Alignment and Tire Balance..................5-60
Wheel Replacement......................................5-60
Tire Chains..................................................5-62
Accessory In¯ator.........................................5-62
If a Tire Goes Flat........................................5-64
Changing a Flat Tire.....................................5-64
Section 5 Service and Appearance Care
5-1
Page 301 of 442
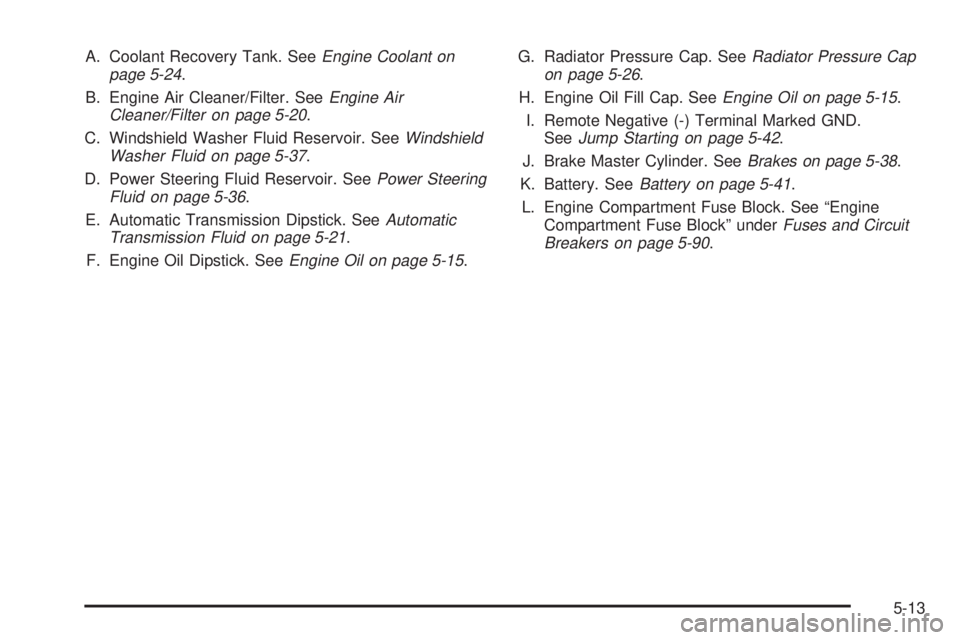
A. Coolant Recovery Tank. SeeEngine Coolant on
page 5-24.
B. Engine Air Cleaner/Filter. See
Engine Air
Cleaner/Filter on page 5-20.
C. Windshield Washer Fluid Reservoir. See
Windshield
Washer Fluid on page 5-37.
D. Power Steering Fluid Reservoir. See
Power Steering
Fluid on page 5-36.
E. Automatic Transmission Dipstick. See
Automatic
Transmission Fluid on page 5-21.
F. Engine Oil Dipstick. See
Engine Oil on page 5-15.G. Radiator Pressure Cap. See
Radiator Pressure Cap
on page 5-26.
H. Engine Oil Fill Cap. See
Engine Oil on page 5-15.
I. Remote Negative (-) Terminal Marked GND.
See
Jump Starting on page 5-42.
J. Brake Master Cylinder. See
Brakes on page 5-38.
K. Battery. See
Battery on page 5-41.
L. Engine Compartment Fuse Block. See ªEngine
Compartment Fuse Blockº under
Fuses and Circuit
Breakers on page 5-90.
5-13
Page 303 of 442
A. Coolant Recovery Tank. SeeEngine Coolant on
page 5-24.
B. Engine Air Cleaner/Filter. See
Engine Air
Cleaner/Filter on page 5-20.
C. Windshield Washer Fluid Reservoir. See
Windshield
Washer Fluid on page 5-37.
D. Engine Oil Dipstick. See
Engine Oil on page 5-15.
E. Automatic Transmission Dipstick. See
Automatic
Transmission Fluid on page 5-21.
F. Engine Oil Fill Cap. See
Engine Oil on page 5-15.
G. Radiator Pressure Cap. See
Radiator Pressure Cap
on page 5-26.
H. Remote Negative (-) Terminal Marked GND. See
Jump Starting on page 5-42.
I. Power Steering Fluid Reservoir. See
Power Steering
Fluid on page 5-36.
J. Brake Master Cylinder. See
Brakes on page 5-38.
K. Engine Compartment Fuse Block. See ªEngine
Compartment Fuse blockº under
Fuses and Circuit
Breakers on page 5-90.
L. Battery. See
Battery on page 5-41.
Engine Oil
You should check your engine oil level regularly; this is
an added reminder.
Checking Engine Oil
It's a good idea to check your engine oil every time you
get fuel. In order to get an accurate reading, the oil
must be warm and the vehicle must be on level ground.
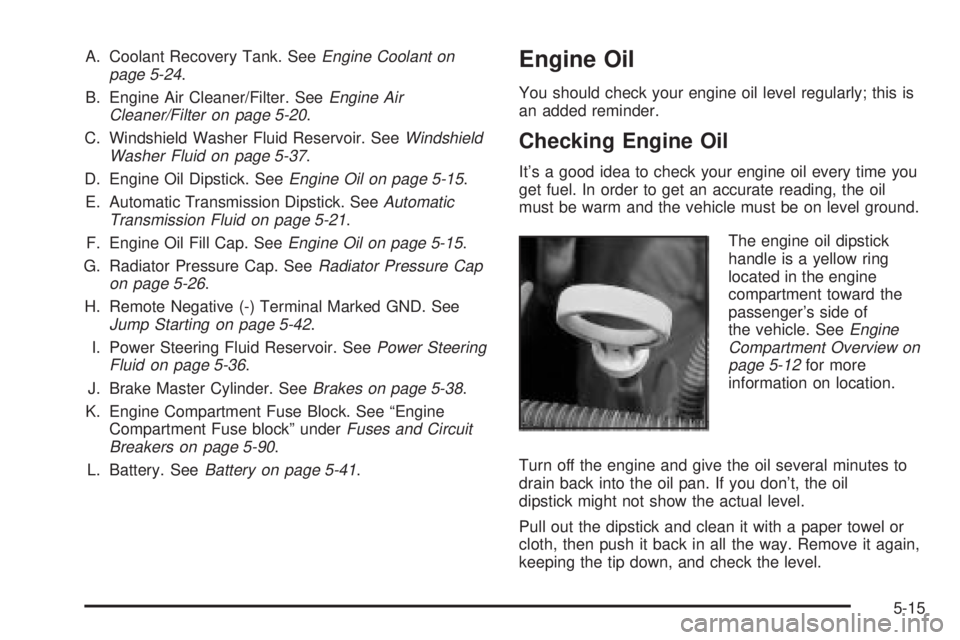
The engine oil dipstick
handle is a yellow ring
located in the engine
compartment toward the
passenger's side of
the vehicle. See
Engine
Compartment Overview on
page 5-12
for more
information on location.
Turn off the engine and give the oil several minutes to
drain back into the oil pan. If you don't, the oil
dipstick might not show the actual level.
Pull out the dipstick and clean it with a paper towel or
cloth, then push it back in all the way. Remove it again,
keeping the tip down, and check the level.
5-15
Page 330 of 442

Vehicle Storage
If you're not going to drive your vehicle for 25 days or
more, remove the black, negative (-) cable from
the battery. This will help keep your battery from
running down.
{CAUTION:
Batteries have acid that can burn you and gas
that can explode. You can be badly hurt if you
aren't careful. See ªJump Startingº next for
tips on working around a battery without
getting hurt.
Contact your dealer to learn how to prepare your
vehicle for longer storage periods.
Also, for your audio system, see
Theft-Deterrent
Feature (RDS Radios) on page 3-104.
Jump Starting
If your battery has run down, you may want to use
another vehicle and some jumper cables to start your
vehicle. But please use the following steps to do it
safely.
{CAUTION:
Batteries can hurt you. They can be dangerous
because:
·They contain acid that can burn you.
·They contain gas that can explode or
ignite.
·They contain enough electricity to
burn you.
If you don't follow these steps exactly, some
or all of these things can hurt you.
5-42
Page 331 of 442
Notice:Ignoring these steps could result in costly
damage to your vehicle that wouldn't be covered
by your warranty.
Trying to start your vehicle by pushing or pulling it
won't work, and it could damage your vehicle.
1. Check the other vehicle. It must have a 12-volt
battery with a negative ground system.
Notice:If the other system isn't a 12-volt system
with a negative ground, both vehicles can be
damaged.
2. Get the vehicles close enough so the jumper cables
can reach, but be sure the vehicles aren't touching
each other. If they are, it could cause a ground
connection you don't want. You wouldn't be able to
start your vehicle, and the bad grounding could
damage the electrical systems.
To avoid the possibility of the vehicles rolling, set
the parking brake ®rmly on both vehicles involved in
the jump start procedure. Put an automatic
transmission in PARK (P) or a manual transmission
in NEUTRAL before setting the parking brake. If
you have a four-wheel-drive vehicle, be sure
the transfer case is not in NEUTRAL.
Notice:If you leave your radio on, it could be badly
damaged. The repairs wouldn't be covered by
your warranty.
3. Turn off the ignition on both vehicles. Unplug
unnecessary accessories plugged into the cigarette
lighter or accessory power outlets (if equipped).
Turn off the radio and all lamps that aren't needed.
This will avoid sparks and help to save both
batteries. And it could save your radio!
4. Open both hoods and locate the batteries. Find the
positive (+) and negative (-) terminals on each
battery. Your vehicle has a remote negative (-) jump
starting terminal. You should always use this
remote terminal instead of the terminal on the
battery. The remote negative (-) terminal is located
on the front engine lift bracket on vehicles with
the L6 engine or the engine accessory drive bracket
for vehicles with the V8 engine, and is marked
ªGND.º See
Engine Compartment Overview
on page 5-12for more information on location.
5-43
Page 334 of 442

9. Connect the other end of the negative (-) cable to
the remote negative (-) terminal on the vehicle with
the dead battery.
10. Now start the vehicle with the good battery and run
the engine for a while.
11. Try to start the vehicle that had the dead battery. If
it won't start after a few tries, it probably needs
service.
Notice:Damage to your vehicle may result from
electrical shorting if jumper cables are removed
incorrectly. To prevent electrical shorting, take care
that the cables don't touch each other or any
other metal. The repairs wouldn't be covered by
your warranty. L6 Engine
V8 Engine
5-46
Page 419 of 442
GM Mobility Program for Persons
with Disabilities
This program, available to
quali®ed applicants, can
reimburse you up to
$1,000 toward aftermarket
driver or passenger
adaptive equipment you
may require for your
vehicle (hand controls,
wheelchair/scooter
lifts, etc.).
This program can also provide you with free resource
information, such as area driver assessment centers and
mobility equipment installers. The program is available
for a limited period of time from the date of vehicle
purchase/lease. See your dealer for more details or call
the GM Mobility Assistance Center at 1-800-323-9935.
Text telephone (TTY) users, call 1-800-833-9935.
GM of Canada also has a Mobility Program. Call
1-800-GM-DRIVE (463-7483) for details. All TTY users
call 1-800-263-3830.
Roadside Assistance Program
GMC's Roadside Assistance Provides stranded owners
with over-the-phone roadside repairs, location of the
nearest GMC dealer or the following special services:
Flat Tire Change:Installation of spare tire will be
covered at no charge (customer is responsible for repair
or replacement of tire).
Fuel Delivery:Delivery of enough fuel for the customer
to get to the nearest service station (up to $5.00)
will be covered.
Jump Start:No-start situations which require a battery
jump start will be covered at no charge.
Lock Out:Replacement keys or locksmith service will be
covered at no charge if you are unable to gain entry
into your vehicle. Delivery of the replacement key will be
covered within 10 miles (16 km).
Emergency Towing Service:Towing to the nearest GMC
dealer for warranty related disablements will be
covered.
7-5
Page 434 of 442

Inspection......................................................6-17
Brake System.............................................6-17
Engine Cooling System................................6-17
Exhaust System..........................................6-16
Fuel System...............................................6-16
Part C - Periodic Maintenance.......................6-16
Steering, Suspension and Front Drive Axle
Boot and Seal.........................................6-16
Transfer Case and Front Axle
(Four-Wheel Drive)...................................6-17
Instrument Panel Brightness.............................3-17
Instrument Panel.............................................3-35
Cluster.......................................................3-35
Overview..................................................... 3-4
Interior Lamps................................................3-17
J
Jump Starting.................................................5-42
K
Key Lock Cylinders Service..............................6-13
Keyless Entry System....................................... 2-5
Keys............................................................... 2-3
L
Lamps On Reminder.......................................3-16
Lamps...........................................................3-15
Exterior......................................................3-15
Interior.......................................................3-17
Lap-Shoulder Belt...................................1-15, 1-24
LATCH System...............................................1-42
Child Restraints...........................................1-42
Securing a Child Restraint Designed for
the LATCH System...................................1-44
Leaving Your Vehicle With the Engine
Running.....................................................2-30
Leaving Your Vehicle.......................................2-12
LEFT REAR DOOR AJAR................................3-62
Liftgate Release..............................................2-13
Liftgate/Liftglass..............................................2-13
Liftglass/Liftgate..............................................2-13
Lighted Visor Vanity Mirror...............................2-16
Light.............................................................3-37
Air Bag Readiness.......................................3-37
Anti-Lock Brake System Warning...................3-41
Brake System Warning.................................3-39
Change Engine Oil......................................3-46
Charging System.........................................3-38
Check Gages Warning.................................3-48
Cruise Control.............................................3-47
Gate Ajar...................................................3-49
Low Fuel Warning.......................................3-50
Malfunction Indicator....................................3-42
8