warning GMC ENVOY 2003 Owner's Manual
[x] Cancel search | Manufacturer: GMC, Model Year: 2003, Model line: ENVOY, Model: GMC ENVOY 2003Pages: 442, PDF Size: 3.1 MB
Page 1 of 442
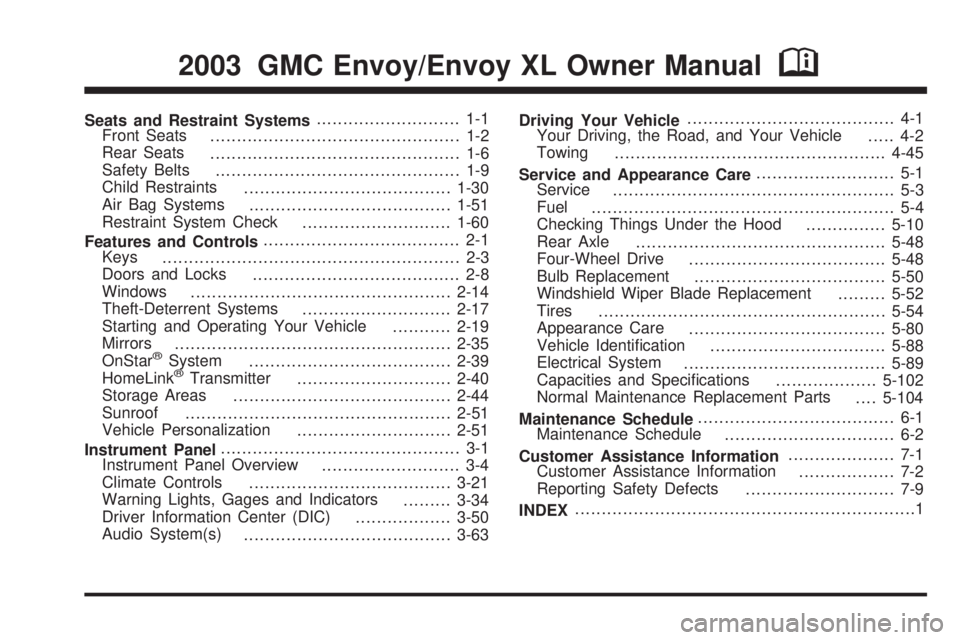
Seats and Restraint Systems........................... 1-1
Front Seats
............................................... 1-2
Rear Seats
............................................... 1-6
Safety Belts
.............................................. 1-9
Child Restraints
.......................................1-30
Air Bag Systems
......................................1-51
Restraint System Check
............................1-60
Features and Controls..................................... 2-1
Keys
........................................................ 2-3
Doors and Locks
....................................... 2-8
Windows
.................................................2-14
Theft-Deterrent Systems
............................2-17
Starting and Operating Your Vehicle
...........2-19
Mirrors
....................................................2-35
OnStar
žSystem
......................................2-39
HomeLinkžTransmitter
.............................2-40
Storage Areas
.........................................2-44
Sunroof
..................................................2-51
Vehicle Personalization
.............................2-51
Instrument Panel............................................. 3-1
Instrument Panel Overview
.......................... 3-4
Climate Controls
......................................3-21
Warning Lights, Gages and Indicators
.........3-34
Driver Information Center (DIC)
..................3-50
Audio System(s)
.......................................3-63Driving Your Vehicle....................................... 4-1
Your Driving, the Road, and Your Vehicle
..... 4-2
Towing
...................................................4-45
Service and Appearance Care.......................... 5-1
Service
..................................................... 5-3
Fuel
......................................................... 5-4
Checking Things Under the Hood
...............5-10
Rear Axle
...............................................5-48
Four-Wheel Drive
.....................................5-48
Bulb Replacement
....................................5-50
Windshield Wiper Blade Replacement
.........5-52
Tires
......................................................5-54
Appearance Care
.....................................5-80
Vehicle Identi®cation
.................................5-88
Electrical System
......................................5-89
Capacities and Speci®cations
...................5-102
Normal Maintenance Replacement Parts
....5-104
Maintenance Schedule..................................... 6-1
Maintenance Schedule
................................ 6-2
Customer Assistance Information.................... 7-1
Customer Assistance Information
.................. 7-2
Reporting Safety Defects
............................ 7-9
INDEX................................................................1
2003 GMC Envoy/Envoy XL Owner ManualM
Page 3 of 442
Safety Warnings and Symbols
You will ®nd a number of safety cautions in this book.
We use a box and the word CAUTION to tell you about
things that could hurt you if you were to ignore the
warning.
{CAUTION:
These mean there is something that could hurt
you or other people.
In the caution area, we tell you what the hazard is.
Then we tell you what to do to help avoid or reduce the
hazard. Please read these cautions. If you don't, you
or others could be hurt.You will also ®nd a circle
with a slash through it in
this book. This safety
symbol means ªDon't,º
ªDon't do thisº or ªDon't let
this happen.º
iii
Page 4 of 442
Vehicle Damage Warnings
Also, in this book you will ®nd these notices:
Notice:These mean there is something that could
damage your vehicle.
A notice will tell you about something that can damage
your vehicle. Many times, this damage would not be
covered by your warranty, and it could be costly. But the
notice will tell you what to do to help avoid the
damage.
When you read other manuals, you might see CAUTION
and NOTICE warnings in different colors or in different
words.
You'll also see warning labels on your vehicle. They use
the same words, CAUTION or NOTICE.
Vehicle Symbols
Your vehicle has components and labels that use
symbols instead of text. Symbols, used on your vehicle,
are shown along with the text describing the operation
or information relating to a speci®c component, control,
message, gage or indicator.
If you need help ®guring out a speci®c name of a
component, gage or indicator, reference the following
topics:
·Seats and Restraint Systems in Section 1
·Features and Controls in Section 2
·Instrument Panel Overview in Section 3
·Climate Controls in Section 3
·Warning Lights, Gages and Indicators in Section 3
·Audio System(s) in Section 3
·Engine Compartment Overview in Section 5
iv
Page 94 of 442
4HI (Four-Wheel High):Use 4HI when you need extra
traction, such as on snowy or icy roads or in most
off-road situations. This setting also engages your front
axle to help drive your vehicle.
4LO (Four-Wheel Low):This setting also engages
your front axle and delivers extra torque. It sends
maximum power to all four wheels. You might choose
4LO if you are driving off-road in deep sand, deep mud,
and climbing or descending steep hills.
{CAUTION:
Shifting the transfer case to NEUTRAL can
cause your vehicle to roll even if the
transmission is in PARK (P). You or someone
else could be seriously injured. Be sure to set
the parking brake before placing the transfer
case in NEUTRAL. See ªParking Brakeº in
the Index.
NEUTRAL:Shift the vehicle's transfer case to
NEUTRAL only when towing your vehicle. See
Recreational Vehicle Towing on page 4-45for more
information.An indicator light in the knob will show you which
position the transfer case is in. The indicator lights will
come on brie¯y when you turn on the ignition and
one will stay on. If the lights do not come on, you should
take your vehicle to your dealer for service. An
indicator light will ¯ash while shifting the transfer case. It
will remain illuminated when the shift is complete. If
for some reason the transfer case cannot make a
requested shift, it will return to the last chosen setting.
If the service four-wheel drive light on the instrument
panel cluster stays on, you should take your vehicle to
your dealer for service. See
Service Four-Wheel
Drive Warning Light on page 3-48for further information.
Shifting into 4HI or A4WD
Turn the knob to 4HI or A4WD. This can be done at any
speed unless you are shifting out of 4LO. The indicator
light will ¯ash while shifting. It will remain illuminated
when the shift is complete.
Shifting into 2HI
Turn the knob to 2HI. This can be done at any speed
unless you are shifting out of 4LO.
2-26
Page 96 of 442
Shifting Out of NEUTRAL
To shift the transfer case out of NEUTRAL, do the
following:
1. Set the parking brake and apply the regular
brake pedal.
2. Start the vehicle with the transmission in PARK (P).
3. Turn the transfer case knob to the desired shift
position (2HI, 4HI or A4WD).
4. Put the transmission in NEUTRAL (N).
5. Release the parking brake.
6. After the transfer case has shifted out of NEUTRAL,
the indicator light will go out. Shift the transmission
lever to the desired position.
A re-engagement sound is normal when shifting out of
NEUTRAL.
Parking Brake
To set the parking brake, hold the regular brake pedal
down with your right foot and pull up on the parking
brake lever. If the ignition is on, the brake system
warning light will come on.
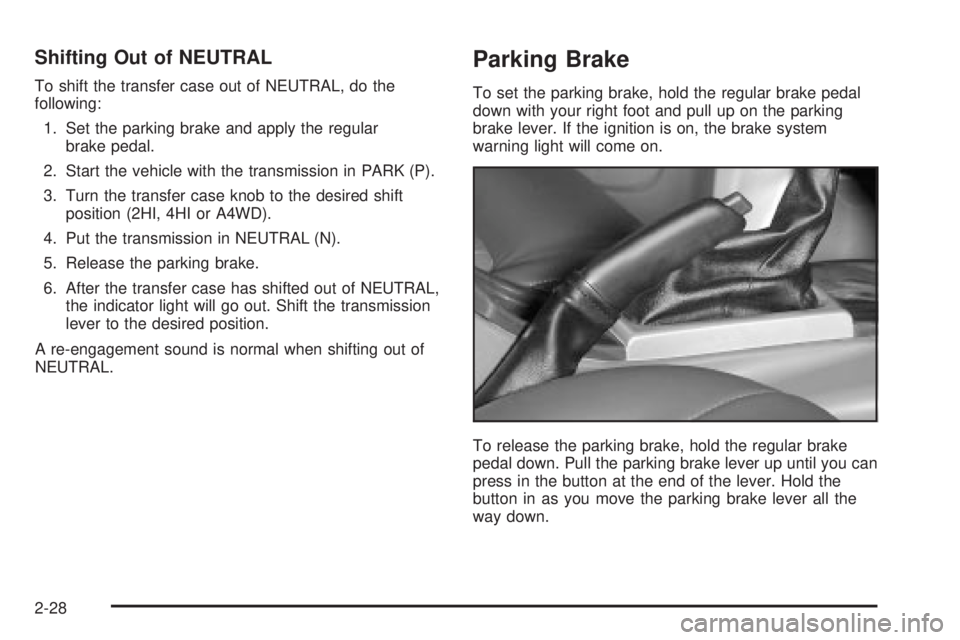
To release the parking brake, hold the regular brake
pedal down. Pull the parking brake lever up until you can
press in the button at the end of the lever. Hold the
button in as you move the parking brake lever all the
way down.
2-28
Page 105 of 442

Outside Manual Mirrors
Adjust your outside mirrors so you can see a little of the
side of your vehicle.
Fold the mirrors in before entering a car wash. To do
this, pull the mirrors in toward the vehicle. Push the
mirrors back out when ®nished.
Outside Power Mirrors
Your vehicle may have this feature.The control is located on the driver's door.
1. Twist the knob toward the mirror you desire to
adjust.
2. Move the knob in the direction you want the mirror
to go.
3. Adjust the mirror in all four directions.
4. After you are satis®ed with the position of the
mirror, twist the knob to the center position or twist it
to the other mirror to adjust that mirror.
If you reach the mirror's end of the travel position in any
direction, the mirror will enter a ratcheting mode. This
action is harmless. It is a warning that the mirror can go
no further. To stop this action, back the mirror up by
moving the knob in the opposite direction.
When the knob is twisted to the center position, the
mirrors can not be moved with the control knob.
2-37
Page 115 of 442

Insert the front corners of the panel into the lower
guides and slide the panel forward. Press down on the
back of the panel to lock it in place. To prevent
soiling the carpet, the panel may be installed either
side up.
Notice:To help avoid damage, do not load objects
over 200 lbs. (90 kg) in this position. Failure to
follow this warning could damage the shelf.Insert the front corners of the panel into the vertical
guides behind the seatbacks and slide the panel down.
Plastic grocery bags can be attached to the hooks
on the panel.Notice:When in vertical position, the shelf panel
should not be used as a barrier for large objects
in the cargo area when the seatbacks are
folded down. Lower Position
Vertical Position
2-47
Page 121 of 442
Instrument Panel Overview...............................3-4
Hazard Warning Flashers................................3-6
Other Warning Devices...................................3-6
Horn.............................................................3-7
Tilt Wheel.....................................................3-7
Turn Signal/Multifunction Lever.........................3-7
Exterior Lamps.............................................3-15
Interior Lamps..............................................3-17
Accessory Power Outlets...............................3-19
Ashtrays and Cigarette Lighter........................3-20
Climate Controls............................................3-21
Dual Climate Control System..........................3-21
Dual Automatic Climate Control System...........3-24
Rear Climate Control System.........................3-29
Steering Wheel Climate Controls.....................3-33
Climate Controls Personalization.....................3-33
Warning Lights, Gages and Indicators.............3-34
Instrument Panel Cluster................................3-35
Speedometer and Odometer...........................3-36
Tachometer.................................................3-36
Safety Belt Reminder Light.............................3-37Air Bag Readiness Light................................3-37
Charging System Light..................................3-38
Voltmeter Gage............................................3-39
Brake System Warning Light..........................3-39
Anti-Lock Brake System Warning Light.............3-41
Engine Coolant Temperature Gage..................3-41
Malfunction Indicator Lamp.............................3-42
Oil Pressure Gage........................................3-45
Change Engine Oil Light................................3-46
Security Light...............................................3-46
Cruise Control Light......................................3-47
Reduced Engine Power Light.........................3-47
Service Four-Wheel Drive Warning Light..........3-48
Check Gages Warning Light...........................3-48
Gate Ajar Light.............................................3-49
Fuel Gage...................................................3-49
Low Fuel Warning Light.................................3-50
Driver Information Center (DIC).......................3-50
DIC Operation and Displays...........................3-51
DIC Warnings and Messages.........................3-60
Section 3 Instrument Panel
3-1
Page 126 of 442
Hazard Warning Flashers
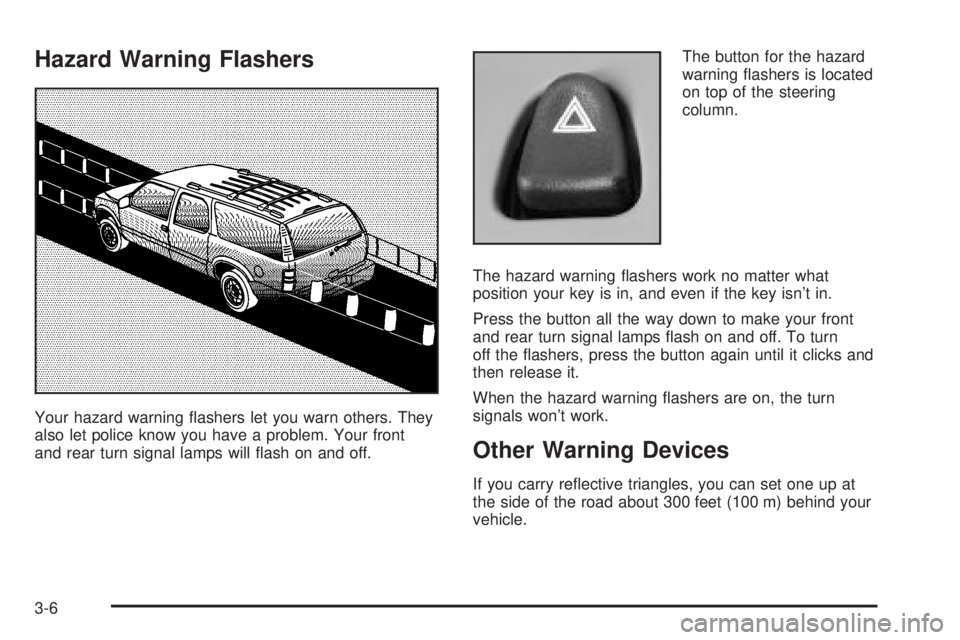
Your hazard warning ¯ashers let you warn others. They
also let police know you have a problem. Your front
and rear turn signal lamps will ¯ash on and off.The button for the hazard
warning ¯ashers is located
on top of the steering
column.
The hazard warning ¯ashers work no matter what
position your key is in, and even if the key isn't in.
Press the button all the way down to make your front
and rear turn signal lamps ¯ash on and off. To turn
off the ¯ashers, press the button again until it clicks and
then release it.
When the hazard warning ¯ashers are on, the turn
signals won't work.
Other Warning Devices
If you carry re¯ective triangles, you can set one up at
the side of the road about 300 feet (100 m) behind your
vehicle.
3-6
Page 154 of 442
Warning Lights, Gages and
Indicators
This part describes the warning lights and gages that
may be on your vehicle. The pictures will help you
locate them.
Warning lights and gages can signal that something is
wrong before it becomes serious enough to cause
an expensive repair or replacement. Paying attention to
your warning lights and gages could also save you
or others from injury.
Warning lights come on when there may be or is a
problem with one of your vehicle's functions. As you will
see in the details on the next few pages, some
warning lights come on brie¯y when you start the
engine just to let you know they're working. If you are
familiar with this section, you should not be alarmed
when this happens.Gages can indicate when there may be or is a problem
with one of your vehicle's functions. Often gages
and warning lights work together to let you know when
there's a problem with your vehicle.
When one of the warning lights comes on and stays on
when you are driving, or when one of the gages
shows there may be a problem, check the section that
tells you what to do about it. Please follow this
manual's advice.
Waiting to do repairs can be costly±and even
dangerous. So please get to know your warning lights
and gages. They're a big help.
Your vehicle may also have a Driver Information Center
(DIC) that works along with the warning lights and
gages. See
Driver Information Center (DIC) on
page 3-50.
3-34