service indicator GMC ENVOY XL 2004 Owners Manual
[x] Cancel search | Manufacturer: GMC, Model Year: 2004, Model line: ENVOY XL, Model: GMC ENVOY XL 2004Pages: 466, PDF Size: 3 MB
Page 1 of 466

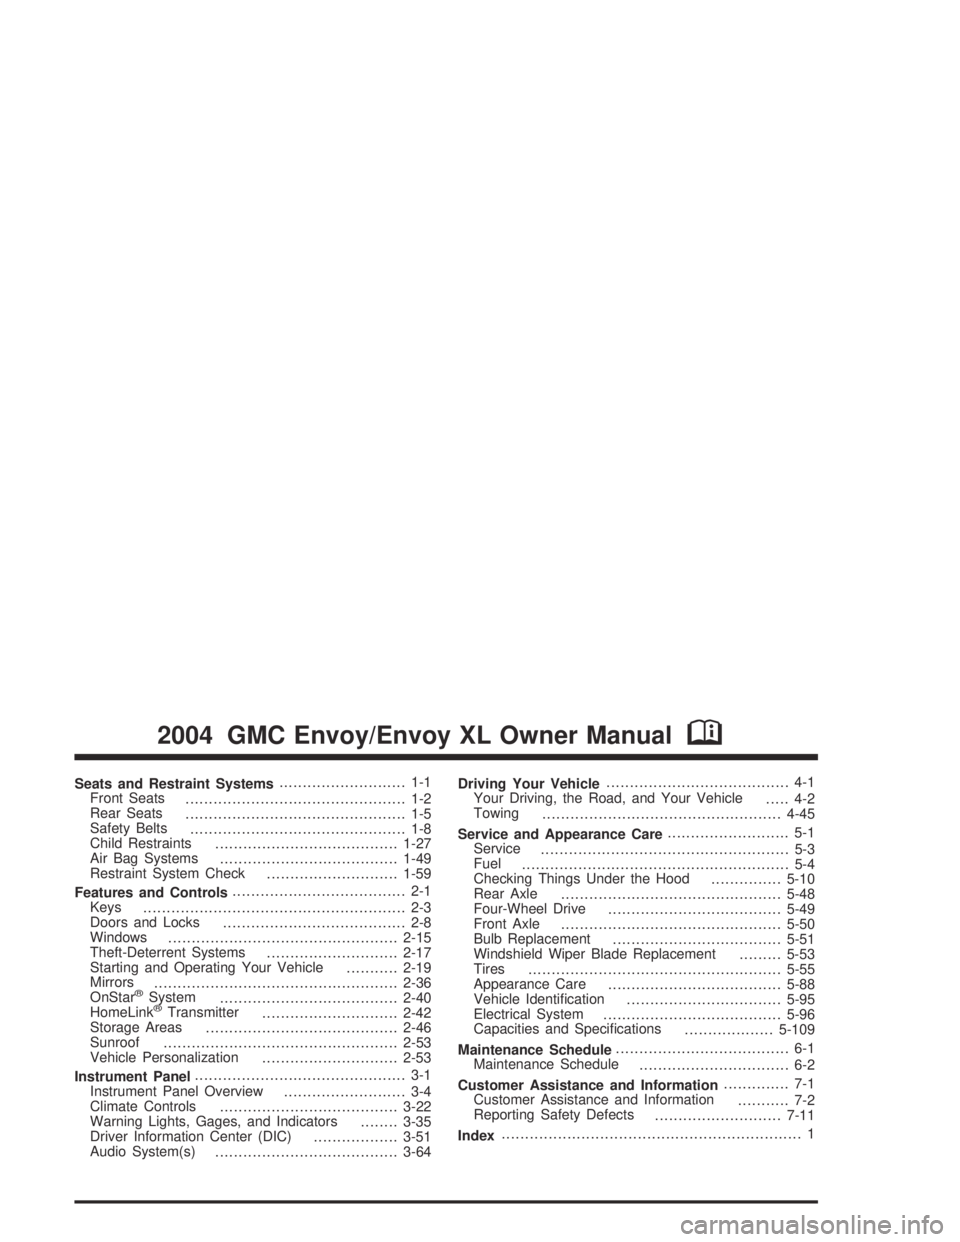
Seats and Restraint Systems........................... 1-1
Front Seats
............................................... 1-2
Rear Seats
............................................... 1-5
Safety Belts
.............................................. 1-8
Child Restraints
.......................................1-27
Air Bag Systems
......................................1-49
Restraint System Check
............................1-59
Features and Controls..................................... 2-1
Keys
........................................................ 2-3
Doors and Locks
....................................... 2-8
Windows
.................................................2-15
Theft-Deterrent Systems
............................2-17
Starting and Operating Your Vehicle
...........2-19
Mirrors
....................................................2-36
OnStar
®System
......................................2-40
HomeLink®Transmitter
.............................2-42
Storage Areas
.........................................2-46
Sunroof
..................................................2-53
Vehicle Personalization
.............................2-53
Instrument Panel............................................. 3-1
Instrument Panel Overview
.......................... 3-4
Climate Controls
......................................3-22
Warning Lights, Gages, and Indicators
........3-35
Driver Information Center (DIC)
..................3-51
Audio System(s)
.......................................3-64Driving Your Vehicle....................................... 4-1
Your Driving, the Road, and Your Vehicle
..... 4-2
Towing
...................................................4-45
Service and Appearance Care.......................... 5-1
Service
..................................................... 5-3
Fuel
......................................................... 5-4
Checking Things Under the Hood
...............5-10
Rear Axle
...............................................5-48
Four-Wheel Drive
.....................................5-49
Front Axle
...............................................5-50
Bulb Replacement
....................................5-51
Windshield Wiper Blade Replacement
.........5-53
Tires
......................................................5-55
Appearance Care
.....................................5-88
Vehicle Identi�cation
.................................5-95
Electrical System
......................................5-96
Capacities and Speci�cations
...................5-109
Maintenance Schedule..................................... 6-1
Maintenance Schedule
................................ 6-2
Customer Assistance and Information.............. 7-1
Customer Assistance and Information
........... 7-2
Reporting Safety Defects
...........................7-11
Index................................................................ 1
2004 GMC Envoy/Envoy XL Owner ManualM
Page 93 of 466

2HI (Two-Wheel High):This setting is for driving in
most street and highway situations. Your front axle is
not engaged in two-wheel drive. It also provides the best
fuel economy.
A4WD (Automatic Four-Wheel Drive):This setting is
ideal for use when road conditions are variable. When
driving your vehicle in A4WD, the front axle is engaged,
but the vehicle’s power is sent to the rear wheels. When
the vehicle senses a loss of traction, the system will
automatically engage four-wheel drive. Driving in this
mode results in slightly lower fuel economy than 2HI.
4HI (Four-Wheel High):Use 4HI when you need
extra traction, such as on snowy or icy roads or in
most off-road situations. This setting also engages
your front axle to help drive your vehicle.
4LO (Four-Wheel Low):This setting also engages
your front axle and delivers extra torque. It sends
maximum power to all four wheels. You might choose
4LO if you are driving off-road in deep sand, deep mud,
and climbing or descending steep hills.
{CAUTION:
Shifting the transfer case to NEUTRAL
can cause your vehicle to roll even if the
transmission is in PARK (P). You or someone
else could be seriously injured. Be sure to set
the parking brake before placing the transfer
case in NEUTRAL. SeeParking Brake on
page 2-29.
NEUTRAL:Shift the vehicle’s transfer case to
NEUTRAL only when towing your vehicle. See
Recreational Vehicle Towing on page 4-45for more
information.
An indicator light in the knob will show you which position
the transfer case is in. The indicator lights will come on
brie�y when you turn on the ignition and one will stay on.
If the lights do not come on, you should take your vehicle
to your dealer for service. An indicator light will �ash while
shifting the transfer case. It will remain illuminated when
the shift is complete. If for some reason the transfer case
cannot make a requested shift, it will return to the last
chosen setting.
2-27
Page 94 of 466

If the service four-wheel drive light on the instrument
panel cluster stays on, you should take your vehicle
to your dealer for service. SeeService Four-Wheel Drive
Warning Light on page 3-48for further information.
Shifting into 4HI or A4WD
Turn the knob to 4HI or A4WD. This can be done at any
speed unless you are shifting out of 4LO. The indicator
light will �ash while shifting. It will remain illuminated
when the shift is complete.
Shifting into 2HI
Turn the knob to 2HI. This can be done at any speed
unless you are shifting out of 4LO.
Shifting into 4LO
To shift to 4LO, the vehicle’s engine must be running
and the vehicle must be stopped or moving less than
2 mph (3.2 km/h) with the transmission in NEUTRAL (N).
The preferred method for shifting into 4LO is to have your
vehicle moving 1 or 2 mph (1.6 to 3.2 km/h). Turn the
knob to 4LO. You must wait for the 4LO indicator light to
stop �ashing and remain illuminated before shifting your
transmission into gear.If you turn the knob to 4LO when your vehicle is in
gear and/or moving, the 4LO indicator light will �ash
for 30 seconds and not complete the shift unless your
vehicle is moving less than 2 mph (3.2 km/h) and
the transmission is in NEUTRAL (N). After 30 seconds,
the transfer case will return to the setting last chosen.
Shifting Out of 4LO
To shift from 4LO to 4HI, A4WD or 2HI your vehicle must
be stopped or moving less than 2 mph (3.2 km/h) with the
transmission in NEUTRAL (N) and the engine running.
The preferred method for shifting out of 4LO is to have
your vehicle moving 1 or 2 mph (1.6 to 3.2 km/h). Turn
the knob to 4HI, A4WD or 2HI. You must wait for the 4HI,
A4WD or 2HI indicator light to stop �ashing and remain
illuminated before shifting your transmission into gear.
If the knob is turned to 4HI, A4WD or 2HI when your
vehicle is in gear and/or moving, the 4HI, A4WD or 2HI
indicator light will �ash for 30 seconds. It will not
complete the shift unless your vehicle is moving less
than 2 mph (3.2 km/h) with the transmission in
NEUTRAL (N).
2-28
Page 121 of 466

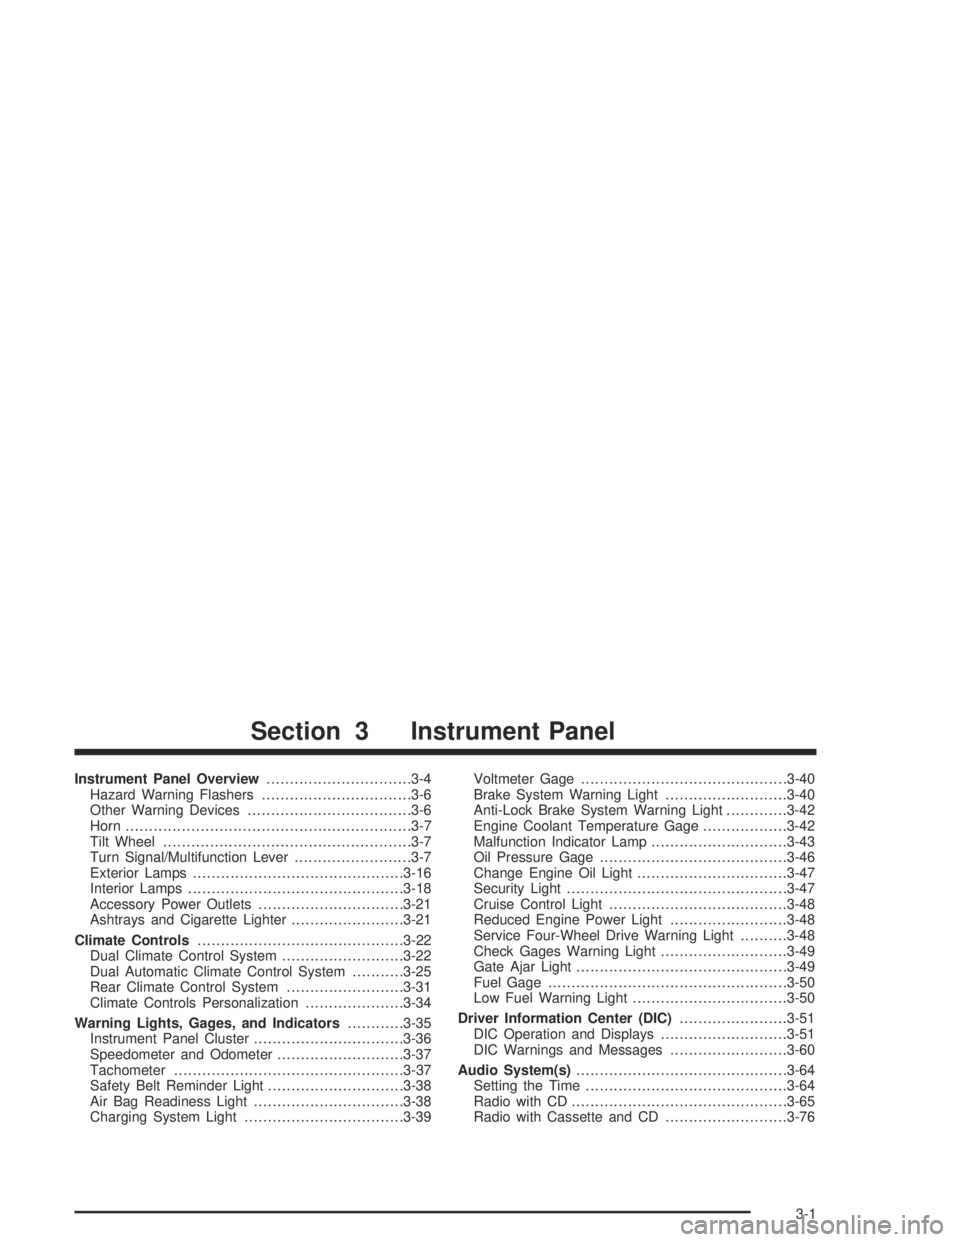
Instrument Panel Overview...............................3-4
Hazard Warning Flashers................................3-6
Other Warning Devices...................................3-6
Horn.............................................................3-7
Tilt Wheel.....................................................3-7
Turn Signal/Multifunction Lever.........................3-7
Exterior Lamps.............................................3-16
Interior Lamps..............................................3-18
Accessory Power Outlets...............................3-21
Ashtrays and Cigarette Lighter........................3-21
Climate Controls............................................3-22
Dual Climate Control System..........................3-22
Dual Automatic Climate Control System...........3-25
Rear Climate Control System.........................3-31
Climate Controls Personalization.....................3-34
Warning Lights, Gages, and Indicators............3-35
Instrument Panel Cluster................................3-36
Speedometer and Odometer...........................3-37
Tachometer.................................................3-37
Safety Belt Reminder Light.............................3-38
Air Bag Readiness Light................................3-38
Charging System Light..................................3-39Voltmeter Gage............................................3-40
Brake System Warning Light..........................3-40
Anti-Lock Brake System Warning Light.............3-42
Engine Coolant Temperature Gage..................3-42
Malfunction Indicator Lamp.............................3-43
Oil Pressure Gage........................................3-46
Change Engine Oil Light................................3-47
Security Light...............................................3-47
Cruise Control Light......................................3-48
Reduced Engine Power Light.........................3-48
Service Four-Wheel Drive Warning Light..........3-48
Check Gages Warning Light...........................3-49
Gate Ajar Light.............................................3-49
Fuel Gage...................................................3-50
Low Fuel Warning Light.................................3-50
Driver Information Center (DIC).......................3-51
DIC Operation and Displays...........................3-51
DIC Warnings and Messages.........................3-60
Audio System(s).............................................3-64
Setting the Time...........................................3-64
Radio with CD..............................................3-65
Radio with Cassette and CD..........................3-76
Section 3 Instrument Panel
3-1
Page 163 of 466

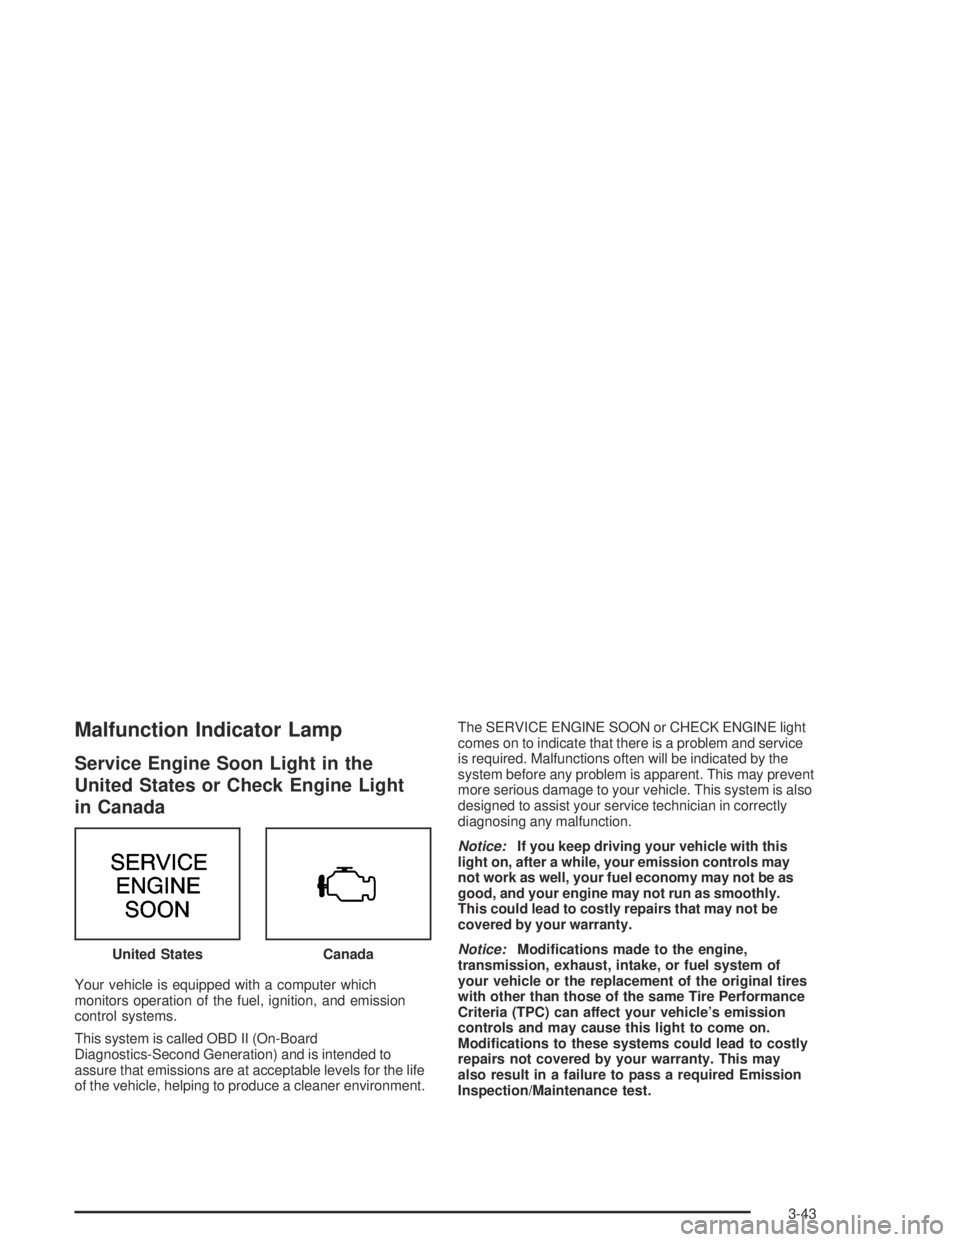
Malfunction Indicator Lamp
Service Engine Soon Light in the
United States or Check Engine Light
in Canada
Your vehicle is equipped with a computer which
monitors operation of the fuel, ignition, and emission
control systems.
This system is called OBD II (On-Board
Diagnostics-Second Generation) and is intended to
assure that emissions are at acceptable levels for the life
of the vehicle, helping to produce a cleaner environment.The SERVICE ENGINE SOON or CHECK ENGINE light
comes on to indicate that there is a problem and service
is required. Malfunctions often will be indicated by the
system before any problem is apparent. This may prevent
more serious damage to your vehicle. This system is also
designed to assist your service technician in correctly
diagnosing any malfunction.
Notice:If you keep driving your vehicle with this
light on, after a while, your emission controls may
not work as well, your fuel economy may not be as
good, and your engine may not run as smoothly.
This could lead to costly repairs that may not be
covered by your warranty.
Notice:Modi�cations made to the engine,
transmission, exhaust, intake, or fuel system of
your vehicle or the replacement of the original tires
with other than those of the same Tire Performance
Criteria (TPC) can affect your vehicle’s emission
controls and may cause this light to come on.
Modi�cations to these systems could lead to costly
repairs not covered by your warranty. This may
also result in a failure to pass a required Emission
Inspection/Maintenance test. United States
Canada
3-43
Page 183 of 466

LEFT REAR DOOR AJAR
If the driver’s side rear door is not fully closed this
message will appear on the display and you will hear
a chime. Stop and turn off the vehicle, check the door
for obstacles, and close the door again. Check to see
if the message still appears on the DIC. Press the select
button to acknowledge this message and clear it from
the DIC display.
RIGHT REAR DOOR AJAR
If the passenger’s side rear door is not fully closed
this message will appear on the display and you
will hear a chime. Stop and turn off the vehicle, check
the door for obstacles, and close the door again.
Check to see if the message still appears on the DIC.
Press the select button to acknowledge this message
and clear it from the DIC display.
RFA # BATTERY LOW
If a remote keyless entry transmitter battery is low,
this message will appear on the DIC. The battery
needs to be replaced in the transmitter. Press the
select button to acknowledge this message and clear
it from the DIC display.
CURB VIEW ACTIVATED
The CURB VIEW ACTIVATED message is displayed
when one of the outside rear view mirrors move into the
curb view position. Refer to “Outside Curb View Assist
Mirrors” for more information.
TIGHTEN FUEL CAP
If the vehicle’s fuel cap is not tightened properly, this
message may appear on the DIC and a chime will
sound. Fully reinstall the fuel cap. The diagnostic system
can determine if the fuel cap has been left off or
improperly installed. A loose or missing fuel cap will
allow fuel to evaporate into the atmosphere. The
DIC message will remain on until the message is
cancelled with the return button on the steering wheel.
The DIC message will also be cancelled if the ignition
is turned off.
The DIC message and the Service Engine Soon light
may come on again during a second trip if the fuel cap
is still not tightened properly. SeeMalfunction Indicator
Lamp on page 3-43for more information.
3-63
Page 226 of 466

Navigation/Radio System
Your vehicle may be equipped with a navigation radio
system includes digital sound processing (DSP),
Radio Data System (RDS) with program type (PTY)
selections that will seek out the kind of music you want
to listen to and XM™ Satellite Radio Service capabilities
(48 contiguous US states, if equipped). The radio system
can also communicate with your navigation system to
broadcast announcements on traffic, weather, and
emergency alert communications. For information on how
to use this system, see the “Navigation System” manual.
Rear Seat Entertainment System
Your vehicle may have a DVD Rear Seat Entertainment
(RSE) system. The RSE system includes a DVD
player, a video display screen, two sets of wireless
headphones, and a remote control.
Parental Control
This button is located behind the video screen. Press
this button while a DVD or CD is playing to freeze
the video and mute the audio. The video screen will
display Parental Control ON and the power indicator
light on the DVD player will �ash. It will also disable all
other button operations from the remote control and
the DVD player, with the exception of the eject button.
Press this button again to restore operation of the
DVD player.
This button may also be used to turn the DVD player
power on and automatically resume play if the ignition is
in RUN, ACCESSORY, or if RAP is active. Navigation/Radio Display and Controls
3-106
Page 227 of 466

Before You Drive
The RSE system is for rear seat passengers only.
The driver cannot safely view the video screen while
driving and should not try to do so.
Headphones
The RSE system includes two sets of wireless
headphones.
Each set of headphones has an ON/OFF control.
An indicator light will illuminate on the headphones
when they are on. If the light does not illuminate, the
batteries may need to be replaced. See “Battery
Replacement” following for more information.
Each set of headphones has a volume knob. To adjust
the volume, adjust this knob.
The transmitters are located below the video display
screen. The headphones will shut off automatically
if they lose the signal from the system after about
four minutes to save battery power. The signal may be
lost if the system is turned off or if the headphones
are out of range of the transmitters.When using the wired headphones, if the front seat
passengers play a CD in the Radio with Six-Disc CD
(if equipped) or use XM™ Satellite Radio Service
(if equipped), you will hear the audio for these sources,
instead of the DVD or CD that is currently playing
through the RSE.
Notice:Do not store the headphones in heat or
direct sunlight. This could damage the headphones
and repairs would not be covered by your warranty.
Keep the headphones stored in a cool, dry place.
Battery Replacement
To change the batteries, do the following:
1. Loosen the screw on the battery compartment door
located on the left side of the headphone earpiece.
2. Replace the two AAA batteries in the compartment.
Make sure that they are installed correctly, using
the diagram on the inside of the battery
compartment.
3. Tighten the screw to close the compartment door.
If the headphones are to be stored for a long period
of time, remove the batteries and keep them in a cool,
dry place.
3-107
Page 230 of 466

DVD Player
The DVD player is located in the overhead console.
The DVD player can be controlled by the buttons on
the DVD player or by the buttons on the remote control.
See “Remote Control” later in this section for more
information.
The DVD player power may be turned on when the
ignition is in RUN, ACCESSORY, or when Retained
Accessory Power (RAP) is active.
The RSE system DVD player is only compatible with
DVDs of the appropriate region code for the country
that the vehicle was sold in. The DVD region code
is printed on the jacket of most DVDs.
Standard audio CDs (CD-R and CD-RW discs) can
also be played in this DVD player.
When using the wired headphones, not included,
if the front seat passengers play a CD in the Radio
with Six-Disc CD (if equipped) or use XM™ Satellite
Radio Service (if equipped), you will hear the audio
for these sources, instead of the DVD or CD that
is currently playing through the RSE.
If an error message appears on the video screen,
see “DVD Messages” later in this section.
DVD Player Buttons
O(Power):Press this button to turn the RSE system
on and off. The power indicator light will illuminate
when the power is on.
X(Eject):Press this button to eject a DVD or CD.
SRCE (Source):Press this button to switch between
the DVD player and an auxiliary source.
c(Stop):Press this button to stop playing, rewinding,
or fast forwarding a DVD or CD. Press this button
twice to return to the beginning of the DVD.
3-110
Page 241 of 466

Care of Your Cassette Tape Player
A tape player that is not cleaned regularly can cause
reduced sound quality, ruined cassettes, or a damaged
mechanism. Cassette tapes should be stored in their
cases away from contaminants, direct sunlight, and
extreme heat. If they are not, they may not operate
properly or may cause failure of the tape player.
The tape player should be cleaned regularly after every
50 hours of use. The radio may display CLEAN to
indicate that the tape player has been used for 50 hours
without resetting the tape clean timer. If this message
appears on the display, the cassette tape player
needs to be cleaned. It will still play tapes, but it should
be cleaned as soon as possible to prevent damage
to the tapes and player. If there is a reduction in sound
quality, try a known good cassette to see if the tape
or the tape player is at fault. If this other cassette has
no improvement in sound quality, clean the tape player.
For best results, use a scrubbing action, non-abrasive
cleaning cassette with pads which scrub the tape head as
the hubs of the cleaner cassette turn. The recommended
cleaning cassette is available through your dealer.
The broken tape detection feature of the cassette
tape player may identify the cleaning cassette as a
damaged tape, in error. To prevent the cleaning cassette
from being ejected, use the following steps:1. Turn the ignition on.
2. Turn the radio off.
3. Press and hold the TAPE CD button for �ve
seconds. READY will appear on the display and
a cassette symbol will �ash for �ve seconds.
4. Insert the scrubbing action cleaning cassette.
5. Eject the cleaning cassette after the manufacturer’s
recommended cleaning time.
After the cleaning cassette is ejected, the broken
tape detection feature will be active again.
A non-scrubbing action, wet-type cleaner which uses a
cassette with a fabric belt to clean the tape head
can be used. This type of cleaning cassette will not
eject on its own. A non-scrubbing action cleaner may not
clean as thoroughly as the scrubbing type cleaner.
The use of a non-scrubbing action, dry-type cleaning
cassette is not recommended.
After the player is cleaned, press and hold the EJT
button for �ve seconds to reset the CLEAN indicator.
The radio will display CLEANED to show the indicator
was reset.
Cassettes are subject to wear and the sound quality may
degrade over time. Always make sure the cassette tape
is in good condition before the tape player is serviced.
3-121