remote GMC ENVOY XL 2005 Owner's Manual
[x] Cancel search | Manufacturer: GMC, Model Year: 2005, Model line: ENVOY XL, Model: GMC ENVOY XL 2005Pages: 480, PDF Size: 11.77 MB
Page 258 of 480
Problem Recommended Action
In auxiliary mode, the
picture moves or scrolls.Check the auxiliary input
connections at both
devices.
Change the Video Format
to PAL or NTSC. See
“Stereo RCA Jacks”
previously for how to
change the video format.
The language in the
audio or on the screen
is wrong.Check the audio or
language selection in
the main DVD menu.
The remote control
does not work.Check to make sure there
is no obstruction between
the remote control and the
transmitter window.
Check the batteries to
make sure they are not
dead or installed
incorrectly.
The parental control
button might have been
turned on. The power
indicator light will �ash.Problem Recommended Action
After stopping the
player, I push Play but
sometimes the DVD
starts where I left off
and sometimes at the
beginning.If the stop button was
pressed one time, the
DVD player will resume
playing where the DVD
was stopped. If the stop
button was pressed two
times the DVD player will
begin to play from the
beginning of the DVD.
The auxiliary source is
running but there is no
picture or sound.Check that the DVD
player is in the auxiliary
source mode.
Check the auxiliary input
connections at both
devices.
My disc is stuck in the
player. The Load/Eject
button does not work.Turn the DVD power off,
then on, then press the
load/eject button on the
DVD player.
Do not attempt to forcibly
remove the disc from the
DVD player. This could
permanently damage the
disc and DVD player.
3-122
Page 259 of 480

Problem Recommended Action
Sometimes the wireless
headphone audio cuts
out or buzzes.Check for obstructions,
low batteries, reception
range, and interference
from cellular telephone
towers or by using your
cellular telephone in the
vehicle.
Check that the
headphones are facing
the front of the vehicle.
I lost the remote and/or
the headphones.See your dealer for
assistance.
The DVD is playing,
but there is no picture
or sound.Check that the DVD
player is in DVD mode.
The audio/video skips
or jumps.The DVD or CD could
be dirty, scratched, or
damaged.
The audio from the
radio for the Radio with
Six-Disc CD and XM™
has taken over the audio
from the DVD or CD
when using the wired
headphones.The RSE is working
correctly.
Use the wireless
headphones or have the
front seat passengers
listen to another audio
source.DVD Messages
The following errors may be displayed on the video
screen:
Disc Format Error:This message will be displayed if a
disc is inserted upside down, if the disc is not readable,
or if the format is not compatible with the DVD player.
Load/Eject Error:This message will be displayed if the
disc is not properly loaded or ejected.
Disc Play Error:This message will be displayed if the
DVD player cannot play the disc. Scratched or
damaged discs will cause this error.
Region Code Error:This message will be displayed if
the region code of the DVD is not compatible with
the region code of the DVD player.
No Disc:This message will be displayed if any of the
buttons on the DVD faceplate or remote control are
pressed and no disc is present in the DVD player.
DVD Distortion
There may be an experience with audio distortion in the
wireless headphones when operating cellular phones,
scanners, CB radios, Global Positioning Systems (GPS)*,
two-way radios, mobile fax, or walkie talkies.
It may be necessary to turn off the DVD player when
operating one of these devices in or near the vehicle.
* Excludes the OnStar
®System.
3-123
Page 260 of 480
Cleaning the Video Screen
Pour some isopropyl or rubbing alcohol on a clean
cloth and gently wipe the video screen. Do not spray
directly onto the screen and do not press too hard or
too long on the video screen.
Rear Seat Audio (RSA)
This feature allows rear seat passengers to listen to any
of the sources: radio, cassette tapes, CDs, or DVDs.
However, the rear seat passengers can only control
the sources that the front seat passengers are not
listening to. For example, rear seat passengers may
listen to and control cassette tapes, CDs, or DVDs
through the headphones while the driver listens to
the radio through the front speakers. The rear seat
passengers have control of the volume for each set
of headphones.
The front seat audio controls always have priority
over the RSA controls. If the front seat passengers
switch the source for the main radio to a remote source,
the RSA will not be able to control the source. You
can operate the rear seat audio when the main radio
is off.
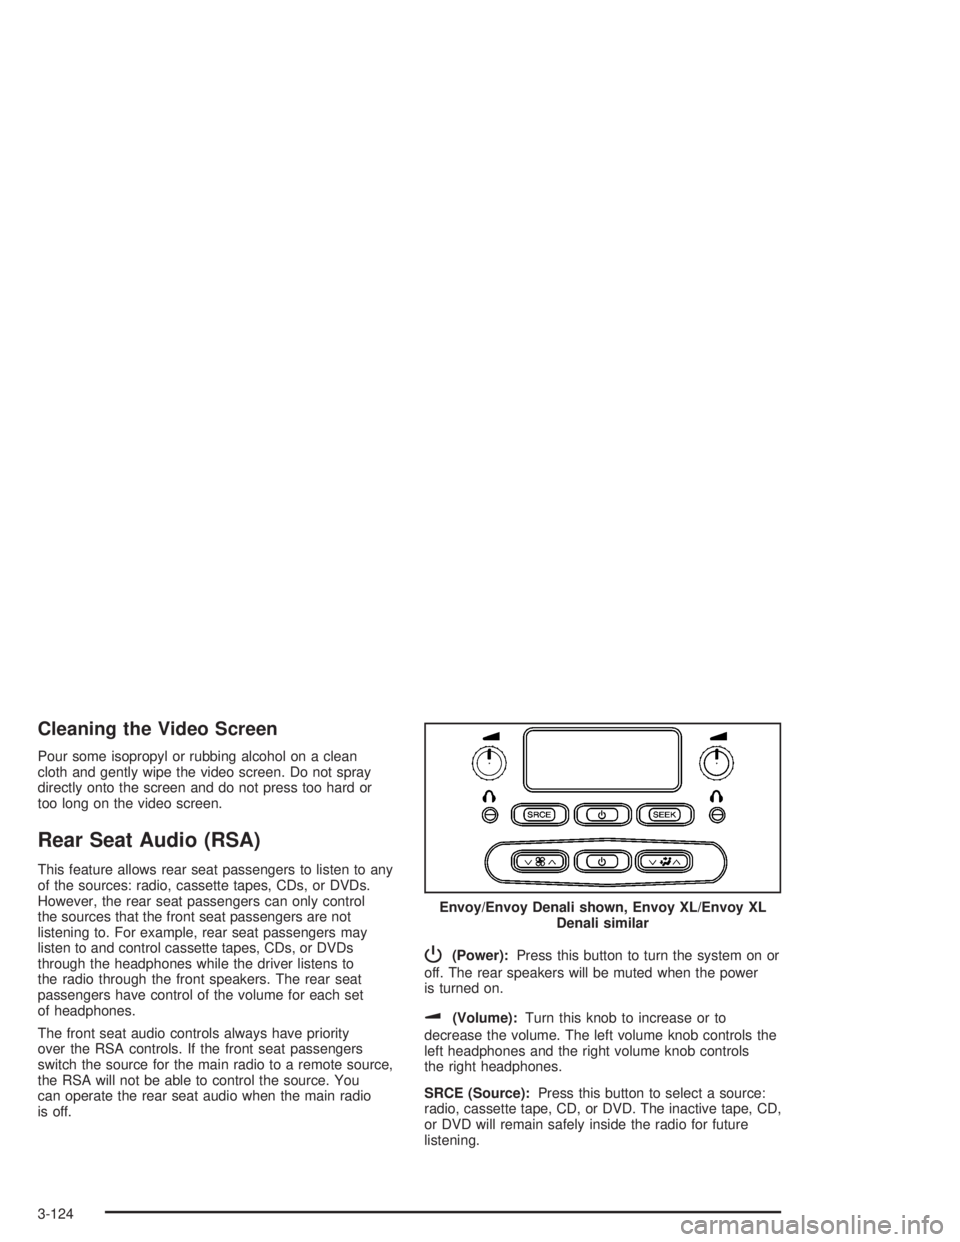
P(Power):Press this button to turn the system on or
off. The rear speakers will be muted when the power
is turned on.
u(Volume):Turn this knob to increase or to
decrease the volume. The left volume knob controls the
left headphones and the right volume knob controls
the right headphones.
SRCE (Source):Press this button to select a source:
radio, cassette tape, CD, or DVD. The inactive tape, CD,
or DVD will remain safely inside the radio for future
listening.Envoy/Envoy Denali shown, Envoy XL/Envoy XL
Denali similar
3-124
Page 283 of 480
Environmental Concerns
Off-road driving can provide wholesome and satisfying
recreation. However, it also raises environmental
concerns. We recognize these concerns and urge every
off-roader to follow these basic rules for protecting
the environment:
Always use established trails, roads and areas that
have been specially set aside for public off-road
recreational driving; obey all posted regulations.
Avoid any driving practice that could damage
the environment — shrubs, �owers, trees,
grasses — or disturb wildlife (this includes
wheel-spinning, breaking down trees or
unnecessary driving through streams or over
soft ground).
Always carry a litter bag — make sure all refuse
is removed from any campsite before leaving.
Take extreme care with open �res (where
permitted), camp stoves and lanterns.
Never park your vehicle over dry grass or other
combustible materials that could catch �re from
the heat of the vehicle’s exhaust system.
Traveling to Remote Areas
It makes sense to plan your trip, especially when going
to a remote area. Know the terrain and plan your
route. You are much less likely to get bad surprises.
Get accurate maps of trails and terrain. Try to learn of
any blocked or closed roads.
It is also a good idea to travel with at least one other
vehicle. If something happens to one of them, the other
can help quickly.
Does your vehicle have a winch? If so, be sure to read
the winch instructions. In a remote area, a winch
can be handy if you get stuck. But you will want to know
how to use it properly.
Getting Familiar with Off-Road Driving
It is a good idea to practice in an area that is safe
and close to home before you go into the wilderness.
Off-road driving does require some new and different
skills. Here is what we mean.
Tune your senses to different kinds of signals. Your
eyes, for example, need to constantly sweep the terrain
for unexpected obstacles. Your ears need to listen
for unusual tire or engine sounds. With your arms,
hands, feet and body, you will need to respond to
vibrations and vehicle bounce.
4-17
Page 294 of 480
Driving at Night
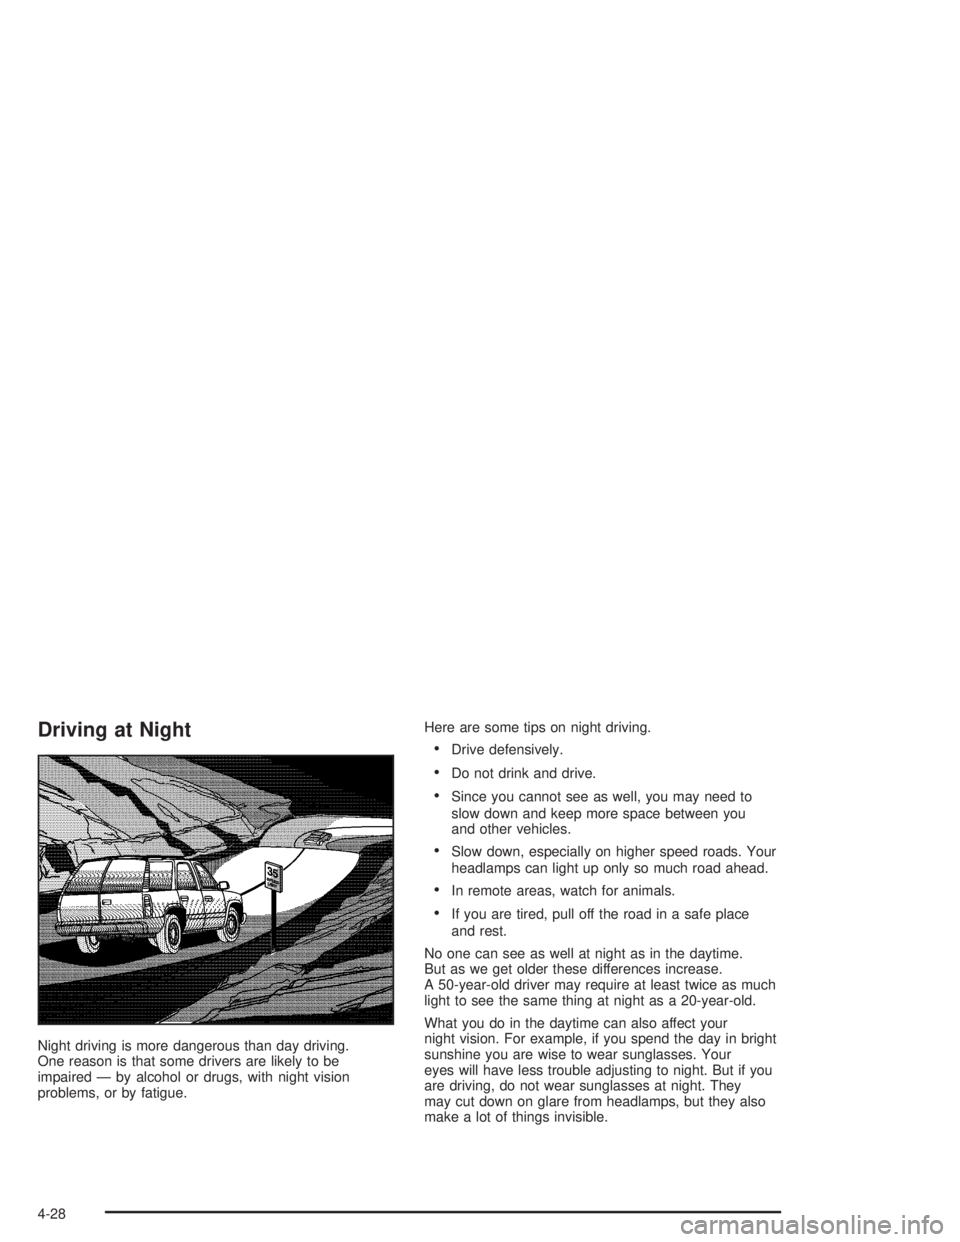
Night driving is more dangerous than day driving.
One reason is that some drivers are likely to be
impaired — by alcohol or drugs, with night vision
problems, or by fatigue.Here are some tips on night driving.
Drive defensively.
Do not drink and drive.
Since you cannot see as well, you may need to
slow down and keep more space between you
and other vehicles.
Slow down, especially on higher speed roads. Your
headlamps can light up only so much road ahead.
In remote areas, watch for animals.
If you are tired, pull off the road in a safe place
and rest.
No one can see as well at night as in the daytime.
But as we get older these differences increase.
A 50-year-old driver may require at least twice as much
light to see the same thing at night as a 20-year-old.
What you do in the daytime can also affect your
night vision. For example, if you spend the day in bright
sunshine you are wise to wear sunglasses. Your
eyes will have less trouble adjusting to night. But if you
are driving, do not wear sunglasses at night. They
may cut down on glare from headlamps, but they also
make a lot of things invisible.
4-28
Page 345 of 480
A. Engine Air Cleaner/Filter. SeeEngine Air
Cleaner/Filter on page 5-19.
B. Engine Coolant Recovery Tank. SeeCooling System
on page 5-28.
C. Windshield Washer Fluid Reservoir. See “Adding
Washer Fluid” underWindshield Washer Fluid
on page 5-34.
D. Power Steering Fluid Reservoir. SeePower Steering
Fluid on page 5-34.
E. Automatic Transmission Fluid Dipstick (Out of View).
See “Checking the Fluid Level” underAutomatic
Transmission Fluid on page 5-21.
F. Engine Oil Dipstick. See “Checking Engine Oil”
underEngine Oil on page 5-15.G. Radiator Pressure Cap. SeeRadiator Pressure Cap
on page 5-26.
H. Engine Oil Fill Cap. See “When to Add Engine Oil”
underEngine Oil on page 5-15.
I. Remote Negative (−) Terminal (Marked GND).
SeeJump Starting on page 5-39.
J. Brake Master Cylinder Reservoir. See “Brake Fluid”
underBrakes on page 5-35.
K. Battery. SeeBattery on page 5-38.
L. Engine Compartment Fuse Block. SeeEngine
Compartment Fuse Block on page 5-92.
5-13
Page 347 of 480

A. Engine Coolant Recovery Tank. SeeCooling System
on page 5-28.
B. Engine Air Cleaner/Filter. SeeEngine Air
Cleaner/Filter on page 5-19.
C. Windshield Washer Fluid Reservoir. See “Adding
Washer Fluid” underWindshield Washer Fluid
on page 5-34.
D. Engine Oil Dipstick. See “Checking Engine Oil”
underEngine Oil on page 5-15.
E. Automatic Transmission Fluid Dipstick. See
“Checking the Fluid Level” underAutomatic
Transmission Fluid on page 5-21.
F. Engine Oil Fill Cap. See “When to Add Engine Oil”
underEngine Oil on page 5-15.
G. Radiator Pressure Cap. SeeRadiator Pressure Cap
on page 5-26.
H. Remote Negative (−) Terminal (Marked GND).
SeeJump Starting on page 5-39.
I. Power Steering Fluid Reservoir. SeePower Steering
Fluid on page 5-34.
J. Brake Master Cylinder Reservoir. See “Brake Fluid”
underBrakes on page 5-35.
K. Engine Compartment Fuse Block. SeeEngine
Compartment Fuse Block on page 5-92.
L. Battery. SeeBattery on page 5-38.Engine Oil
Checking Engine Oil
It is a good idea to check your engine oil every time you
get fuel. In order to get an accurate reading, the oil
must be warm and the vehicle must be on level ground.
The engine oil dipstick handle is a yellow loop. See
Engine Compartment Overview on page 5-12for
the location of the engine oil dipstick.
1. Turn off the engine and give the oil several minutes
to drain back into the oil pan. If you do not do this,
the oil dipstick might not show the actual level.
2. Pull out the dipstick and clean it with a paper towel
or cloth, then push it back in all the way. Remove it
again, keeping the tip down, and check the level.
5-15
Page 372 of 480
2. Get the vehicles close enough so the jumper cables
can reach, but be sure the vehicles are not touching
each other. If they are, it could cause a ground
connection you do not want. You would not be able
to start your vehicle, and the bad grounding
could damage the electrical systems.
To avoid the possibility of the vehicles rolling, set
the parking brake �rmly on both vehicles involved in
the jump start procedure. Put an automatic
transmission in PARK (P) or a manual transmission
in NEUTRAL before setting the parking brake. If
you have a four-wheel-drive vehicle, be sure
the transfer case is not in NEUTRAL.
Notice:If you leave your radio or other accessories
on during the jump starting procedure, they could
be damaged. The repairs would not be covered
by your warranty. Always turn off your radio and
other accessories when jump starting your vehicle.
3. Turn off the ignition on both vehicles. Unplug
unnecessary accessories plugged into the cigarette
lighter or the accessory power outlets, if equipped.
Turn off the radio and all lamps that are not
needed. This will avoid sparks and help to save
both batteries. And it could save the radio!
4. Open both hoods and locate the batteries. Find the
positive (+) and negative (−) terminals on each
battery. Your vehicle has a remote negative (−) jump
starting terminal. You should always use thisremote terminal instead of the terminal on the
battery. The remote negative (−) terminal is located
on the front engine lift bracket on vehicles with
the 4.2L L6 engine or the engine accessory drive
bracket for vehicles with the 5.3L V8 engine, and is
marked GND (Ground). SeeEngine Compartment
Overview on page 5-12for more information on
location.
{CAUTION:
Using a match near a battery can cause battery
gas to explode. People have been hurt doing
this, and some have been blinded. Use a
�ashlight if you need more light.
Be sure the battery has enough water. You do
not need to add water to the battery installed
in your new vehicle. But if a battery has �ller
caps, be sure the right amount of �uid is there.
If it is low, add water to take care of that �rst.
If you do not, explosive gas could be present.
Battery �uid contains acid that can burn you.
Do not get it on you. If you accidentally get it
in your eyes or on your skin, �ush the place
with water and get medical help immediately.
5-40
Page 373 of 480
{CAUTION:
Fans or other moving engine parts can injure
you badly. Keep your hands away from moving
parts once the engine is running.
5. Check that the jumper cables do not have loose or
missing insulation. If they do, you could get a
shock. The vehicles could be damaged too.
Before you connect the cables, here are some
basic things you should know. Positive (+) will go to
positive (+) or to a remote positive (+) terminal if
the vehicle has one. Negative (−) will go to a heavy,
unpainted metal engine part or to a remote
negative (−) terminal if the vehicle has one. Do not
connect positive (+) to negative (−) or you will
get a short that would damage the battery and
maybe other parts too. And do not connect
the negative (−) cable to the negative (−) terminal
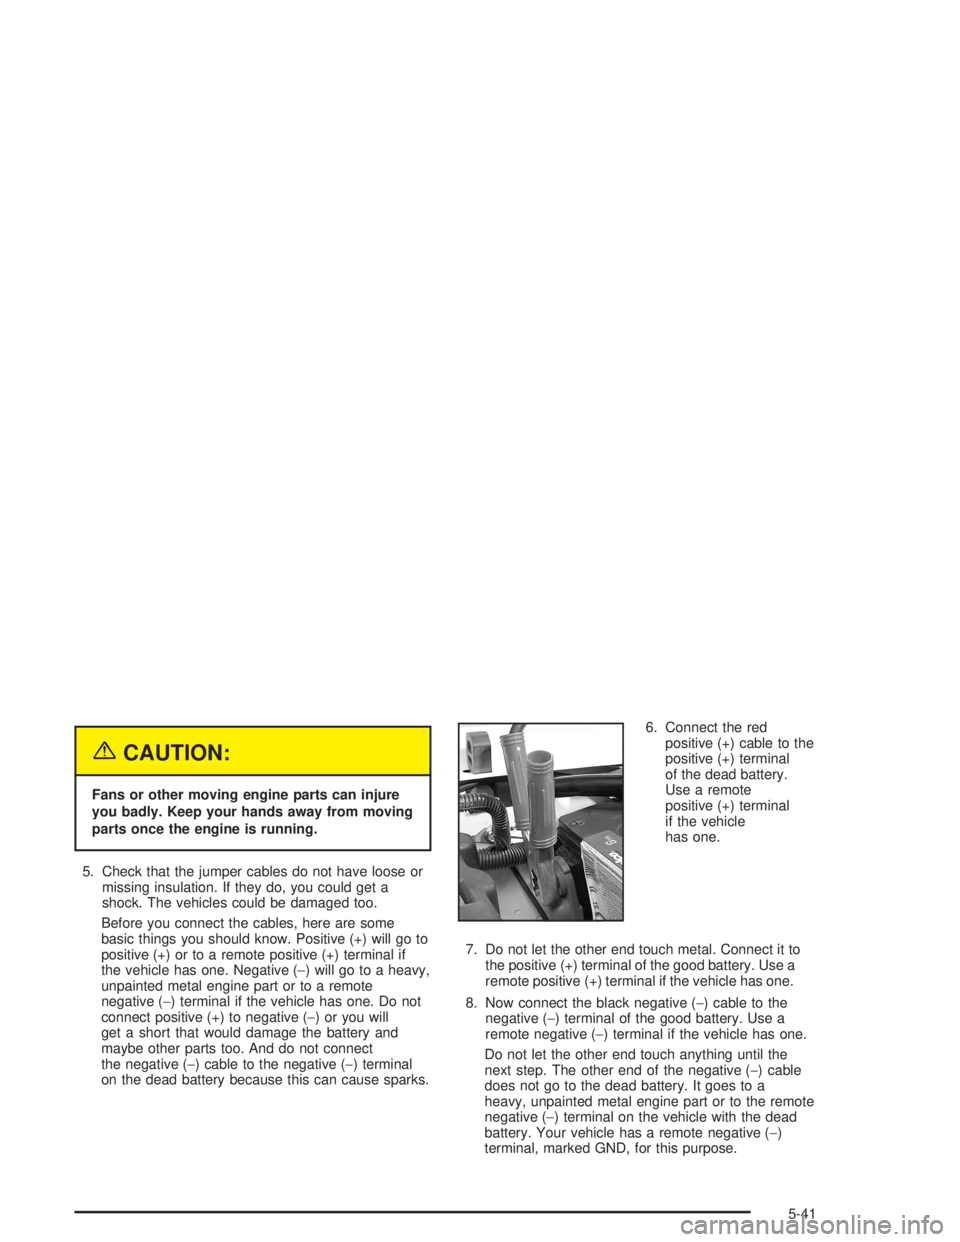
on the dead battery because this can cause sparks.6. Connect the red
positive (+) cable to the
positive (+) terminal
of the dead battery.
Use a remote
positive (+) terminal
if the vehicle
has one.
7. Do not let the other end touch metal. Connect it to
the positive (+) terminal of the good battery. Use a
remote positive (+) terminal if the vehicle has one.
8. Now connect the black negative (−) cable to the
negative (−) terminal of the good battery. Use a
remote negative (−) terminal if the vehicle has one.
Do not let the other end touch anything until the
next step. The other end of the negative (−) cable
does not go to the dead battery. It goes to a
heavy, unpainted metal engine part or to the remote
negative (−) terminal on the vehicle with the dead
battery. Your vehicle has a remote negative (−)
terminal, marked GND, for this purpose.
5-41
Page 374 of 480

The remote negative (−) terminal is located on the
front engine lift bracket for the 4.2L L6 engine,
and on the accessory drive bracket for the
5.3L V8 engine.
9. Connect the other end of the negative (−) cable to
the remote negative (−) terminal on the vehicle with
the dead battery.
10. Now start the vehicle with the good battery and run
the engine for a while.
11. Try to start the vehicle that had the dead battery.
If it will not start after a few tries, it probably needs
service.Notice:If the jumper cables are connected or
removed in the wrong order, electrical shorting may
occur and damage the vehicle. The repairs would
not be covered by your warranty. Always connect
and remove the jumper cables in the correct
order, making sure that the cables do not touch
each other or other metal.
A. Heavy, Unpainted Metal Engine Part or Remote
Negative (−) Terminal
B. Good Battery or Remote Positive (+) and Remote
Negative (−) Terminals
C. Dead Battery or Remote Positive (+) Terminal 4.2L L6 Engine
5.3L V8 Engine
Jumper Cable Removal
5-42