Ignition switch GMC JIMMY 1997 Owner's Manual
[x] Cancel search | Manufacturer: GMC, Model Year: 1997, Model line: JIMMY, Model: GMC JIMMY 1997Pages: 410, PDF Size: 20.03 MB
Page 74 of 410
New Vehicle “Break-In”
NOTICE:
Your modern vehicle doesn’t need an elaborate
“break-in.” But it
will perform better in the long
run
if you follow these guidelines:
0 Keep your speed at 55 mph (88 km/h) or
less for the first
500 miles (805 km).
0 Don’t drive at any one speed -- fast or
slow
-- for the first 500 miles (805 km).
Don’t make full-throttle starts.
200 miles (322 km) or so. During this time
your new brake linings aren’t yet broken in. Hard stops with new linings can mean
premature wear and earlier replacement.
Follow this breaking-in guideline every
time you get new brake linings.
See “Towing
a Trailer” in the Index for
more information.
0 Avoid making hard stops for the first
Don’t tow a trailer during break-in.
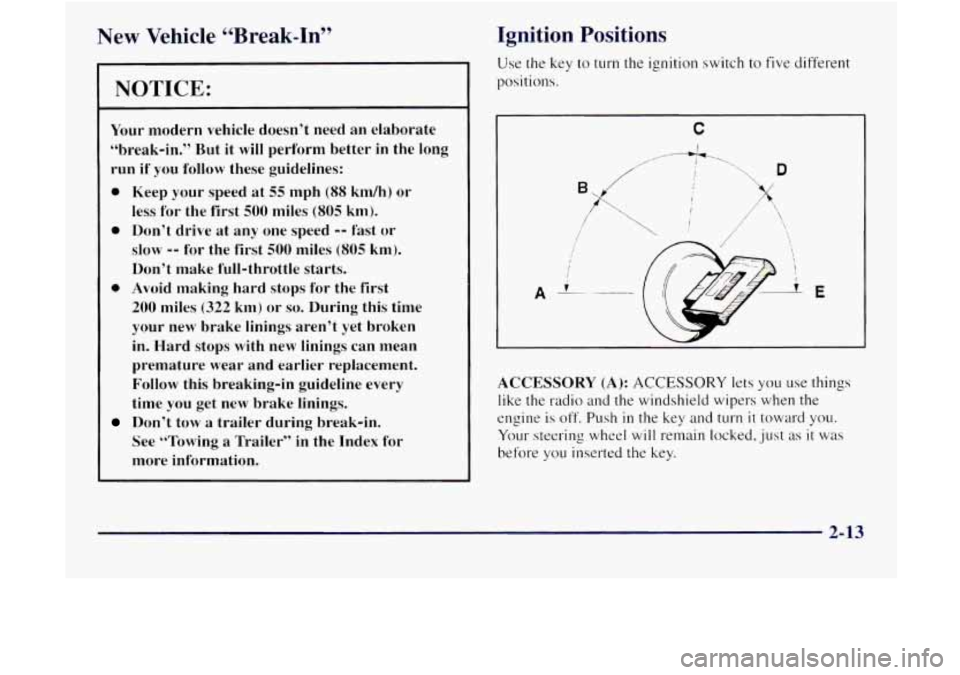
Ignition Positions
Use the key to turn the ignition switch to five different
positions.
C
I
ACCESSORY (A): ACCESSORY lets you use things
like the radio and the windshield wipers when the
engine
is off. Push in the key and turn it toward you.
Your steering wheel will remain locked. just as it was
before you inserted the key.
2-13
Page 75 of 410
NOTICE:
Don’t operate accessories in the ACCESSORY
position for long periods of time. Prolonged
operation of accessories in the ACCESSORY
position could drain your battery and prevent
you from starting your vehicle.
LOCK
(B): This position locks your ignition, steering
wheel and transmission. It’s
a theft-deterrent feature.
You will only be able to remove your key when the
ignition is turned
to LOCK.
OFF (C): This position lets you turn off the engine but
still turn the steering wheel. Use OFF if you must have
your vehicle in motion while the engine is off (for
example, if your vehicle is being towed).
RUN (D): This is the position for driving.
START (E): This starts your engine.
On manual transmission vehicles, turning the key
to
LOCK will lock the steering column and result
in a loss
of ability to steer the vehicle. This could
cause a collision.
If you need to turn the engine
off while the vehicle is moving, turn the key only
to
OFF. Don’t press the key release button while
the vehicle is moving.
I NOTICE: I
If your key seems stuck in LOCK and you can’t
turn it, be sure you are using the correct key;
if
so, is it all the way in? If it is, then turn the
steering wheel left and right
while you turn the
key hard. But turn the key only with your hand.
Using a tool to force it
could break the key or the
ignition switch.
If none of this works, then your
vehicle needs service.
I
2-14 I
Page 88 of 410
4LO: This setting also engages your front axle to give
you extra traction. You may never need 4LO. It sends
the maximum power to all
four wheels. You might
choose 4LO
if you were driving off-road in sand, mud
or deep snow and climbing or descending steep hills.
Indicator lights
in the switches show you which setting
you are
in. The indicator lights will come on briefly when
you turn on
the ignition and one will stay on. If the lights
do not come
on, you should take your vehicle in for
service.
An indicator light will flash while shifting. It will
remain illuminated when the shift is completed.
Shifting from 2HI to 4HI
Press and release the 4HI switch. This can be done at
any speed. and the front axle will lock automatically.
Shifting from 4HI to 2HI
Press and release the 2HI switch. This can be done at
any speed. and the. front axle will unlock automatically.
Shifting from 2HI or 4HI to 4LO
To
shift from 2HI or .CHI to 4LO. the vehicle must be
stopped or moving less than
3 rnph (4.8 k~nh) with the
transmission
in NEUTRAL (N) in vehicles equipped with an
automatic transmission or the clutch pedal engaged
in
vehicles equipped with a manual transmission. The
preferred method for shifting into 4LO is to have your
vehicle moving
1 to 2 mph (I .6 to 3.2 kmh). Press
and release
the 4LO switch. You must wait for the
4LO indicator light to stop flashing and remain
illuminated before shifting your transmission into
gear or releasing
the clutch pedal.
If the 4L0 switch is pressed when your vehicle is
in
gear and/or moving, the 4LO indicator light will flash
for
30 seconds and not complete the shift unless your
vehicle is moving slower than
3 tnph (4.8 km/h) and
the transmission
is in NEUTRAL (N) or the clutch
pedal engaged.
On automatic transmission equipped vehicles,
if your
transfer case does
not shift into 4LO. your transmission
indicator switch may reyuire adjustment. With
your
transmission in NEUTRAL (N)! press and release the
4L0 switch. While the 4LO indicator light is flashing.
shift yo~lr transmission into PARK (P). Wait unlil the
4L0 indicator light remains illuminated before shifting
your trrmstnission
into gear. This will get you into 4LO.
but you should take
your vehicle in for service to restore
normal operation.
Page 97 of 410

Windows
Manual Windows
Turn the hand crank on each door to raise or lower your
manual side door windows.
Power Windows (If Equipped)
If you have the optional power windows, the controls
are on each
of the side doors. Your power windows will
only work when the ignition has been turned to
RUN.
The driver’s door has a switch for the passenger
windows as well.
Press the side
of the switch with the down arrow to
lower the window.
Press the side
of the switch with the up arrow to raise
the window.
Express-Down Window
The driver’s window switch has an express-down feature
that allows you
to lower it without holding the window
switch. Hold the driver’s window switch down for more
than a half a second to activate the express-down feature.
Lightly tap the switch to open the window slightly. The
express-down feature can
be interrupted at any time by
pressing the up arrow end of the switch.
2-36
Page 107 of 410

Lamps On Reminder
A reminder tone will sound when your headlamps or
parking lamps are turned
on and your ignition is in OFF,
LOCK or ACCESSORY. To turn the tone off, press the
OFF switch.
Daytime Running Lamps
Daytime Running Lamps (DRL) can make it easier for
others to see the front of your vehicle during the day.
DRL can be helpful in many different driving
conditions, but
they can be especially helpful in the
short periods after dawn and before sunset.
The DRL system will make your headlamps come on at
reduced brightness when:
the ignition is on,
the headlamp switch is off and
the parking brake is released. When
the DRL are
on. only your headlamps will be on.
The taillamps, sidemarker and other lamps won't be on.
The instrument panel won't be
lit up either.
When
it begins to get dark, your DRL indicator light is a
reminder to turn your headlamp switch on. The other
lamps that come on
with your headlamps will also
come on.
When you
turn the headlamp switch off, the regular
lamps will
go off, and your headlamps will change to
the reduced brightness
of DRL.
To idle your vehicle with the DRL off, set the parking
brake. The DRL
will stay off until you release the
parking brake.
As with any vehicle, you should turn on the regular
headlamp system when you need it.
2-46
Page 109 of 410
Front Map Lamps (If Equipped)
If your vehicle has optional front rmp lamps, they
are located on the inside rearview mirror. They
will
automatically come on for approximately 20 seconds
when either front door is opened or unlocked with
the
Keyless Entry System, if so equipped, or until the
ignition key is turned to RUN or ACCESSORY. The
lamps
will also stay on for approxinlately 15 seconds
after you exit the vehicle.
They
will also stay on for I5 seconds when the INT
LIGHTS switch on the instrument panel is turned on
then off, while the ignition is off.
You can also turn the lamps on and off by pressing the
switch near each lamp.
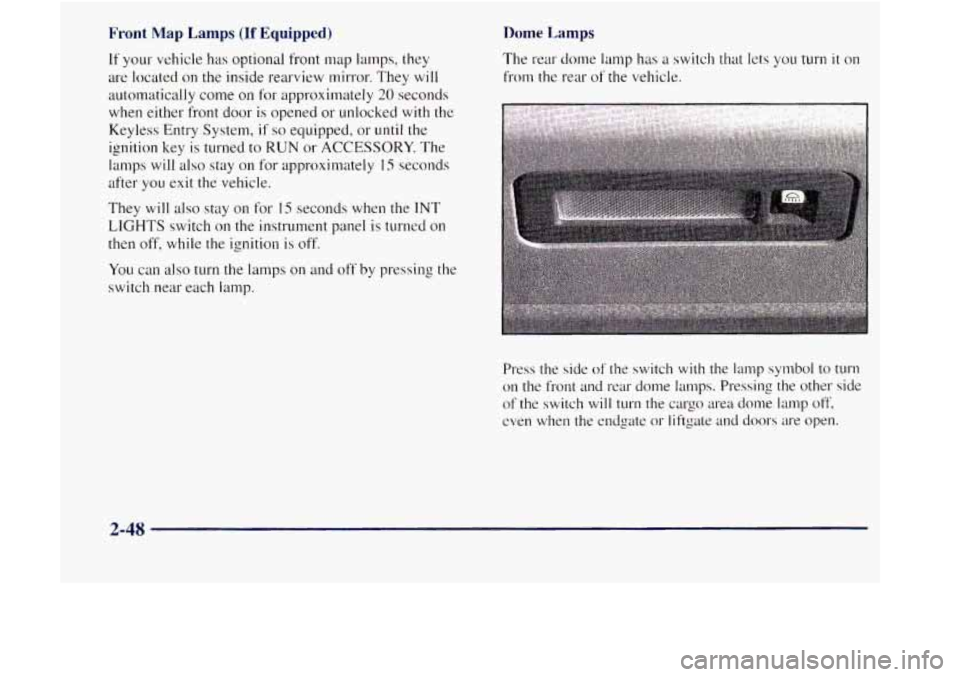
Dome Lamps
The rear dome lamp has a switch that lets you turn it on
from the rear of the vehicle.
Press the side
of the switch with the lamp symbol to turn
on the front and rear dome lamps. Pressing the other side
of the swirch
will turn the cargo area dome lamp off,
even when the endgate or liftgate and doors are open.
2-48
Page 114 of 410
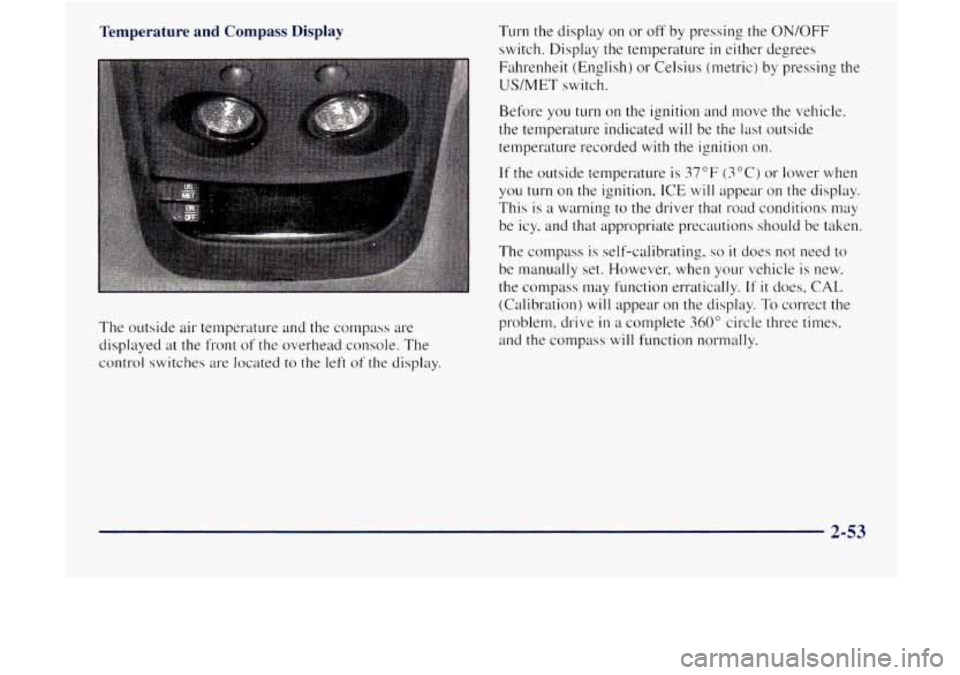
Temperature and Compass Display
The outside air temperature and the compass are
displayed
at the front of the overhead console. The
control switches
are located to the left of the display. Turn
the display on or off by pressing the
ON/OFF
switch. Display the temperature in either de, orees
Fahrenheit (English)
or Celsius (metric) by pressing the
US/MET switch.
Before you turn on the ignition and move the vehicle,
the temperature indicated
will be the last outside
temperature recorded
with the ignition on.
If the outside temperature is 37°F (3°C) or lower when
you turn
on the ignition, ICE will appear on the display.
This
is a warning to the driver that road conditions may
be icy, and that appropriate precautions should be taken.
The compass is self-calibrating.
so it does not need to
be nlanually set. However, when your vehicle is new.
the compass may function erratically.
If it does, CAL
(Calibration) will appear on the display. To correct the
problem, drive
in a complete 360" circle three times,
and the compass
will function normally.
2-53
Page 141 of 410

Shift Light
SHIFT
You have the shift light
if you
have a manual
transmission. This light
comes on very briefly as a
bulb check when you start
the engine. Shilting when
the indicator light is
on wi 11
help you get the best fuel
economy. See "Shift Light"
in the Index.
Check Gages Light
1 The CHECK GAGES light
1 will come on briefly when
you are starting the enlrine.
CHECK
GAGES
Daytime Running Lamps Indicator Light
This light is on the
instrument panel.
It goes on
whenever the DRL are on,
the ignition is on. the
headlamp switch is
off
and the parking brake is :*.:(-J
-e released.
2-80
Page 148 of 410
Defogging and Defrosting
On cool. humid days. use BLEND to keep the
windshield and side windows clear.
Use
DEFROST to remove fog or ice from the
windshield quickly
in extreme humid or cold conditions.
Turn the temperature knob clockwise and
move the fhn
control toward HI.
Rear Window Defogger (Option)
window of as much snow or ice as possible before using
the rear window defogger.
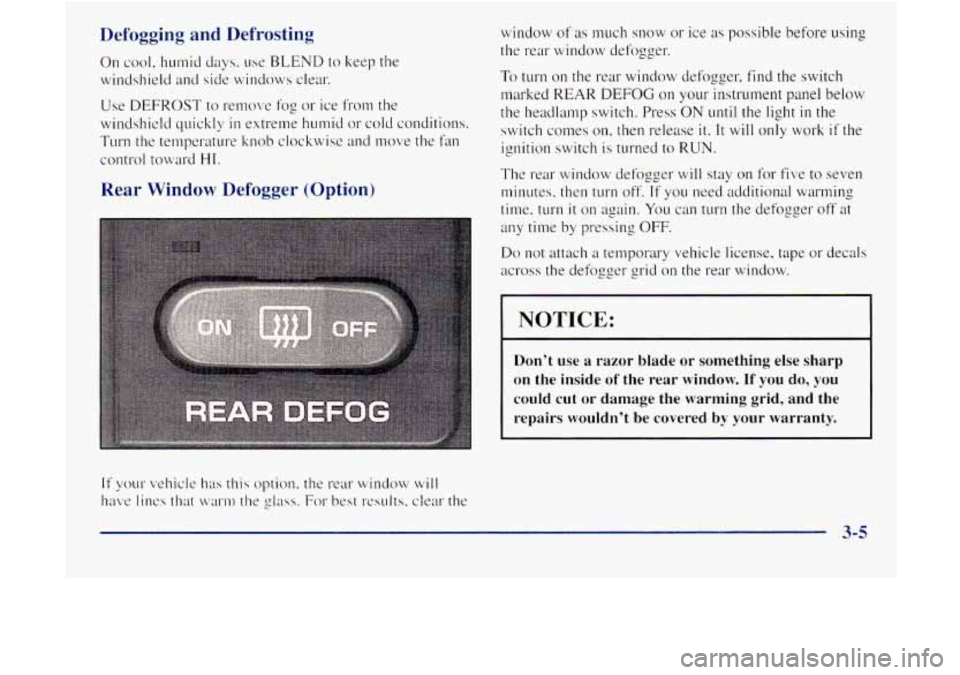
To turn on the rear window defogger, find the switch
marked REAR
DEFOG on your instrument panel below
the headlamp switch. Press ON until the light in the
switch comes
on, then release it. It will only work if the
ignition switch is turned to RUN.
The rear window defozger will stay
on for five to seven
minutes. then turn off.
If you need additional warming
time, turn
it on again. You can turn the defogger off at
any time by pressing OFF.
Do not attach a temporary vehicle license, tape or decals
across the defogger grid on the rear window.
NOTICE:
Don’t use a razor blade or something else sharp
on the inside
of the rear window. If you do, you
could cut or damage the warming grid, and the
repairs wouldn’t be covered
by your warranty.
3-5
Page 151 of 410
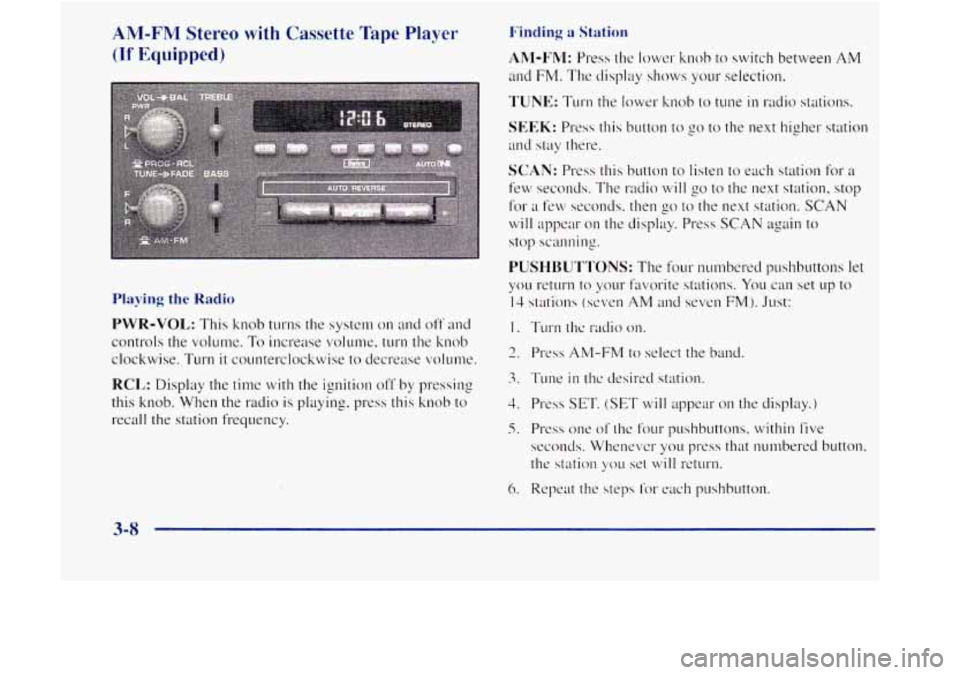
AM-FM Stereo with Cassette Tape Player Finding a Station
(If Equipped) Ahl-I~n'I: Press the lower knob to switch between AM
ancl FM. The display shows your selection.
TUNE: TLII-11 the lower knob to tune in radio stations.
SEEK: Press this button to go to the next higher station
and stay there.
SCAN: Press this button to listen to each station for a
few seconds. The radio will go to the next station, stop
for
a few seconds. then go to the next station. SCAN
will ~1ppear 011 the display. Press SCAN again to
stop scanning.
PUSHBUTTONS: The four nllmbered pushbuttons let
Playing the Radio
PWR-VOL: This knob turns the system on and off and
controls the volume. To increase volume. turn the knob
clockwise. Turn it counterclockwise to decrease c.olulne.
RCL: Display the time with the ignition off by ~mxing
this knob. When the
radio is playing, press this knob to
recall the station frequency.
2. Press AM-FM to select the band.
3. Tune in thc desired station.
4. Press SET. (SET will appear on the display.)
5. Press one of the four pushbuttons. within five
seconds. Whenevcr you press that numbered button.
the station
SOLI set will return.
3-8