low GMC SAFARI 2004 Owner's Guide
[x] Cancel search | Manufacturer: GMC, Model Year: 2004, Model line: SAFARI, Model: GMC SAFARI 2004Pages: 394, PDF Size: 4.38 MB
Page 55 of 394
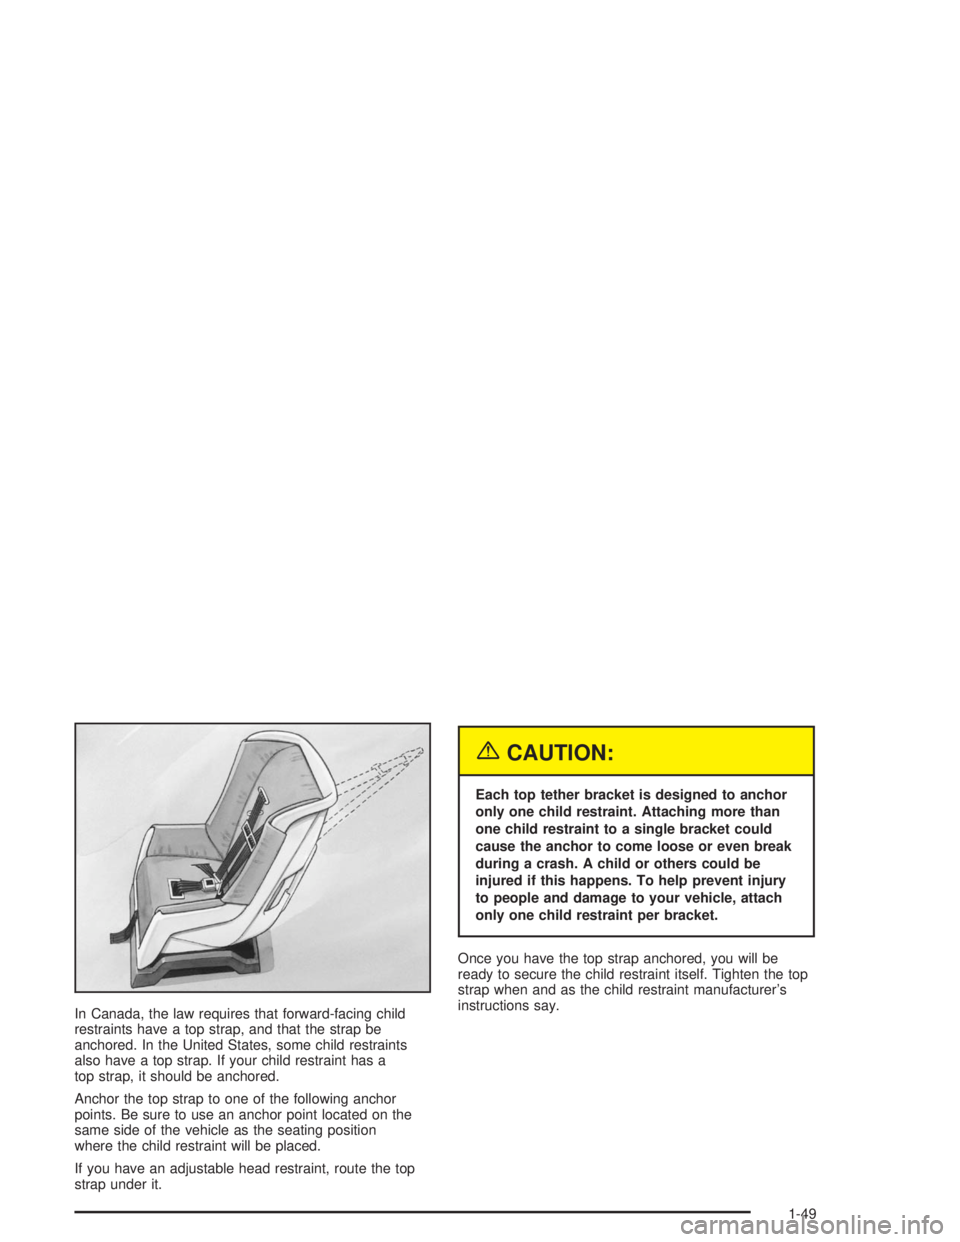
In Canada, the law requires that forward-facing child
restraints have a top strap, and that the strap be
anchored. In the United States, some child restraints
also have a top strap. If your child restraint has a
top strap, it should be anchored.
Anchor the top strap to one of the following anchor
points. Be sure to use an anchor point located on the
same side of the vehicle as the seating position
where the child restraint will be placed.
If you have an adjustable head restraint, route the top
strap under it.
{CAUTION:
Each top tether bracket is designed to anchor
only one child restraint. Attaching more than
one child restraint to a single bracket could
cause the anchor to come loose or even break
during a crash. A child or others could be
injured if this happens. To help prevent injury
to people and damage to your vehicle, attach
only one child restraint per bracket.
Once you have the top strap anchored, you will be
ready to secure the child restraint itself. Tighten the top
strap when and as the child restraint manufacturer’s
instructions say.
1-49
Page 57 of 394
Passenger Van Models
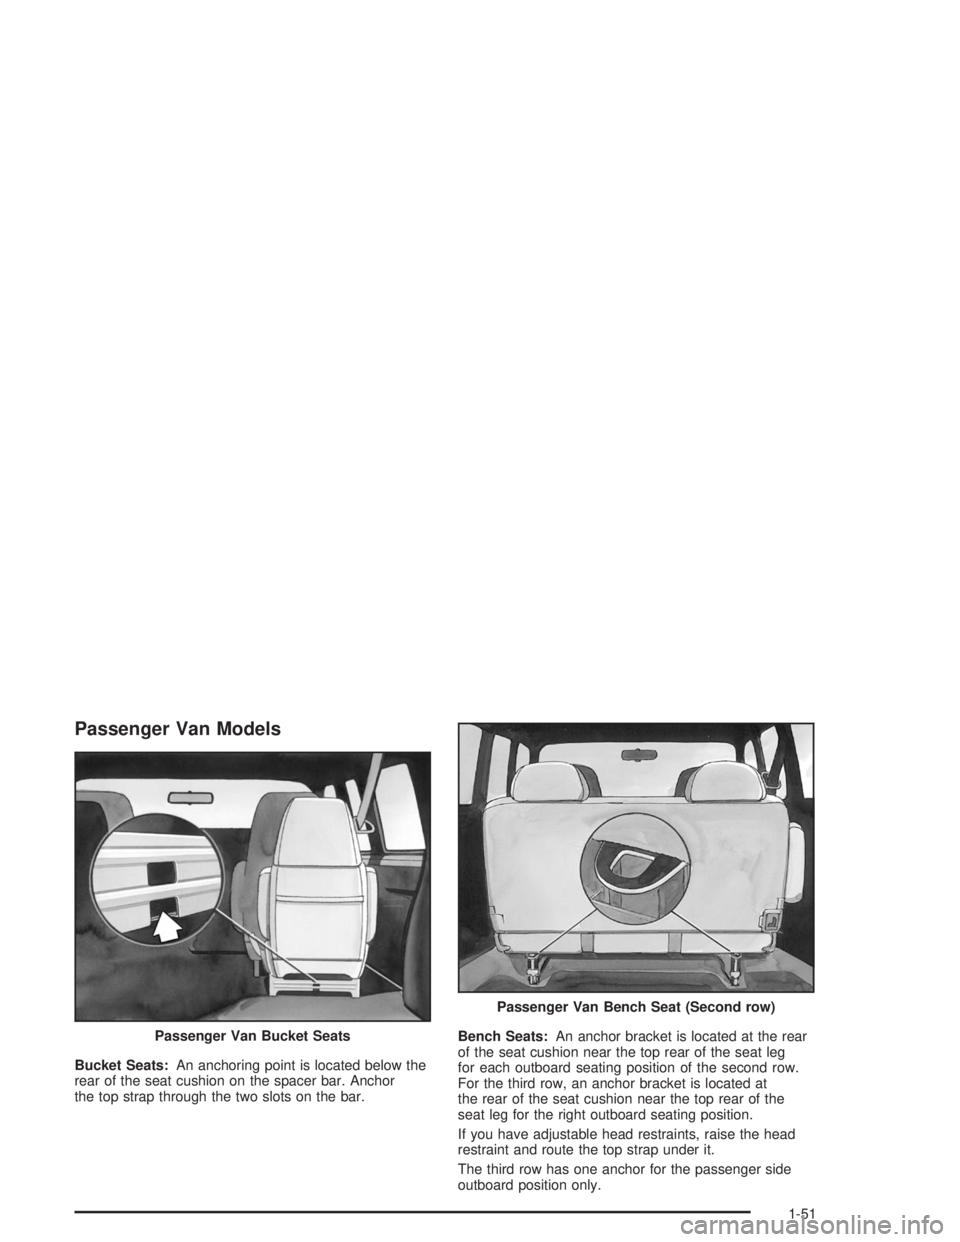
Bucket Seats:An anchoring point is located below the
rear of the seat cushion on the spacer bar. Anchor
the top strap through the two slots on the bar.Bench Seats:An anchor bracket is located at the rear
of the seat cushion near the top rear of the seat leg
for each outboard seating position of the second row.
For the third row, an anchor bracket is located at
the rear of the seat cushion near the top rear of the
seat leg for the right outboard seating position.
If you have adjustable head restraints, raise the head
restraint and route the top strap under it.
The third row has one anchor for the passenger side
outboard position only. Passenger Van Bucket Seats
Passenger Van Bench Seat (Second row)
1-51
Page 58 of 394
Do not use a child restraint with a top strap in the right
front passenger’s position, the second or third row
center positions, or the third row driver side position
because there is no place to anchor the top strap.
Lower Anchorages and Top Tethers
for Children (LATCH System)
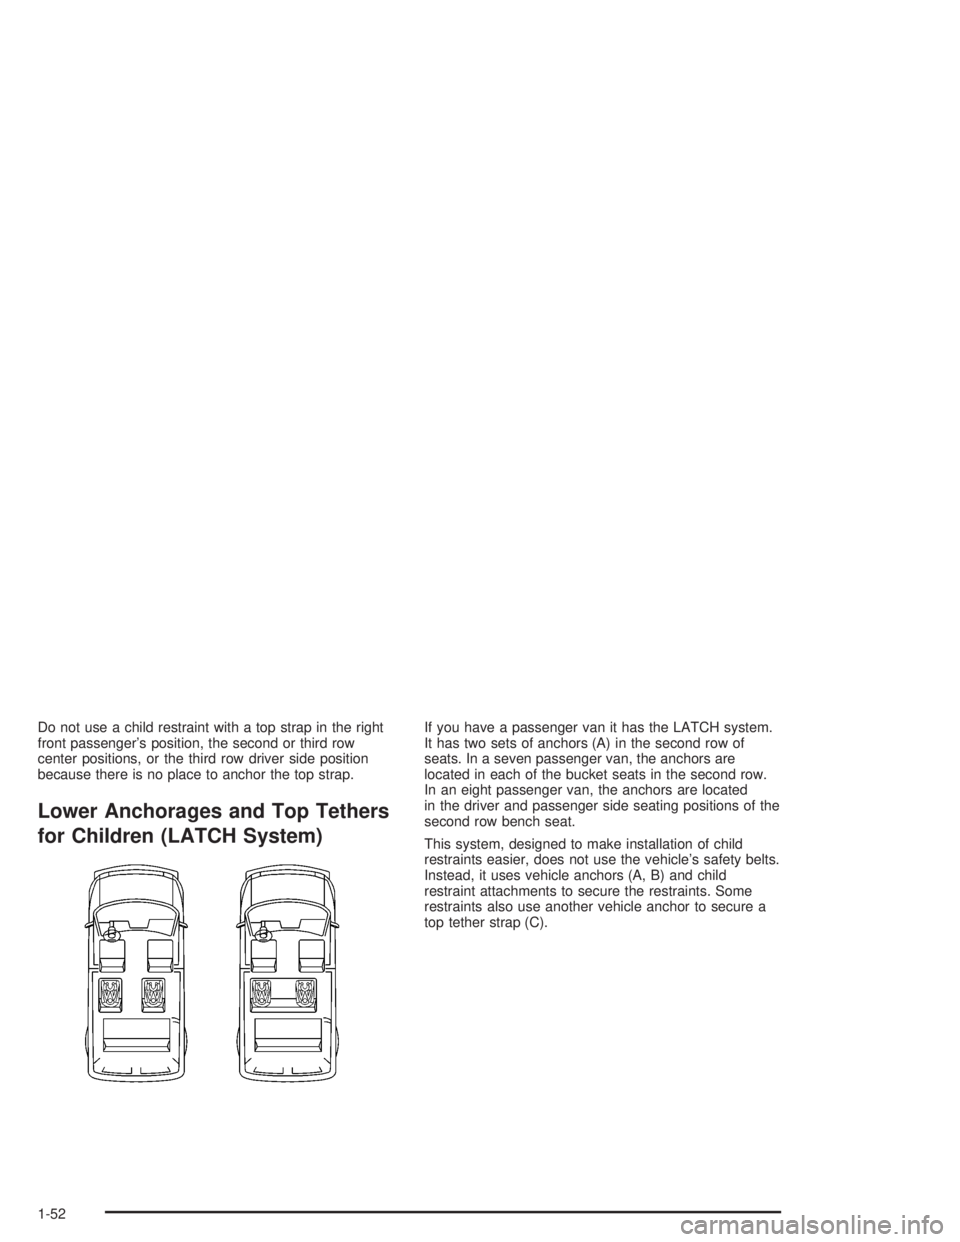
If you have a passenger van it has the LATCH system.
It has two sets of anchors (A) in the second row of
seats. In a seven passenger van, the anchors are
located in each of the bucket seats in the second row.
In an eight passenger van, the anchors are located
in the driver and passenger side seating positions of the
second row bench seat.
This system, designed to make installation of child
restraints easier, does not use the vehicle’s safety belts.
Instead, it uses vehicle anchors (A, B) and child
restraint attachments to secure the restraints. Some
restraints also use another vehicle anchor to secure a
top tether strap (C).
1-52
Page 60 of 394
To assist you in locating the lower anchors for this child
restraint system, each seating position with the
LATCH system has a label on the seatback at each
lower anchor position. The labels are located on
the inboard and outboard positions of the rear seats.
{CAUTION:
If a LATCH-type child restraint is not attached
to its anchorage points, the restraint will not
be able to protect the child correctly. In a
crash, the child could be seriously injured or
killed. Make sure that a LATCH-type child
restraint is properly installed using the
anchorage points, or use the vehicle’s safety
belts to secure the restraint following the
instructions that came with that restraint, and
also the instructions in this manual.
Securing a Child Restraint Designed
for the LATCH System
1. Find the LATCH anchorages for the seating
position you want to use, where the bottom of the
seatback meets the back of the seat cushion.
2. Put the child restraint on the seat.
3. Attach and tighten the LATCH attachments on the
child restraint to the LATCH anchorages in the
vehicle. The child restraint instructions will show
you how.
4. If the child restraint is forward-facing, attach and
tighten the top tether to the top tether anchorage.
The child restraint instructions will show you
how. Also seeTop Strap on page 1-48.
5. Push and pull the child restraint in different
directions to be sure it is secure.
To remove the child restraint, simply unhook the top
tether from the top tether anchorage and then
disconnect the LATCH attachments from the LATCH
anchorages.
1-54
Page 61 of 394
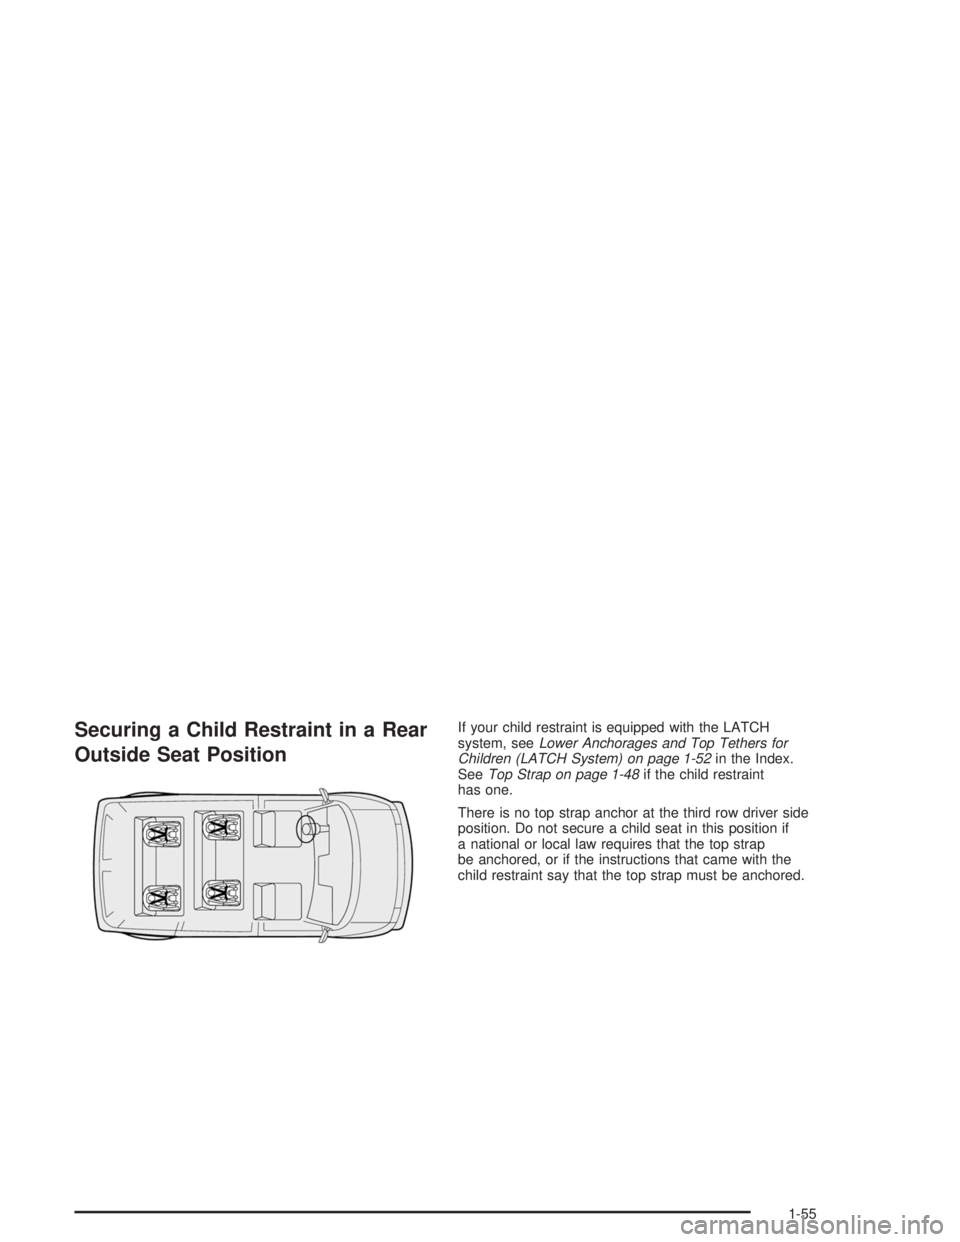
Securing a Child Restraint in a Rear
Outside Seat PositionIf your child restraint is equipped with the LATCH
system, seeLower Anchorages and Top Tethers for
Children (LATCH System) on page 1-52in the Index.
SeeTop Strap on page 1-48if the child restraint
has one.
There is no top strap anchor at the third row driver side
position. Do not secure a child seat in this position if
a national or local law requires that the top strap
be anchored, or if the instructions that came with the
child restraint say that the top strap must be anchored.
1-55
Page 62 of 394
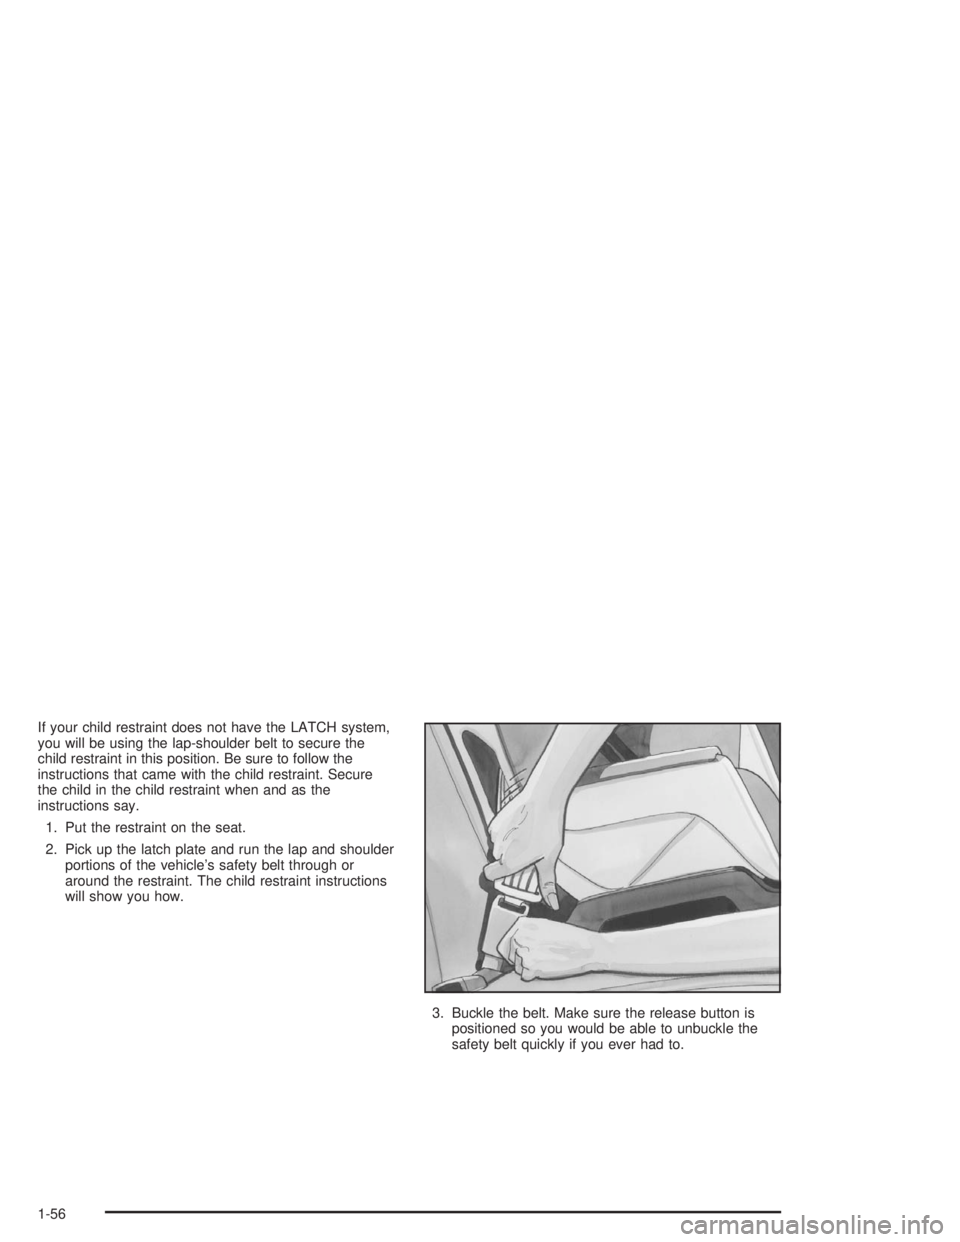
If your child restraint does not have the LATCH system,
you will be using the lap-shoulder belt to secure the
child restraint in this position. Be sure to follow the
instructions that came with the child restraint. Secure
the child in the child restraint when and as the
instructions say.
1. Put the restraint on the seat.
2. Pick up the latch plate and run the lap and shoulder
portions of the vehicle’s safety belt through or
around the restraint. The child restraint instructions
will show you how.
3. Buckle the belt. Make sure the release button is
positioned so you would be able to unbuckle the
safety belt quickly if you ever had to.
1-56
Page 64 of 394
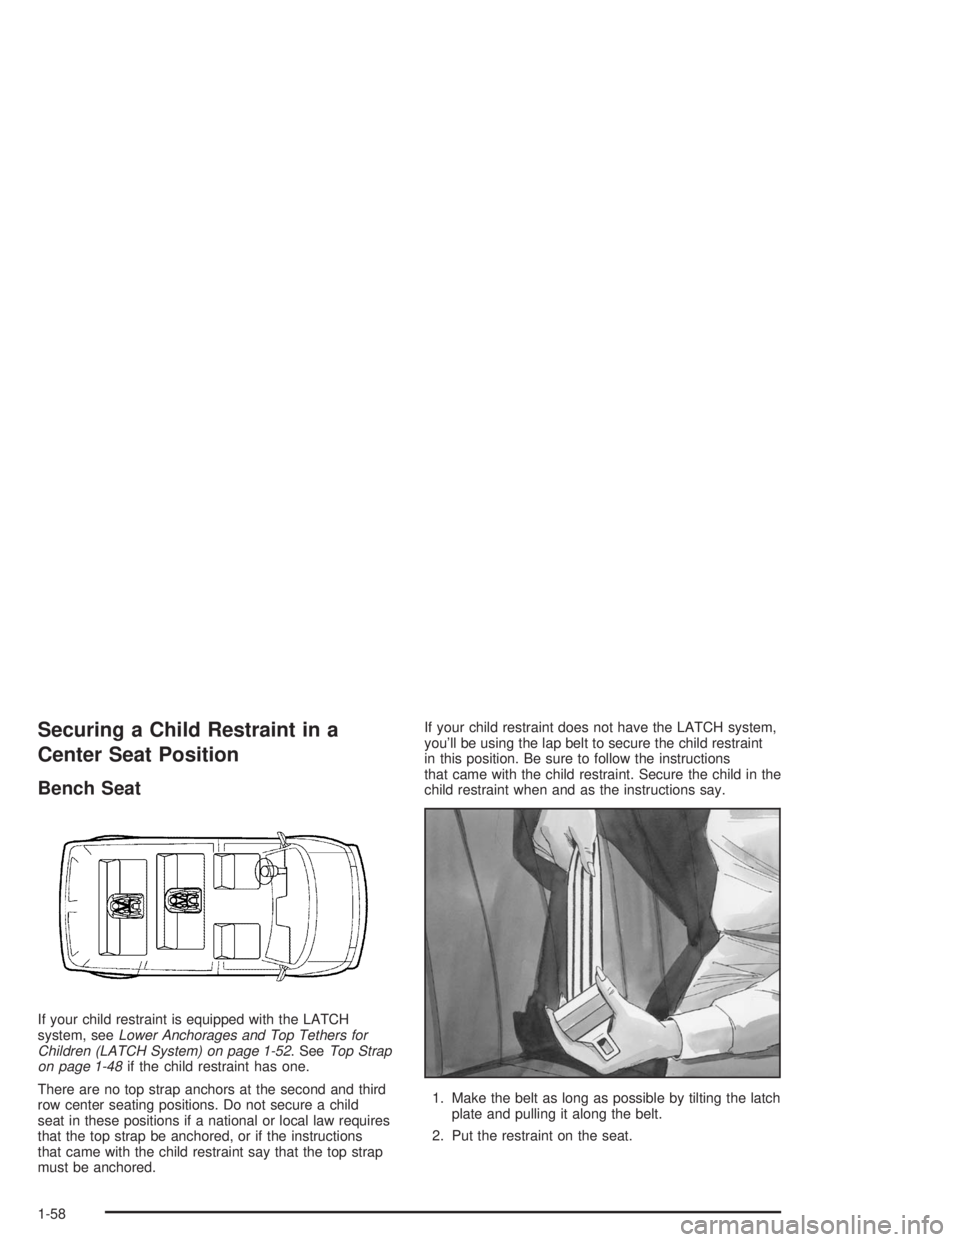
Securing a Child Restraint in a
Center Seat Position
Bench Seat
If your child restraint is equipped with the LATCH
system, seeLower Anchorages and Top Tethers for
Children (LATCH System) on page 1-52. SeeTop Strap
on page 1-48if the child restraint has one.
There are no top strap anchors at the second and third
row center seating positions. Do not secure a child
seat in these positions if a national or local law requires
that the top strap be anchored, or if the instructions
that came with the child restraint say that the top strap
must be anchored.If your child restraint does not have the LATCH system,
you’ll be using the lap belt to secure the child restraint
in this position. Be sure to follow the instructions
that came with the child restraint. Secure the child in the
child restraint when and as the instructions say.
1. Make the belt as long as possible by tilting the latch
plate and pulling it along the belt.
2. Put the restraint on the seat.
1-58
Page 66 of 394
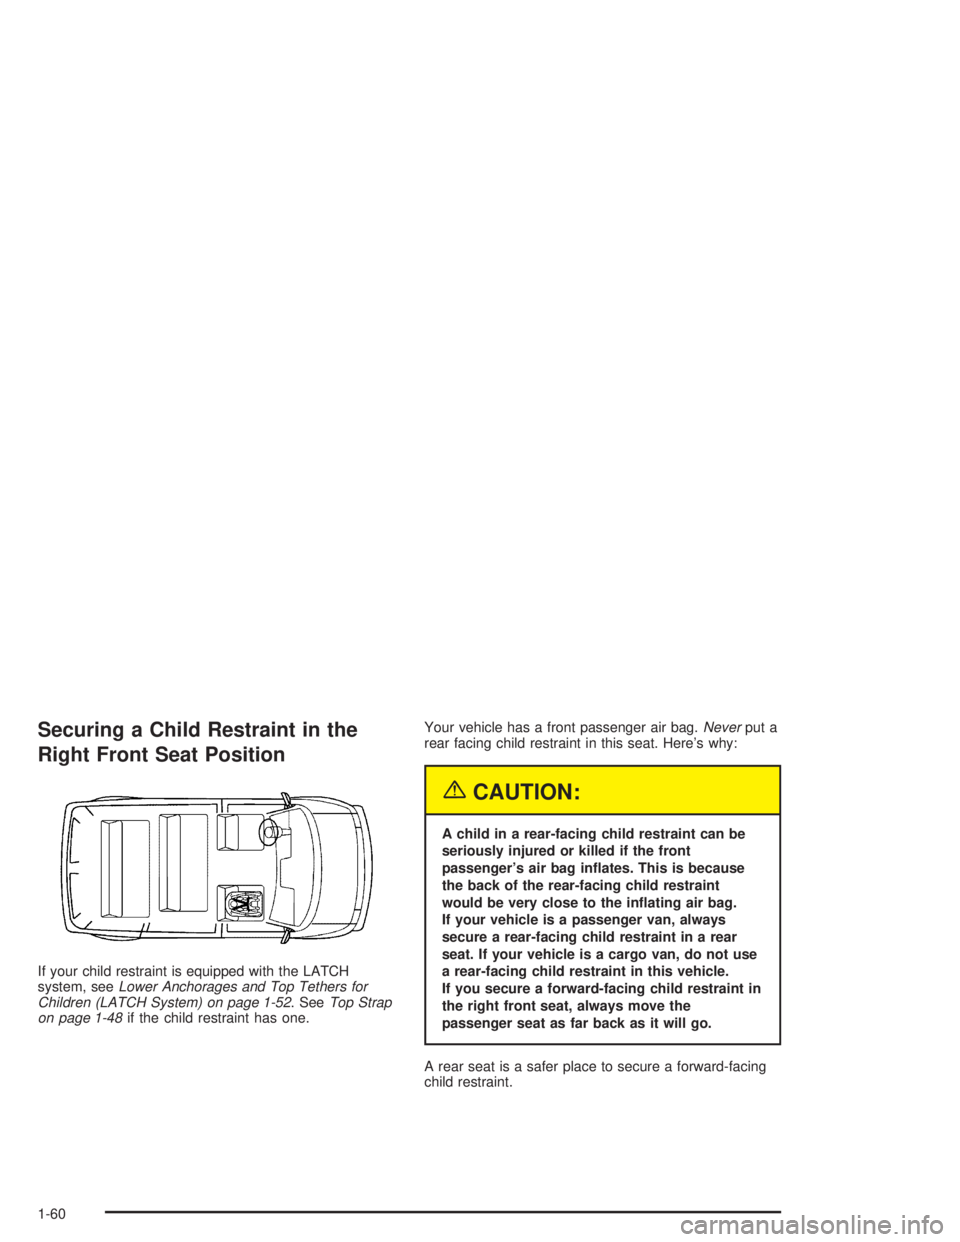
Securing a Child Restraint in the
Right Front Seat Position
If your child restraint is equipped with the LATCH
system, seeLower Anchorages and Top Tethers for
Children (LATCH System) on page 1-52. SeeTop Strap
on page 1-48if the child restraint has one.Your vehicle has a front passenger air bag.Neverput a
rear facing child restraint in this seat. Here’s why:
{CAUTION:
A child in a rear-facing child restraint can be
seriously injured or killed if the front
passenger’s air bag inates. This is because
the back of the rear-facing child restraint
would be very close to the inating air bag.
If your vehicle is a passenger van, always
secure a rear-facing child restraint in a rear
seat. If your vehicle is a cargo van, do not use
a rear-facing child restraint in this vehicle.
If you secure a forward-facing child restraint in
the right front seat, always move the
passenger seat as far back as it will go.
A rear seat is a safer place to secure a forward-facing
child restraint.
1-60
Page 67 of 394
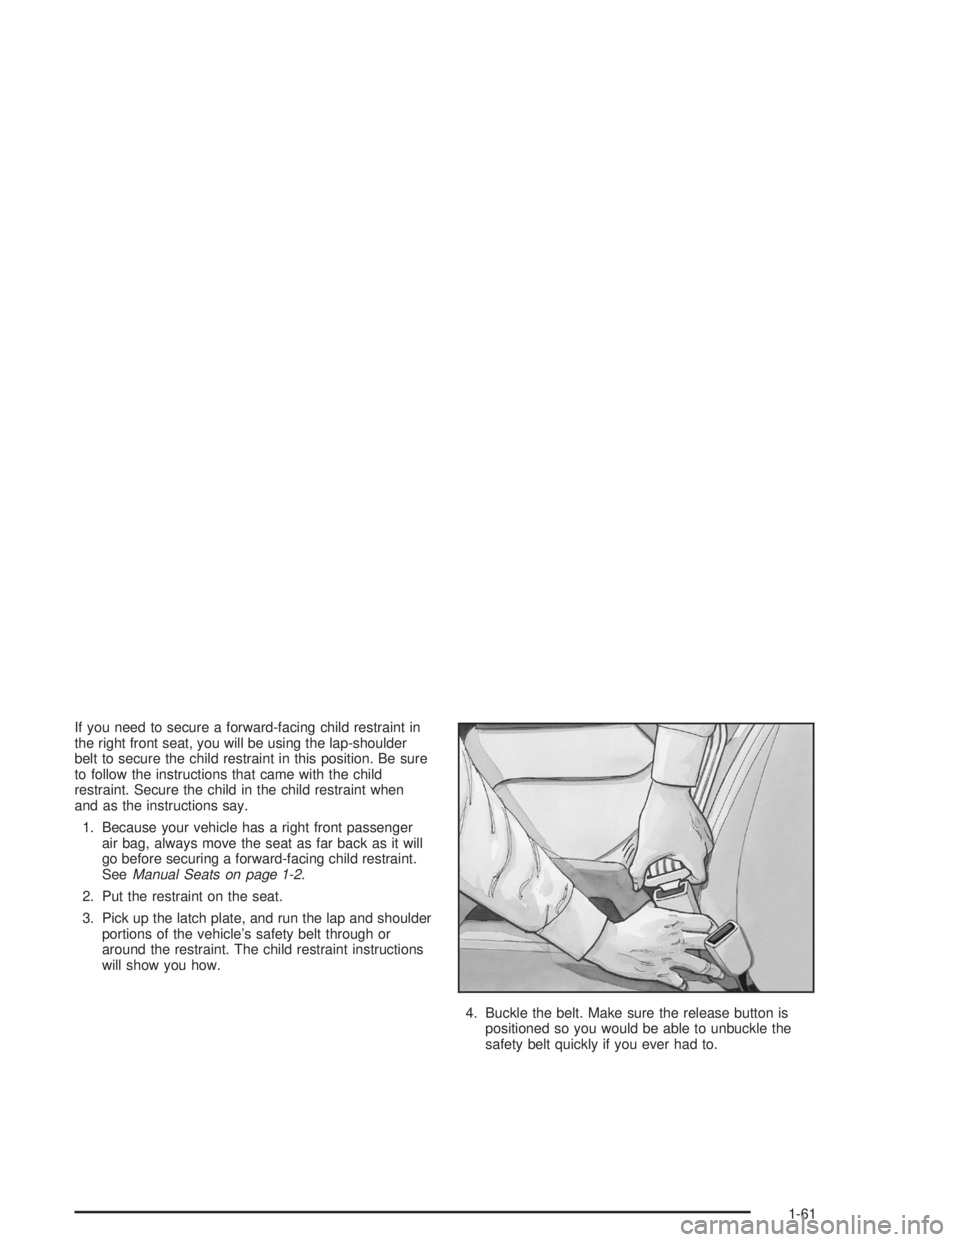
If you need to secure a forward-facing child restraint in
the right front seat, you will be using the lap-shoulder
belt to secure the child restraint in this position. Be sure
to follow the instructions that came with the child
restraint. Secure the child in the child restraint when
and as the instructions say.
1. Because your vehicle has a right front passenger
air bag, always move the seat as far back as it will
go before securing a forward-facing child restraint.
SeeManual Seats on page 1-2.
2. Put the restraint on the seat.
3. Pick up the latch plate, and run the lap and shoulder
portions of the vehicle’s safety belt through or
around the restraint. The child restraint instructions
will show you how.
4. Buckle the belt. Make sure the release button is
positioned so you would be able to unbuckle the
safety belt quickly if you ever had to.
1-61
Page 69 of 394
Air Bag System
This part explains the air bag system.
Your vehicle has air bags – one air bag for the driver
and another air bag for the right front passenger.
Frontal air bags are designed to help reduce the risk of
injury from the force of an inating air bag. But these
air bags must inate very quickly to do their job
and comply with federal regulations.
Here are the most important things to know about the
air bag system:
{CAUTION:
You can be severely injured or killed in a crash
if you are not wearing your safety belt — even
if you have air bags. Wearing your safety belt
during a crash helps reduce your chance of
CAUTION: (Continued)
CAUTION: (Continued)
hitting things inside the vehicle or being
ejected from it. Air bags are designed to work
with safety belts, but do not replace them. Air
bags are designed to deploy only in moderate
to severe frontal and near frontal crashes.
They are not designed to inate in rollover,
rear or low-speed frontal crashes, or in many
side crashes. And, for some unrestrained
occupants, air bags may provide less
protection in frontal crashes than more
forceful air bags have provided in the past.
Everyone in your vehicle should wear a safety
belt properly — whether or not there is an air
bag for that person.
1-63