GMC SAVANA 2009 Owner's Manual
Manufacturer: GMC, Model Year: 2009, Model line: SAVANA, Model: GMC SAVANA 2009Pages: 404, PDF Size: 2.35 MB
Page 271 of 404
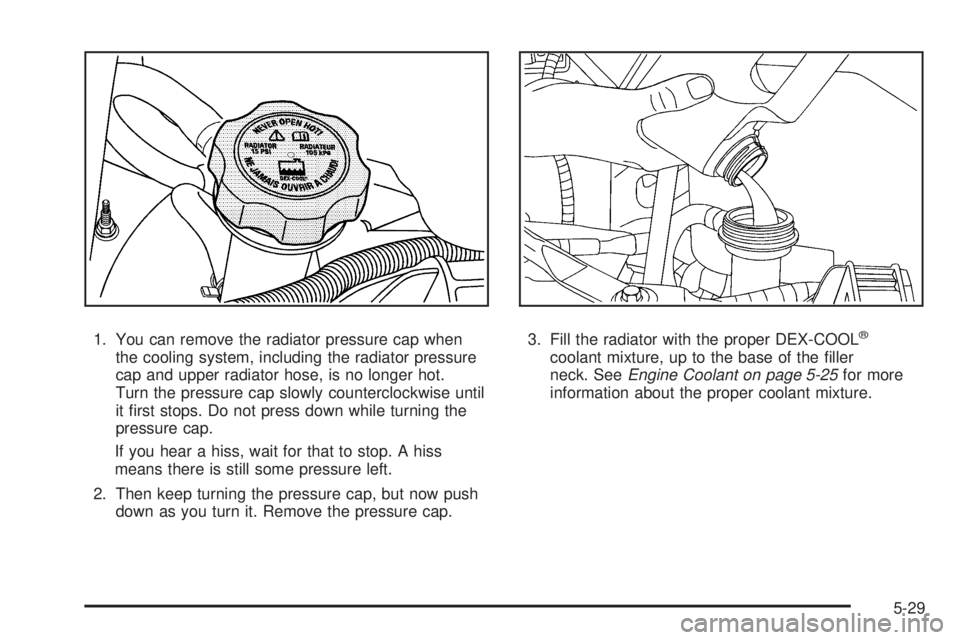
1. You can remove the radiator pressure cap when
the cooling system, including the radiator pressure
cap and upper radiator hose, is no longer hot.
Turn the pressure cap slowly counterclockwise until
it first stops. Do not press down while turning the
pressure cap.
If you hear a hiss, wait for that to stop. A hiss
means there is still some pressure left.
2. Then keep turning the pressure cap, but now push
down as you turn it. Remove the pressure cap.3. Fill the radiator with the proper DEX-COOL®
coolant mixture, up to the base of the filler
neck. SeeEngine Coolant on page 5-25for more
information about the proper coolant mixture.
5-29
Page 272 of 404
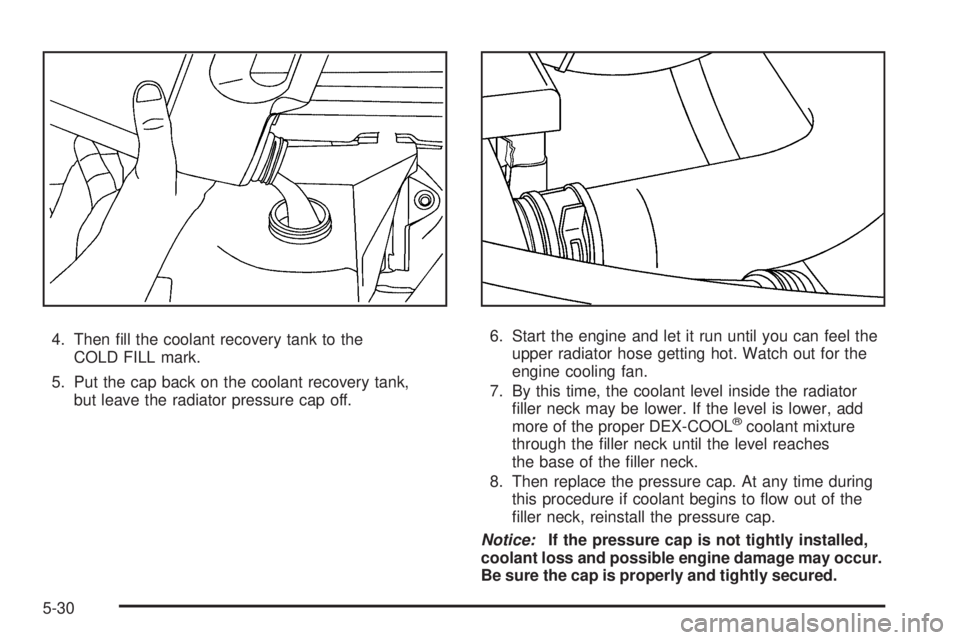
4. Then fill the coolant recovery tank to the
COLD FILL mark.
5. Put the cap back on the coolant recovery tank,
but leave the radiator pressure cap off.6. Start the engine and let it run until you can feel the
upper radiator hose getting hot. Watch out for the
engine cooling fan.
7. By this time, the coolant level inside the radiator
filler neck may be lower. If the level is lower, add
more of the proper DEX-COOL
®coolant mixture
through the filler neck until the level reaches
the base of the filler neck.
8. Then replace the pressure cap. At any time during
this procedure if coolant begins to flow out of the
filler neck, reinstall the pressure cap.
Notice:If the pressure cap is not tightly installed,
coolant loss and possible engine damage may occur.
Be sure the cap is properly and tightly secured.
5-30
Page 273 of 404
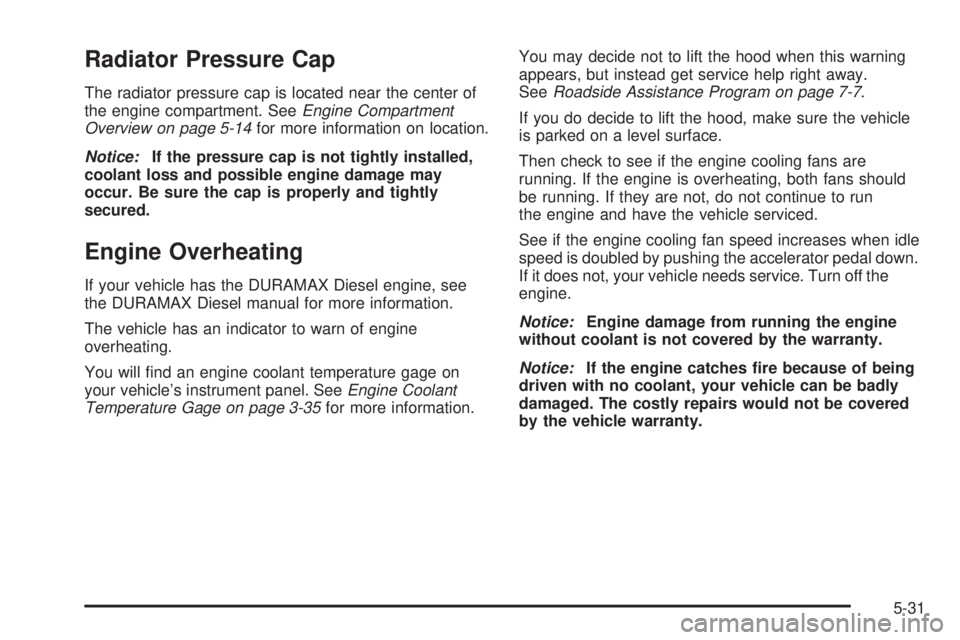
Radiator Pressure Cap
The radiator pressure cap is located near the center of
the engine compartment. SeeEngine Compartment
Overview on page 5-14for more information on location.
Notice:If the pressure cap is not tightly installed,
coolant loss and possible engine damage may
occur. Be sure the cap is properly and tightly
secured.
Engine Overheating
If your vehicle has the DURAMAX Diesel engine, see
the DURAMAX Diesel manual for more information.
The vehicle has an indicator to warn of engine
overheating.
You will find an engine coolant temperature gage on
your vehicle’s instrument panel. SeeEngine Coolant
Temperature Gage on page 3-35for more information.You may decide not to lift the hood when this warning
appears, but instead get service help right away.
SeeRoadside Assistance Program on page 7-7.
If you do decide to lift the hood, make sure the vehicle
is parked on a level surface.
Then check to see if the engine cooling fans are
running. If the engine is overheating, both fans should
be running. If they are not, do not continue to run
the engine and have the vehicle serviced.
See if the engine cooling fan speed increases when idle
speed is doubled by pushing the accelerator pedal down.
If it does not, your vehicle needs service. Turn off the
engine.
Notice:Engine damage from running the engine
without coolant is not covered by the warranty.
Notice:If the engine catches �re because of being
driven with no coolant, your vehicle can be badly
damaged. The costly repairs would not be covered
by the vehicle warranty.
5-31
Page 274 of 404
If Steam Is Coming From The Engine
Compartment
{CAUTION:
Steam from an overheated engine can burn you
badly, even if you just open the hood. Stay away
from the engine if you see or hear steam coming
from it. Just turn it off and get everyone away from
the vehicle until it cools down. Wait until there is
no sign of steam or coolant before you open
the hood.
If you keep driving when your engine is
overheated, the liquids in it can catch fire. You or
others could be badly burned. Stop your engine if
it overheats, and get out of the vehicle until the
engine is cool.
If No Steam Is Coming From The
Engine Compartment
If an engine overheat warning is displayed but no
steam can be seen or heard, the problem may not
be too serious. Sometimes the engine can get a little
too hot when the vehicle:
•Climbs a long hill on a hot day.
•Stops after high-speed driving.
•Idles for long periods in traffic.
•Tows a trailer. See “Driving on Grades” under
Towing a Trailer on page 4-26.
If the overheat warning is displayed with no sign of
steam:
1. Turn the air off.
2. Turn the heater on to the highest temperature and
to the highest fan speed. Open the windows as
necessary.
3. In heavy traffic, let the engine idle in N (Neutral)
while stopped. If it is safe to do so, pull off the
road, shift to P (Park) or N (Neutral) and let
the engine idle.
5-32
Page 275 of 404
If the temperature overheat gage is no longer in the
overheat zone or an overheat warning no longer
displays, the vehicle can be driven. Continue to drive
the vehicle slow for about 10 minutes. Keep a safe
vehicle distance from the car in front of you. If the
warning does not come back on, continue to drive
normally.
If the warning continues, pull over, stop, and park the
vehicle right away.
If there is still no sign of steam, push down the
accelerator until the engine speed is about twice
as fast as normal idle speed for at least three minutes
while you are parked. If you still have the warning, turn
off the engine until it cools down.
You may decide not to lift the hood but to get service
help right away.Engine Fan Noise
Your vehicle has a clutched engine cooling fan.
When the clutch is engaged, the fan spins faster to
provide more air to cool the engine. In most everyday
driving conditions, the fan is spinning slower and the
clutch is not fully engaged. This improves fuel economy
and reduces fan noise. Under heavy vehicle loading,
trailer towing, and/or high outside temperatures, the fan
speed increases as the clutch more fully engages, so you
may hear an increase in fan noise. This is normal and
should not be mistaken as the transmission slipping or
making extra shifts. It is merely the cooling system
functioning properly. The fan will slow down when
additional cooling is not required and the clutch partially
disengages.
You may also hear this fan noise when you start the
engine. It will go away as the fan clutch partially
disengages.
5-33
Page 276 of 404
Power Steering Fluid
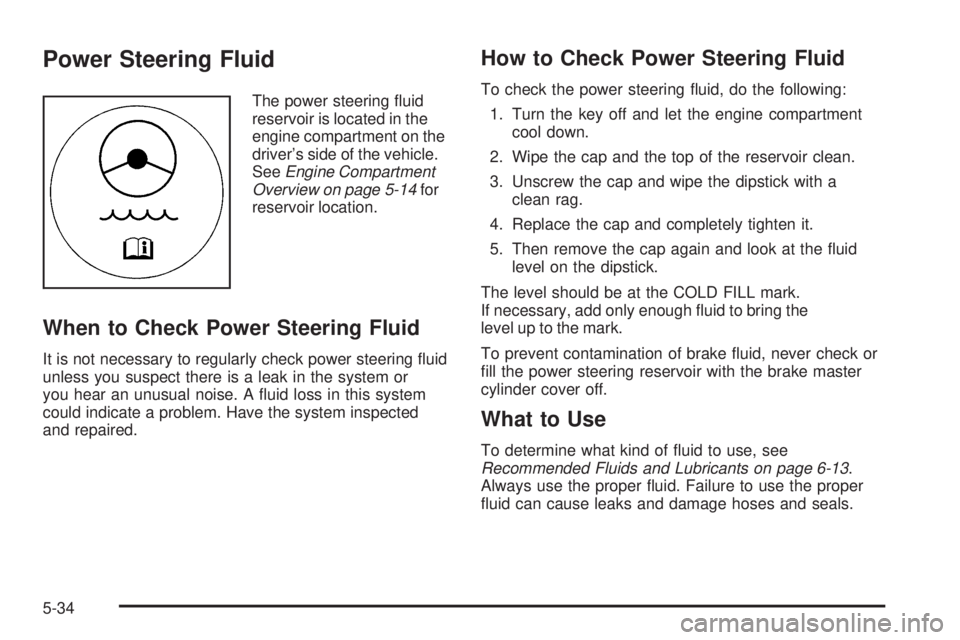
The power steering fluid
reservoir is located in the
engine compartment on the
driver’s side of the vehicle.
SeeEngine Compartment
Overview on page 5-14for
reservoir location.
When to Check Power Steering Fluid
It is not necessary to regularly check power steering fluid
unless you suspect there is a leak in the system or
you hear an unusual noise. A fluid loss in this system
could indicate a problem. Have the system inspected
and repaired.
How to Check Power Steering Fluid
To check the power steering fluid, do the following:
1. Turn the key off and let the engine compartment
cool down.
2. Wipe the cap and the top of the reservoir clean.
3. Unscrew the cap and wipe the dipstick with a
clean rag.
4. Replace the cap and completely tighten it.
5. Then remove the cap again and look at the fluid
level on the dipstick.
The level should be at the COLD FILL mark.
If necessary, add only enough fluid to bring the
level up to the mark.
To prevent contamination of brake fluid, never check or
fill the power steering reservoir with the brake master
cylinder cover off.
What to Use
To determine what kind of fluid to use, see
Recommended Fluids and Lubricants on page 6-13.
Always use the proper fluid. Failure to use the proper
fluid can cause leaks and damage hoses and seals.
5-34
Page 277 of 404
Windshield Washer Fluid
What to Use
When you need windshield washer fluid, be sure to read
the manufacturer’s instructions before use. If you will be
operating your vehicle in an area where the temperature
may fall below freezing, use a fluid that has sufficient
protection against freezing.
Adding Washer Fluid
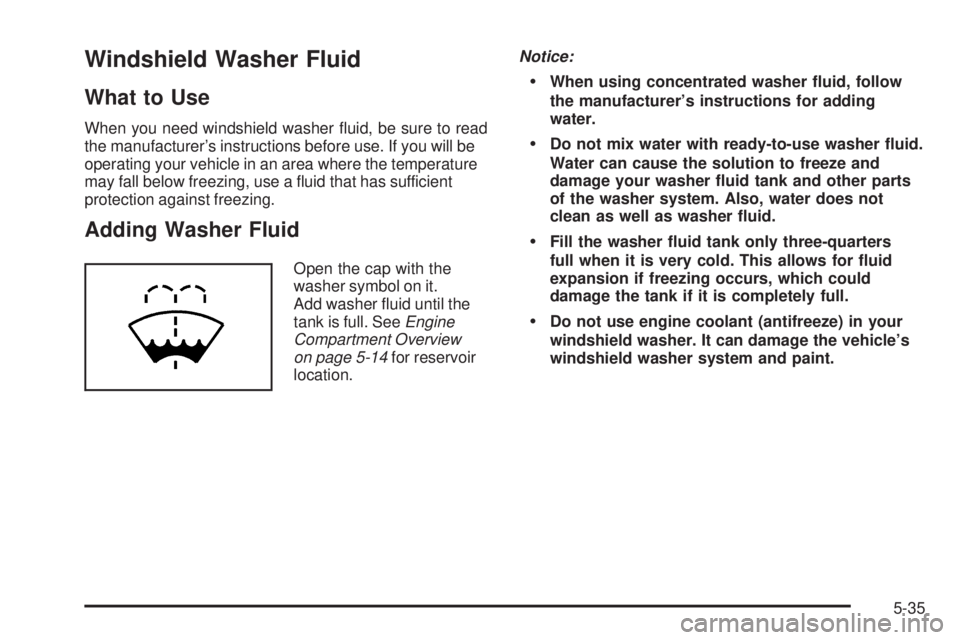
Open the cap with the
washer symbol on it.
Add washer fluid until the
tank is full. SeeEngine
Compartment Overview
on page 5-14for reservoir
location.Notice:
When using concentrated washer �uid, follow
the manufacturer’s instructions for adding
water.
Do not mix water with ready-to-use washer �uid.
Water can cause the solution to freeze and
damage your washer �uid tank and other parts
of the washer system. Also, water does not
clean as well as washer �uid.
Fill the washer �uid tank only three-quarters
full when it is very cold. This allows for �uid
expansion if freezing occurs, which could
damage the tank if it is completely full.
Do not use engine coolant (antifreeze) in your
windshield washer. It can damage the vehicle’s
windshield washer system and paint.
5-35
Page 278 of 404
Brakes
Brake Fluid
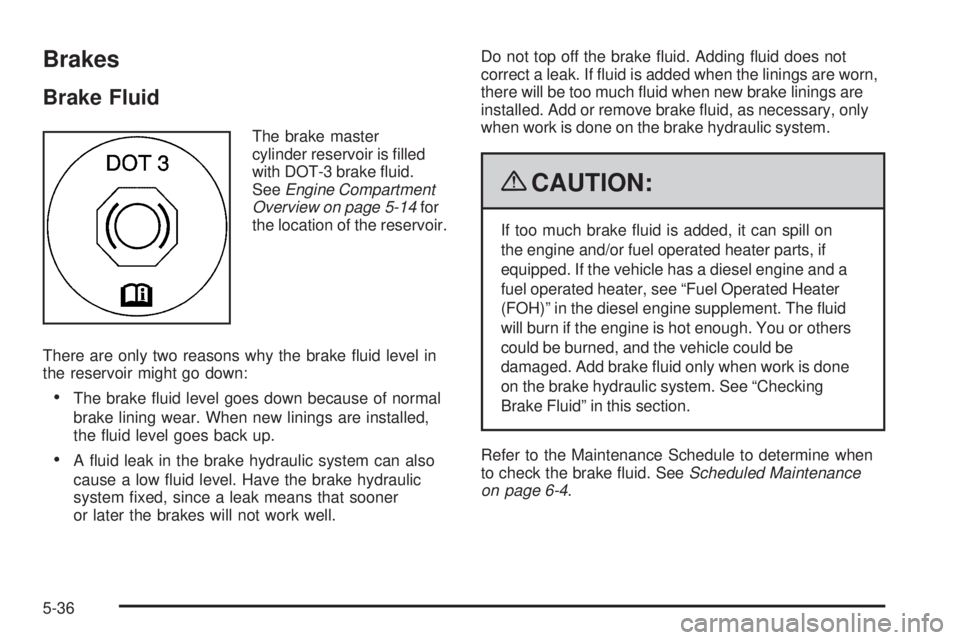
The brake master
cylinder reservoir is filled
with DOT-3 brake fluid.
SeeEngine Compartment
Overview on page 5-14for
the location of the reservoir.
There are only two reasons why the brake fluid level in
the reservoir might go down:
•The brake fluid level goes down because of normal
brake lining wear. When new linings are installed,
the fluid level goes back up.
•A fluid leak in the brake hydraulic system can also
cause a low fluid level. Have the brake hydraulic
system fixed, since a leak means that sooner
or later the brakes will not work well.Do not top off the brake fluid. Adding fluid does not
correct a leak. If fluid is added when the linings are worn,
there will be too much fluid when new brake linings are
installed. Add or remove brake fluid, as necessary, only
when work is done on the brake hydraulic system.
{CAUTION:
If too much brake fluid is added, it can spill on
the engine and/or fuel operated heater parts, if
equipped. If the vehicle has a diesel engine and a
fuel operated heater, see “Fuel Operated Heater
(FOH)” in the diesel engine supplement. The fluid
will burn if the engine is hot enough. You or others
could be burned, and the vehicle could be
damaged. Add brake fluid only when work is done
on the brake hydraulic system. See “Checking
Brake Fluid” in this section.
Refer to the Maintenance Schedule to determine when
to check the brake fluid. SeeScheduled Maintenance
on page 6-4.
5-36
Page 279 of 404
Checking Brake Fluid
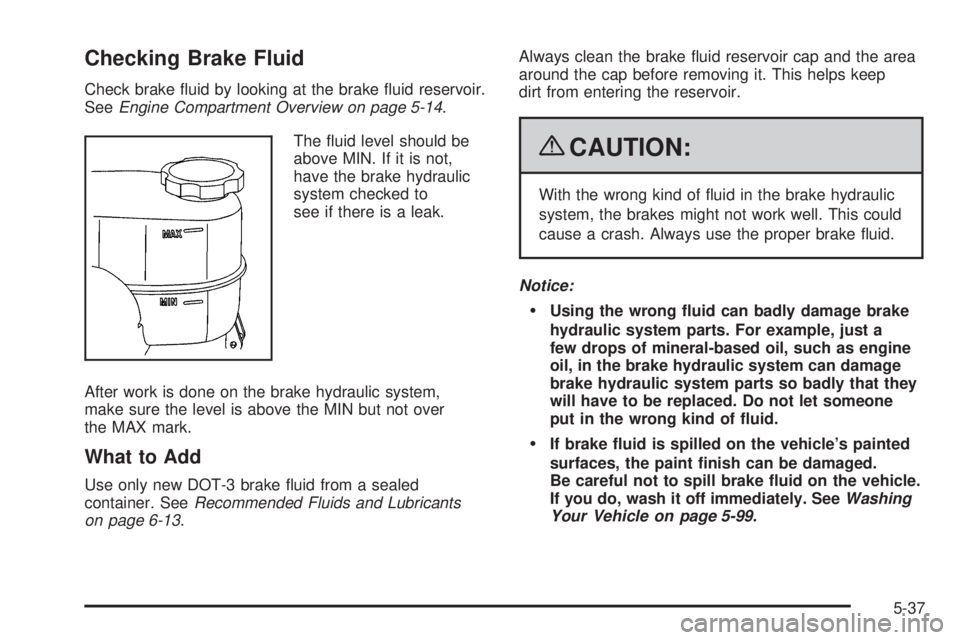
Check brake fluid by looking at the brake fluid reservoir.
SeeEngine Compartment Overview on page 5-14.
The fluid level should be
above MIN. If it is not,
have the brake hydraulic
system checked to
see if there is a leak.
After work is done on the brake hydraulic system,
make sure the level is above the MIN but not over
the MAX mark.
What to Add
Use only new DOT-3 brake fluid from a sealed
container. SeeRecommended Fluids and Lubricants
on page 6-13.Always clean the brake fluid reservoir cap and the area
around the cap before removing it. This helps keep
dirt from entering the reservoir.
{CAUTION:
With the wrong kind of fluid in the brake hydraulic
system, the brakes might not work well. This could
cause a crash. Always use the proper brake fluid.
Notice:
Using the wrong �uid can badly damage brake
hydraulic system parts. For example, just a
few drops of mineral-based oil, such as engine
oil, in the brake hydraulic system can damage
brake hydraulic system parts so badly that they
will have to be replaced. Do not let someone
put in the wrong kind of �uid.
If brake �uid is spilled on the vehicle’s painted
surfaces, the paint �nish can be damaged.
Be careful not to spill brake �uid on the vehicle.
If you do, wash it off immediately. SeeWashing
Your Vehicle on page 5-99.
5-37
Page 280 of 404
Brake Wear
This vehicle has disc brakes. Disc brake pads have
built-in wear indicators that make a high-pitched warning
sound when the brake pads are worn and new pads
are needed. The sound can come and go or be heard
all the time the vehicle is moving, except when applying
the brake pedal firmly.
{CAUTION:
The brake wear warning sound means that soon
the brakes will not work well. That could lead to an
accident. When the brake wear warning sound is
heard, have the vehicle serviced.
Notice:Continuing to drive with worn-out brake
pads could result in costly brake repair.Some driving conditions or climates can cause a brake
squeal when the brakes are first applied or lightly applied.
This does not mean something is wrong with the brakes.
Properly torqued wheel nuts are necessary to help
prevent brake pulsation. When tires are rotated, inspect
brake pads for wear and evenly tighten wheel nuts in
the proper sequence to torque specifications in
Capacities and Specifications on page 5-110.
Brake linings should always be replaced as complete
axle sets.Brake Pedal Travel
See your dealer/retailer if the brake pedal does not
return to normal height, or if there is a rapid increase
in pedal travel. This could be a sign that brake service
might be required.
Brake Adjustment
Every brake stop, the brakes adjust for wear.
5-38