check engine GMC SAVANA 2010 Owner's Guide
[x] Cancel search | Manufacturer: GMC, Model Year: 2010, Model line: SAVANA, Model: GMC SAVANA 2010Pages: 424, PDF Size: 2.4 MB
Page 236 of 424
Before Leaving on a Long Trip
To prepare your vehicle for a long trip, consider having
it serviced by your dealer/retailer before departing.
Things to check on your own include:
•Windshield Washer Fluid:Reservoir full? Windows
clean — inside and outside?
•Wiper Blades:In good shape?
•Fuel, Engine Oil, Other Fluids:All levels checked?
•Lamps:Do they all work and are lenses clean?
•Tires:Are treads good? Are tires inflated to
recommended pressure?
•Weather and Maps:Safe to travel?
Have up-to-date maps?
Highway Hypnosis
Always be alert and pay attention to your surroundings
while driving. If you become tired or sleepy, find a
safe place to park your vehicle and rest.
Other driving tips include:
•Keep the vehicle well ventilated.
•Keep interior temperature cool.
•Keep your eyes moving — scan the road ahead
and to the sides.
•Check the rearview mirror and vehicle instruments
often.
5-12
Page 237 of 424
Hill and Mountain Roads
Driving on steep hills or through mountains is different
than driving on flat or rolling terrain. Tips for driving
in these conditions include:
•Keep the vehicle serviced and in good shape.
•Check all fluid levels and brakes, tires, cooling
system, and transmission.
•Going down steep or long hills, shift to a
lower gear.
{WARNING:
If you do not shift down, the brakes could get so
hot that they would not work well. You would then
have poor braking or even none going down a hill.
You could crash. Shift down to let the engine
assist the brakes on a steep downhill slope.
{WARNING:
Coasting downhill in N (Neutral) or with the ignition
off is dangerous. The brakes will have to do all the
work of slowing down and they could get so hot
that they would not work well. You would then
have poor braking or even none going down a hill.
You could crash. Always have the engine running
and the vehicle in gear when going downhill.
•Stay in your own lane. Do not swing wide or cut
across the center of the road. Drive at speeds
that let you stay in your own lane.
•Top of hills: Be alert — something could be in your
lane (stalled car, accident).
•Pay attention to special road signs (falling rocks
area, winding roads, long grades, passing or
no-passing zones) and take appropriate action.
5-13
Page 239 of 424
WARNING: (Continued)
•
Check again from time to time to be sure
snow does not collect there.
•Open a window about 5 cm (two inches) on
the side of the vehicle that is away from the
wind to bring in fresh air.
•Fully open the air outlets on or under the
instrument panel.
•Adjust the Climate Control system to a setting
that circulates the air inside the vehicle and
set the fan speed to the highest setting. See
Climate Control System in the Index.
For more information about carbon monoxide, see
Engine Exhaust on page 3-38.
Snow can trap exhaust gases under your vehicle.
This can cause deadly CO (carbon monoxide) gas
to get inside. CO could overcome you and kill you.
You cannot see it or smell it, so you might not
know it is in your vehicle. Clear away snow from
around the base of your vehicle, especially any
that is blocking the exhaust.Run the engine for short periods only as needed to
keep warm, but be careful.
To save fuel, run the engine for only short periods as
needed to warm the vehicle and then shut the engine off
and close the window most of the way to save heat.
Repeat this until help arrives but only when you
feel really uncomfortable from the cold. Moving about to
keep warm also helps.
If it takes some time for help to arrive, now and then
when you run the engine, push the accelerator
pedal slightly so the engine runs faster than the idle
speed. This keeps the battery charged to restart
the vehicle and to signal for help with the headlamps.
Do this as little as possible to save fuel.
5-15
Page 261 of 424
Leaving After Parking on a Hill
1. Apply and hold the brake pedal while you:
•start the engine,
•shift into a gear, and
•release the parking brake.
2. Let up on the brake pedal.
3. Drive slowly until the trailer is clear of the chocks.
4. Stop and have someone pick up and store the
chocks.
Maintenance When Trailer Towing
The vehicle needs service more often when pulling a
trailer. See this manual’s Maintenance Schedule
or Index for more information. Things that are especially
important in trailer operation are automatic transmission
fluid, engine oil, axle lubricant, belts, cooling system
and brake system. It is a good idea to inspect
these before and during the trip.
Check periodically to see that all hitch nuts and bolts
are tight.
Trailer Wiring Harness
The optional heavy-duty trailer wiring package includes
a wiring harness, with a seven-pin connector at the
rear of the vehicle and a four-wire harness assembly
under the driver side of the instrument panel. The
four-wire harness assembly comes without a connector.
If the vehicle does not have a trailer hitch, the
seven-wire harness assembly with connector is taped
together and located in a frame pocket at the driver side
rear left corner of the frame.
If the vehicle has a trailer hitch, the seven-wire harness
assembly with connector is attached to a bracket on
the hitch platform. In both cases, the seven-wire harness
has a connector and includes a 30-amp feed wire.
5-37
Page 263 of 424
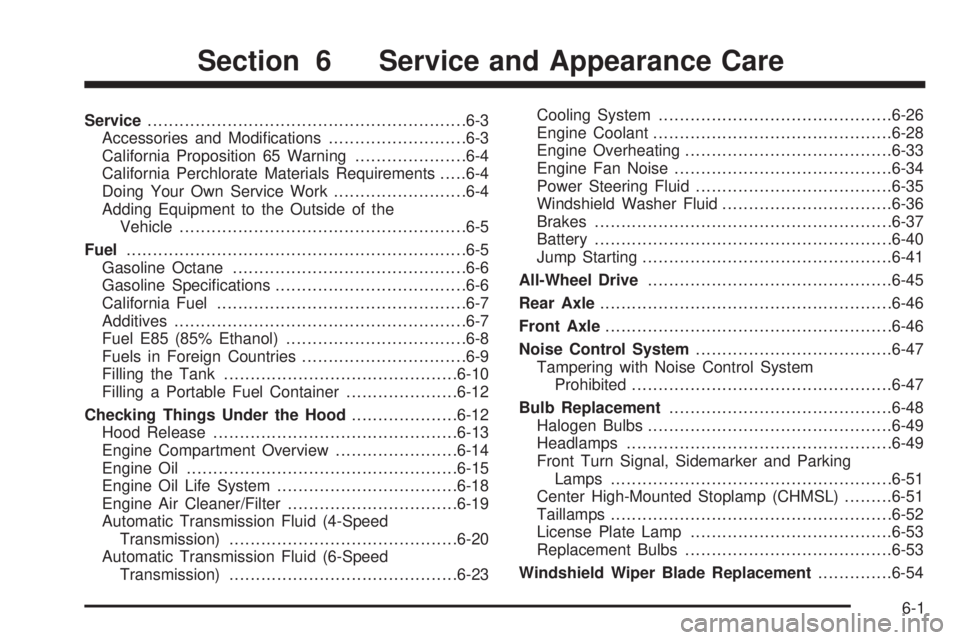
Service............................................................6-3
Accessories and Modifications..........................6-3
California Proposition 65 Warning.....................6-4
California Perchlorate Materials Requirements.....6-4
Doing Your Own Service Work.........................6-4
Adding Equipment to the Outside of the
Vehicle......................................................6-5
Fuel................................................................6-5
Gasoline Octane............................................6-6
Gasoline Specifications....................................6-6
California Fuel...............................................6-7
Additives.......................................................6-7
Fuel E85 (85% Ethanol)..................................6-8
Fuels in Foreign Countries...............................6-9
Filling the Tank............................................6-10
Filling a Portable Fuel Container.....................6-12
Checking Things Under the Hood....................6-12
Hood Release..............................................6-13
Engine Compartment Overview.......................6-14
Engine Oil...................................................6-15
Engine Oil Life System..................................6-18
Engine Air Cleaner/Filter................................6-19
Automatic Transmission Fluid (4-Speed
Transmission)...........................................6-20
Automatic Transmission Fluid (6-Speed
Transmission)...........................................6-23Cooling System............................................6-26
Engine Coolant.............................................6-28
Engine Overheating.......................................6-33
Engine Fan Noise.........................................6-34
Power Steering Fluid.....................................6-35
Windshield Washer Fluid................................6-36
Brakes........................................................6-37
Battery........................................................6-40
Jump Starting...............................................6-41
All-Wheel Drive.............................................
.6-45
Rear Axle.......................................................6-46
Front Axle......................................................6-46
Noise Control System.....................................6-47
Tampering with Noise Control System
Prohibited.................................................6-47
Bulb Replacement..........................................6-48
Halogen Bulbs..............................................6-49
Headlamps..................................................6-49
Front Turn Signal, Sidemarker and Parking
Lamps .....................................................6-51
Center High-Mounted Stoplamp (CHMSL).........6-51
Taillamps.....................................................6-52
License Plate Lamp......................................6-53
Replacement Bulbs.......................................6-53
Windshield Wiper Blade Replacement..............6-54
Section 6 Service and Appearance Care
6-1
Page 267 of 424
This vehicle has an airbag system. Before attempting to
do your own service work, seeServicing Your
Airbag-Equipped Vehicle on page 2-77.
Keep a record with all parts receipts and list the mileage
and the date of any service work performed. See
Maintenance Record on page 7-15.
Adding Equipment to the Outside of
the Vehicle
Things added to the outside of the vehicle can affect the
airflow around it. This can cause wind noise and can
affect fuel economy and windshield washer performance.
Check with your dealer/retailer before adding equipment
to the outside of the vehicle.
Fuel
For diesel engine vehicles, see “Diesel Fuel
Requirements and Fuel System” in the DURAMAX®
Diesel manual.
For vehicles with gasoline engines, please read this.
Gasoline
Use of the recommended fuel is an important part of the
proper maintenance of this vehicle. To help keep the
engine clean and maintain optimum vehicle
performance, we recommend the use of gasoline
advertised as TOP TIER Detergent Gasoline.
Look for the TOP TIER label on the fuel pump to ensure
gasoline meets enhanced detergency standards
developed by auto companies. A list of marketers
providing TOP TIER Detergent Gasoline can be found
at www.toptiergas.com.
6-5
Page 269 of 424
California Fuel
If the vehicle is certified to meet California Emissions
Standards, it is designed to operate on fuels that
meet California specifications. See the underhood
emission control label. If this fuel is not available
in states adopting California emissions standards, the
vehicle will operate satisfactorily on fuels meeting federal
specifications, but emission control system performance
might be affected. The malfunction indicator lamp
could turn on and the vehicle might fail a smog-check
test. SeeMalfunction Indicator Lamp on page 4-31.
If this occurs, return to your authorized dealer/retailer for
diagnosis. If it is determined that the condition is
caused by the type of fuel used, repairs might not be
covered by the vehicle warranty.
Additives
To provide cleaner air, all gasolines in the United States
are now required to contain additives that help prevent
engine and fuel system deposits from forming, allowing
the emission control system to work properly. In
most cases, nothing should have to be added to the
fuel. However, some gasolines contain only the
minimum amount of additive required to meet U.S.
Environmental Protection Agency regulations. To help
keep fuel injectors and intake valves clean, or if the
vehicle experiences problems due to dirty injectors or
valves, look for gasoline that is advertised as TOP TIER
Detergent Gasoline.
For customers who do not use TOP TIER Detergent
Gasoline regularly, one bottle of GM Fuel System
Treatment PLUS, added to the fuel tank at every engine
oil change, can help clean deposits from fuel injectors
and intake valves. GM Fuel System Treatment PLUS is
the only gasoline additive recommended by General
Motors.
6-7
Page 274 of 424
Filling a Portable Fuel Container
{WARNING:
Never fill a portable fuel container while it is in the
vehicle. Static electricity discharge from the
container can ignite the fuel vapor. You can be
badly burned and the vehicle damaged if this
occurs. To help avoid injury to you and others:
•Dispense fuel only into approved containers.
•Do not fill a container while it is inside a
vehicle, in a vehicle’s trunk, pickup bed, or on
any surface other than the ground.
•Bring the fill nozzle in contact with the inside
of the fill opening before operating the nozzle.
Contact should be maintained until the filling
is complete.
•Do not smoke while pumping fuel.
•Do not use a cellular phone while
pumping fuel.
Checking Things Under
the Hood
{WARNING:
Things that burn can get on hot engine or fuel
operated heater (FOH) parts and start a fire.
These include liquids like fuel, oil, coolant, brake
fluid, windshield washer and other fluids, and
plastic or rubber. You or others could be burned.
Be careful not to drop or spill things that will burn
onto a hot engine or fuel operated heater (FOH).
6-12
Page 277 of 424
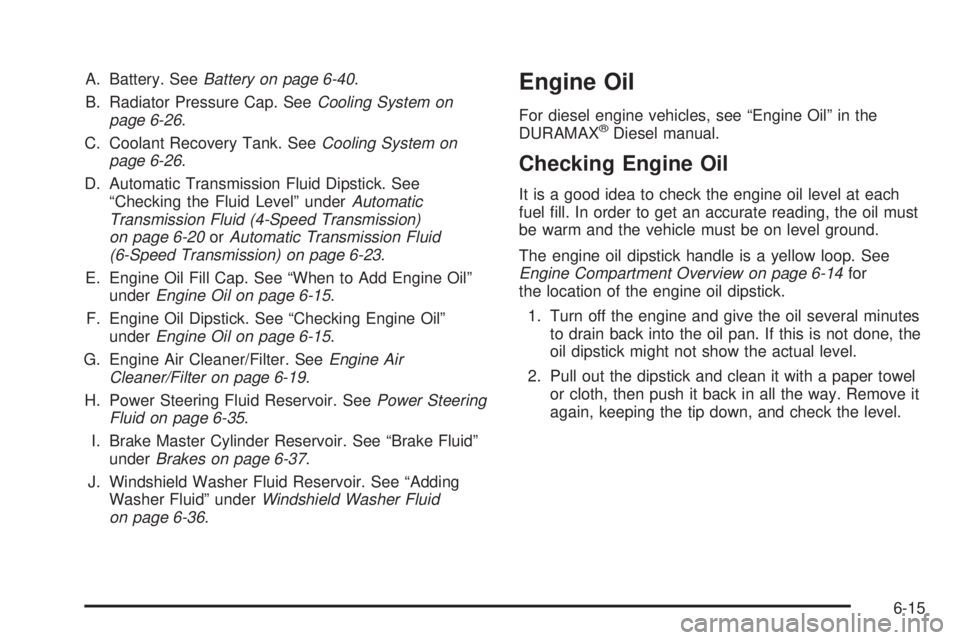
A. Battery. SeeBattery on page 6-40.
B. Radiator Pressure Cap. SeeCooling System on
page 6-26.
C. Coolant Recovery Tank. SeeCooling System on
page 6-26.
D. Automatic Transmission Fluid Dipstick. See
“Checking the Fluid Level” underAutomatic
Transmission Fluid (4-Speed Transmission)
on page 6-20orAutomatic Transmission Fluid
(6-Speed Transmission) on page 6-23.
E. Engine Oil Fill Cap. See “When to Add Engine Oil”
underEngine Oil on page 6-15.
F. Engine Oil Dipstick. See “Checking Engine Oil”
underEngine Oil on page 6-15.
G. Engine Air Cleaner/Filter. SeeEngine Air
Cleaner/Filter on page 6-19.
H. Power Steering Fluid Reservoir. SeePower Steering
Fluid on page 6-35.
I. Brake Master Cylinder Reservoir. See “Brake Fluid”
underBrakes on page 6-37.
J. Windshield Washer Fluid Reservoir. See “Adding
Washer Fluid” underWindshield Washer Fluid
on page 6-36.Engine Oil
For diesel engine vehicles, see “Engine Oil” in the
DURAMAX®Diesel manual.
Checking Engine Oil
It is a good idea to check the engine oil level at each
fuel fill. In order to get an accurate reading, the oil must
be warm and the vehicle must be on level ground.
The engine oil dipstick handle is a yellow loop. See
Engine Compartment Overview on page 6-14for
the location of the engine oil dipstick.
1. Turn off the engine and give the oil several minutes
to drain back into the oil pan. If this is not done, the
oil dipstick might not show the actual level.
2. Pull out the dipstick and clean it with a paper towel
or cloth, then push it back in all the way. Remove it
again, keeping the tip down, and check the level.
6-15
Page 280 of 424
Engine Oil Additives / Engine Oil
Flushes
Do not add anything to the oil. The recommended
oils with the starburst symbol that meet GM
Standard GM6094M are all that is needed for good
performance and engine protection.
Engine oil system flushes are not recommended and
could cause engine damage not covered by the vehicle
warranty.
Engine Oil Life System
When to Change Engine Oil
This vehicle has a computer system that indicates when
to change the engine oil and filter. This is based on
engine revolutions and engine temperature, and not on
mileage. Based on driving conditions, the mileage at
which an oil change is indicated can vary considerably.
For the oil life system to work properly, the system
must be reset every time the oil is changed.
When the system has calculated that oil life has been
diminished, it indicates that an oil change is necessary.
A CHANGE ENGINE OIL SOON message comes on.
SeeDIC Warnings and Messages on page 4-44.
Change the oil as soon as possible within the next
1 000 km (600 miles). It is possible that, if driving under
the best conditions, the oil life system might not
indicate that an oil change is necessary for over a year.However, the engine oil and filter must be changed at
least once a year and at this time the system must
be reset. Your dealer/retailer has trained service people
who will perform this work using genuine parts and
reset the system. It is also important to check the oil
regularly and keep it at the proper level.
If the system is ever reset accidentally, the oil must be
changed at 5 000 km (3,000 miles) since the last oil
change. Remember to reset the oil life system whenever
the oil is changed.
How to Reset the Engine Oil Life
System
The Engine Oil Life System calculates when to change
the engine oil and filter based on vehicle use.
Whenever the oil is changed, reset the system so it can
calculate when the next oil change is required. If a
situation occurs where the oil is changed prior to
a CHANGE ENGINE OIL SOON message being turned
on, reset the system.
To reset the CHANGE ENGINE OIL SOON message:
1. Turn the ignition key to ON/RUN with the engine off.
2. Fully press and release the accelerator pedal
slowly three times within five seconds.
3. Turn the key to LOCK/OFF.
6-18