engine oil GMC SAVANA 2010 Owner's Manual
[x] Cancel search | Manufacturer: GMC, Model Year: 2010, Model line: SAVANA, Model: GMC SAVANA 2010Pages: 424, PDF Size: 2.4 MB
Page 5 of 424
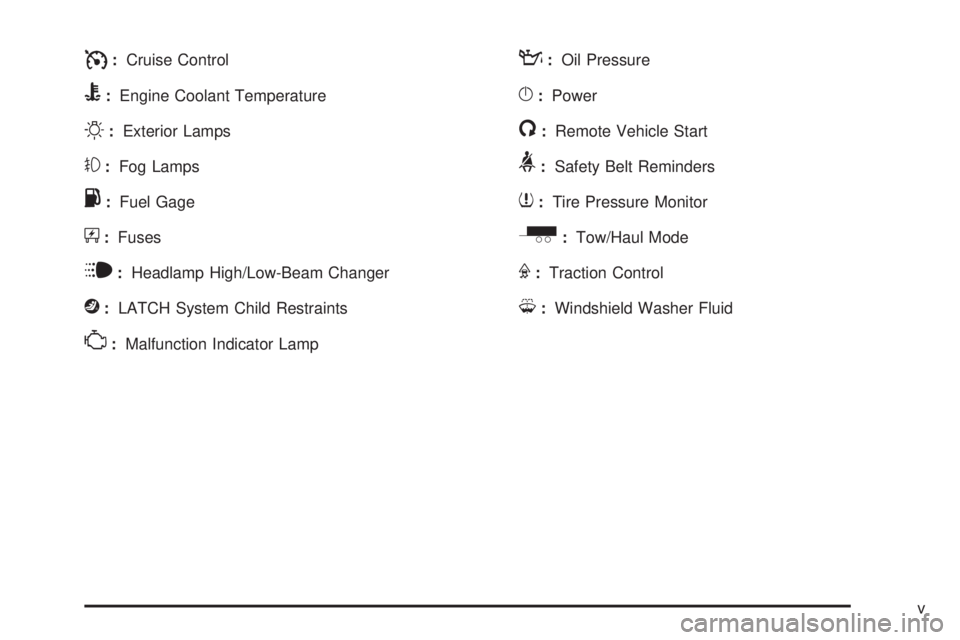
I:Cruise Control
B:Engine Coolant Temperature
O:Exterior Lamps
#:Fog Lamps
.:Fuel Gage
+:Fuses
i:Headlamp High/Low-Beam Changer
j:LATCH System Child Restraints
*:Malfunction Indicator Lamp
::Oil Pressure
}:Power
/:Remote Vehicle Start
>:Safety Belt Reminders
7:Tire Pressure Monitor
_:Tow/Haul Mode
F:Traction Control
M:Windshield Washer Fluid
v
Page 7 of 424
Instrument Panel..............................................1-2
Initial Drive Information....................................1-4
Remote Keyless Entry (RKE) System................1-4
Remote Vehicle Start......................................1-4
Door Locks....................................................1-5
Windows.......................................................1-6
Seat Adjustment.............................................1-6
Safety Belt....................................................1-8
Airbag On-Off Switch......................................1-8
Sensing System for Passenger Airbag...............1-9
Mirror Adjustment...........................................1-9
Steering Wheel Adjustment............................1-10
Interior Lighting............................................1-11
Exterior Lighting...........................................1-11
Windshield Wiper/Washer...............................1-12
Climate Controls...........................................1-12Vehicle Features.............................................1-13
Radio(s)......................................................1-13
Portable Audio Devices..................................1-14
Steering Wheel Controls................................1-15
Cruise Control..............................................1-15
Power Outlets..............................................1-16
Performance and Maintenance.........................1-16
StabiliTrak
®..................................................1-16
Tire Pressure Monitor....................................1-17
Engine Oil Life System..................................1-17
Fuel E85 (85% Ethanol)................................1-18
Driving for Better Fuel Economy.....................1-18
Roadside Assistance Program........................1-18
Section 1 In Brief
1-1
Page 23 of 424
Tire Pressure Monitor
This vehicle may have a Tire Pressure Monitor
System (TPMS).
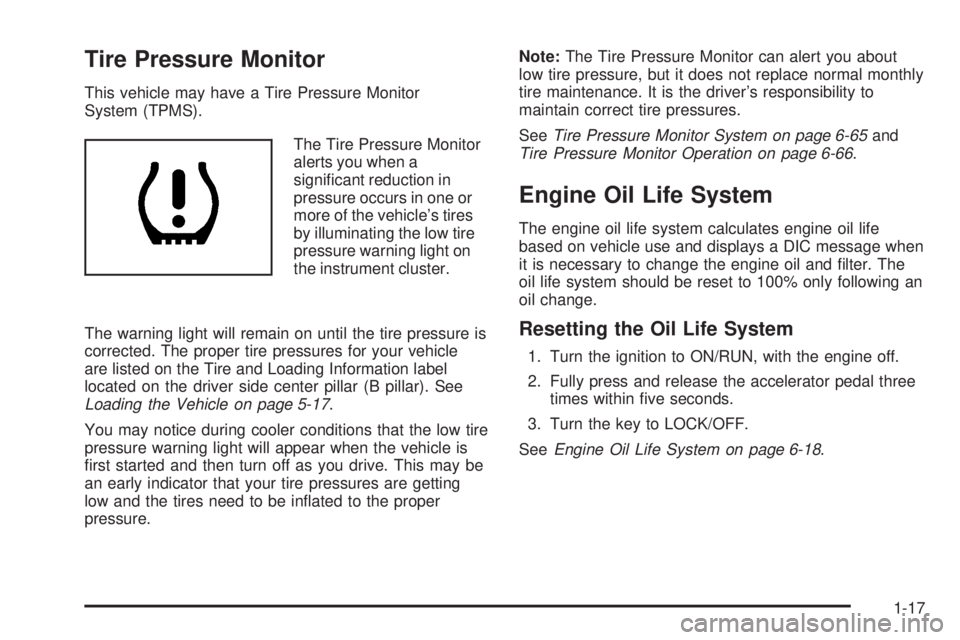
The Tire Pressure Monitor
alerts you when a
significant reduction in
pressure occurs in one or
more of the vehicle’s tires
by illuminating the low tire
pressure warning light on
the instrument cluster.
The warning light will remain on until the tire pressure is
corrected. The proper tire pressures for your vehicle
are listed on the Tire and Loading Information label
located on the driver side center pillar (B pillar). See
Loading the Vehicle on page 5-17.
You may notice during cooler conditions that the low tire
pressure warning light will appear when the vehicle is
first started and then turn off as you drive. This may be
an early indicator that your tire pressures are getting
low and the tires need to be inflated to the proper
pressure.Note:The Tire Pressure Monitor can alert you about
low tire pressure, but it does not replace normal monthly
tire maintenance. It is the driver’s responsibility to
maintain correct tire pressures.
SeeTire Pressure Monitor System on page 6-65and
Tire Pressure Monitor Operation on page 6-66.
Engine Oil Life System
The engine oil life system calculates engine oil life
based on vehicle use and displays a DIC message when
it is necessary to change the engine oil and filter. The
oil life system should be reset to 100% only following an
oil change.
Resetting the Oil Life System
1. Turn the ignition to ON/RUN, with the engine off.
2. Fully press and release the accelerator pedal three
times within five seconds.
3. Turn the key to LOCK/OFF.
SeeEngine Oil Life System on page 6-18.
1-17
Page 112 of 424
The remote vehicle start feature will not operate if:
•The remote start system is disabled through
the DIC.
•The vehicle’s key is in the ignition.
•The vehicle’s hood is open
•The hazard warning flashers are on.
•There is an emission control system malfunction.
SeeMalfunction Indicator Lamp on page 4-31.
•The engine coolant temperature is too high.
•The oil pressure is low.
•Two remote vehicle starts have already been
provided.
Doors and Locks
Door Locks
{WARNING:
Unlocked doors can be dangerous.
•Passengers, especially children, can easily
open the doors and fall out of a moving vehicle.
When a door is locked, the handle will not open
it. The chance of being thrown out of the
vehicle in a crash is increased if the doors are
not locked. So, all passengers should wear
safety belts properly and the doors should be
locked whenever the vehicle is driven.
•Young children who get into unlocked vehicles
may be unable to get out. A child can be
overcome by extreme heat and can suffer
permanent injuries or even death from heat
stroke. Always lock the vehicle whenever
leaving it.
•Outsiders can easily enter through an unlocked
door when you slow down or stop your vehicle.
Locking your doors can help prevent this from
happening.
3-8
Page 128 of 424
Starting Procedure
1. With your foot off the accelerator pedal, turn the
ignition key to START. When the engine starts,
let go of the key. The idle speed will go down as
your engine gets warm. Do not race the engine
immediately after starting it. Operate the engine and
transmission gently to allow the oil to warm up
and lubricate all moving parts.
The vehicle has a Computer-Controlled Cranking
System. This feature assists in starting the engine
and protects components. If the ignition key is turned
to the START position, and then released when the
engine begins cranking, the engine will continue
cranking for a few seconds or until the vehicle starts.
If the engine does not start and the key is held in
START for many seconds, cranking will be stopped
after 15 seconds to prevent cranking motor damage.
To prevent gear damage, this system also prevents
cranking if the engine is already running. Engine
cranking can be stopped by turning the ignition
switch to the ACC/ACCESSORY or LOCK/OFF
position.
Notice:Cranking the engine for long periods of
time, by returning the key to the START position
immediately after cranking has ended, can overheat
and damage the cranking motor, and drain the
battery. Wait at least 15 seconds between each try,
to let the cranking motor cool down.2. If the engine does not start after 5-10 seconds,
especially in very cold weather (below 0°F or−18°C),
it could be flooded with too much gasoline. Try
pushing the accelerator pedal all the way to the
floor and holding it there as you hold the key in
START for up to 15 seconds. Wait at least
15 seconds between each try, to allow the cranking
motor to cool down. When the engine starts, let go of
the key and accelerator. If the vehicle starts briefly
but then stops again, do the same thing. This clears
the extra gasoline from the engine. Do not race the
engine immediately after starting it. Operate the
engine and transmission gently until the oil warms
up and lubricates all moving parts.
Notice:The engine is designed to work with the
electronics in the vehicle. If you add electrical parts
or accessories, you could change the way the
engine operates. Before adding electrical equipment,
check with your dealer/retailer. If you do not, the
engine might not perform properly. Any resulting
damage would not be covered by the vehicle
warranty.
3-24
Page 148 of 424
Brake System Warning Light..........................4-28
Antilock Brake System (ABS) Warning Light.....4-29
StabiliTrak
®Indicator Light.............................4-29
Engine Coolant Temperature Gage..................4-30
Tire Pressure Light.......................................4-30
Malfunction Indicator Lamp.............................4-31
Oil Pressure Gage........................................4-34
Oil Pressure Light.........................................4-35
Security Light...............................................4-35
Cruise Control Light......................................4-36
Highbeam On Light.......................................4-36
Tow/Haul Mode Light....................................4-36
Fuel Gage...................................................4-36Driver Information Center (DIC).......................4-37
DIC Operation and Displays...........................4-38
DIC Compass..............................................4-43
DIC Warnings and Messages.........................4-44
DIC Vehicle Customization.............................4-52
Audio System(s).............................................4-59
Setting the Clock..........................................4-60
Radio(s)......................................................4-62
Using an MP3..............................................4-72
Theft-Deterrent Feature..................................4-76
Audio Steering Wheel Controls.......................4-77
Radio Reception...........................................4-77
Fixed Mast Antenna......................................4-78
Section 4 Instrument Panel
4-2
Page 180 of 424
Oil Pressure Gage
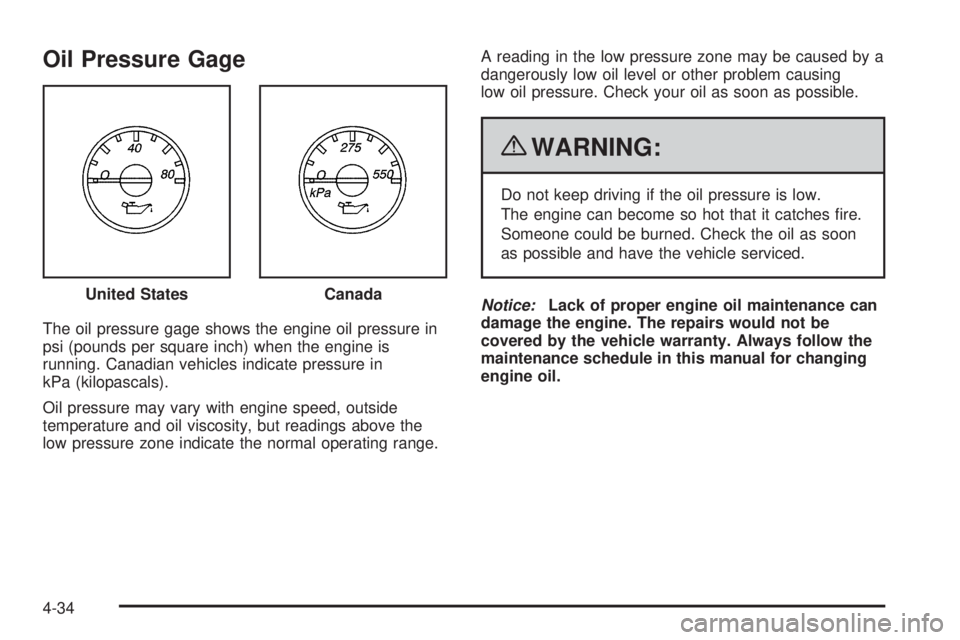
The oil pressure gage shows the engine oil pressure in
psi (pounds per square inch) when the engine is
running. Canadian vehicles indicate pressure in
kPa (kilopascals).
Oil pressure may vary with engine speed, outside
temperature and oil viscosity, but readings above the
low pressure zone indicate the normal operating range.A reading in the low pressure zone may be caused by a
dangerously low oil level or other problem causing
low oil pressure. Check your oil as soon as possible.
{WARNING:
Do not keep driving if the oil pressure is low.
The engine can become so hot that it catches fire.
Someone could be burned. Check the oil as soon
as possible and have the vehicle serviced.
Notice:Lack of proper engine oil maintenance can
damage the engine. The repairs would not be
covered by the vehicle warranty. Always follow the
maintenance schedule in this manual for changing
engine oil. United States
Canada
4-34
Page 181 of 424
Oil Pressure Light
{WARNING:
Do not keep driving if the oil pressure is low. The
engine can become so hot that it catches fire.
Someone could be burned. Check the oil as soon
as possible and have the vehicle serviced.
Notice:Lack of proper engine oil maintenance can
damage the engine. The repairs would not be
covered by the vehicle warranty. Always follow the
maintenance schedule in this manual for changing
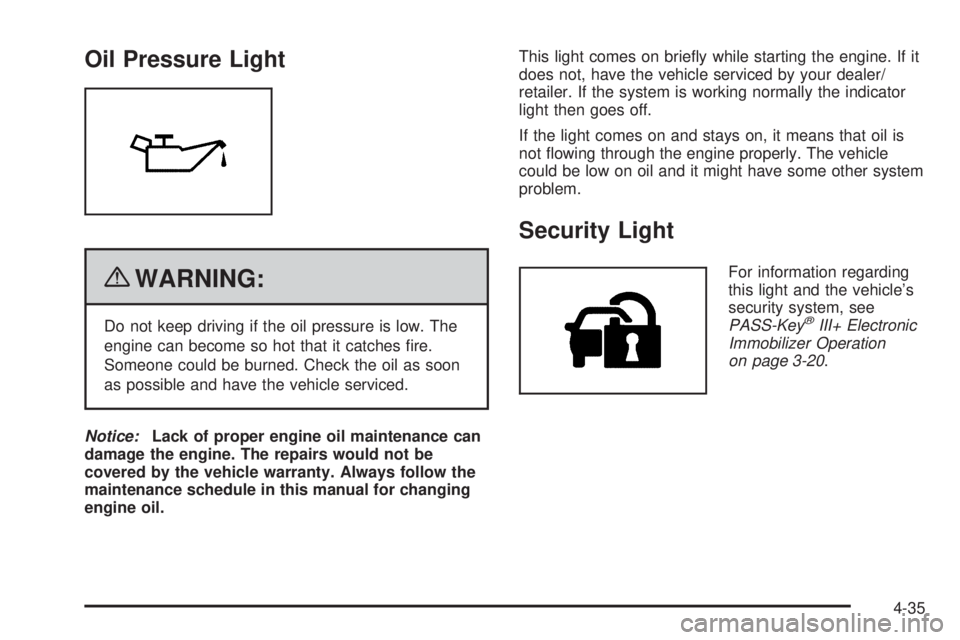
engine oil.This light comes on briefly while starting the engine. If it
does not, have the vehicle serviced by your dealer/
retailer. If the system is working normally the indicator
light then goes off.
If the light comes on and stays on, it means that oil is
not flowing through the engine properly. The vehicle
could be low on oil and it might have some other system
problem.
Security Light
For information regarding
this light and the vehicle’s
security system, see
PASS-Key
®III+ Electronic
Immobilizer Operation
on page 3-20.
4-35
Page 184 of 424
DIC Operation and Displays
The DIC has different displays which can be accessed
by pressing the DIC buttons located on the instrument
panel, next to the instrument panel cluster.
DIC Buttons
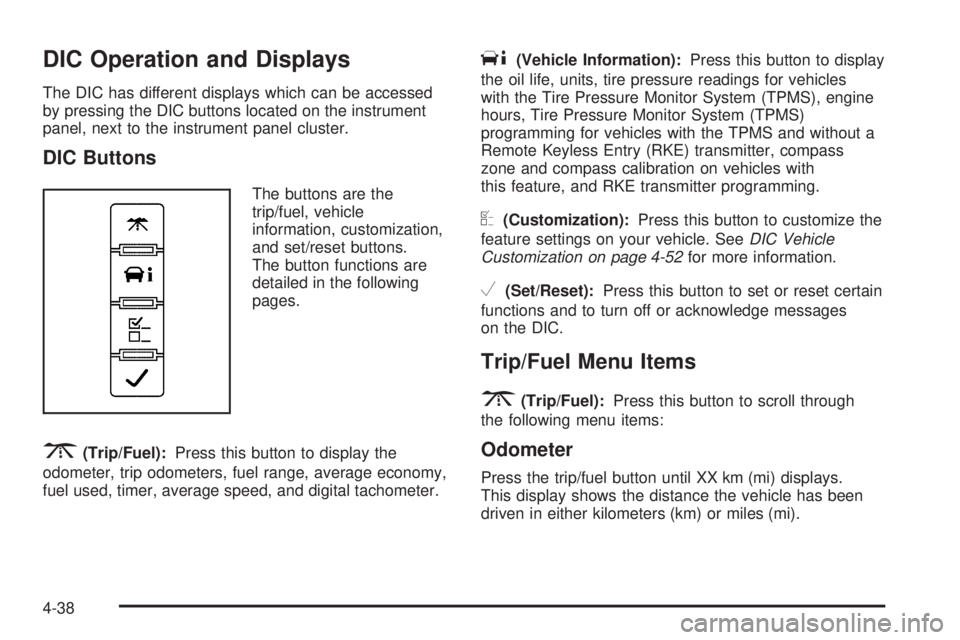
The buttons are the
trip/fuel, vehicle
information, customization,
and set/reset buttons.
The button functions are
detailed in the following
pages.
3(Trip/Fuel):Press this button to display the
odometer, trip odometers, fuel range, average economy,
fuel used, timer, average speed, and digital tachometer.
T(Vehicle Information):Press this button to display
the oil life, units, tire pressure readings for vehicles
with the Tire Pressure Monitor System (TPMS), engine
hours, Tire Pressure Monitor System (TPMS)
programming for vehicles with the TPMS and without a
Remote Keyless Entry (RKE) transmitter, compass
zone and compass calibration on vehicles with
this feature, and RKE transmitter programming.
U(Customization):Press this button to customize the
feature settings on your vehicle. SeeDIC Vehicle
Customization on page 4-52for more information.
V(Set/Reset):Press this button to set or reset certain
functions and to turn off or acknowledge messages
on the DIC.
Trip/Fuel Menu Items
3
(Trip/Fuel):Press this button to scroll through
the following menu items:
Odometer
Press the trip/fuel button until XX km (mi) displays.
This display shows the distance the vehicle has been
driven in either kilometers (km) or miles (mi).
4-38
Page 187 of 424
Vehicle Information Menu Items
T
(Vehicle Information):Press this button to scroll
through the following menu items:
Oil Life
Press the vehicle information button until OIL LIFE
REMAINING displays. This display shows an estimate
of the oil’s remaining useful life. If you see 99% OIL LIFE
REMAINING on the display, that means 99% of the
current oil life remains. The engine oil life system
will alert you to change the oil on a schedule consistent
with your driving conditions.
When the remaining oil life is low, the CHANGE
ENGINE OIL SOON message will appear on the display.
See “CHANGE ENGINE OIL SOON” underDIC
Warnings and Messages on page 4-44. You should
change the oil as soon as possible. SeeEngine Oil on
page 6-15. In addition to the engine oil life system
monitoring the oil life, additional maintenance is
recommended in the Maintenance Schedule in this
manual. SeeScheduled Maintenance on page 7-3for
more information.
Remember, you must reset the OIL LIFE yourself after
each oil change. It will not reset itself. Also, be
careful not to reset the OIL LIFE accidentally at any
time other than when the oil has just been changed.It cannot be reset accurately until the next oil change.
To reset the engine oil life system, seeEngine Oil
Life System on page 6-18.
Units
Press the vehicle information button until UNITS
displays. This display allows you to select between
English or Metric units of measurement. Once in this
display, press the set/reset button to select between
ENGLISH or METRIC units.
Tire Pressure
If your vehicle has the Tire Pressure Monitor System
(TPMS), the pressure for each tire can be viewed in
the DIC. The tire pressure will be shown in either
kilopascals (kPa) or pounds per square inch (psi). Press
the vehicle information button until the DIC displays
FRONT TIRES PSI (kPa) LEFT ## RIGHT ##. Press the
vehicle information button again until the DIC displays
REAR TIRES PSI (kPa) LEFT ## RIGHT ##.
If a low tire pressure condition is detected by the system
while driving, a message advising you to check the
pressure in a specific tire will appear in the display. See
In�ation - Tire Pressure on page 6-63andDIC Warnings
and Messages on page 4-44for more information.
If the tire pressure display shows dashes instead of a
value, there may be a problem with your vehicle. If this
consistently occurs, see your dealer/retailer for service.
4-41