warning GMC SAVANA PASSENGER 2008 User Guide
[x] Cancel search | Manufacturer: GMC, Model Year: 2008, Model line: SAVANA PASSENGER, Model: GMC SAVANA PASSENGER 2008Pages: 402, PDF Size: 2.34 MB
Page 120 of 402
Hazard Warning Flashers
The hazard warning flashers warn others. They also let
the police and other emergency vehicles know you
have a problem.
The hazard warning
flasher button is located
on top of the steering
column.
Press the button to make the front and rear turn signal
lamps flash on and off. Press the button again to turn the
flashers off.The hazard warning flashers work no matter what
ignition position the key is in, and even if the key is
not in the ignition.
When the hazard warning flashers are on, your vehicle’s
turn signals will not work.
Other Warning Devices
If you carry reflective triangles, you can set them up at
the side of the road about 300 feet (100 m) behind
your vehicle.
Horn
Press the horn symbol in the middle of the steering
wheel to sound the horn.
3-6
Page 122 of 402
Turn and Lane-Change Signals
The turn signal has two upward (for right) and
two downward (for left) positions. These positions
allow you to signal a turn or a lane change.
To signal a turn, move the lever all the way up or
down. When the turn is finished, the lever will return
automatically.
An arrow on the instrument
panel cluster will flash
in the direction of the
turn or lane change.
To signal a lane change, raise or lower the lever until
the arrow starts to flash. The turn signals automatically
flash three times and if the tow-haul mode is active
it flashes six times. Holding the turn signal lever for
more than one second causes the turn signals to
flash continually until the lever is released. The lever
returns by itself when you release it.An arrow on the instrument panel cluster flashes in the
direction of the turn or lane change.
If arrows flash more quickly than normal when a turn or
lane change is signaled, a signal bulb may be burned
out and other drivers may not see your turn signal.
If a bulb is burned out, replace it to help avoid an
accident. If the arrows do not go on at all when you
signal a turn, check for burned-out bulbs or a blown
fuse. SeeFuses and Circuit Breakers on page 5-104.
Turn Signal On Chime
If your turn signal is left on for more than 3/4 of a mile
(1.2 km), a chime will sound at each flash of the turn
signal and the message TURN SIGNAL ON also appears
in the Driver Information Center (DIC). SeeDIC Warnings
and Messages on page 3-49. To turn off the chime and
message, move the turn signal lever to the off position.
3-8
Page 128 of 402
AUTO (Automatic):Turn the control to this position
to automatically turn on the headlamps at normal
brightness, together with the following:
•Parking Lamps
•Instrument Panel Lights
•Taillamps
•License Plate Lamps
;(Parking Lamps):Turn the control to this position
to turn on the parking lamps together with the
following:
•Instrument Panel Lights
•Taillamps
•License Plate Lamps
2(Headlamps):Turn the control to this position to
turn on the headlamps together with the following lamps
listed below.
•Parking Lamps
•Instrument Panel Lights
•Taillamps
•License Plate LampsWhen the headlamps are turned on while the vehicle is
on, the headlamps will turn off automatically 10 minutes
after the ignition is turned off. When the headlamps are
turned on while the vehicle is off, the headlamps will
continue to stay on. To prevent the battery from being
drained, turn the control to the off position.
A warning chime sounds if the driver’s door is opened
while the ignition switch is off and the headlamps are on.
To change the headlamps from low beam to high
beam, push the turn signal/multifunction lever toward
the instrument panel.
Headlamps on Reminder
If a door is open, a reminder chime sounds when the
headlamps or parking lamps are manually turned on
and the key is out of the ignition. To turn off the chime,
turn the headlamp switch to off or auto and then
back on, or close and re-open the door. In the auto
mode, the headlamps turn off once the ignition is
in LOCK/OFF or may remain on until the headlamp
delay ends, if enabled in the Driver Information
Center (DIC). See “Exit Lighting” underDIC Vehicle
Customization on page 3-58.
3-14
Page 138 of 402
Mode Control:Turn the center knob clockwise or
counterclockwise to change the direction of the airflow
in the rear seating area.
To change the current mode, select one of the following:
H(Vent):This mode directs air to the upper outlets,
with a little air directed to the floor outlets.
2(Floor):This mode directs most of the air to the
floor outlets.
Temperature Control:Turn the right knob clockwise
or counterclockwise to increase or decrease the
temperature in the rear-seating area.
The air-conditioning system on the main climate control
panel must be turned on to direct cooled air to the
rear of the vehicle. If it is not on, then the temperature
in the rear of the vehicle remains at cabin temperature.
Be sure to keep the area under the front seats clear
of any objects so that the air inside of your vehicle can
circulate effectively.
For information on how to use the main climate control
system, seeClimate Control System on page 3-19.
For information on ventilation, seeOutlet Adjustment
on page 3-21.
Warning Lights, Gages, and
Indicators
This part describes the warning lights and gages that
may be on your vehicle. The pictures will help you
locate them.
Warning lights and gages can signal that something
is wrong before it becomes serious enough to cause an
expensive repair or replacement. Paying attention to
your warning lights and gages could also save you
or others from injury.
Warning lights come on when there may be or is a
problem with one of your vehicle’s functions. As you
will see in the details on the next few pages, some
warning lights come on briefly when you start the engine
just to let you know they’re working. If you are familiar
with this section, you should not be alarmed when
this happens.
Gages can indicate when there may be or is a problem
with one of your vehicle’s functions. Often gages and
warning lights work together to let you know when
there’s a problem with your vehicle.
When one of the warning lights comes on and stays
on when you are driving, or when one of the gages shows
there may be a problem, check the section that tells you
what to do about it. Please follow this manual’s advice.
Waiting to do repairs can be costly – and even
dangerous. So please get to know your warning lights
and gages. They’re a big help.
3-24
Page 142 of 402
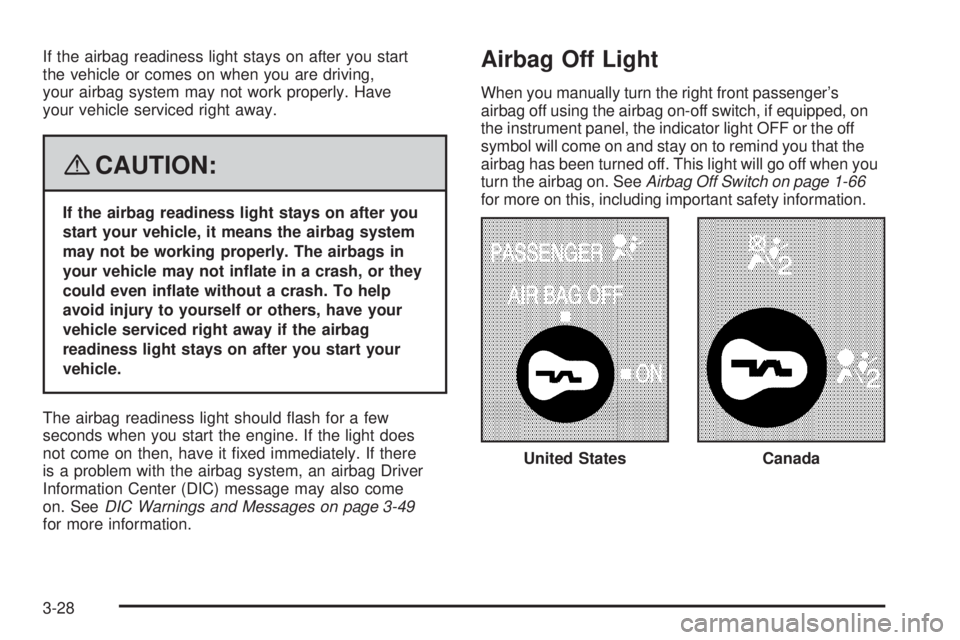
If the airbag readiness light stays on after you start
the vehicle or comes on when you are driving,
your airbag system may not work properly. Have
your vehicle serviced right away.
{CAUTION:
If the airbag readiness light stays on after you
start your vehicle, it means the airbag system
may not be working properly. The airbags in
your vehicle may not in�ate in a crash, or they
could even in�ate without a crash. To help
avoid injury to yourself or others, have your
vehicle serviced right away if the airbag
readiness light stays on after you start your
vehicle.
The airbag readiness light should flash for a few
seconds when you start the engine. If the light does
not come on then, have it fixed immediately. If there
is a problem with the airbag system, an airbag Driver
Information Center (DIC) message may also come
on. SeeDIC Warnings and Messages on page 3-49
for more information.
Airbag Off Light
When you manually turn the right front passenger’s
airbag off using the airbag on-off switch, if equipped, on
the instrument panel, the indicator light OFF or the off
symbol will come on and stay on to remind you that the
airbag has been turned off. This light will go off when you
turn the airbag on. SeeAirbag Off Switch on page 1-66
for more on this, including important safety information.
United States
Canada
3-28
Page 146 of 402
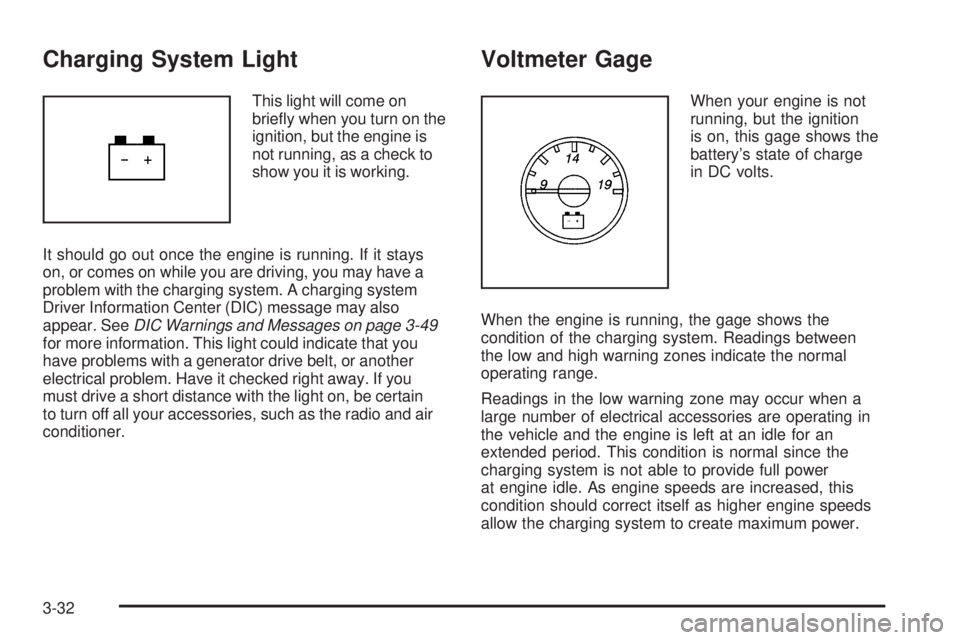
Charging System Light
This light will come on
briefly when you turn on the
ignition, but the engine is
not running, as a check to
show you it is working.
It should go out once the engine is running. If it stays
on, or comes on while you are driving, you may have a
problem with the charging system. A charging system
Driver Information Center (DIC) message may also
appear. SeeDIC Warnings and Messages on page 3-49
for more information. This light could indicate that you
have problems with a generator drive belt, or another
electrical problem. Have it checked right away. If you
must drive a short distance with the light on, be certain
to turn off all your accessories, such as the radio and air
conditioner.
Voltmeter Gage
When your engine is not
running, but the ignition
is on, this gage shows the
battery’s state of charge
in DC volts.
When the engine is running, the gage shows the
condition of the charging system. Readings between
the low and high warning zones indicate the normal
operating range.
Readings in the low warning zone may occur when a
large number of electrical accessories are operating in
the vehicle and the engine is left at an idle for an
extended period. This condition is normal since the
charging system is not able to provide full power
at engine idle. As engine speeds are increased, this
condition should correct itself as higher engine speeds
allow the charging system to create maximum power.
3-32
Page 147 of 402
You can only drive for a short time with the reading in
either warning zone. If you must drive, turn off all
unnecessary accessories.
Readings in either warning zone indicate a possible
problem in the electrical system. Have the vehicle
serviced as soon as possible.
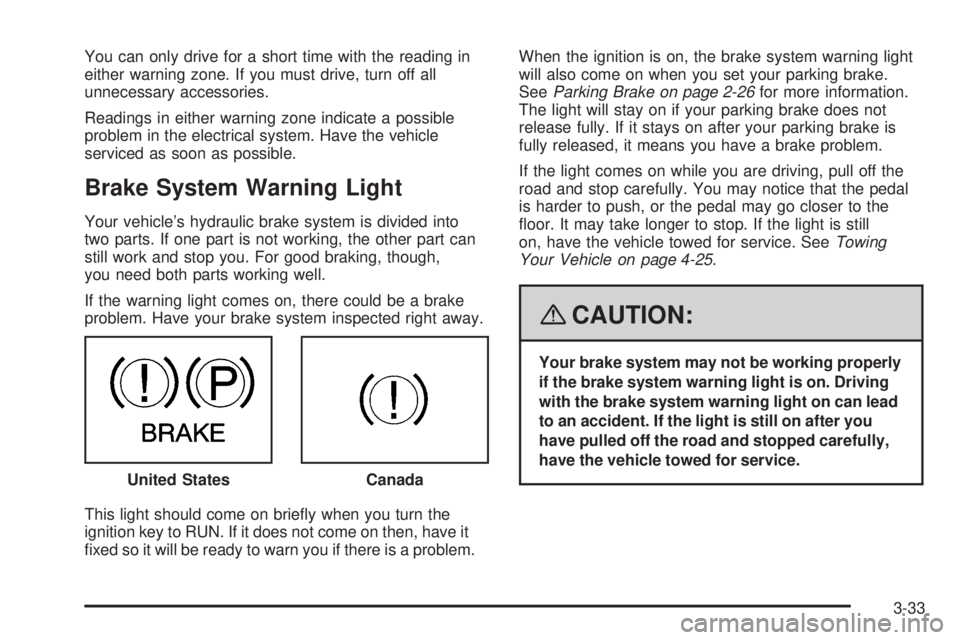
Brake System Warning Light
Your vehicle’s hydraulic brake system is divided into
two parts. If one part is not working, the other part can
still work and stop you. For good braking, though,
you need both parts working well.
If the warning light comes on, there could be a brake
problem. Have your brake system inspected right away.
This light should come on briefly when you turn the
ignition key to RUN. If it does not come on then, have it
fixed so it will be ready to warn you if there is a problem.When the ignition is on, the brake system warning light
will also come on when you set your parking brake.
SeeParking Brake on page 2-26for more information.
The light will stay on if your parking brake does not
release fully. If it stays on after your parking brake is
fully released, it means you have a brake problem.
If the light comes on while you are driving, pull off the
road and stop carefully. You may notice that the pedal
is harder to push, or the pedal may go closer to the
floor. It may take longer to stop. If the light is still
on, have the vehicle towed for service. SeeTowing
Your Vehicle on page 4-25.
{CAUTION:
Your brake system may not be working properly
if the brake system warning light is on. Driving
with the brake system warning light on can lead
to an accident. If the light is still on after you
have pulled off the road and stopped carefully,
have the vehicle towed for service.
United States
Canada
3-33
Page 148 of 402
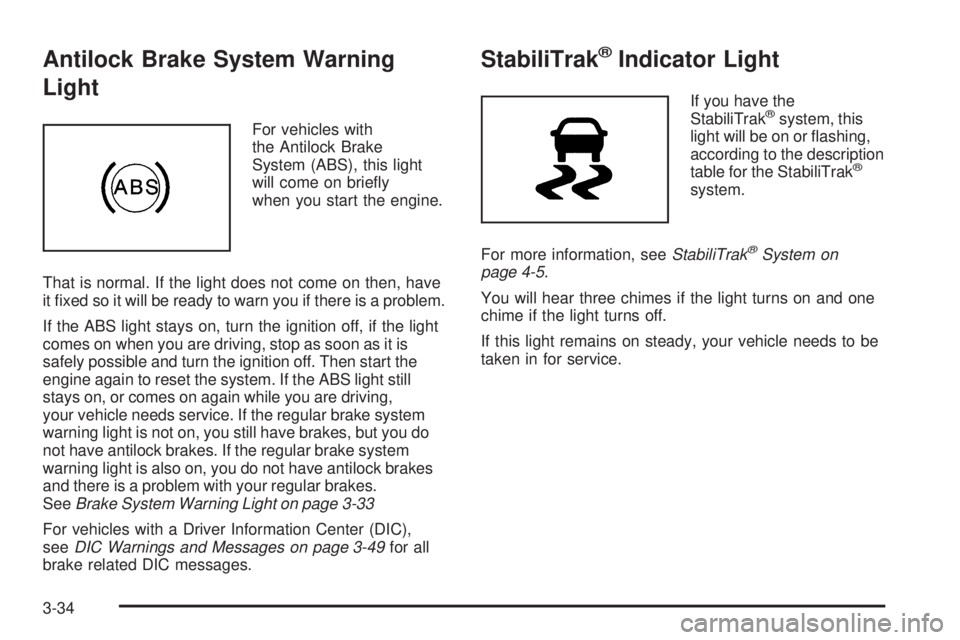
Antilock Brake System Warning
Light
For vehicles with
the Antilock Brake
System (ABS), this light
will come on briefly
when you start the engine.
That is normal. If the light does not come on then, have
it fixed so it will be ready to warn you if there is a problem.
If the ABS light stays on, turn the ignition off, if the light
comes on when you are driving, stop as soon as it is
safely possible and turn the ignition off. Then start the
engine again to reset the system. If the ABS light still
stays on, or comes on again while you are driving,
your vehicle needs service. If the regular brake system
warning light is not on, you still have brakes, but you do
not have antilock brakes. If the regular brake system
warning light is also on, you do not have antilock brakes
and there is a problem with your regular brakes.
SeeBrake System Warning Light on page 3-33
For vehicles with a Driver Information Center (DIC),
seeDIC Warnings and Messages on page 3-49for all
brake related DIC messages.
StabiliTrak®Indicator Light
If you have the
StabiliTrak®system, this
light will be on or flashing,
according to the description
table for the StabiliTrak
®
system.
For more information, seeStabiliTrak
®System on
page 4-5.
You will hear three chimes if the light turns on and one
chime if the light turns off.
If this light remains on steady, your vehicle needs to be
taken in for service.
3-34
Page 149 of 402
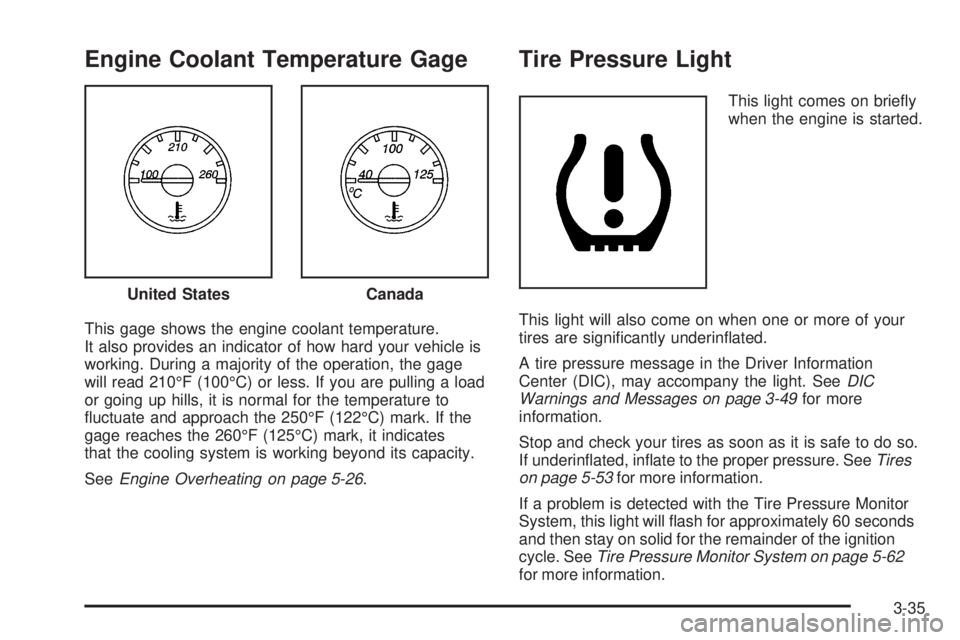
Engine Coolant Temperature Gage
This gage shows the engine coolant temperature.
It also provides an indicator of how hard your vehicle is
working. During a majority of the operation, the gage
will read 210°F (100°C) or less. If you are pulling a load
or going up hills, it is normal for the temperature to
fluctuate and approach the 250°F (122°C) mark. If the
gage reaches the 260°F (125°C) mark, it indicates
that the cooling system is working beyond its capacity.
SeeEngine Overheating on page 5-26.
Tire Pressure Light
This light comes on briefly
when the engine is started.
This light will also come on when one or more of your
tires are significantly underinflated.
A tire pressure message in the Driver Information
Center (DIC), may accompany the light. SeeDIC
Warnings and Messages on page 3-49for more
information.
Stop and check your tires as soon as it is safe to do so.
If underinflated, inflate to the proper pressure. SeeTires
on page 5-53for more information.
If a problem is detected with the Tire Pressure Monitor
System, this light will flash for approximately 60 seconds
and then stay on solid for the remainder of the ignition
cycle. SeeTire Pressure Monitor System on page 5-62
for more information. United States
Canada
3-35
Page 156 of 402
Driver Information Center (DIC)
Your vehicle has a Driver Information Center (DIC).
All messages will appear in the DIC display located at
the bottom of the instrument panel cluster. The DIC
buttons are located on the instrument panel, next to
the instrument panel cluster.
The DIC comes on when the ignition is on. After a short
delay, the DIC will display the information that was
last displayed before the engine was turned off.
The DIC displays trip, fuel, and vehicle system
information, and warning messages if a system
problem is detected.
If your vehicle has these features, the DIC also displays
the compass direction and the outside air temperature
when viewing the trip and fuel information. The compass
direction appears on the top right corner of the DIC
display. The outside air temperature automatically
appears in the bottom right corner of the DIC display.
If there is a problem with the system that controls
the temperature display, the numbers will be replaced
with dashes. If this occurs, have the vehicle serviced
by your dealer/retailer.
The DIC also allows some features to be customized.
SeeDIC Vehicle Customization on page 3-58for
more information.
DIC Operation and Displays
The DIC has different displays which can be accessed
by pressing the DIC buttons located on the instrument
panel, next to the instrument panel cluster.
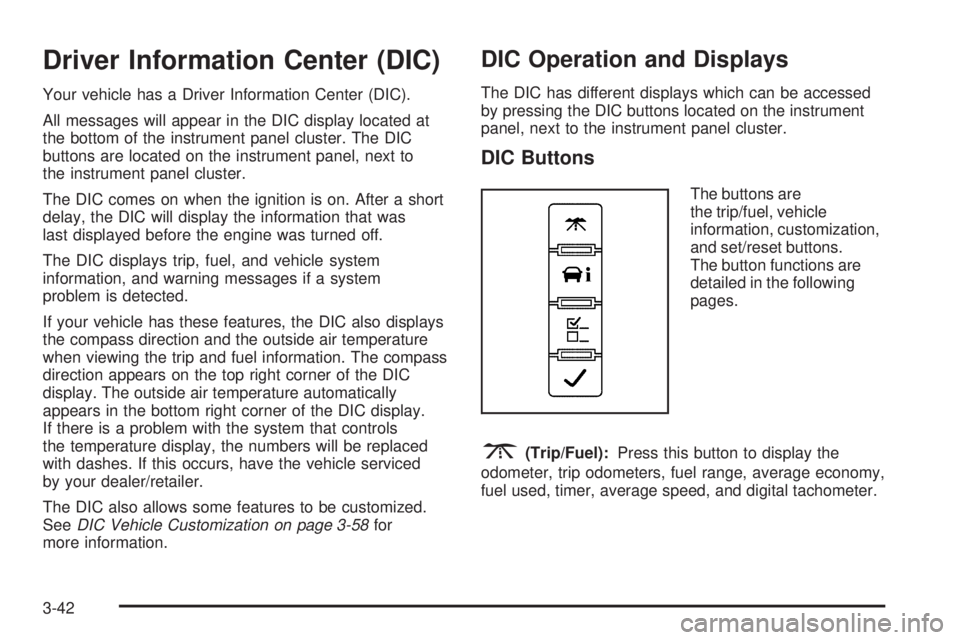
DIC Buttons
The buttons are
the trip/fuel, vehicle
information, customization,
and set/reset buttons.
The button functions are
detailed in the following
pages.
3(Trip/Fuel):Press this button to display the
odometer, trip odometers, fuel range, average economy,
fuel used, timer, average speed, and digital tachometer.
3-42