transmission oil GMC SAVANA PASSENGER 2009 Owners Manual
[x] Cancel search | Manufacturer: GMC, Model Year: 2009, Model line: SAVANA PASSENGER, Model: GMC SAVANA PASSENGER 2009Pages: 406, PDF Size: 2.34 MB
Page 104 of 406
Retained Accessory Power (RAP)
These vehicle accessories can be used for up to
10 minutes after the engine is turned off:
•Audio System
•Power Windows (if equipped)
These features will work when the ignition key is in
ON/RUN or ACC/ACCESSORY. Once the key is turned
from ON/RUN to LOCK/OFF, power to the radio will
continue to work 10 minutes or until the driver door is
opened. The power windows will continue to work for up
to 10 minutes or until any door is opened.
Starting the Engine
If the vehicle has the DURAMAX®Diesel engine, see
the DURAMAX®Diesel manual for more information.
To place the transmission in the proper gear:
Move the shift lever to P (Park) or N (Neutral). The
engine will not start in any other position. To restart the
engine when the vehicle is already moving, use
N (Neutral) only.
Starting Procedure
1. With your foot off the accelerator pedal, turn the
ignition key to START. When the engine starts,
let go of the key. The idle speed will go down as
your engine gets warm. Do not race the engine
immediately after starting it. Operate the engine and
transmission gently to allow the oil to warm up
and lubricate all moving parts.
The vehicle has a Computer-Controlled Cranking
System. This feature assists in starting the engine
and protects components. If the ignition key is turned
to the START position, and then released when the
engine begins cranking, the engine will continue
cranking for a few seconds or until the vehicle starts.
If the engine does not start and the key is held in
START for many seconds, cranking will be stopped
after 15 seconds to prevent cranking motor damage.
To prevent gear damage, this system also prevents
cranking if the engine is already running. Engine
cranking can be stopped by turning the ignition
switch to the ACC/ACCESSORY or LOCK/OFF
position.
Notice:Cranking the engine for long periods of
time, by returning the key to the START position
immediately after cranking has ended, can overheat
and damage the cranking motor, and drain the
battery. Wait at least 15 seconds between each try,
to let the cranking motor cool down.
2-20
Page 105 of 406
2. If the engine does not start after 5-10 seconds,
especially in very cold weather (below 0°F or−18°C),
it could be flooded with too much gasoline. Try
pushing the accelerator pedal all the way to the floor
and holding it there as you hold the key in START for
up to 15 seconds. Wait at least 15 seconds between
each try, to allow the cranking motor to cool down.
When the engine starts, let go of the key and
accelerator. If the vehicle starts briefly but then stops
again, do the same thing. This clears the extra
gasoline from the engine. Do not race the engine
immediately after starting it. Operate the engine and
transmission gently until the oil warms up and
lubricates all moving parts.
Notice:The engine is designed to work with the
electronics in the vehicle. If you add electrical parts
or accessories, you could change the way the
engine operates. Before adding electrical equipment,
check with your dealer/retailer. If you do not, the
engine might not perform properly. Any resulting
damage would not be covered by the vehicle
warranty.Fast Idle System
Fast Idle System with Switch
If the vehicle has this feature it is available only with
cruise control. The manual fast idle switch is operated
using the cruise control buttons located on the left
hand side of the steering wheel.
This system can be used to increase engine idle speed
whenever the following conditions are met:
•The park brake is set.
•The brake pedal is not pressed.
•The vehicle must not be moving and the accelerator
must not be pressed.
To control the fast idle:
•To Enable the Fast idle, press and release the
Cruise Control On/Off button and ensure that
the LED is lit.
•For the preset Fast Idle, press and release the
cruise set switch. This will set the preset fast
idle speed.
•For the variable fast idle, press and hold the
accelerator at the desired RPM, then press
and release the cruise control cruise set switch to
set the desired idle speed.
2-21
Page 240 of 406
Turn Signals When Towing a Trailer
The arrows on the instrument panel flash whenever
signaling a turn or lane change. Properly hooked up, the
trailer lamps also flash, telling other drivers the vehicle
is turning, changing lanes or stopping.
When towing a trailer, the arrows on the instrument
panel flash for turns even if the bulbs on the trailer
are burned out. For this reason you may think other
drivers are seeing the signal when they are not.
It is important to check occasionally to be sure the
trailer bulbs are still working.
Driving On Grades
Reduce speed and shift to a lower gearbeforestarting
down a long or steep downgrade. If the transmission is
not shifted down, the brakes might have to be used so
much that they would get hot and no longer work well.The vehicle can tow in D (Drive). Shift the transmission
to a lower gear if the transmission shifts too often
under heavy loads and/or hilly conditions.
When towing at high altitude on steep uphill grades,
consider the following: Engine coolant will boil at a lower
temperature than at normal altitudes. If the engine is
turned off immediately after towing at high altitude on
steep uphill grades, the vehicle may show signs similar to
engine overheating. To avoid this, let the engine run while
parked, preferably on level ground, with the automatic
transmission in P (Park) for a few minutes before turning
the engine off. If the overheat warning comes on, see
Engine Overheating on page 5-31.
4-38
Page 241 of 406
Parking on Hills
{CAUTION:
Parking the vehicle on a hill with the trailer
attached can be dangerous. If something goes
wrong, the rig could start to move. People can be
injured, and both the vehicle and the trailer can be
damaged. When possible, always park the rig on a
flat surface.
If parking the rig on a hill:
1. Press the brake pedal, but do not shift the
transmission into P (Park) yet. Turn the wheels into
the curb if facing downhill or into traffic if facing
uphill.
2. Have someone place chocks under the trailer
wheels.
3. When the wheel chocks are in place, release the
brake pedal until the chocks absorb the load.
4. Reapply the brake pedal. Then apply the parking
brake and shift into P (Park).
5. Release the brake pedal.
Leaving After Parking on a Hill
1. Apply and hold the brake pedal while you:
•start the engine,
•shift into a gear, and
•release the parking brake.
2. Let up on the brake pedal.
3. Drive slowly until the trailer is clear of the chocks.
4. Stop and have someone pick up and store the
chocks.
Maintenance When Trailer Towing
The vehicle needs service more often when pulling a
trailer. See this manual’s Maintenance Schedule
or Index for more information. Things that are especially
important in trailer operation are automatic transmission
fluid, engine oil, axle lubricant, belts, cooling system
and brake system. It is a good idea to inspect
these before and during the trip.
Check periodically to see that all hitch nuts and bolts
are tight.
4-39
Page 243 of 406
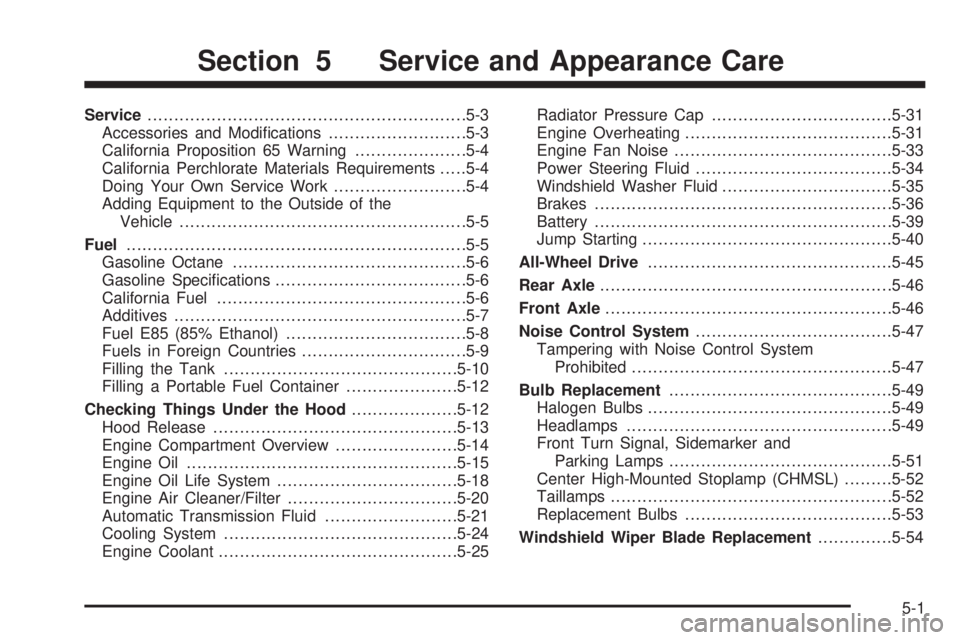
Service............................................................5-3
Accessories and Modifications..........................5-3
California Proposition 65 Warning.....................5-4
California Perchlorate Materials Requirements.....5-4
Doing Your Own Service Work.........................5-4
Adding Equipment to the Outside of the
Vehicle......................................................5-5
Fuel................................................................5-5
Gasoline Octane............................................5-6
Gasoline Specifications....................................5-6
California Fuel...............................................5-6
Additives.......................................................5-7
Fuel E85 (85% Ethanol)..................................5-8
Fuels in Foreign Countries...............................5-9
Filling the Tank............................................5-10
Filling a Portable Fuel Container.....................5-12
Checking Things Under the Hood....................5-12
Hood Release..............................................5-13
Engine Compartment Overview.......................5-14
Engine Oil...................................................5-15
Engine Oil Life System..................................5-18
Engine Air Cleaner/Filter................................5-20
Automatic Transmission Fluid.........................5-21
Cooling System............................................5-24
Engine Coolant.............................................5-25Radiator Pressure Cap..................................5-31
Engine Overheating.......................................5-31
Engine Fan Noise.........................................5-33
Power Steering Fluid.....................................5-34
Windshield Washer Fluid................................5-35
Brakes........................................................5-36
Battery........................................................5-39
Jump Starting...............................................5-40
All-Wheel Drive..............................................5-45
Rear Axle
.......................................................5-46
Front Axle......................................................5-46
Noise Control System.....................................5-47
Tampering with Noise Control System
Prohibited.................................................5-47
Bulb Replacement..........................................5-49
Halogen Bulbs..............................................5-49
Headlamps..................................................5-49
Front Turn Signal, Sidemarker and
Parking Lamps..........................................5-51
Center High-Mounted Stoplamp (CHMSL).........5-52
Taillamps.....................................................5-52
Replacement Bulbs.......................................5-53
Windshield Wiper Blade Replacement..............5-54
Section 5 Service and Appearance Care
5-1
Page 257 of 406
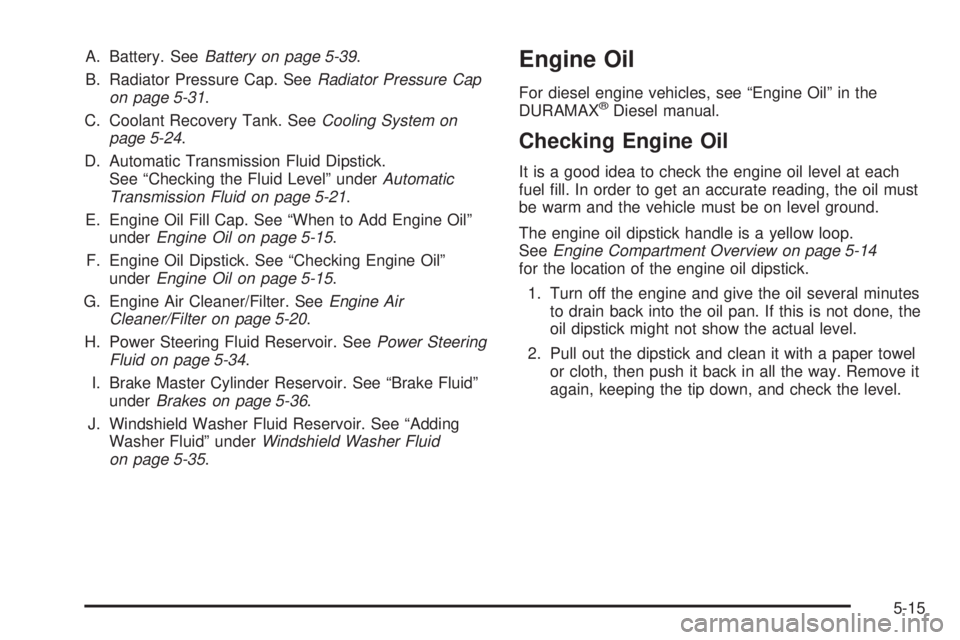
A. Battery. SeeBattery on page 5-39.
B. Radiator Pressure Cap. SeeRadiator Pressure Cap
on page 5-31.
C. Coolant Recovery Tank. SeeCooling System on
page 5-24.
D. Automatic Transmission Fluid Dipstick.
See “Checking the Fluid Level” underAutomatic
Transmission Fluid on page 5-21.
E. Engine Oil Fill Cap. See “When to Add Engine Oil”
underEngine Oil on page 5-15.
F. Engine Oil Dipstick. See “Checking Engine Oil”
underEngine Oil on page 5-15.
G. Engine Air Cleaner/Filter. SeeEngine Air
Cleaner/Filter on page 5-20.
H. Power Steering Fluid Reservoir. SeePower Steering
Fluid on page 5-34.
I. Brake Master Cylinder Reservoir. See “Brake Fluid”
underBrakes on page 5-36.
J. Windshield Washer Fluid Reservoir. See “Adding
Washer Fluid” underWindshield Washer Fluid
on page 5-35.Engine Oil
For diesel engine vehicles, see “Engine Oil” in the
DURAMAX®Diesel manual.
Checking Engine Oil
It is a good idea to check the engine oil level at each
fuel fill. In order to get an accurate reading, the oil must
be warm and the vehicle must be on level ground.
The engine oil dipstick handle is a yellow loop.
SeeEngine Compartment Overview on page 5-14
for the location of the engine oil dipstick.
1. Turn off the engine and give the oil several minutes
to drain back into the oil pan. If this is not done, the
oil dipstick might not show the actual level.
2. Pull out the dipstick and clean it with a paper towel
or cloth, then push it back in all the way. Remove it
again, keeping the tip down, and check the level.
5-15
Page 263 of 406
To inspect or replace the engine air cleaner/filter, do the
following:
1. Unhook the retainer clips and remove the cover.
2. Lift the filter out of the engine air cleaner/filter
housing. Care should be taken to dislodge as
little dirt as possible.
3. Clean the engine air cleaner/filter housing.
4. Inspect or replace the engine air cleaner/filter.
Make sure that the filter fits properly into the
housing.
5. Reinstall the cover and fasten the retaining clips.
{CAUTION:
Operating the engine with the air cleaner/filter
off can cause you or others to be burned. The air
cleaner not only cleans the air; it helps to stop
flames if the engine backfires. If it is not there and
the engine backfires, you could be burned. Do not
drive with it off, and be careful working on the
engine with the air cleaner/filter off.Notice:If the air cleaner/�lter is off, a back�re
can cause a damaging engine �re. And, dirt
can easily get into the engine, which will damage it.
Always have the air cleaner/�lter in place when
you are driving.
Automatic Transmission Fluid
If your vehicle has the DURAMAX Diesel engine, see
the DURAMAX Diesel manual for more information.
When to Check and Change Automatic
Transmission Fluid
A good time to check your automatic transmission fluid
level is when the engine oil is changed.
Change the fluid and filter at the intervals listed in
Additional Required Services on page 6-6, and be sure
to use the transmission fluid listed inRecommended
Fluids and Lubricants on page 6-14.
5-21
Page 359 of 406
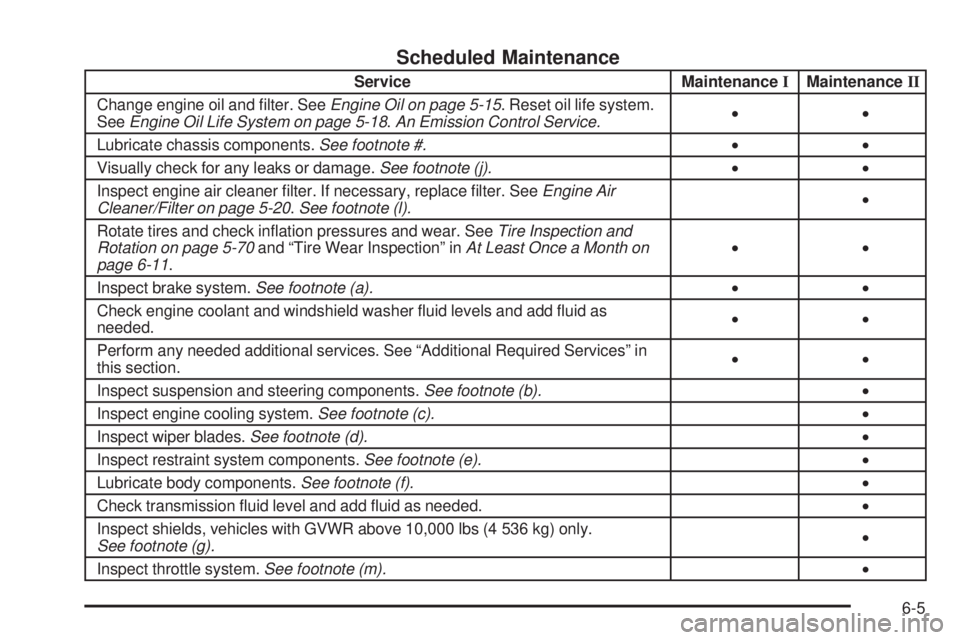
Scheduled Maintenance
Service MaintenanceIMaintenanceII
Change engine oil and filter. SeeEngine Oil on page 5-15. Reset oil life system.
SeeEngine Oil Life System on page 5-18.An Emission Control Service.••
Lubricate chassis components.See footnote #.••
Visually check for any leaks or damage.See footnote (j).••
Inspect engine air cleaner filter. If necessary, replace filter. SeeEngine Air
Cleaner/Filter on page 5-20.See footnote (l).•
Rotate tires and check inflation pressures and wear. SeeTire Inspection and
Rotation on page 5-70and “Tire Wear Inspection” inAt Least Once a Month on
page 6-11.••
Inspect brake system.See footnote (a).••
Check engine coolant and windshield washer fluid levels and add fluid as
needed.••
Perform any needed additional services. See “Additional Required Services” in
this section.••
Inspect suspension and steering components.See footnote (b).•
Inspect engine cooling system.See footnote (c).•
Inspect wiper blades.See footnote (d).•
Inspect restraint system components.See footnote (e).•
Lubricate body components.See footnote (f).•
Check transmission fluid level and add fluid as needed.•
Inspect shields, vehicles with GVWR above 10,000 lbs (4 536 kg) only.
See footnote (g).•
Inspect throttle system.See footnote (m).•
6-5
Page 363 of 406
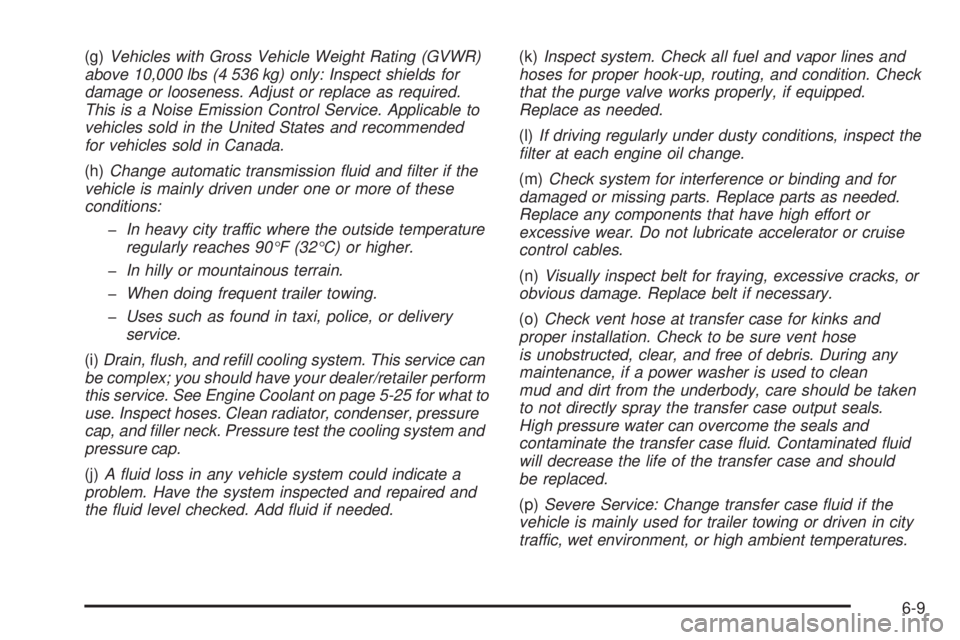
(g)Vehicles with Gross Vehicle Weight Rating (GVWR)
above 10,000 lbs (4 536 kg) only: Inspect shields for
damage or looseness. Adjust or replace as required.
This is a Noise Emission Control Service. Applicable to
vehicles sold in the United States and recommended
for vehicles sold in Canada.
(h)Change automatic transmission fluid and filter if the
vehicle is mainly driven under one or more of these
conditions:
-In heavy city traffic where the outside temperature
regularly reaches 90°F (32°C) or higher.
-In hilly or mountainous terrain.
-When doing frequent trailer towing.
-Uses such as found in taxi, police, or delivery
service.
(i)Drain, flush, and refill cooling system. This service can
be complex; you should have your dealer/retailer perform
this service. See Engine Coolant on page 5-25 for what to
use. Inspect hoses. Clean radiator, condenser, pressure
cap, and filler neck. Pressure test the cooling system and
pressure cap.
(j)A fluid loss in any vehicle system could indicate a
problem. Have the system inspected and repaired and
the fluid level checked. Add fluid if needed.(k)Inspect system. Check all fuel and vapor lines and
hoses for proper hook-up, routing, and condition. Check
that the purge valve works properly, if equipped.
Replace as needed.
(l)If driving regularly under dusty conditions, inspect the
filter at each engine oil change.
(m)Check system for interference or binding and for
damaged or missing parts. Replace parts as needed.
Replace any components that have high effort or
excessive wear. Do not lubricate accelerator or cruise
control cables.
(n)Visually inspect belt for fraying, excessive cracks, or
obvious damage. Replace belt if necessary.
(o)Check vent hose at transfer case for kinks and
proper installation. Check to be sure vent hose
is unobstructed, clear, and free of debris. During any
maintenance, if a power washer is used to clean
mud and dirt from the underbody, care should be taken
to not directly spray the transfer case output seals.
High pressure water can overcome the seals and
contaminate the transfer case fluid. Contaminated fluid
will decrease the life of the transfer case and should
be replaced.
(p)Severe Service: Change transfer case fluid if the
vehicle is mainly used for trailer towing or driven in city
traffic, wet environment, or high ambient temperatures.
6-9
Page 368 of 406
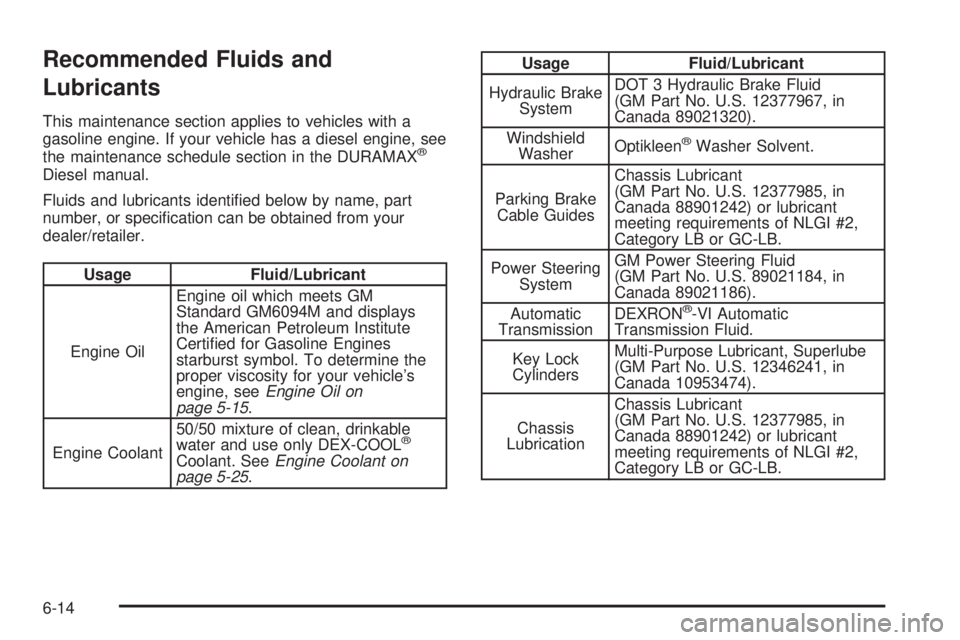
Recommended Fluids and
Lubricants
This maintenance section applies to vehicles with a
gasoline engine. If your vehicle has a diesel engine, see
the maintenance schedule section in the DURAMAX
®
Diesel manual.
Fluids and lubricants identified below by name, part
number, or specification can be obtained from your
dealer/retailer.
Usage Fluid/Lubricant
Engine OilEngine oil which meets GM
Standard GM6094M and displays
the American Petroleum Institute
Certified for Gasoline Engines
starburst symbol. To determine the
proper viscosity for your vehicle’s
engine, seeEngine Oil on
page 5-15.
Engine Coolant50/50 mixture of clean, drinkable
water and use only DEX-COOL
®
Coolant. SeeEngine Coolant on
page 5-25.
Usage Fluid/Lubricant
Hydraulic Brake
SystemDOT 3 Hydraulic Brake Fluid
(GM Part No. U.S. 12377967, in
Canada 89021320).
Windshield
WasherOptikleen
®Washer Solvent.
Parking Brake
Cable GuidesChassis Lubricant
(GM Part No. U.S. 12377985, in
Canada 88901242) or lubricant
meeting requirements of NLGI #2,
Category LB or GC-LB.
Power Steering
SystemGM Power Steering Fluid
(GM Part No. U.S. 89021184, in
Canada 89021186).
Automatic
TransmissionDEXRON
®-VI Automatic
Transmission Fluid.
Key Lock
CylindersMulti-Purpose Lubricant, Superlube
(GM Part No. U.S. 12346241, in
Canada 10953474).
Chassis
LubricationChassis Lubricant
(GM Part No. U.S. 12377985, in
Canada 88901242) or lubricant
meeting requirements of NLGI #2,
Category LB or GC-LB.
6-14