check engine light GMC SIERRA 1995 Owners Manual
[x] Cancel search | Manufacturer: GMC, Model Year: 1995, Model line: SIERRA, Model: GMC SIERRA 1995Pages: 488, PDF Size: 26.01 MB
Page 76 of 488
Hot Engine Restart (Vehicles With 5.7L LO5 Engine and Over 8500 lbs.
GVWR):
If your engine is already hot and then stalls, turn your ignition key to OFF.
Then turn your key to RUN and wait 20 seconds before you restart your
engine. When the engine
starts, let go of the key and the accelerator pedal.
NOTICE:
Your engine is designed to work with the electronics in your
vehicle.
If you add electrical parts or accessories, you could
change the
way the fuel injection system operates. Before adding
electrical equipment, check with your dealer.
If you don’t, your
engine might not perform properly.
If you ever have to have your vehicle towed, see the part of this
manual that tells how to do it without damaging your vehicle.
See “Towing Your Vehicle” in the Index.
Driving Through Deep Standing Water
NOTICE:
If you drive too quickly through deep puddles or standing water,
water can come in through your engine’s air intake and badly
damage your engine. Never drive through water that is slightly \
lower than the underbody of your vehicle.
If you can’t avoid
deep puddles or standing water, drive through them very
slowly.
Driving In Snow (Diesel Engines)
When driving in a heavy snowstorm or in swirling snow with a diesel
engine, snow can get into the air intake system. If you keep driving
in these
conditions
the air cleaner may get plugged, causing black smoke and loss of
power. In an emergency, if the air cleaner gets plugged with snow, you can
remove the air cleaner. Then, drive to
a place of safety as soon as possible
and
put the air cleaner back on.
Starting Your Diesel Engine
Your diesel engine starts differently than a gasoline engine.
1. Automatic transmission: Move your shift lever to PARK (P) or
NEUTRAL
(N). Your engine won’t start in any other position - that’s
a safety feature. To restart when you’re already moving, use
NEUTRAL (N) only.
2- 14
ProCarManuals.com
Page 79 of 488
How long should you keep the coolant heater plugged in? The answer
depends on the weather,
the kind of oil you have, and some other things.
Follow this chart.
Viscosity/
Oil Grade
SAE
1 OW-30
SAE
15W-40
32°F to 0°F
(0°C to -18°C)
Not
Required
Not
Required
0°F to -10°F
(-18OC
to
-23 O C)
Two
Hours:!:
Two
Hours‘%
Below -10°F
Below -23”
C
Eight Hours’>
or Overnight
Eight Hours* or Overnight
’%The times listed are minimum times.
It will not harm either the coolant
heater or the vehicle to leave
the coolant heater plugged in longer than the
times stated.
See “Diesel Fuel Requirements and Fuel System’’
in the Index for
information
on what fuel to use in cold weather.
If Your Diesel Engine Won’t Start
If you‘ve run out of fuel, look at “Running Out of Fuel” (see “Diesel Fuel
Requirements and Fuel System”
in the Index).
If you‘re not out of fuel, and your engine won’t start, do this:
Turn your ignition key to RUN. Make sure that the GLOW PLUGS light is
out. Then IMMEDIATELY turn the ignition key to START.
If the light doesn’t go off, wait a few seconds, then try starting your engine
again. And, see your dealer as soon as
you can for a starting system check.
If the light comes on and then goes off and you know your batteries are
charged, but your engine still won’t start, your vehicle needs service.
If the light does not come on when the engine is cold, your vehicle needs
service.
If your batteries don‘t have enough charge to start your engine, see
“Battery”
in the Index.
Be sure you have the right oil for your engine, and that you’ve changed the
oil at the proper times. If you use the wrong
oil, your engine may be harder
to start.
If the engine starts, runs a short time, then stops, your vehicle needs service.
2- 17
ProCarManuals.com
Page 132 of 488
Tachometer
. :i
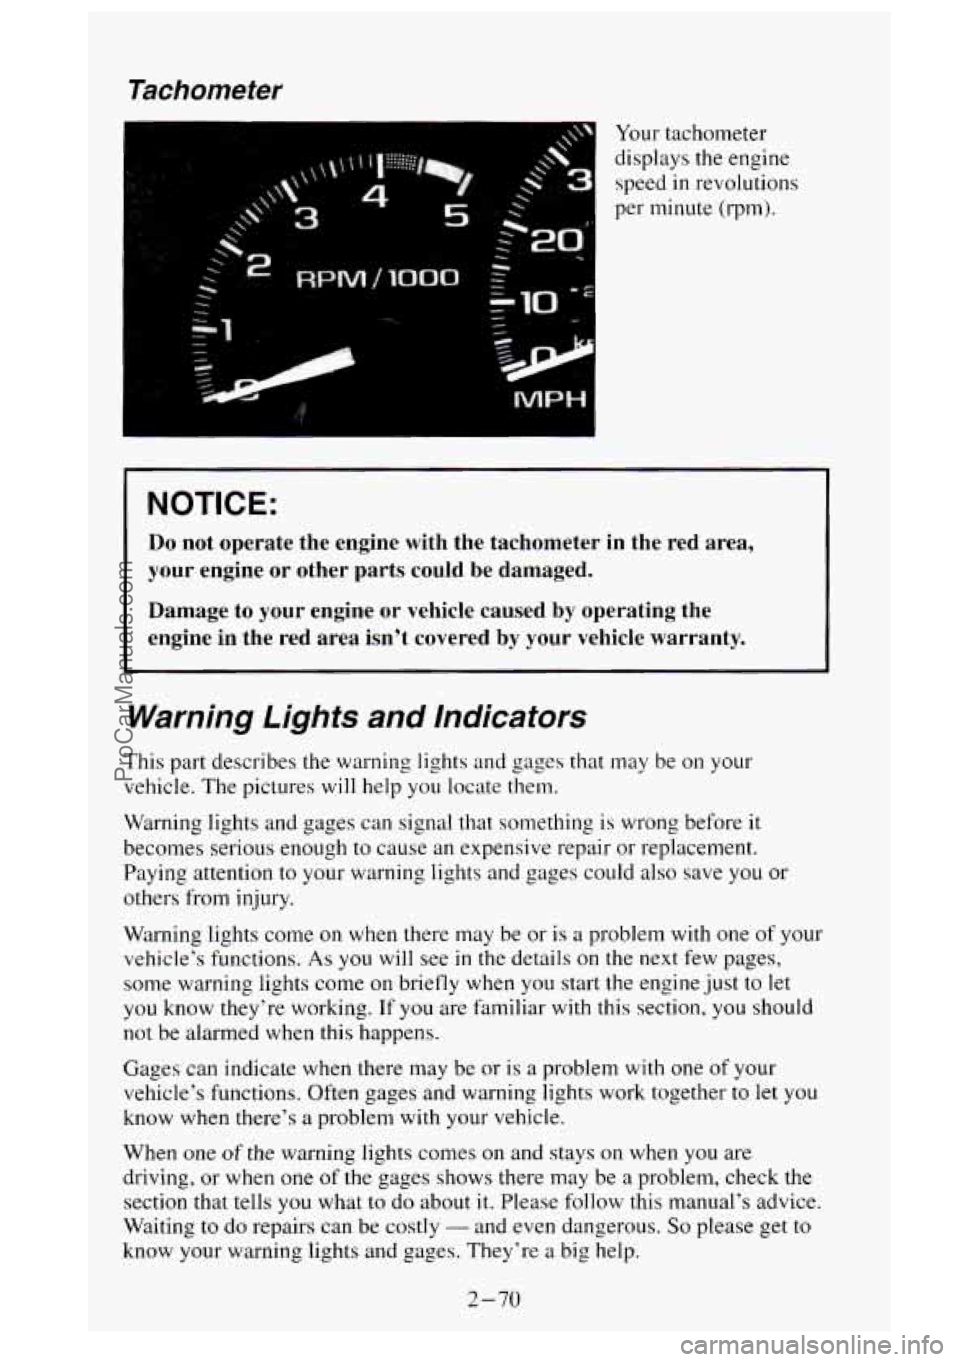
Your tachometer
displays the engine
speed
in revolutions
per minute (rpm).
1 NOTICE:
Do not operate the engine with the tachometer in the red area\
,
your engine
or other parts could be damaged.
Damage to your engine or vehicle caused
by operating the
engine
in the red area isn’t covered by your vehicle warranty.
Warning Lights and Indicators
This part describes the warning lights and gages that may be on your
vehicle. The pictures will help you locate them.
Warning lights and gages can signal that something is wrong before
it
becomes serious enough to cause an expensive repair or replacement.
Paying attention to your warning lights and gages could also save you or
others from injury.
Warning lights come on when there may be or is a problem
with one of your
vehicle’s functions.
As you will see in the details on the next few pages,
some warning lights come on briefly when you start the engine just
to let
you know they’re working. If you are familiar
with this section, you should
not be alarmed when
this happens.
Gages can indicate when there may be or is a problem with one of your
vehicle’s functions. Often gages and warning lights work together to let you
know when there’s
a problem with your vehicle.
When one
of the warning lights comes on and stays on when you are
driving, or when one
of the gages shows there may be a problem, check the
section that tells you what
to do about it. Please follow this manual‘s advice.
Waiting to
do repairs can be costly - and even dangerous. So please get to
know your warning lights and gages. They’re a big help.
2-70
ProCarManuals.com
Page 136 of 488
Water in Fuel Light
I.
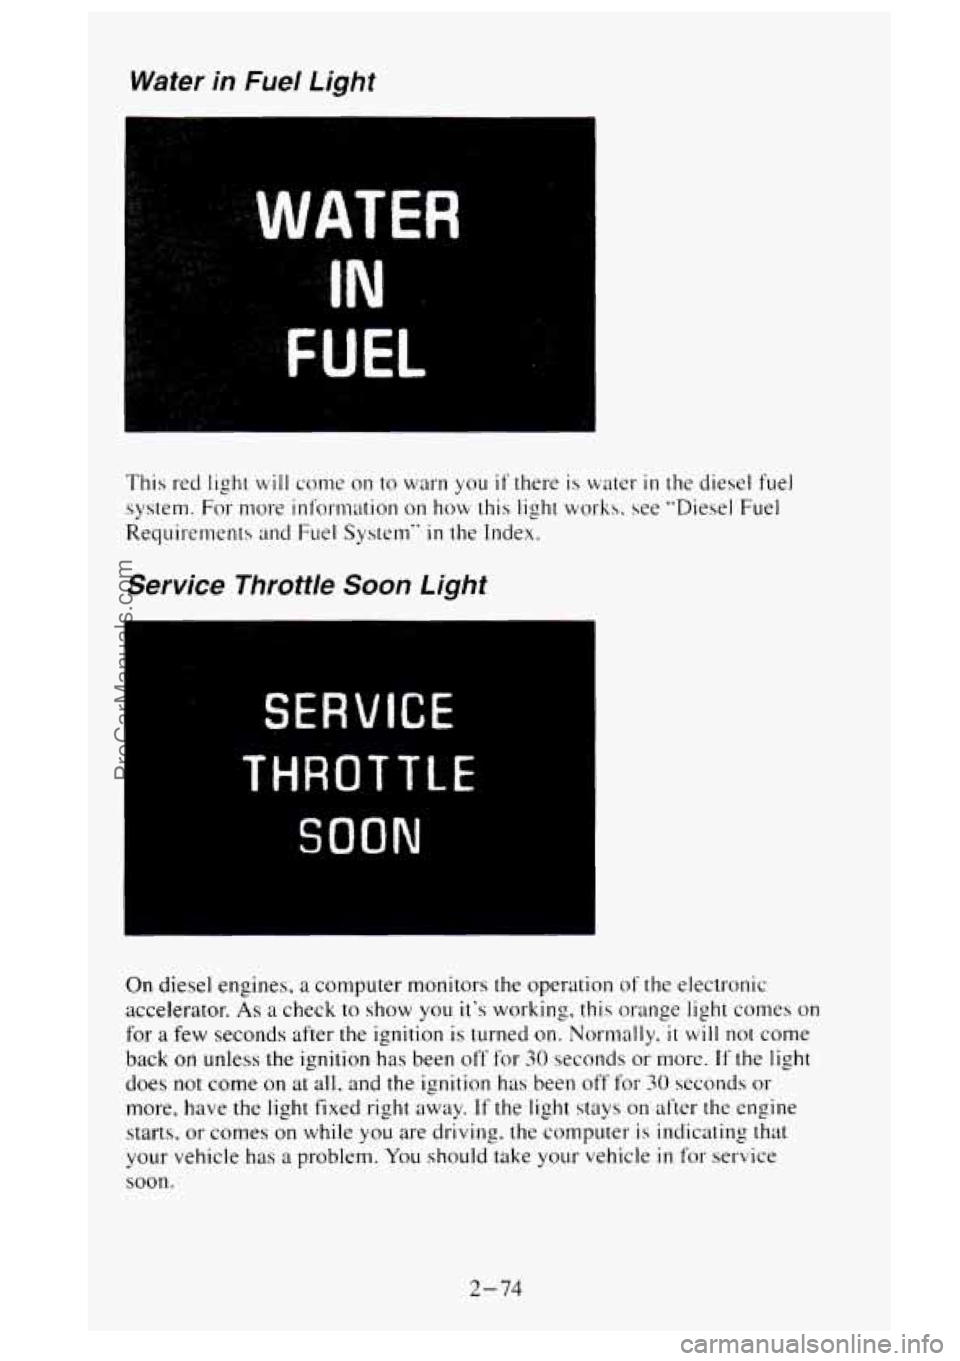
This red light will come on to warn you if there is water in the diesel fuel
system. For more information on how this light works. see "Diesel Fuel
Requirements
and Fuel System" in the Index.
Service Throttle Soon Light
SERVICE
THROTTLE
SOON
On diesel engines, a computer monitors the operation of the electronic
accelerator.
As a check to show you it's working, this orange light comes on
for
a few seconds after the ignition is turned on. Normally, it will not come
back
on unless the ignition has been off' for SO seconds or more. If the light
does not come on at all, and the ignition has been off for 30 seconds or
more, have the light fixed right away. If the light stays on after the engine
starts, or comes on while you are driving. the computer
is indicating that
your vehicle has
a problem. You should take your vehicle in for service
soon.
2-74
ProCarManuals.com
Page 138 of 488
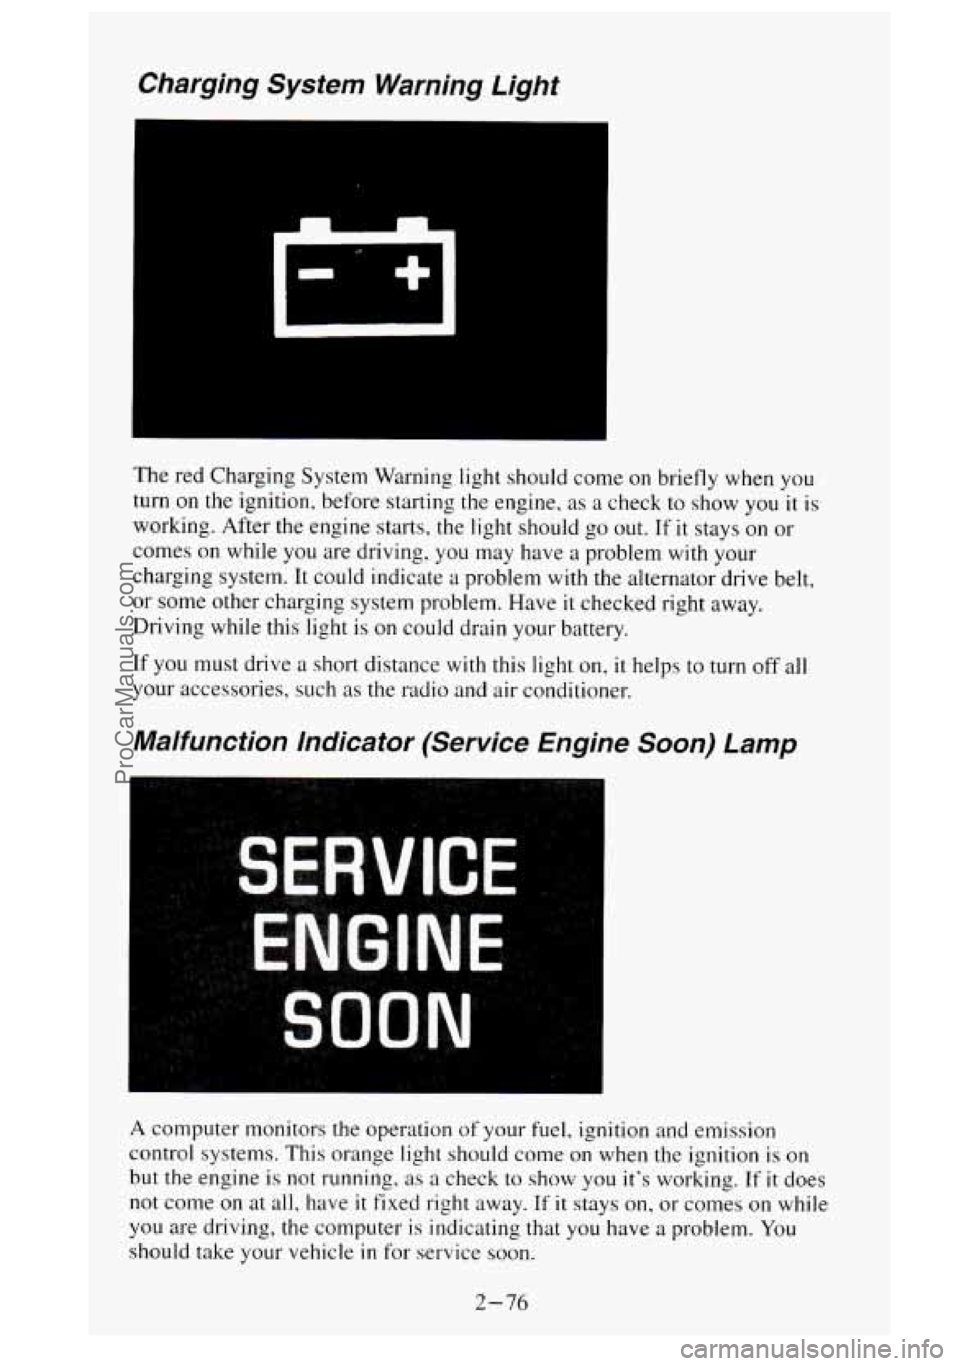
Charging System Warning Light
The red Charging System Warning light should come on briefly when you
turn on
the ignition, before starting the engine, as a check to show you it is
working. After the engine starts, the light should
go out. If it stays on or
comes on while you are driving, you may have a problem
with your
charging system. It could indicate a problem with the alternator drive belt,
or
some other charging system problem. Have it checked right away.
Driving while this light
is on could drain your battery.
If you must drive a short distance
with this light on, it helps to turn off all
your accessories, such
as the radio and air conditioner.
Malfunction Indicator (Service Engine Soon) Lamp
I
A computer monitors the operation of your fuel, ignition and emission
control systems. This orange light should come on when
the ignition is on
but the engine is not running. as a check
to show you it’s working. If it does
not come on at all, have
it fixed right away. If it stays on, or comes on while
you are driving, the computer is indicating that you have
a problem. You
should take your vehicle
in for service soon.
2-76
ProCarManuals.com
Page 139 of 488
NOTICE:
If you keep driving your vehicle with this light on, after a while
the emission controls
won’t work as well, your fuel economy
won’t
be as good, and your engine may not run as smoothly.
This could lead
to costly repairs not covered by your warranty.
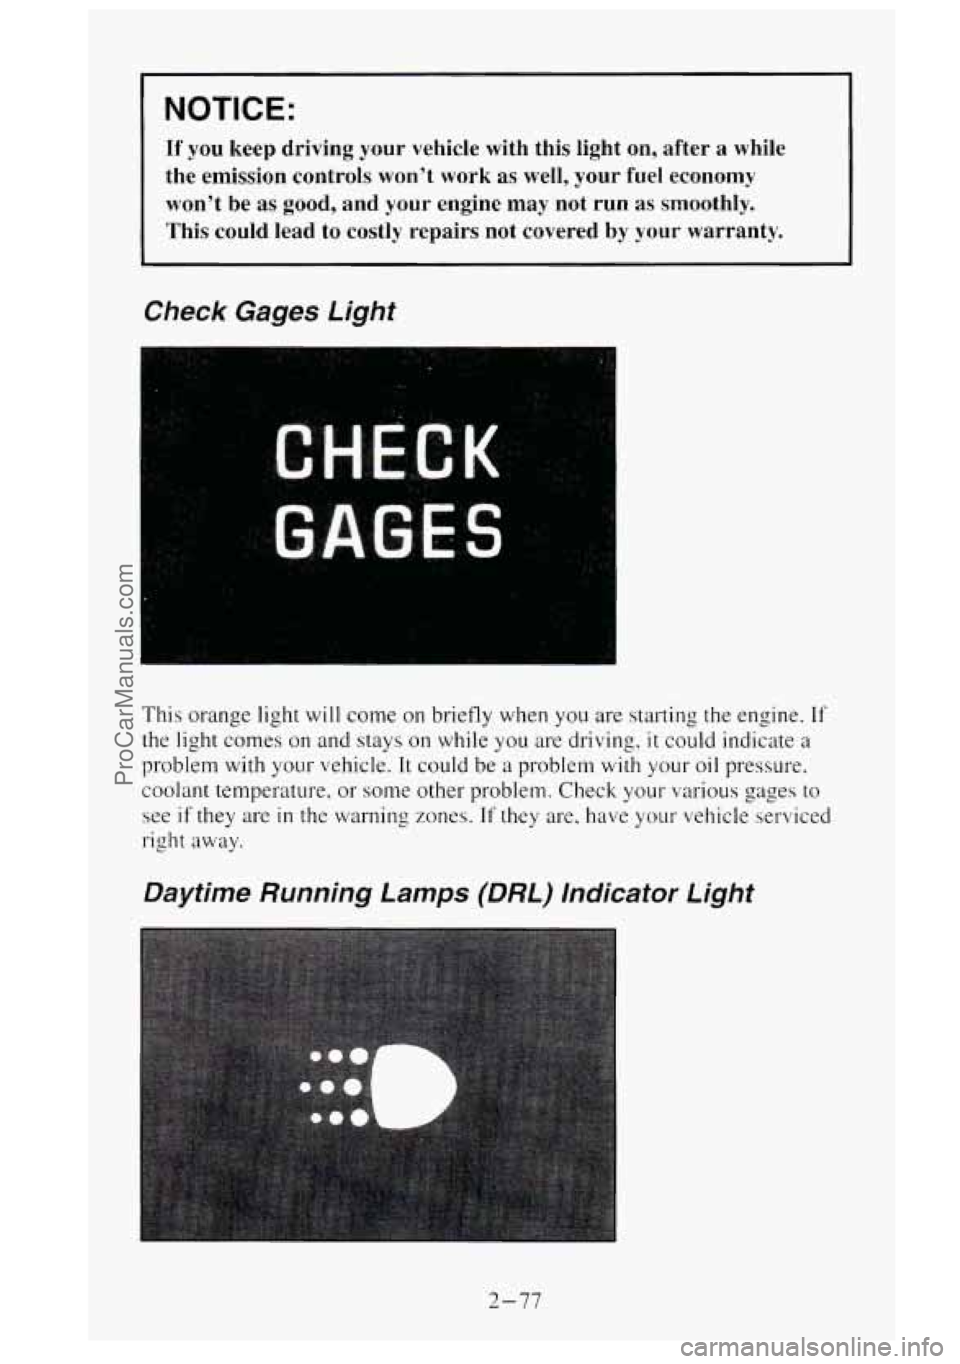
Check Gages Light
This orange light will come on briefly when you are starting the engine. If
the light comes on and stays on while you are driving, it could indicate a
problem with your vehicle.
It could be a problem with your oil pressure.
coolant temperature, or some other problem. Check your various gages
to
see if they are in the warning zones. If they are, have your vehicle serviced
right away.
Daytime Running Lamps (DRL) Indicator Light
2-77
ProCarManuals.com
Page 170 of 488
Be aware that hearing damage from loud noise is almost undetectable until
it is
too late. Your hearing can adapt to higher volumes of sound. Sound that
seems normal can be loud and harmful to your hearing. Take precautions by
adjusting the volume control on your radio to a safe sound level before your
hearing adapts
to it.
To help avoid hearing loss or damage:
1. Adjust the volume control to the lowest setting.
2. Increase volume slowly until you hear comfortably and clearly.
NOTICE:
Before you add any sound equipment to your vehicle - like a
tape player, CB radio, mobile telephone or two-way radio - be
sure you can add what you want.
If you can, it’s very important
to do it properly. Added sound equipment may interfere with th\
e operation
of your vehicle’s engine, Delcoa radio or other
systems, and even damage them. And, your vehicle’s systems
may interfere with the operation of sound equipment that has
been added improperly.
So, before adding sound equipment, check with your dealer and
be sure to check Federal rules covering mobile radio and
telephone units.
Care of Your Cassette Player and Tapes
A tape player that is not cleaned regularly is subject to reduced sound
quality, ruining the cassette, or damaging the mechanism. Tape cassettes that
are not properly stored
in their plastic cases away from contaminants, direct
sunlight, and extreme heat may not operate properly and could cause
premature failure of the tape player.
Your tape player should be cleaned with every
50 hours of use to provide
optimum performance. Your radio may display “Cln” (Clean)
to indicate
that you have used your tape player for
50 hours without re-setting the tape
clean timer. If
you notice a reduction in sound quality, regardless of when
the tape player was last cleaned, try playing a different cassette to see if the
tape or tape player is at fault. If the second cassette results in
no
improvement in sound quality, try cleaning the tape player.
Proper tape player cleaning should be done with a scrubbing action,
non-abrasive cleaning cassette. This
is a wet-type cleaning system that uses
a cleaning cassette with pads which scrub the tape head as the hubs of the
cleaner cassette turn.
To properly clean your tape player, follow instructions
with
the cleaning cassette. If you use this type of cleaner, the radio may
3-24
ProCarManuals.com
Page 223 of 488
When You Are Ready to Leave After Parking on a Hill
1. Apply your regular brakes and hold the pedal down while you:
Start your engine:
Shift into a gear; and
Release the parking brake.
2. Let up on the brake pedal.
3. Drive slowly until the trailer is clear of the chocks.
4. Stop and have someone pick up and store the chocks.
Maintenance When Trailer Towing
Your vehicle will need service more often when you’re pulling a trailer. See
the Maintenance Schedule
for more on this. Things that are especially
important
in trailer operation are automatic transmission fluid (don’t
overfill), engine oil, axle lubricant, belt, cooling system, and brake
adjustment. Each of these is covered
in this manual, and the Index will help
you find them quickly. If you’re trailering, it’s
a good idea to review these
sections before you start your trip.
Check periodically to see that all hitch
nuts and bolts are tight.
Trailer Lighting Systems Wiring
See “Trailer Wiring Harness” in the Index.
4-49
ProCarManuals.com
Page 228 of 488
You could be injured if the vehicles roll. Set the parking brake firmly
on each vehicle. Put an automatic transmission in PARK (P) or a
manual transmission in NEUTRAL (N). If you have a
four-wheel-drive vehicle, be sure the transfer case is not in NEUTRAL
(N).
3. Turn off the ignition on both vehicles. Turn off all lights that aren’t
needed, and radios. This
will avoid sparks and help save both batteries.
And it could save your radio!
NOTICE:
If you leave your radio on, it could be badly damaged. The
repairs wouldn’t be covered by your warranty.
4. Open the hoods and locate the batteries. Find the positive (+) and
negative
(-) terminals on each battery.
A CAUTION:
Using a match near a battery can cause battery gas to explode.
People have been hurt doing this, and some have been blinded.
Use
a flashlight if you need more light.
Be sure the batteries have enough
water. You don’t need to add
water to the Delco Freedom@ battery (or batteries) installed in
every new
GM vehicle. But if a battery has filler caps, be sure
the right amount of fluid is there.
If it is low, add water to take
care
of that first. If you don’t, explosive gas could be present.
Battery fluid contains acid that can burn you. Don’t get
it on
you.
ff you accidentally get it in your eyes or on your skin, flush
the place with water and get medical help immediately.
5. Check that the jumper cables don’t have loose or missing insulation. If
they do,
you could get a shock. The vehicles could be damaged, too.
Before you connect the cables, here are some basic things you should
know. Positive
(+) will go to positive (+) and negative (-) will go to
negative
(-) or a metal engine part. Don’t connect (+) to (-) or you’ll
get
a short that would damage the battery and maybe other parts, too.
5-4
ProCarManuals.com
Page 272 of 488
L
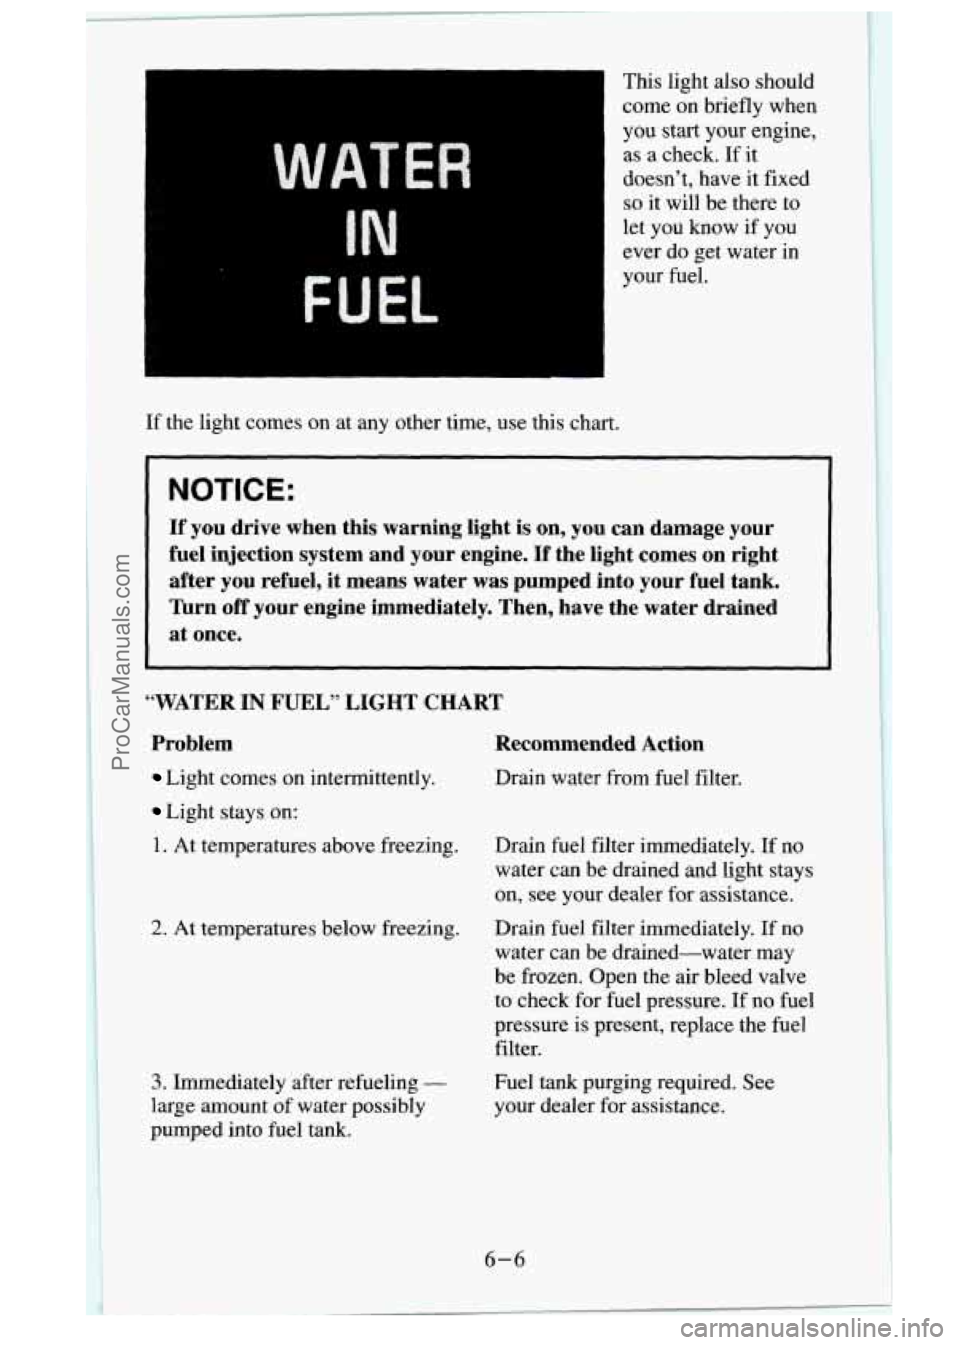
WATER
IN
FUEL
If the light comes on at any other time, use this chart. This light also should
come on briefly when
you start your engine,
as
a check. If it
doesn’t, have it fixed
so it will be there to
let you know if you
ever do get water in
your fuel.
If you drive when this warning light is on, you can damage your
fuel injection system and your engine.
If the light comes on right
after you refuel,
it means water was pumped into your fuel tank.
Turn
off your engine immediately. Then, have the water drained
at once.
“WATER IN FUEL” LIGHT CHART
Problem Recommended Action
Light comes on intermittently. Drain water from fuel filter.
Light stays on:
1. At temperatures above freezing.
2. At temperatures below freezing.
3. Immediately after refueling -
large amount of water possibly
pumped into
fuel tank. Drain fuel filter
immediately.
If no
water can be drained and light stays
on, see your dealer for assistance.
Drain fuel filter immediately.
If no
water can be drained-water may
be frozen. Open the air bleed valve
to check for fuel pressure.
If no fuel
pressure is present, replace the fuel
filter.
Fuel tank purging required. See
your dealer for assistance.
6-6
ProCarManuals.com