clock setting GMC SIERRA 1996 Owners Manual
[x] Cancel search | Manufacturer: GMC, Model Year: 1996, Model line: SIERRA, Model: GMC SIERRA 1996Pages: 404, PDF Size: 21.57 MB
Page 131 of 404
Section 3 Comfort Controls and Audio Systems
In this section you’ll find out how to operate the comfort
control and audio systems offered
with your vehicle. Be
sure
to read about the particular systems supplied with
your vehicle.
Comfort Controls
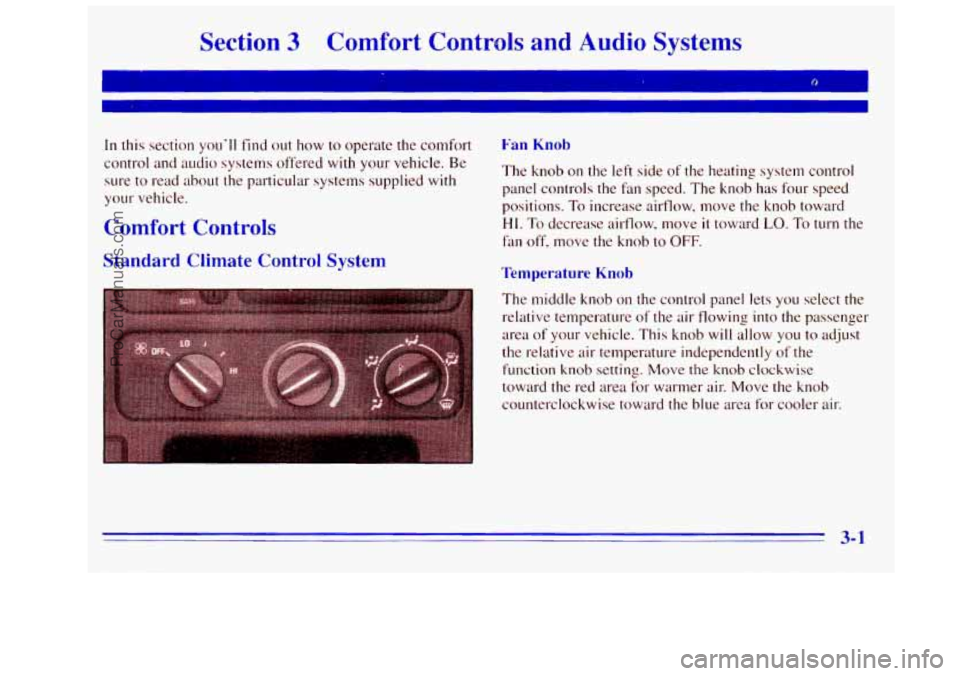
Standard Climate Control System
Fan Knob
The knob on the left side of the heating system control
panel controls the fan speed.
The knob has four speed
positions. To increase airflow, move
the knob toward
HI. To decrease airtlow, move it toward LO. To turn the
fan
off, move the knob to OFF.
Temperature Knob
The middle knob on the control panel lets you select the
relative temperature
of the air flowing into the passenger
area of your vehicle. This knob will allow you to adjust
the relative air temperature independently
of the
function
knob setting. Move the knob clockwise
toward the red area for warmer air. Move the knob
counterclockwise toward the
blue area for cooler air.
3-1
ProCarManuals.com
Page 133 of 404
Temperature Knob
The middle knob on the control panel lets you select the
relative temperature
of the air flowing into the passenger
area of your vehicle. This knob will allow you to adjust
the relative air temperature independently
of the
function knob setting. Move the knob clockwise
toward
the red area for warmer air. Move the knob
counterclockwise toward the blue area for cooler air.
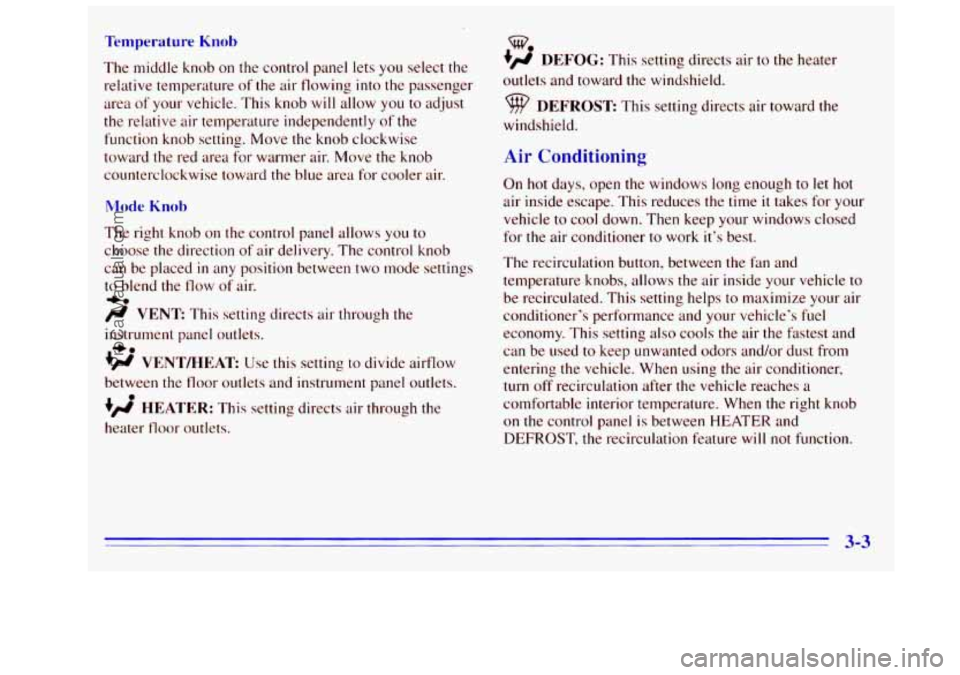
The right knob on the control panel allows you to
choose the direction of air delivery. The control knob
can be placed
in any position between two mode settings
to blend the flow of air.
/J VENT: This setting directs air through the
instrument panel outlets.
+H VENT/HEAT Use this setting to divide airflow
between the floor outlets and instrument panel outlets.
+’ HEATER: This setting directs air through the
heater floor outlets.
+e
+.
0
Qe
+’ DEFOG: This setting directs air to the heater
outlets and toward
the windshield.
DEFROST This setting directs air toward the
windshield.
Air Conditioning
On hot days, open the windows long enough to let hot
air inside escape. This reduces the time it takes for your
vehicle
to cool down. Then keep your windows closed
for
the air conditioner to work it’s best.
The recirculation button, between the fan and
temperature knobs, allows the air inside your vehicle to
be recirculated. This setting helps
to maximize your air
conditioner’s performance and your vehicle’s fuel
economy. This setting also
cools the air the fastest and
can be used
to keep unwanted odors and/or dust from
entering the vehicle. When using the air conditioner,
turn off recirculation after the vehicle reaches a
comfortable interior temperature. When the right knob
on the control panel is between HEATER and
DEFROST, the recirculation feature will
not function.
ProCarManuals.com
Page 134 of 404
The A/C button, between the temperature and mode
knobs, allows
the air coming into your vehicle to be
cooled. This setting
is useful for normal cooling on hot
days. When
you use A/C with the recirculation button
pushed
in, turn off recirculation as soon as the vehicle
reaches a comfortable interior temperature.
With the
A/C on, move the temperature knob to MAX
for maximum cooling.
This setting also puts the system
in the recirculation mode and helps
to maximize your air
conditioner’s performance and your vehicle’s fuel
economy. This setting also cools the air the fastest. After
the vehicle’s interior reaches a comfortable temperature,
move the temperature knob clockwise to place the air
conditioning system
in the normal mode.
Heating
The heater works best if you keep your windows closed
while using
it. On cold days, use the HEATER or
VENT/HEAT setting with the temperature knob in the
red area.
If you use the engine coolant heater before starting your
engine (in cold weather (20°F (-8°C) or lower), your
heating system
will produce warmer air faster, to heat
the passenger compartment
in cold weather. The
use
of an engine coolant heater also reduces the
time
it takes for the engine to reach normal operating
temperature, and shortens the time
it takes the heater to
reach full output. For more information, see “Engine
Coolant Heater”
in the Index.
Ventilation System
For mild outside temperature when little heating or
cooling
is needed, use VENT to direct outside air
through
your vehicle. Air will flow through the
instrument panel outlets.
Your vehicle’s ventilation systeril supplies outside air
to the inside of your vehicle when it is moving. With
the side windows closed, air will flow into the front
air inlet grilles, through the vehicle, and out the air
exhaust valves.
Outside air will
also enter the vehicle when the heater or
the air conditioning fan is running, unless you have
the
recirculation button pushed in. For more information on
the recirculation button, see “Air Conditioning” earlier
in this section.
3-4
ProCarManuals.com
Page 137 of 404
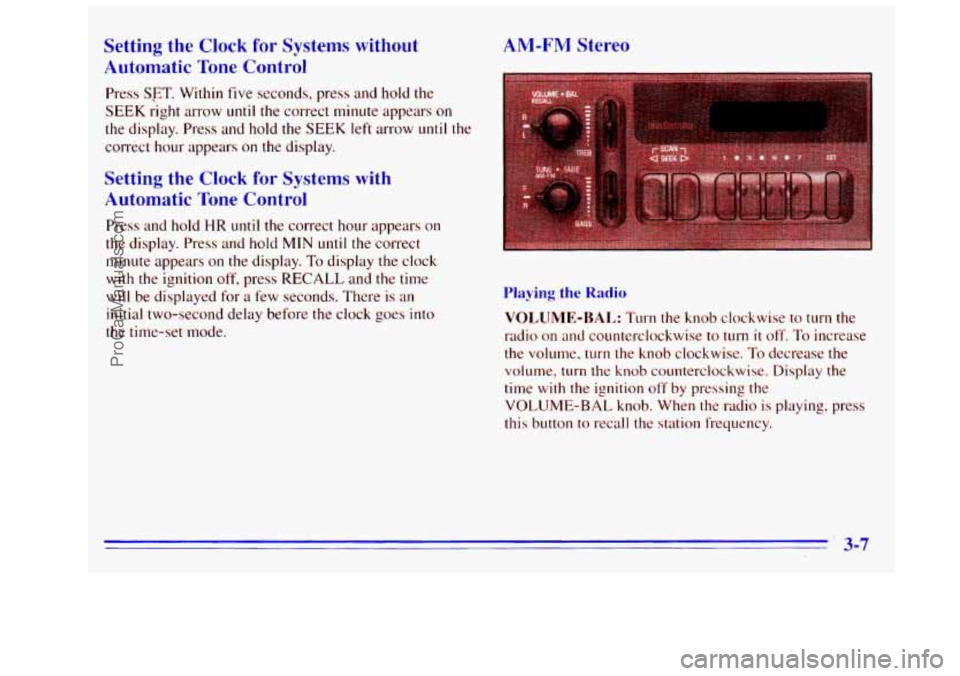
Setting the Clock for Systems without
Automatic Tone Control
Press SFT. Within five seconds, press and hold the
SEEK right arrow
until the correct minute appears on
the display. Press and hold the SEEK left arrow until the
correct hour appears
on the display.
Setting the Clock for Systems with
Automatic Tone Control
Press and hold HR until the correct hour appears on
the display. Press and hold
MIN until the correct
minute appears
on the display. To display the clock
with
the ignition off, press RECALL and the time
will
be displayed for a few seconds. There is an
initial two-second delay before the clock goes into
the time-set mode.
AM-FM Stereo
Playing the Radio
VOLUME-BAL: Turn the knob clockwise to turn the
radio on and counterclockwise
to turn it off. To increase
the volume, turn
the knob clockwise. To decrease the
volume, turn the knob counterclockwise. Display the
time
with the ignition off by pressing the
VOLUME-BAL knob. When the radio
is playing, press
this button
to recall the station frequency.
. 3-7
ProCarManuals.com
Page 143 of 404
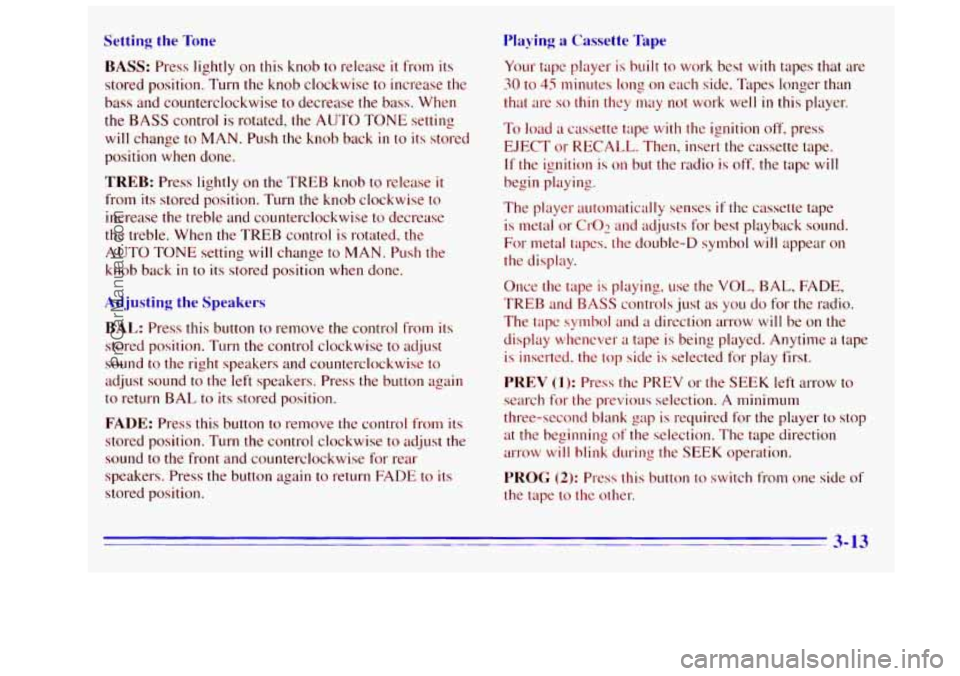
Setting the Tone Playing a
Cassette Tape
BASS: Press lightly on this knob to release it from its
stored position. Turn the knob clockwise
to increase the
bass and counterclockwise to decrease the bass. When
the BASS control is rotated, the AUTO TONE setting
will change to
MAN. Push the knob back in to its stored
position when done.
TREB: Press lightly on the TREB knob to release it
from its stored position. Turn the knob clockwise to
increase the treble and counterclockwise to decrease
the treble. When the
TREB control is rotated, the
AUTO TONE setting will change to MAN. Push the
knob back
in to its stored position when done.
Adjusting the Speakers
BAL: Press this button to remove the control from its
stored position. Turn the control clockwise to adjust
sound to the right speakers and counterclockwise to
adjust sound
to the left speakers. Press the button again
to return BAL to its stored position.
FADE: Press this button to remove the control from its
stored position. Turn the control clockwise to adjust the
sound to the front and counterclockwise for rear
speakers. Press the button again to return
FADE to its
stored position.
Your tape player is built to work best with tapes that are
30 to 45 minutes long on each side. Tapes longer than
that are
so thin they may not work well in this player.
To load a cassette tape with the ignition off. press
EJECT or RECALL. Then, insert the cassette tape.
If the ignition is on but the radio is off, the tape will
begin playing.
The player automatically senses
if the cassette tape
is metal or CI-02 and adjusts for best playback sound.
For metal tapes, the double-D symbol will appear on
the display.
Once
the tape is playing. use the VOL, BAL, FADE,
TREB and BASS controls just as you do for the radio.
The tape symbol and
a direction arrow will be on the
display whenever
a tape is being played. Anytime a tape
is inserted. the top side is selected for play first.
PREV (1): Press the PREV or the SEEK left arrow to
search for the previous selection. A minitnurn
three-second blank pap
is required for the player to stop
at the beginning of the selection. The tape direction
arrow will blink during the
SEEK operation.
PROG (2): Press this button to switch frotn one side of
the tape to the other.
3-13
ProCarManuals.com
Page 149 of 404
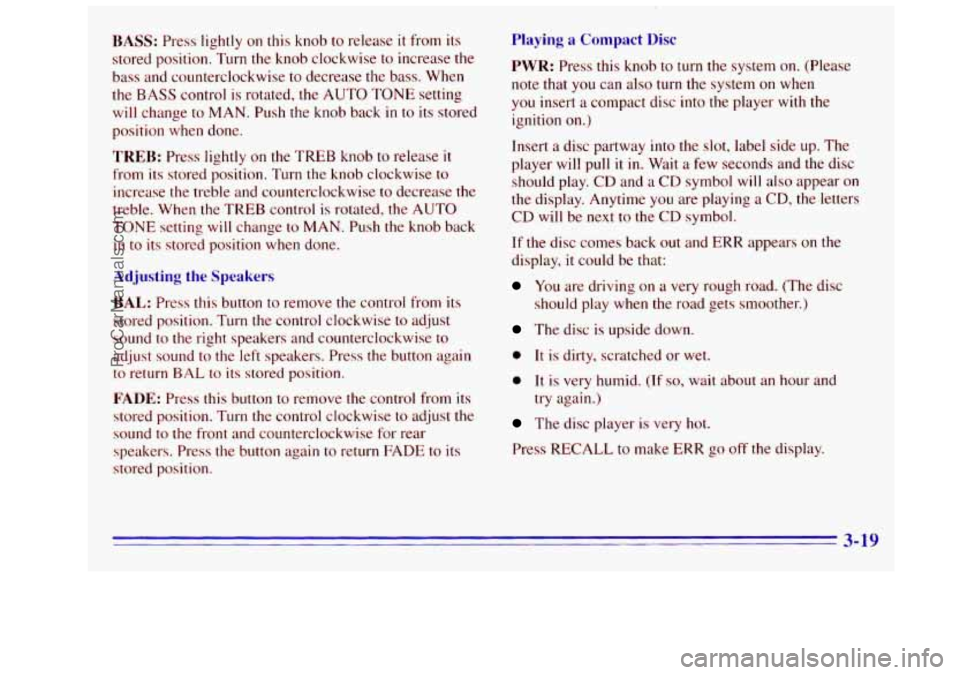
BAS Press'lightly on this knob to release it from its
stored position. Turn the knob clockwise to increase the
bass and counterclockwise to decrease the bass. When
the
BASS control is rotated, the AUTO TONE setting
will change to
MAN. Push the knob back in to its stored
position when done.
TREB: Press lightly on the TREB knob to release it
from its stored position. Turn the knob clockwise to
increase the treble and counterclockwise
to decrease the
treble. When the TREB control is rotated, the AUTO
TONE setting will change to MAN. Push the knob back
in to its stored position when done.
Adjusting the Speakers
BAL: Press this button to remove the control from its
stored position. Turn the control clockwise
to adjust
sound
to the right speakers and counterclockwise to
adjust sound to the left speakers. Press the button again
to return BAL to its stored position.
FADE: Press this button to remove the control from its
stored position. Turn
the control clockwise to adjust the
sound to
the front and counterclockwise for rear
speakers.
Press the button again to return FADE to its
stored position.
Playing a Compact Disc
PWR: Press this knob to turn the system on. (Please
note that
you can also turn the system on when
you insert a compact disc into the player with the
ignition on.)
Insert
a disc partway into the slot, label side up. The
player will pull it
in. Wait a few seconds and the disc
should play. CD and
a CD symbol will also appear on
the display. Anytime you are playing a
CD, the letters
CD will be
next to the CD symbol.
If the disc comes back out and ERR appears on the
display,
it could be that:
You are driving on a very rough road. (The disc
should play when the road gets smoother.)
The disc is upside down.
0 It is dirty, scratched or wet.
0 It is very humid. (If so, wait about an hour and
try again.)
The disc player is very hot.
Press RECALL
to make ERR go off the display.
3-19
ProCarManuals.com
Page 393 of 404
Clock. Setting the ................................ 3-7
Clutch Fluid. Hydraulic
.......................... 6-23
Comfort Controls
................................ 3- I
Compact Disc Care ............................. 3-24
Compact Disc Player
....................... 3.15. 3.17
Compass. Rearview Mirror
with ................... 2-44
Console Storage
................................ 2-49
Control of
a Vehicle .............................. 4-5
Convex Outside Mirror .......................... 2-46
Coolant
....................................... 6-26
Heater. Engine
............................... 2- 12
RecoveryTank
............................... 5-14
Cooling System
................................ 5- 12
Courtesy Transportation
........................... 8-6
Cruise Control
................................. 2-36
Cupholders
.................................... 2-49
Customer Assistance Information
................... 8- I
Customer Satisfaction Procedure .................... 8- I
Customer Assistance for Text Telephone Users ......... 8-3
Damage. Finish
............................... 6-64
Damage. Sheet Metal
............................ 6-64
Daytime Running Lamps
......................... 2-40
Daytime Running Lamps Indicator Light
............ 2-67
Dead Battery
................................... 5-2
Defects. Reporting Safety ......................... 8-8
Defensive Driving ............................... 4- I
Defogger. Rear Window .......................... 3-6
Defog ing and Defrosting
......................... 3-5
Dolby B Noise Reduction 3- I4 8 .......................
Dome Lamps .................................. 2-42
Door Locks
....................................... 2-4
Storagepocket
............................... 2-51
Third
........................................ 2-3
Downshifting
.................................. 2-19
Driver Position ................................. 1-13
Driving
City
........................................ 4-33
Defensive
.................................... 4-1
Drunken ..................................... 4-2
Freeway
.................................... 4-34
Guidelines
.................................. 4-13
In a Blizzard ................................. 4-40
IntheRain
.................................. 4-30
Night
...................................... 4-28
Off-Road
................................... 4-13
OnCurves
................................... 4-8
On Grades While Towing
a Trailer ............... 4-57
On Hill and Mountain Roads
.................... 4-36
OnSnowandIce
............................. 4-38
Throughwater
............................... 4-32
WetRoads
.................................. 4-30
Winter
...................................... 4-38
With a Trailer
................................ 4-55
Drunken Driving ................................ 4-2
Easy Entry Seat
................................ 1-6
Electrical Equipment. Adding ........... 2.12. 3.23. 6-68
Electrical System
............................... 6-68
Electrochromic Day/Night Rearview Mirror .......... 2-44
9-3
ProCarManuals.com