rear GMC SIERRA 2000 Service Manual
[x] Cancel search | Manufacturer: GMC, Model Year: 2000, Model line: SIERRA, Model: GMC SIERRA 2000Pages: 421, PDF Size: 2.85 MB
Page 121 of 421
yellowblue
2-43 Swing-Out Windows (Extended Cab)
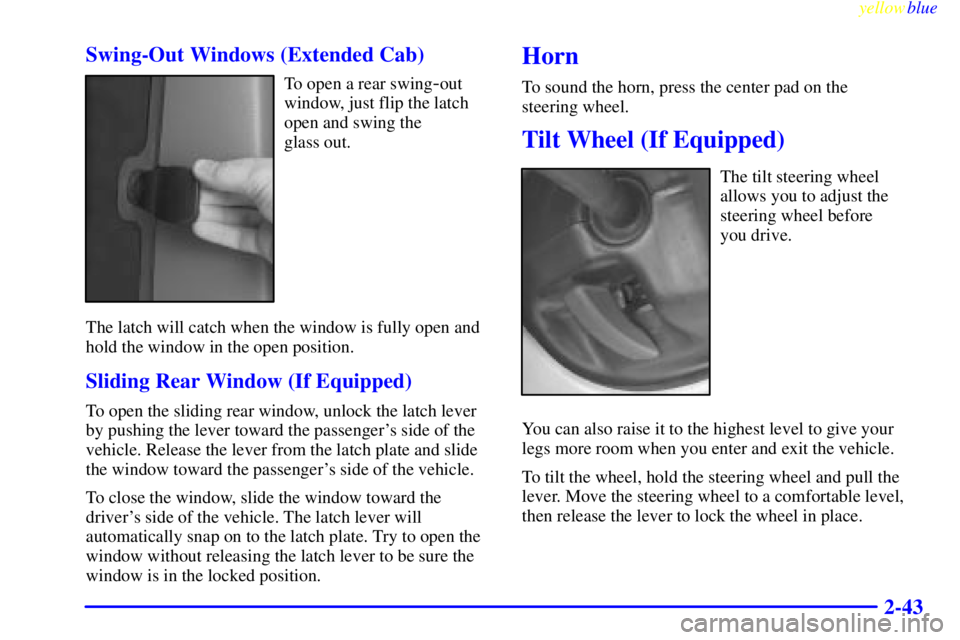
To open a rear swing-out
window, just flip the latch
open and swing the
glass out.
The latch will catch when the window is fully open and
hold the window in the open position.
Sliding Rear Window (If Equipped)
To open the sliding rear window, unlock the latch lever
by pushing the lever toward the passenger's side of the
vehicle. Release the lever from the latch plate and slide
the window toward the passenger's side of the vehicle.
To close the window, slide the window toward the
driver's side of the vehicle. The latch lever will
automatically snap on to the latch plate. Try to open the
window without releasing the latch lever to be sure the
window is in the locked position.
Horn
To sound the horn, press the center pad on the
steering wheel.
Tilt Wheel (If Equipped)
The tilt steering wheel
allows you to adjust the
steering wheel before
you drive.
You can also raise it to the highest level to give your
legs more room when you enter and exit the vehicle.
To tilt the wheel, hold the steering wheel and pull the
lever. Move the steering wheel to a comfortable level,
then release the lever to lock the wheel in place.
Page 132 of 421
yellowblue
2-54
position, the dome lamps will remain off when the doors
are open. To return the lamps to automatic operation,
press the button again and return it to the ªoutº position.
With the button in this position, the dome lamps will
come on when you open a door.
Cargo Lamp
Press the button to turn the
cargo lamp on. Press the
button again to turn it off.
A message in the instrument
cluster will come on and
display CARGO LAMP ON
when the cargo lamp is
turned on and the ignition
key is turned to RUN.
Battery Run-Down Protection
This feature shuts off the dome, reading, glove box,
cargo and underhood lamps if they are left on for more
than 40 minutes when the ignition is off. This will keep
your battery from running down.
Mirrors
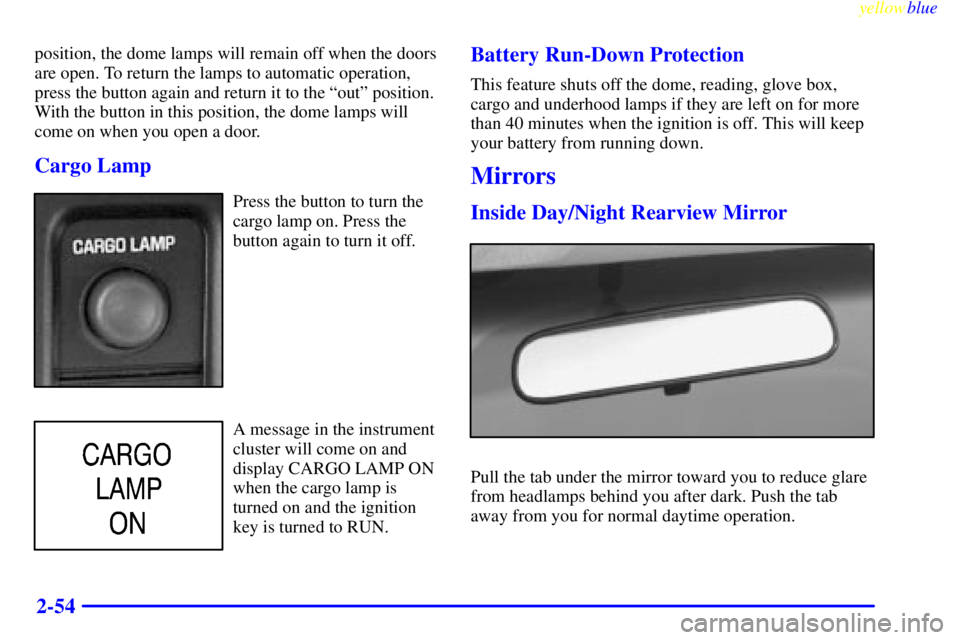
Inside Day/Night Rearview Mirror
Pull the tab under the mirror toward you to reduce glare
from headlamps behind you after dark. Push the tab
away from you for normal daytime operation.
Page 133 of 421
yellowblue
2-55 Electrochromic Inside Rearview Mirror
with Compass (If Equipped)
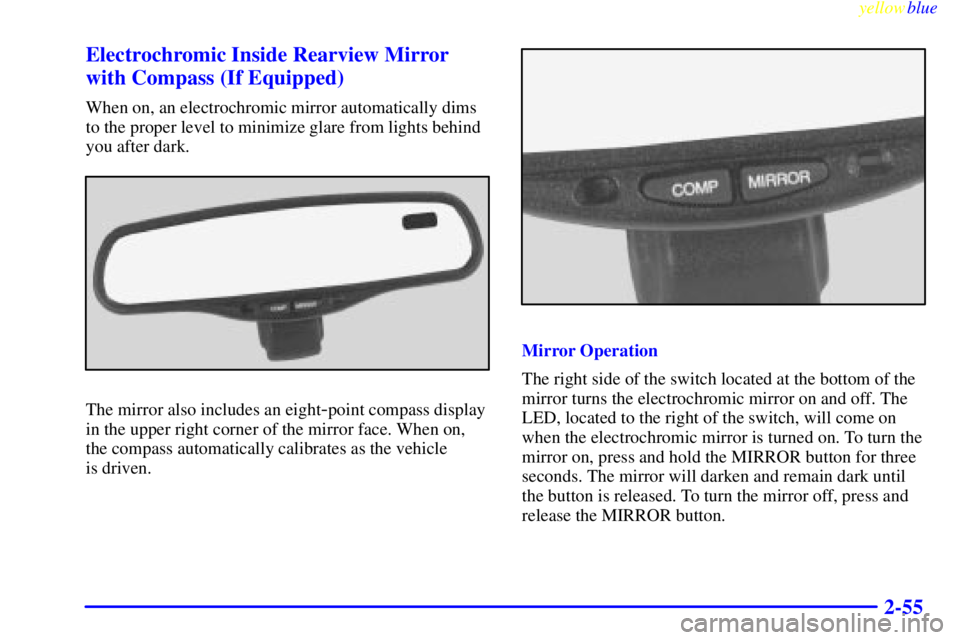
When on, an electrochromic mirror automatically dims
to the proper level to minimize glare from lights behind
you after dark.
The mirror also includes an eight-point compass display
in the upper right corner of the mirror face. When on,
the compass automatically calibrates as the vehicle
is driven.
Mirror Operation
The right side of the switch located at the bottom of the
mirror turns the electrochromic mirror on and off. The
LED, located to the right of the switch, will come on
when the electrochromic mirror is turned on. To turn the
mirror on, press and hold the MIRROR button for three
seconds. The mirror will darken and remain dark until
the button is released. To turn the mirror off, press and
release the MIRROR button.
Page 135 of 421

yellowblue
2-57
To adjust for compass variance:
1. Press and hold the COMP button, located at the
bottom of the mirror, for three seconds until a zone
number appears in the display.
2. Find your current location and variance zone number
on the following zone map.
3. Press the COMP button on the bottom of the mirror
until the new zone number appears in the display.
After you stop pressing the button in, the display will
show a compass direction within a few seconds.
Electrochromic Inside Rearview Mirror
with Compass and Temperature Display
(If Equipped)
When on, an electrochromic mirror automatically dims
to the proper level to minimize glare from lights behind
you after dark.
The mirror also includes a display in the upper right
corner of the mirror face. This can be used as a compass
or to indicate outside air temperature.
Page 139 of 421
yellowblue
2-61 Electric Outside Rearview Mirrors
(If Equipped)
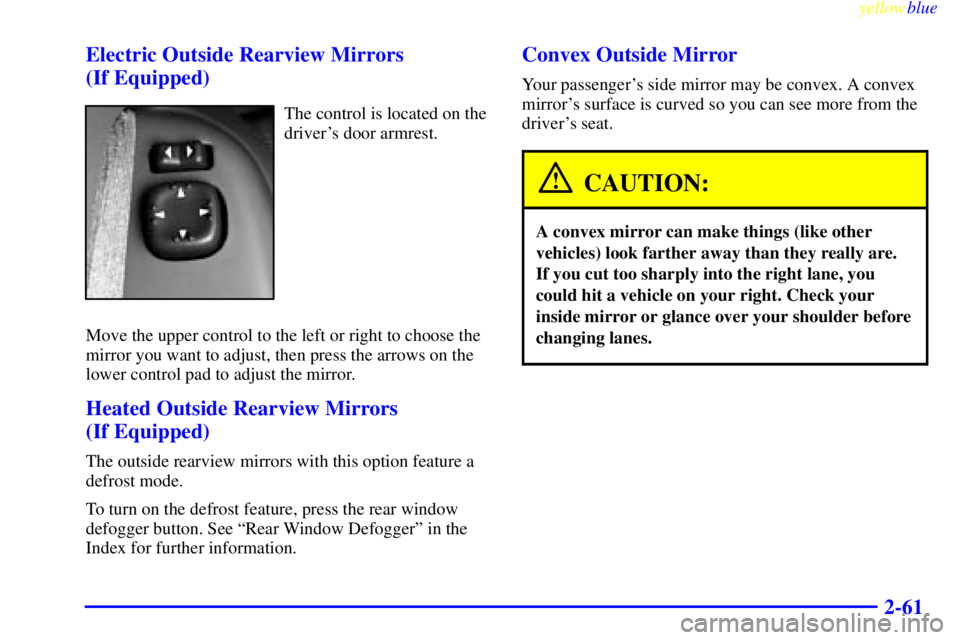
The control is located on the
driver's door armrest.
Move the upper control to the left or right to choose the
mirror you want to adjust, then press the arrows on the
lower control pad to adjust the mirror.
Heated Outside Rearview Mirrors
(If Equipped)
The outside rearview mirrors with this option feature a
defrost mode.
To turn on the defrost feature, press the rear window
defogger button. See ªRear Window Defoggerº in the
Index for further information.
Convex Outside Mirror
Your passenger's side mirror may be convex. A convex
mirror's surface is curved so you can see more from the
driver's seat.
CAUTION:
A convex mirror can make things (like other
vehicles) look farther away than they really are.
If you cut too sharply into the right lane, you
could hit a vehicle on your right. Check your
inside mirror or glance over your shoulder before
changing lanes.
Page 142 of 421
yellowblue
2-64
Sunglasses Storage Compartment
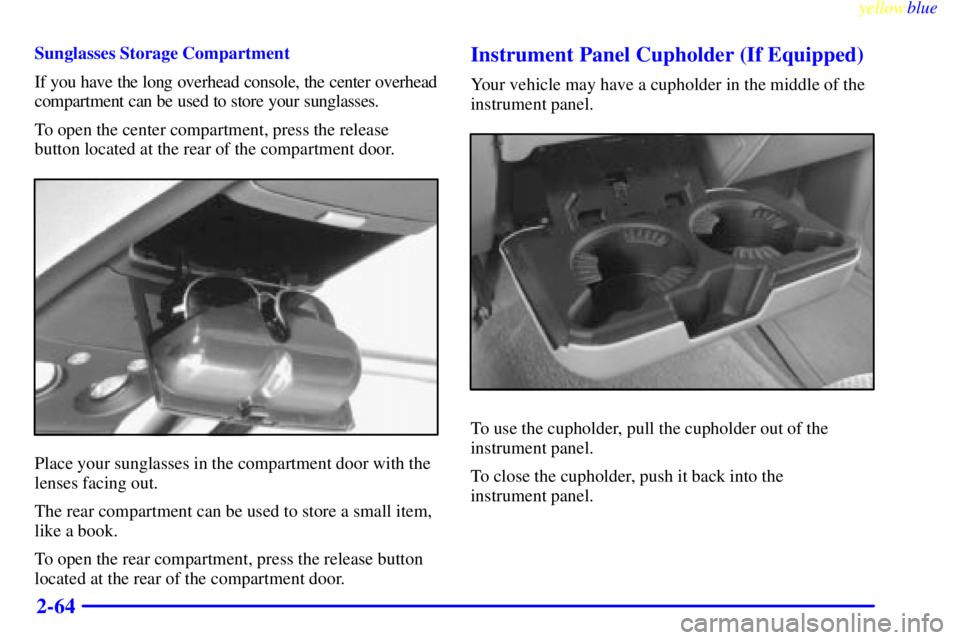
If you have the long overhead console, the center overhead
compartment can be used to store your sunglasses.
To open the center compartment, press the release
button located at the rear of the compartment door.
Place your sunglasses in the compartment door with the
lenses facing out.
The rear compartment can be used to store a small item,
like a book.
To open the rear compartment, press the release button
located at the rear of the compartment door.
Instrument Panel Cupholder (If Equipped)
Your vehicle may have a cupholder in the middle of the
instrument panel.
To use the cupholder, pull the cupholder out of the
instrument panel.
To close the cupholder, push it back into the
instrument panel.
Page 143 of 421
yellowblue
2-65 Center Console Storage Area (If Equipped)
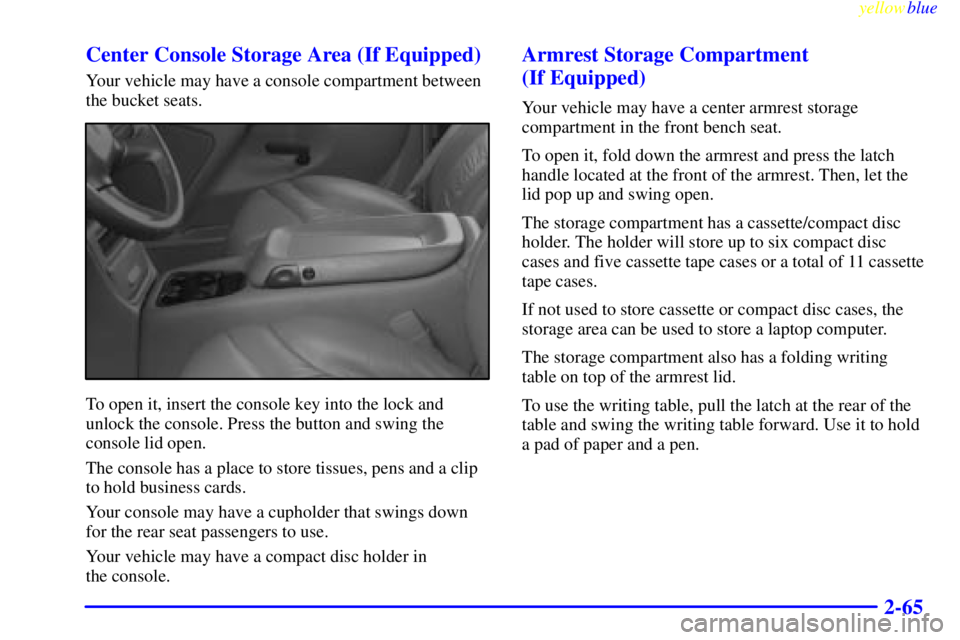
Your vehicle may have a console compartment between
the bucket seats.
To open it, insert the console key into the lock and
unlock the console. Press the button and swing the
console lid open.
The console has a place to store tissues, pens and a clip
to hold business cards.
Your console may have a cupholder that swings down
for the rear seat passengers to use.
Your vehicle may have a compact disc holder in
the console.
Armrest Storage Compartment
(If Equipped)
Your vehicle may have a center armrest storage
compartment in the front bench seat.
To open it, fold down the armrest and press the latch
handle located at the front of the armrest. Then, let the
lid pop up and swing open.
The storage compartment has a cassette/compact disc
holder. The holder will store up to six compact disc
cases and five cassette tape cases or a total of 11 cassette
tape cases.
If not used to store cassette or compact disc cases, the
storage area can be used to store a laptop computer.
The storage compartment also has a folding writing
table on top of the armrest lid.
To use the writing table, pull the latch at the rear of the
table and swing the writing table forward. Use it to hold
a pad of paper and a pen.
Page 147 of 421

yellowblue
2-69
A. Dome Lamp Switch
B. Lamp Controls
C. Air Outlets
D. Automatic Transfer Case (If Equipped)
E. Multifunction Lever
F. Instrument Cluster
G. Gearshift Lever (Automatic Transmission)
H. Tow/Haul Selector Switch
I. Audio System
J. Comfort Control System
K. Glove BoxL. Passenger Air Bag Off Switch
M. Manual Selectable Ride Control (If Equipped)
N. Ashtray
O. Storage Area or Compact Disc Player (If Equipped)
P. Rear Window Defogger Switch (If Equipped)
Q. Lighter and Auxiliary Power Outlets
R. Parking Brake Release
S. Tilt Lever (If Equipped)
T. Center Instrument Panel Utility Block
U. Hood Release
V. Instrument Panel Fuse Block
Page 153 of 421
yellowblue
2-75
CAUTION:
If the air bag readiness light ever comes on when
you have turned off the air bag, it means that
something may be wrong with the air bag system.
The right front passenger's air bag could inflate
even though the switch is off.
If your vehicle is a regular cab pickup and this
ever happens, don't let anyone whom the
national government has identified as a member
of a passenger air bag risk group sit in the right
front passenger's position (for example, don't
secure a rear
-facing child restraint in your
vehicle) until you have your vehicle serviced.
If your vehicle is an extended cab pickup and this
ever happens, don't let anyone whom the
national government has identified as a member
of a passenger air bag risk group sit in the right
front passenger's position (for example, don't
secure a rear
-facing child restraint in the right
front passenger's seat) until you have your
vehicle serviced.
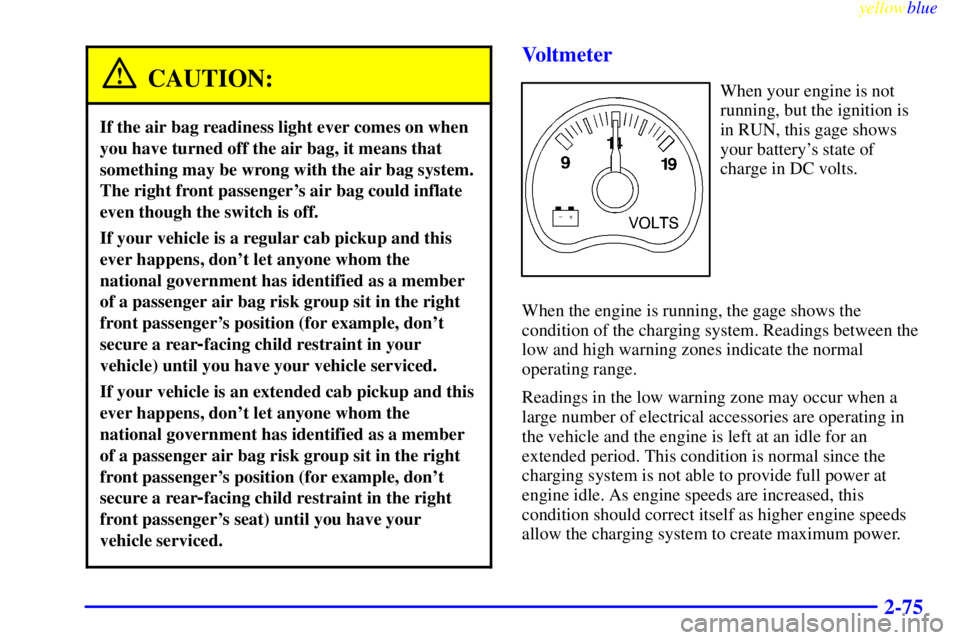
Voltmeter
When your engine is not
running, but the ignition is
in RUN, this gage shows
your battery's state of
charge in DC volts.
When the engine is running, the gage shows the
condition of the charging system. Readings between the
low and high warning zones indicate the normal
operating range.
Readings in the low warning zone may occur when a
large number of electrical accessories are operating in
the vehicle and the engine is left at an idle for an
extended period. This condition is normal since the
charging system is not able to provide full power at
engine idle. As engine speeds are increased, this
condition should correct itself as higher engine speeds
allow the charging system to create maximum power.
Page 169 of 421
3-
yellowblue
3-1
Section 3 Comfort Controls and Audio Systems
In this section, you'll find out how to operate the comfort control and audio systems offered with your vehicle.
Be sure to read about the particular systems supplied with your vehicle.
3
-2 Comfort Controls
3
-2 Standard Comfort Controls
3
-3 Heater and Air Conditioning Comfort
Controls (If Equipped)
3
-5 Air Conditioning
3
-6 Heating
3
-6 Defogging and Defrosting
3
-6 Rear Window Defogger (If Equipped)
3
-7 Ventilation System
3
-8 Audio Systems
3
-8 Setting the Clock for Systems with
SET Button
3
-8 Setting the Clock for Systems with HR and
MN Buttons
3
-9AM-FM Stereo3
-11 AM-FM Stereo with Cassette Tape Player
(If Equipped)
3
-14 AM-FM Stereo with Cassette Tape Player and
Automatic Tone Control (If Equipped)
3
-18 AM-FM Stereo with Compact Disc Player and
Automatic Tone Control (If Equipped)
3
-22 Remote Compact Disc Player (If Equipped)
3
-24 Theft-Deterrent Feature (If Equipped)
3
-26 Understanding Radio Reception
3
-26 Tips About Your Audio System
3
-27 Care of Your Cassette Tape Player
3
-28 Care of Your Compact Discs
3
-28 Care of Your Compact Disc Player
3
-28 Fixed Mast Antenna