fuse GMC SIERRA 2003 Owner's Manual
[x] Cancel search | Manufacturer: GMC, Model Year: 2003, Model line: SIERRA, Model: GMC SIERRA 2003Pages: 408, PDF Size: 2.58 MB
Page 93 of 408

Passlock®
Your vehicle is equipped with the
Passlock®theft-deterrent system.
Passlock
®is a passive theft-deterrent system.
Passlock®enables fuel if the ignition lock cylinder is
turned with a valid key. If a correct key is not used or the
ignition lock cylinder is tampered with, fuel is disabled.
If the engine stalls and the security light�ashes,
wait until the light stops�ashing before trying to restart
the engine. Remember to release the key from
START as soon as the engine starts.
If the engine is running and the security light comes on,
you will be able to restart the engine if you turn the
engine off. However, your Passlock
®system is
not working properly and must be serviced by your
dealer. Your vehicle is not protected by Passlock
®at this
time. You may also want to check the fuse (see
Fuses and Circuit Breakers on page 5-91.) See your
dealer for service.
In an emergency, call the GM Roadside Assistance
Center. SeeRoadside Assistance Program on page 7-5
under Customer Assistance Information.
Starting and Operating Your
Vehicle
New Vehicle Break-In
Notice:Your vehicle doesn’t need an elaborate
“break-in.”But it will perform better in the long run
if you follow these guidelines:
Keep your speed at 55 mph (88 km/h) or less for
the first 500 miles (805 km).
•Don’t drive at any one speed — fast or
slow — for the first 500 miles (805 km).
Don’t make full-throttle starts.
•Avoid making hard stops for the first 200 miles
(322 km) or so. During this time your new
brake linings aren’t yet broken in. Hard stops
with new linings can mean premature wear and
earlier replacement. Follow this breaking-in
guideline every time you get new brake linings.
•Don’t tow a trailer during break-in. See “Towing
a Trailer” in the Index for more information.
2-15
2003 - Sierra Denali
Page 97 of 408

Automatic Transmission Operation
Your vehicle is equipped with an automatic transmission
that features an electronic shift position indicator
located within the instrument panel cluster. This display
is powered anytime the shift lever is capable of being
moved out of PARK (P). SeeFuses and Circuit Breakers
on page 5-91.
There are several different positions for your shift lever.
PARK (P):This position locks your wheels. It’s the
best position to use when you start your engine because
your vehicle can’t move easily.
{CAUTION:
It is dangerous to get out of your vehicle if the
shift lever is not fully in PARK (P) with the
parking brakefirmly set. Your vehicle can roll.
Don’t leave your vehicle when the engine is
running unless you have to. If you have left the
engine running, the vehicle can move
suddenly. You or others could be injured.
CAUTION: (Continued)
CAUTION: (Continued)
To be sure your vehicle won’t move, even
when you’re on fairly level ground, always set
your parking brake and move the shift lever to
PARK (P). See“Shifting Into Park (P)”in the
Index. If you’re pulling a trailer, see“Towing a
Trailer”in the Index.
REVERSE (R):Use this gear to back up.
Notice:Shifting to REVERSE (R) while your vehicle
is moving forward could damage your transmission.
Shift to REVERSE (R) only after your vehicle is
stopped.
To rock your vehicle back and forth to get out of snow,
ice or sand without damaging your transmission,
seeIf You Are Stuck: In Sand, Mud, Ice or Snow on
page 4-44.
NEUTRAL (N):In this position, your engine doesn’t
connect with the wheels. To restart when you’re already
moving, use NEUTRAL (N) only. Also, use
NEUTRAL (N) when your vehicle is being towed.
2-19
2003 - Sierra Denali
Page 123 of 408

The main components of your instrument panel are the
following:
A. Dome Lamp Override Button
B. Exterior Lamp Control
C. Air Outlets
D. Storage Compartment
E. Multifunction Lever
F. Instrument Panel Cluster
G. Shift Lever
H. Tow/Haul Selector Switch (If Equipped)
I. Audio System
J. Comfort Control SystemK. Instrument Panel Fuse Block
L. Hood Release
M. Audio Steering Wheel Controls (If Equipped)
N. Center Instrument Panel Fuse Block
O. Tilt Lever
P. Parking Brake Release
Q. Compact Disc Changer (If Equipped)
R. Ashtray
S. Accessory Power Outlet
T. Air Bag Off Switch and 4–Wheel Steer Button
U. Glovebox
3-3
2003 - Sierra Denali
Page 126 of 408

Turn and Lane Change Signals
The turn signal has two upward (for right) and two
downward (for left) positions. These positions allow you
to signal a turn or a lane change.
To signal a turn, move the lever all the way up or down.
When the turn isfinished, the lever will return
automatically.
An arrow on the instrument
panel cluster willflash in
the direction of the
turn or lane change.
To signal a lane change, just raise or lower the lever
until the arrow starts toflash. Hold it there until you
complete your lane change. The lever will return by itself
when you release it.
If you move the lever all the way up or down, and the
arrowflashes at twice the normal rate, a signal bulb may
be burned out and other drivers may not see your
turn signal.
If a bulb is burned out, replace it to help avoid an
accident. If the arrows don’t go on at all when you signal
a turn, check for burned-out bulbs or a blown fuse
SeeFuses and Circuit Breakers on page 5-91.
Turn Signal On Chime
If your turn signal is left on for more than 3/4 of a mile
(1.2 km), a chime will sound at eachflash of the
turn signal. To turn off the chime, move the turn signal
lever to the off position.
Headlamp High/Low Beam Changer
To change the headlamps from low to high beam, push
the lever toward the instrument panel. To return the
low-beam headlamps, pull the multifunction lever toward
you. Then release it.
When the high beams are
on, this light on the
instrument panel cluster
also will be on.
3-6
2003 - Sierra Denali
Page 137 of 408

Certain electrical accessories may not be compatible
with the accessory power outlets and could result
in blown vehicle or adapter fuses. If you experience a
problem, see your dealer for additional information
on accessory power outlets.
Notice:Adding some electrical equipment to your
vehicle can damage it or keep other things from
working as they should. This wouldn’t be covered by
your warranty. Check with your dealer before
adding electrical equipment, and never use anything
that exceeds the amperage rating.
When adding electrical equipment, be sure to follow the
proper installation instructions included with the
equipment.
Notice:Power outlets are designed for accessory
plugs only. Do not hang any type of accessory
or accessory bracket from the plug. Improper use of
the power outlet can cause damage not covered
by your warranty.Ashtrays and Cigarette Lighter
The ashtray is located in the center console. Press the
raised area on the access door to use the ashtray.
To remove the ashtrayfirst locate the indent on the right
side of the ashtray. Then, place an instrument, such
as a pen, in the indent and pry the ashtray out.
Notice:Don’t put papers or other �ammable items
into your ashtrays. Hot cigarettes or other smoking
materials could ignite them, causing a damaging �re.
To use the cigarette lighter, push it in all the way, and
let go. When it’s ready, it will pop back out by itself.
Notice:Don’t hold a cigarette lighter in with your
hand while it is heating. If you do, it won’t be able to
back away from the heating element when it’s
ready. That can make it overheat, damaging the
lighter and the heating element.
3-17
2003 - Sierra Denali
Page 218 of 408

Environmental Concerns
Off-road driving can provide wholesome and satisfying
recreation. However, it also raises environmental
concerns. We recognize these concerns and urge every
off-roader to follow these basic rules for protecting
the environment:
Always use established trails, roads and areas that
have been specially set aside for public off-road
recreational driving; obey all posted regulations.
Avoid any driving practice that could damage
the environment—shrubs,�owers, trees,
grasses—or disturb wildlife (this includes
wheel-spinning, breaking down trees or
unnecessary driving through streams or over
soft ground).
Always carry a litter bag... make sure all refuse is
removed from any campsite before leaving.
Take extreme care with open�res (where
permitted), camp stoves and lanterns.
Never park your vehicle over dry grass or other
combustible materials that could catch�re from
the heat of the vehicle’s exhaust system.
Traveling to Remote Areas
It makes sense to plan your trip, especially when going
to a remote area. Know the terrain and plan your
route. You are much less likely to get bad surprises.
Get accurate maps of trails and terrain. Try to learn of
any blocked or closed roads.
It’s also a good idea to travel with at least one other
vehicle. If something happens to one of them, the other
can help quickly.
Does your vehicle have a winch? If so, be sure to read
the winch instructions. In a remote area, a winch
can be handy if you get stuck. But you’ll want to know
how to use it properly.
Getting Familiar with Off-Road Driving
It’s a good idea to practice in an area that’s safe
and close to home before you go into the wilderness.
Off-road driving does require some new and different
driving skills. Here’s what we mean.
Tune your senses to different kinds of signals. Your
eyes, for example, need to constantly sweep the terrain
for unexpected obstacles. Your ears need to listen
for unusual tire or engine sounds. With your arms,
hands, feet and body, you’ll need to respond to
vibrations and vehicle bounce.
4-20
2003 - Sierra Denali
Page 259 of 408

Trailer Wiring Harness
Your pickup is equipped with the eight-wire trailer
towing harness. This harness with a seven-pin universal
heavy-duty trailer connector is attached to a bracket
on the hitch platform.
The Center High-Mounted Stoplamp (CHMSL) wire is
tied next to the trailer wiring harness for use with a
trailer, slide-in camper or cap.The eight-wire harness contains the following trailer
circuits:
Yellow: Left Stop/Turn Signal
Dark Green: Right Stop/Turn Signal
Brown: Taillamps
White: Ground
Light Green: Back-up Lamps
Light Blue: Center High-Mounted Stoplamp
(CHMSL)
Red: Battery Feed
Dark Blue: Trailer Brake
If your trailer is equipped with electrical brakes, you can
get a jumper harness/electric trailer brake control
with a trailer battery feed fuse from your dealer. This
harness and fuse should be installed by your dealer or a
quali�ed service center.
If you need to tow a light-duty trailer with a standard
four-way round pin connector, you can also get an
adapter from your dealer.
4-61
2003 - Sierra Denali
Page 262 of 408

Tires..............................................................5-56
Inflation -- Tire Pressure................................5-57
Tire Inspection and Rotation...........................5-58
When It Is Time for New Tires.......................5-59
Buying New Tires.........................................5-60
Uniform Tire Quality Grading..........................5-61
Wheel Alignment and Tire Balance..................5-62
Wheel Replacement......................................5-62
Tire Chains..................................................5-64
If a Tire Goes Flat........................................5-64
Changing a Flat Tire.....................................5-65
Spare Tire...................................................5-82
Appearance Care............................................5-82
Cleaning the Inside of Your Vehicle.................5-83
Care of Safety Belts......................................5-84
Weatherstrips...............................................5-85
Cleaning the Outside of Your Vehicle..............5-85Sheet Metal Damage.....................................5-87
Finish Damage.............................................5-87
Underbody Maintenance................................5-87
Chemical Paint Spotting.................................5-88
GM Vehicle Care/Appearance Materials...........5-88
Vehicle Identification......................................5-90
Vehicle Identification Number (VIN).................5-90
Service Parts Identification Label.....................5-90
Electrical System............................................5-91
Add-On Electrical Equipment..........................5-91
Windshield Wiper Fuses................................5-91
Power Windows and Other Power Options.......5-91
Fuses and Circuit Breakers............................5-91
Capacities and Specifications..........................5-99
Capacities and Specifications.........................5-99
Normal Maintenance Replacement Parts
.........5-100
Section 5 Service and Appearance Care
5-2
2003 - Sierra Denali
Page 264 of 408

CAUTION: (Continued)
•
Be sure to use the proper nuts, bolts and
other fasteners. “English” and “metric”
fasteners can be easily confused. If you
use the wrong fasteners, parts can later
break or fall off. You could be hurt.
Adding Equipment to the Outside of
Your Vehicle
Things you might add to the outside of your vehicle can
affect the airflow around it. This may cause wind
noise and affect windshield washer performance.
Check with your dealer before adding equipment to the
outside of your vehicle.
Fuel
Use of the recommended fuel is an important part of the
proper maintenance of your vehicle.
Gasoline Octane
Use regular unleaded gasoline with a posted octane
of 87 or higher. If the octane is less than 87, you may
get a heavy knocking noise when you drive. If this
occurs, use a gasoline rated at 87 octane or higher as
soon as possible. Otherwise, you might damage
your engine. A little pinging noise when you accelerate
or drive uphill is considered normal. This does not
indicate a problem exists or that a higher-octane fuel is
necessary. If you are using 87 octane or higher-octane
fuel and hear heavy knocking, your engine needs
service.
5-4
2003 - Sierra Denali
Page 273 of 408

A. Engine Air Cleaner/Filter
B. Coolant Surge Tank
C. Air Cleaner/Filter Restriction Indicator
D. Engine Oil Dipstick
E. Engine Oil Fill Cap
F. Automatic Transmission Dipstick
G. Fan
H. Remote Negative (−) Terminal (GND)
I. Remote Positive (+) Terminal
J. Power Steering Fluid Reservoir
K. Brake Fluid Reservoir
L. Underhood Fuse Block
M. Battery
N. Windshield Washer Fluid Reservoir
Engine Oil
If the CHECK OIL LEVEL light appears on the
instrument cluster, it means you need to check your
engine oil level right away. For more information,
see“CHECK OIL LEVEL”underDIC Warnings and
Messages on page 3-51.
You should check your engine oil level regularly; this is
an added reminder.
Checking Engine Oil
It’s a good idea to check your engine oil every time you
get fuel. In order to get an accurate reading, the oil
must be warm and the vehicle must be on level ground.
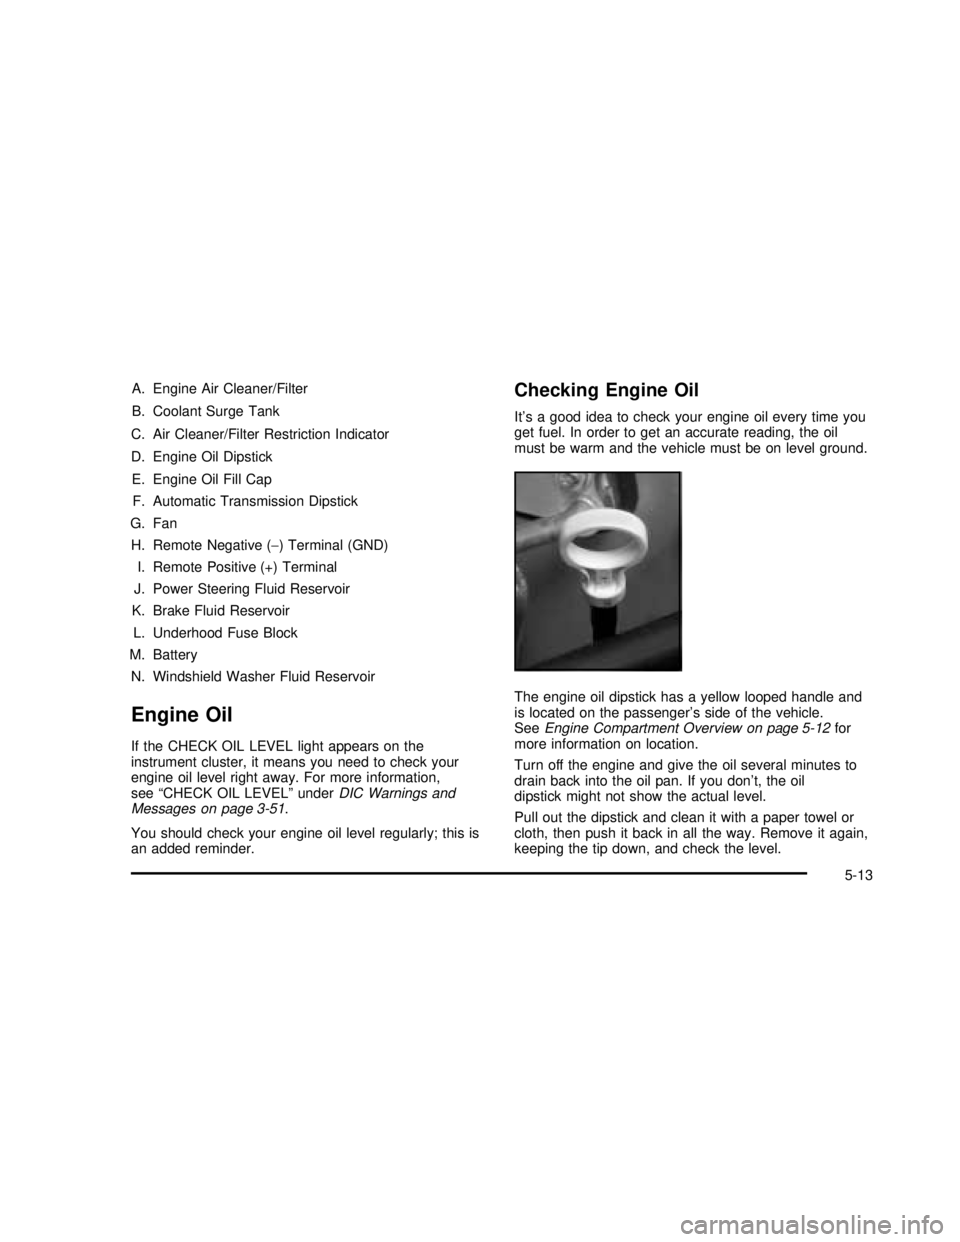
The engine oil dipstick has a yellow looped handle and
is located on the passenger’s side of the vehicle.
SeeEngine Compartment Overview on page 5-12for
more information on location.
Turn off the engine and give the oil several minutes to
drain back into the oil pan. If you don’t, the oil
dipstick might not show the actual level.
Pull out the dipstick and clean it with a paper towel or
cloth, then push it back in all the way. Remove it again,
keeping the tip down, and check the level.
5-13
2003 - Sierra Denali