stop start GMC SIERRA 2004 Owner's Guide
[x] Cancel search | Manufacturer: GMC, Model Year: 2004, Model line: SIERRA, Model: GMC SIERRA 2004Pages: 588, PDF Size: 3.74 MB
Page 274 of 588
Playing a CD
If you turn off the ignition or radio with the CD in the
player, it will stay in the player. When you turn on
the ignition or the radio, the CD will start playing, where
it stopped, if it was the last selected audio source.
The CD player can play the smaller 8 cm single CDs
with an adapter ring. Full-size CDs and the smaller CDs
are loaded in the same manner.
If playing a CD-R the sound quality may be reduced
due to CD-R quality, the method of recording, the quality
of the music that has been recorded, and the way the
CD-R has been handled. You may experience an
increase in skipping, difficulty in ®nding tracks, and/or
difficulty in loading and ejecting. If these problems occur
try a known good CD.
Do not add paper labels to CDs, they could get caught
in the CD player.
Do not play 3 inch CDs without a standard adapter CD.
If an error appears on the display, see ªCD Messagesº
later in this section.LOAD CD
Z:Press the LOAD side of this button to
load CDs into the CD player. This CD player will
hold up to six CDs.
To insert one CD, do the following:
1. Turn the ignition on.
2. Press and release the LOAD side of the LOAD CD
button.
3. Wait for the light, located to the right of the slot, to
turn green.
4. Load a CD. Insert the CD partway into the slot,
label side up. The player will pull the CD in.
When a CD is inserted, the CD symbol will appear on
the display. If you select an equalization setting for your
CD, it will be activated each time you play a CD.
The CD will begin to play automatically.
As each new track starts to play, the track number will
appear on the display.
To insert multiple CDs, do the following:
1. Turn the ignition on.
2. Press and hold the LOAD side of the LOAD CD
button for two seconds.
You will hear a beep and the light, located to the
right of the slot, will begin to ¯ash.
3-110
Page 275 of 588
3. Once the light stops ¯ashing and turns green, load
a CD. Insert the CD partway into the slot, label side
up. The player will pull the CD in.
Once the CD is loaded, the light will begin ¯ashing
again. Once the light stops ¯ashing and turns green
you can load another CD. The CD player takes up to
six CDs. Do not try to load more than six.
To load more than one CD but less than six, complete
Steps 1 through 3. When you have ®nished loading
CDs, the radio will begin to play the last CD loaded.
When a CD is inserted, the CD symbol will appear on
the display. If more than one CD has been loaded,
a number for each CD will appear on the display. If you
select an equalization setting for your CD, it will be
activated each time you play a CD.
As each new track starts to play, the track number will
appear on the display.
Playing a Speci®c Loaded CD
For every CD loaded, a number will appear on the
display. To play a speci®c CD, ®rst press the CD AUX
button. Then press the numbered pushbutton that
corresponds to the CD you want to play. A small bar will
appear under the CD number that is playing, and the
track number will appear on the display.
If an error appears on the radio display, see ªCD
Messagesº later in this section.LOAD CD
Z(Eject):Press the CD eject side of this
button to eject a single CD or multiple CDs. To eject
the CD that is currently playing, press and release this
button. To eject multiple CDs, press and hold this
button for two seconds. You will hear a beep and the
light will ¯ash to let you know when a CD is being
ejected.
REMOVE CD will appear on the display. You can now
remove the CD. If the CD is not removed, after
25 seconds, the CD will be automatically pulled back
into the receiver. If you try to push the CD back into the
receiver, before the 25 second time period is complete,
the receiver will sense an error and will try to eject
the CD several times before stopping.
Do not repeatedly press the CD eject button to eject a
CD after you have tried to push it in manually. The
receivers 25-second eject timer will reset at each press
of eject, which will cause the receiver to not eject
the CD until the 25-second time period has elapsed.
Once the player stops and the CD is ejected, remove the
CD. After removing the CD, push the PWR knob off
and then on again. This will clear the CD-sensing feature
and enable CDs to be loaded into the player again.
3-111
Page 281 of 588
k(Play/Pause):Press this button to start play of a
DVD or CD. Press this button while a DVD or CD
is playing to pause it. Press this button again to continue
the play of the DVD or CD.
y(Main DVD Menu):Press this button to access the
DVD menu. The DVD menu is different on every
DVD. Use the up, down, left, and right arrow buttons to
move the cursor around the DVD menu. After making
a selection press the enter button. This button only
operates when using a DVD.
z(Set-up Menu):Press this button to adjust the
color, tint, brightness, contrast, and display mode
(normal, full, or zoom). The dynamic range compression
feature can be used to reduce loud audio and increase
low audio produced by some DVDs.
n,q,p,o(Menu Navigation Arrows):Use the
arrow buttons to navigate through a menu.
r(Enter):Press this button to select the choices
that are highlighted in any menu.
Playing a Disc
To play a disc, gently insert the disc with the label side
up into the loading slot. The DVD player will continue
loading the disc and the player will automatically start, if
the vehicle ignition is in RUN, ACCESSORY, or when
RAP is active.
If a disc is already in the player, press the play/pause
button on the face of the DVD player or on the
remote control.
Some DVDs will not allow you to fast forward or skip
the copyright information or previews. Some DVDs will
begin playing after the previews have ®nished. If the
DVD does not begin to play the main title, refer to the
on-screen instructions, as the DVD may be displaying
its main title menu.
Stopping and Resuming Playback
To stop a disc, press and release the stop button on the
DVD player or the remote control. To resume playback,
press the play/pause button on the DVD player or
the remote control. As long as the disc has not been
ejected and the stop button has not been pressed twice,
the movie should resume play from where it was last
stopped. If the disc has been ejected, or if the stop
button has been pressed twice, the disc will resume play
at the beginning of the DVD or CD.
3-117
Page 284 of 588
n,q,p,o(Menu Navigation Arrows):Use the
arrow buttons to navigate through a menu.
z(Set-up Menu):Press this button to adjust the
color, tint, brightness, contrast, and display mode
(normal, full, or zoom). The dynamic range compression
feature can be used to reduce loud audio and increase
low audio produced by some DVDs.
e(Audio):Press this button to display a menu that
will only appear when a DVD is being played. The format
and content of this function is dependent on the disc.
r(Fast Reverse):Press this button to fast reverse
the DVD or CD. To stop fast reversing, press this button
again. This button may not work when the DVD is
playing the copyright information or the previews.
SRCE (Source):Press this button to toggle between
the DVD player and an auxiliary source.
c(Stop):Press this button to stop playing, rewinding,
or fast forwarding a DVD or CD. Press this button
twice to return to the beginning of the DVD.
t(Previous Track/Chapter):Press this button to
return to the start of the current track or chapter. Press
this button again to return to the previous track or
chapter. This button may not work when the DVD is
playing the copyright information or the previews.1 through 0 (Numeric Keypad):The remote control
numeric keypad provides you with the capability of direct
chapter, title, and track number selection.
\:Press this button, within 3 seconds after inputting
a numeric selection to clear all numeric inputs. Press
this button before inputting the number.
}10:Press the button, to select chapter, title, and
track numbers greater than 9. Press this button before
inputting the number.
P(Illumination):Press this button to turn the remote
control backlight on. The backlight will time out after
about 7 to 10 seconds if no other button is pressed while
the backlight is on.
y(Main DVD Menu):Press this button to access the
DVD menu. The DVD menu is different on every
DVD. Use the up, down, left, and right arrow buttons to
move the cursor around the DVD menu. After making
a selection press the enter button. This button only
operates when using a DVD.
r(Enter):Press this button to select the choices
that are highlighted in any menu.
3-120
Page 285 of 588
q(Return):Press this button to exit the current
active menu and return to the previous menu. This
button will operate only when a DVD is being played
and a menu is active.
|(Camera Angle):This button changes camera
angles on DVDs that have this feature when a DVD is
playing. The format and content of this function is
dependent on the disc.
{(Subtitle):This button turns on subtitles and moves
through subtitle options when a DVD is playing. The
format and content of this function is dependent on
the disc.
[(Fast Forward):Press this button to fast forward
the DVD or CD. To stop fast forwarding, press this
button again. This button may not work when the DVD
is playing the copyright information or the previews.
s(Play/Pause):Press this button to start play of a
DVD or CD. Press this button while a DVD or CD is
playing to pause it. Press this button again to continue
the play of the DVD or CD.
Slow Play:When the DVD is playing, press the pause
button then press the fast forward button. The DVD
will continue playing in a slow play mode. To cancel slow
play mode, press the play/pause button.
u(Next Track/Chapter):Press this button to advance
to the beginning of the next track or chapter. This
button may not work when the DVD is playing the
copyright information or the previews.
Battery Replacement
To change the batteries, do the following:
1. Remove the battery compartment door located on
the bottom of the remote control.
2. Replace the two AA batteries in the compartment.
Make sure that they are installed correctly, using
the diagram on the inside of the battery
compartment.
3. Close the battery door securely.
Notice:Do not store the remote control in heat or
direct sunlight. This could damage the remote
control and it would not be covered by your vehicles
warranty. Keep the remote control stored in a
cool, dry place.
If the remote control is to be stored for a long period of
time, remove the batteries and keep them in a cool,
dry place.
3-121
Page 289 of 588
Problem Recommended Action
After stopping the player, I
push Play but sometimes
the DVD starts where I
left off and sometimes at
the beginning.If the stop button was
pressed one time, the
DVD player will resume
playing where the DVD
was stopped. If the stop
button was pressed two
times the DVD player will
begin to play from the
beginning of the DVD.
The auxiliary source is
running but there is no
picture or sound.Check that the DVD
player is in the auxiliary
source mode.
Check the auxiliary input
connections at both
devices.
My disc is stuck in the
player. The Load/Eject
button does not work.Turn the DVD power off,
then on and press the
Load/Eject button on the
DVD player.
Do not attempt to forcibly
remove the disc from the
DVD player. This could
permanently damage the
disc and DVD player.Problem Recommended Action
Sometimes the wireless
headphone audio cuts out
or buzzes.Check for obstructions,
low batteries, reception
range, and interference
from cellular telephone
towers or by using your
cellular telephone in the
vehicle.
Check that the
headphones are facing
the front of the vehicle.
I lost the remote and/or
the headphones.See your dealer for
assistance.
The DVD is playing, but
there is no picture or
sound.Check that the DVD
player is in DVD mode.
The audio/video skips or
jumps.The DVD or CD could be
dirty, scratched, or
damaged.
What is the best way to
clean the video screen?Wipe the video screen
with a damp, soft cloth.
The audio from the radio
for the Radio with
Six-Disc CD and XMŸ
has taken over the audio
from the DVD or CD
when using the wired
headphones.The RSE is working
correctly.
Use the wireless
headphones or have the
front seat passengers
listen to another audio
source.
3-125
Page 303 of 588
Anti-lock Brake System
Your vehicle has anti-lock brakes. ABS is an advanced
electronic braking system that will help prevent a
braking skid.
When you start your engine and begin to drive away,
your anti-lock brake system will check itself. You
may hear a momentary motor or clicking noise while
this test is going on. This is normal.
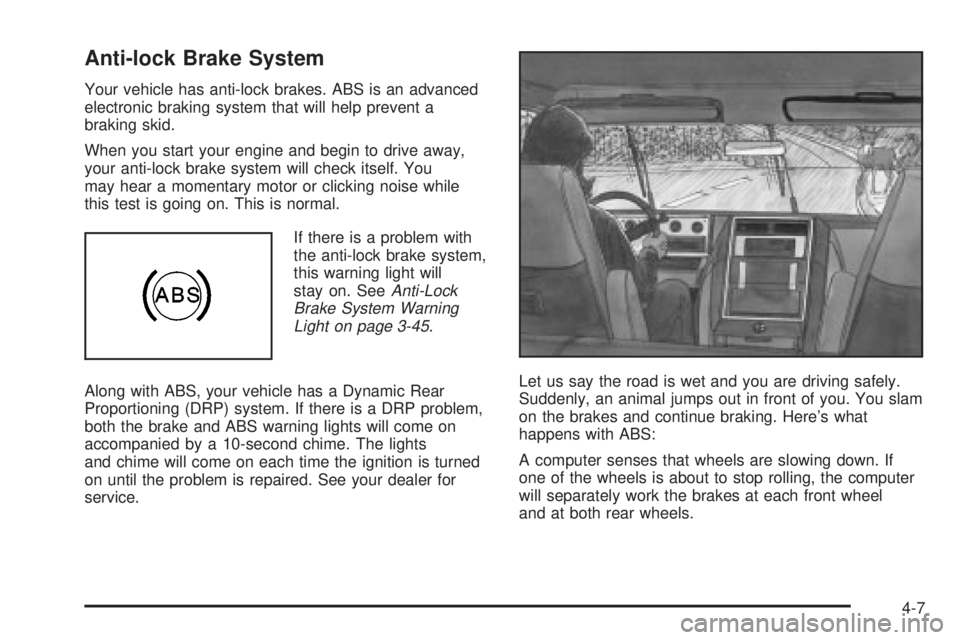
If there is a problem with
the anti-lock brake system,
this warning light will
stay on. See
Anti-Lock
Brake System Warning
Light on page 3-45
.
Along with ABS, your vehicle has a Dynamic Rear
Proportioning (DRP) system. If there is a DRP problem,
both the brake and ABS warning lights will come on
accompanied by a 10-second chime. The lights
and chime will come on each time the ignition is turned
on until the problem is repaired. See your dealer for
service.Let us say the road is wet and you are driving safely.
Suddenly, an animal jumps out in front of you. You slam
on the brakes and continue braking. Here's what
happens with ABS:
A computer senses that wheels are slowing down. If
one of the wheels is about to stop rolling, the computer
will separately work the brakes at each front wheel
and at both rear wheels.
4-7
Page 305 of 588
Traction Assist System (TAS)
Your vehicle may have a Traction Assist System (TAS)
that limits wheel spin. This is especially useful in
slippery road conditions. The system operates only if it
senses that one or both of the rear wheels are
spinning or beginning to lose traction. When this
happens, the system reduces engine power to limit
wheel spin.
The traction control system is enabled every time your
vehicle is started. The system will activate if it senses
that any of the wheels are spinning or beginning to lose
traction.
You may hear or feel the system working or notice a
lack of accelerator response, but this is normal.
The Traction Assist System may operate on dry roads
under some conditions. When this happens, you
may notice a reduction in acceleration. This is normal
and doesn't mean there's a problem with your vehicle.
Examples of these conditions include a hard
acceleration in a turn, an abrupt upshift or downshift of
the transmission or driving on rough roads.
If your vehicle is in cruise control when the TAS begins
to limit wheel spin, the cruise control will automatically
disengage. When road conditions allow you to safelyuse it again, you may re-engage the cruise control. See
Cruise ControlunderTurn Signal/Multifunction Lever
on page 3-7.
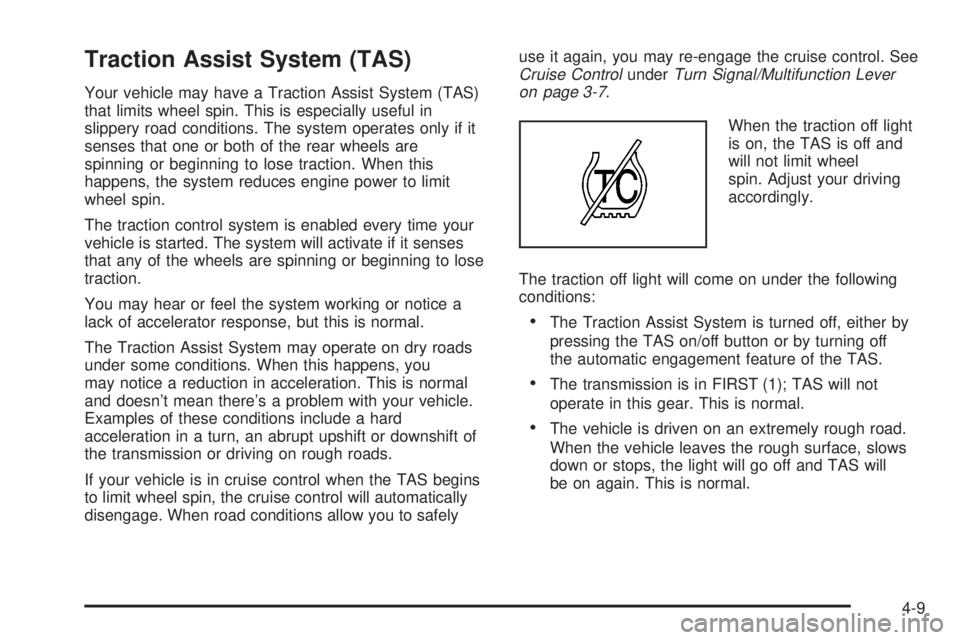
When the traction off light
is on, the TAS is off and
will not limit wheel
spin. Adjust your driving
accordingly.
The traction off light will come on under the following
conditions:
·The Traction Assist System is turned off, either by
pressing the TAS on/off button or by turning off
the automatic engagement feature of the TAS.
·The transmission is in FIRST (1); TAS will not
operate in this gear. This is normal.
·The vehicle is driven on an extremely rough road.
When the vehicle leaves the rough surface, slows
down or stops, the light will go off and TAS will
be on again. This is normal.
4-9
Page 314 of 588
·Do not get too close to the vehicle you want to
pass while you are awaiting an opportunity. For one
thing, following too closely reduces your area of
vision, especially if you are following a larger
vehicle. Also, you will not have adequate space if
the vehicle ahead suddenly slows or stops.
Keep back a reasonable distance.
·When it looks like a chance to pass is coming up,
start to accelerate but stay in the right lane and
do not get too close. Time your move so you will be
increasing speed as the time comes to move into
the other lane. If the way is clear to pass, you
will have a ªrunning startº that more than makes up
for the distance you would lose by dropping
back. And if something happens to cause you to
cancel your pass, you need only slow down
and drop back again and wait for another
opportunity.
·If other vehicles are lined up to pass a slow vehicle,
wait your turn. But take care that someone is not
trying to pass you as you pull out to pass the slow
vehicle. Remember to glance over your shoulder
and check the blind spot.
·Check your mirrors, glance over your shoulder and
start your left lane change signal before moving out
of the right lane to pass. When you are far
enough ahead of the passed vehicle to see its front
in your inside mirror, activate your right lanechange signal and move back into the right lane.
(Remember that if your right outside mirror is
convex, the vehicle you just passed may seem to
be farther away from you than it really is.)
·Try not to pass more than one vehicle at a time on
two-lane roads. Reconsider before passing the
next vehicle.
·Do not overtake a slowly moving vehicle too rapidly.
Even though the brake lamps are not ¯ashing, it
may be slowing down or starting to turn.
·If you are being passed, make it easy for the
following driver to get ahead of you. Perhaps
you can ease a little to the right.
Loss of Control
Let us review what driving experts say about what
happens when the three control systems (brakes,
steering and acceleration) do not have enough friction
where the tires meet the road to do what the driver
has asked.
In any emergency, do not give up. Keep trying to steer
and constantly seek an escape route or area of less
danger.
4-18
Page 315 of 588
Skidding
In a skid, a driver can lose control of the vehicle.
Defensive drivers avoid most skids by taking reasonable
care suited to existing conditions, and by not
ªoverdrivingº those conditions. But skids are always
possible.
The three types of skids correspond to your vehicle's
three control systems. In the braking skid, your wheels
are not rolling. In the steering or cornering skid, too much
speed or steering in a curve causes tires to slip and lose
cornering force. And in the acceleration skid, too much
throttle causes the driving wheels to spin.
A cornering skid is best handled by easing your foot off
the accelerator pedal.
If you have the Traction Assist System, remember: It
helps avoid only the acceleration skid. If you do not have
this system, or if the system is off, then an acceleration
skid is also best handled by easing your foot off the
accelerator pedal.
If your vehicle starts to slide, ease your foot off the
accelerator pedal and quickly steer the way you want
the vehicle to go. If you start steering quickly enough,
your vehicle may straighten out. Always be ready
for a second skid if it occurs.Of course, traction is reduced when water, snow, ice,
gravel or other material is on the road. For safety,
you will want to slow down and adjust your driving to
these conditions. It is important to slow down on slippery
surfaces because stopping distance will be longer and
vehicle control more limited.
While driving on a surface with reduced traction, try
your best to avoid sudden steering, acceleration
or braking (including engine braking by shifting to a
lower gear). Any sudden changes could cause the tires
to slide. You may not realize the surface is slippery
until your vehicle is skidding. Learn to recognize warning
clues Ð such as enough water, ice or packed snow
on the road to make a ªmirrored surfaceº Ð and slow
down when you have any doubt.
Remember: Any anti-lock brake system (ABS) helps
avoid only the braking skid.
4-19