wiring GMC SIERRA 2004 Owner's Manual
[x] Cancel search | Manufacturer: GMC, Model Year: 2004, Model line: SIERRA, Model: GMC SIERRA 2004Pages: 588, PDF Size: 3.74 MB
Page 179 of 588
;(Parking Lamps):Turning the control to this
position turns on the parking lamps, together with the
following:
·Sidemarker Lamps
·Taillamps
·License Plate Lamps
·Instrument Panel Lights
·Roof Marker Lamps, if equipped
2(Headlamps):Turning the switch to this position
turns on the headlamps, together with the previously
listed lamps and lights.
You can switch your headlamps from high to low-beam
by pushing the turn signal/high-beam lever towards
the instrument panel.
A circuit breaker protects your headlamps. If you have
an electrical overload, your headlamps will ¯icker on and
off. Have your headlamp wiring checked right away if
this happens.
Automatic Headlamp System
When it is dark enough outside, your automatic
headlamp system will turn on your headlamps at the
normal brightness along with other lamps such as
the taillamps, sidemarker, parking lamps and the
instrument panel lights. The radio lights will also be dim.
Your vehicle is equipped with a light sensor located
on the top of the instrument panel in the defroster grille.
Be sure it is not covered, or the system will be on
whenever the ignition is on.
The system may also turn on your headlamps when
driving through a parking garage, heavy overcast
weather or a tunnel. This is normal.
There is a delay in the transition between the daytime
and nighttime operation of the Daytime Running
Lamps (DRL) and the automatic headlamp systems so
that driving under bridges or bright overhead street
lights does not affect the system. The DRL and
automatic headlamp system will only be affected when
the light sensor sees a change in lighting lasting
longer than the delay.
3-15
Page 182 of 588
Auxiliary Roof Mounted Lamp Switch
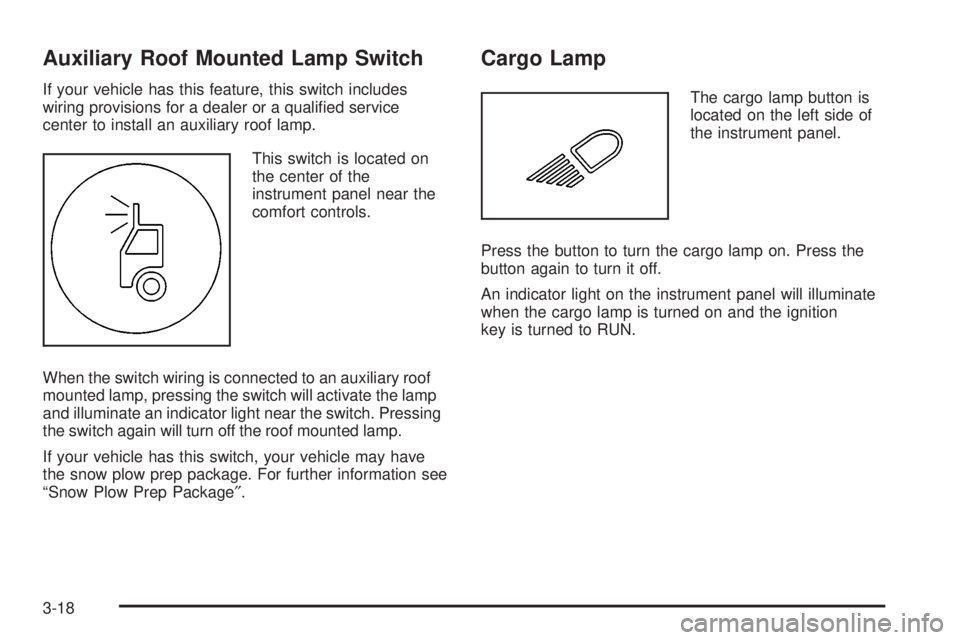
If your vehicle has this feature, this switch includes
wiring provisions for a dealer or a quali®ed service
center to install an auxiliary roof lamp.
This switch is located on
the center of the
instrument panel near the
comfort controls.
When the switch wiring is connected to an auxiliary roof
mounted lamp, pressing the switch will activate the lamp
and illuminate an indicator light near the switch. Pressing
the switch again will turn off the roof mounted lamp.
If your vehicle has this switch, your vehicle may have
the snow plow prep package. For further information see
ªSnow Plow Prep Package².
Cargo Lamp
The cargo lamp button is
located on the left side of
the instrument panel.
Press the button to turn the cargo lamp on. Press the
button again to turn it off.
An indicator light on the instrument panel will illuminate
when the cargo lamp is turned on and the ignition
key is turned to RUN.
3-18
Page 200 of 588
Safety Belt Reminder Light
When the key is turned to RUN or START, a chime will
come on for several seconds to remind people to
fasten their safety belts, unless the driver's safety belt is
already buckled.
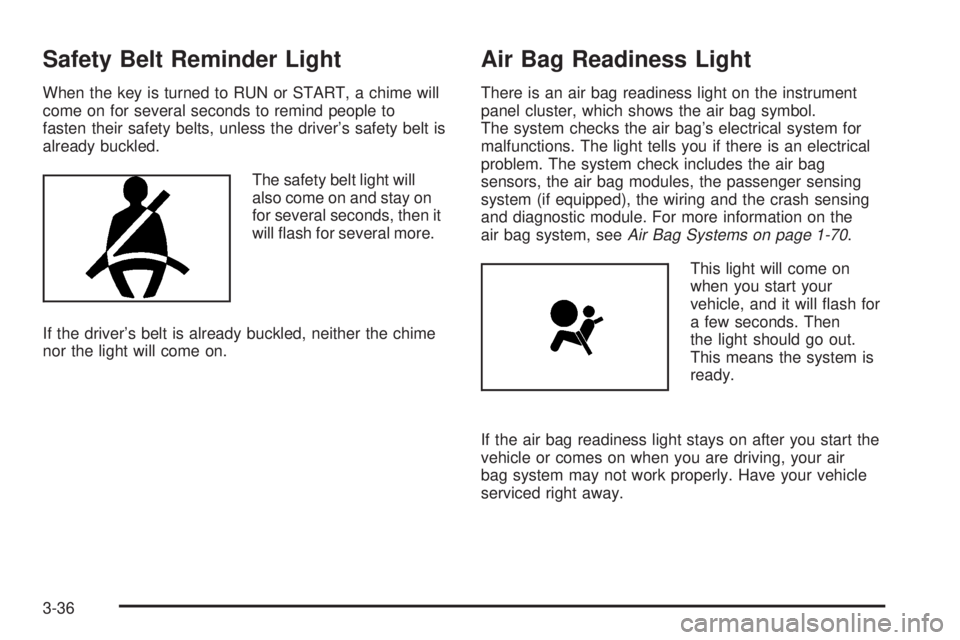
The safety belt light will
also come on and stay on
for several seconds, then it
will ¯ash for several more.
If the driver's belt is already buckled, neither the chime
nor the light will come on.
Air Bag Readiness Light
There is an air bag readiness light on the instrument
panel cluster, which shows the air bag symbol.
The system checks the air bag's electrical system for
malfunctions. The light tells you if there is an electrical
problem. The system check includes the air bag
sensors, the air bag modules, the passenger sensing
system (if equipped), the wiring and the crash sensing
and diagnostic module. For more information on the
air bag system, see
Air Bag Systems on page 1-70.
This light will come on
when you start your
vehicle, and it will ¯ash for
a few seconds. Then
the light should go out.
This means the system is
ready.
If the air bag readiness light stays on after you start the
vehicle or comes on when you are driving, your air
bag system may not work properly. Have your vehicle
serviced right away.
3-36
Page 391 of 588
When You Are Ready to Leave After
Parking on a Hill
1. Apply your regular brakes and hold the pedal down
while you:
·Start your engine
·Shift into a gear
·Release the parking brake
2. Let up on the brake pedal.
3. Drive slowly until the trailer is clear of the chocks.
4. Stop and have someone pick up and store the
chocks.
Maintenance When Trailer Towing
Your vehicle will need service more often when you're
pulling a trailer. SeeScheduled Maintenance on
page 6-4for more information. Things that are especially
important in trailer operation are automatic transmission
¯uid (don't over®ll), engine oil, axle lubricant, belt,
cooling system and brake system. Each of these is
covered in this manual, and the Index will help you ®nd
them quickly. If you're trailering, it's a good idea to
review these sections before you start your trip.
Check periodically to see that all hitch nuts and bolts
are tight.
Trailer Wiring Harness
Your vehicle is equipped with one of the following wiring
harnesses for towing a trailer or hauling a slide-in
camper.
Basic Trailer Wiring
All regular, extended cab crew cab pickups have a
six-wire trailer towing harness.
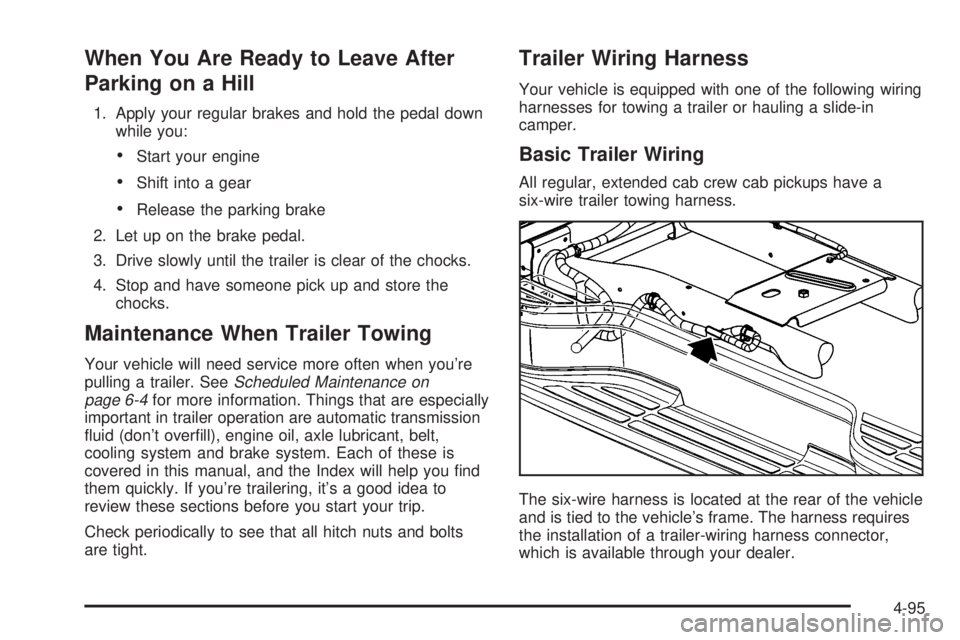
The six-wire harness is located at the rear of the vehicle
and is tied to the vehicle's frame. The harness requires
the installation of a trailer-wiring harness connector,
which is available through your dealer.
4-95
Page 392 of 588
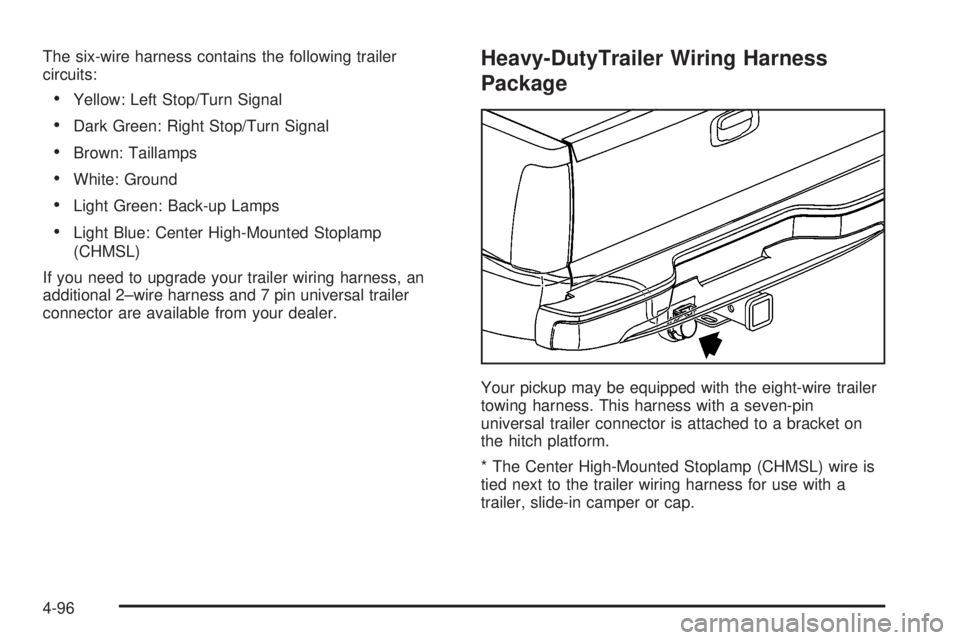
The six-wire harness contains the following trailer
circuits:
·Yellow: Left Stop/Turn Signal
·Dark Green: Right Stop/Turn Signal
·Brown: Taillamps
·White: Ground
·Light Green: Back-up Lamps
·Light Blue: Center High-Mounted Stoplamp
(CHMSL)
If you need to upgrade your trailer wiring harness, an
additional 2±wire harness and 7 pin universal trailer
connector are available from your dealer.
Heavy-DutyTrailer Wiring Harness
Package
Your pickup may be equipped with the eight-wire trailer
towing harness. This harness with a seven-pin
universal trailer connector is attached to a bracket on
the hitch platform.
* The Center High-Mounted Stoplamp (CHMSL) wire is
tied next to the trailer wiring harness for use with a
trailer, slide-in camper or cap.
4-96
Page 393 of 588
The eight-wire harness contains the following trailer
circuits:
·Yellow: Left Stop/Turn Signal
·Dark Green: Right Stop/Turn Signal
·Brown: Taillamps
·White: Ground
·Light Green: Back-up Lamps
·Light Blue: CHMSL
·Red: Battery Feed
·Dark Blue: Trailer Brake
If your trailer is equipped with electric brakes, you can
get a jumper harness (electric trailer brake control)
with a trailer battery feed fuse from your dealer.
If you need to tow a light-duty trailer with a standard
four-way round pin connector you can also get an
adapter from your dealer.
Camper/Fifth-Wheel Trailer Wiring Package
The eight-wire camper harness is located under the
front edge of the pickup box on the driver's side of the
vehicle, attached to the frame bracket. A connector
will have to be added to the wiring harness which
connects to the camper.
The eight-wire harness contains the following
camper/trailer circuits:
·Yellow: Left Stop/Turn Signal
·Dark Green: Right Stop/Turn Signal
·Brown: Taillamps
·White: Ground
·Light Green: Back-up Lamps
·Light Blue: Center High-Mounted Stoplamp
(CHMSL)
·Red: Battery Feed
·Dark Blue: Trailer Brake
4-97
Page 394 of 588
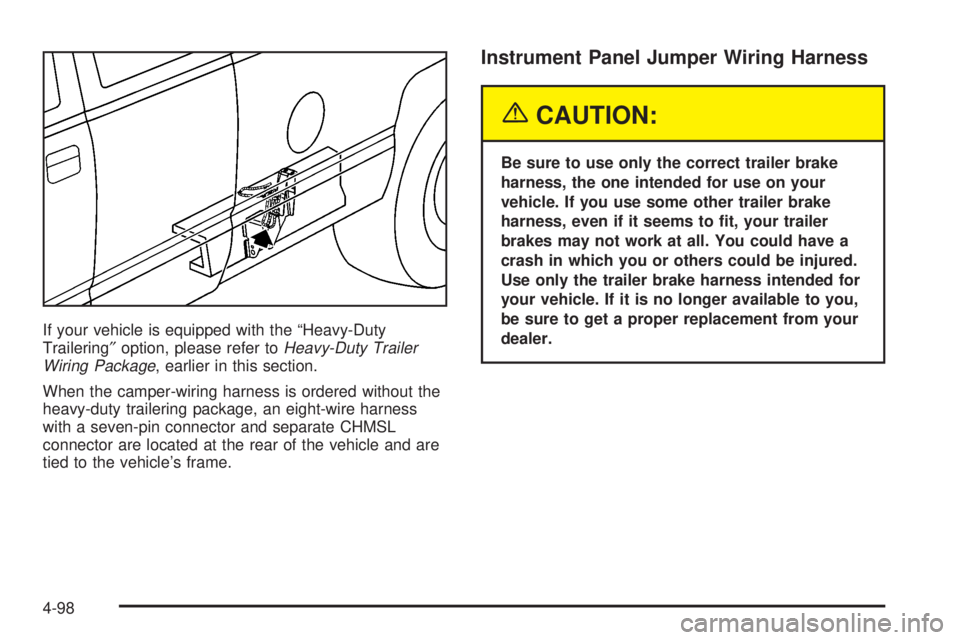
If your vehicle is equipped with the ªHeavy-Duty
Trailering²option, please refer toHeavy-Duty Trailer
Wiring Package, earlier in this section.
When the camper-wiring harness is ordered without the
heavy-duty trailering package, an eight-wire harness
with a seven-pin connector and separate CHMSL
connector are located at the rear of the vehicle and are
tied to the vehicle's frame.
Instrument Panel Jumper Wiring Harness
{CAUTION:
Be sure to use only the correct trailer brake
harness, the one intended for use on your
vehicle. If you use some other trailer brake
harness, even if it seems to ®t, your trailer
brakes may not work at all. You could have a
crash in which you or others could be injured.
Use only the trailer brake harness intended for
your vehicle. If it is no longer available to you,
be sure to get a proper replacement from your
dealer.
4-98
Page 395 of 588
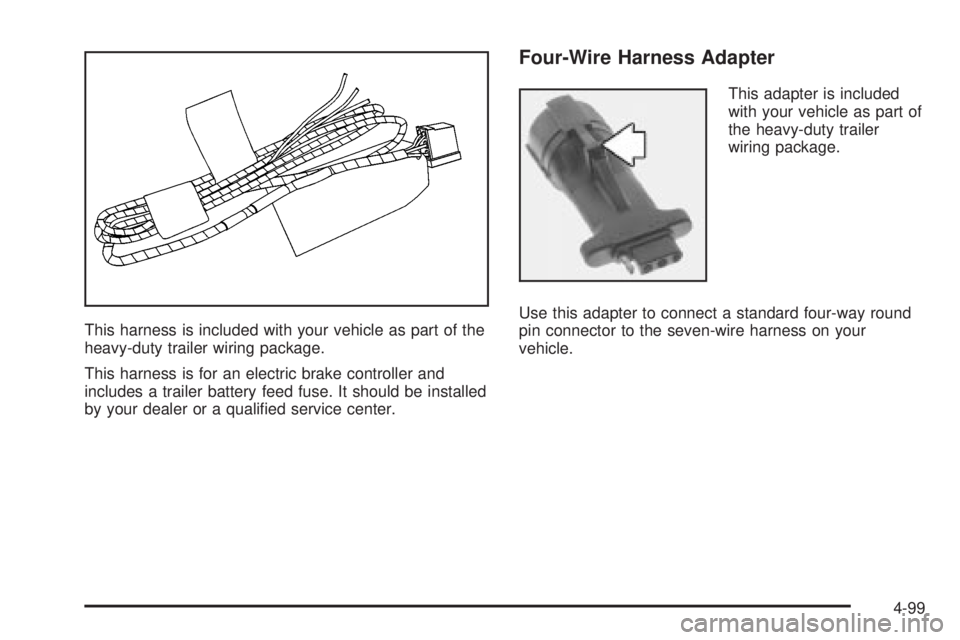
This harness is included with your vehicle as part of the
heavy-duty trailer wiring package.
This harness is for an electric brake controller and
includes a trailer battery feed fuse. It should be installed
by your dealer or a quali®ed service center.
Four-Wire Harness Adapter
This adapter is included
with your vehicle as part of
the heavy-duty trailer
wiring package.
Use this adapter to connect a standard four-way round
pin connector to the seven-wire harness on your
vehicle.
4-99
Page 526 of 588
Windshield Wiper Fuses
The windshield wiper motor is protected by an internal
circuit breaker and a fuse. If the motor overheats due to
heavy snow, etc., the wiper will stop until the motor
cools. If the overload is caused by some electrical
problem and not snow, etc., be sure to get it ®xed.
Power Windows and Other Power
Options
Circuit breakers protect the power windows and other
power accessories. When the current load is too heavy,
the circuit breaker opens and closes, protecting the
circuit until the problem is ®xed or goes away.
Fuses and Circuit Breakers
The wiring circuits in your vehicle are protected from
short circuits by a combination of fuses, circuit breakers
and fusible thermal links. This greatly reduces the
chance of ®res caused by electrical problems.
Look at the silver-colored band inside the fuse. If the
band is broken or melted, replace the fuse. Be sure you
replace a bad fuse with a new one of the identical
size and rating.If you ever have a problem on the road and don't have
a spare fuse, you can borrow one that has the same
amperage. Just pick some feature of your vehicle
that you can get along without ± like the radio or
cigarette lighter ± and use its fuse, if it is the correct
amperage. Replace it as soon as you can.
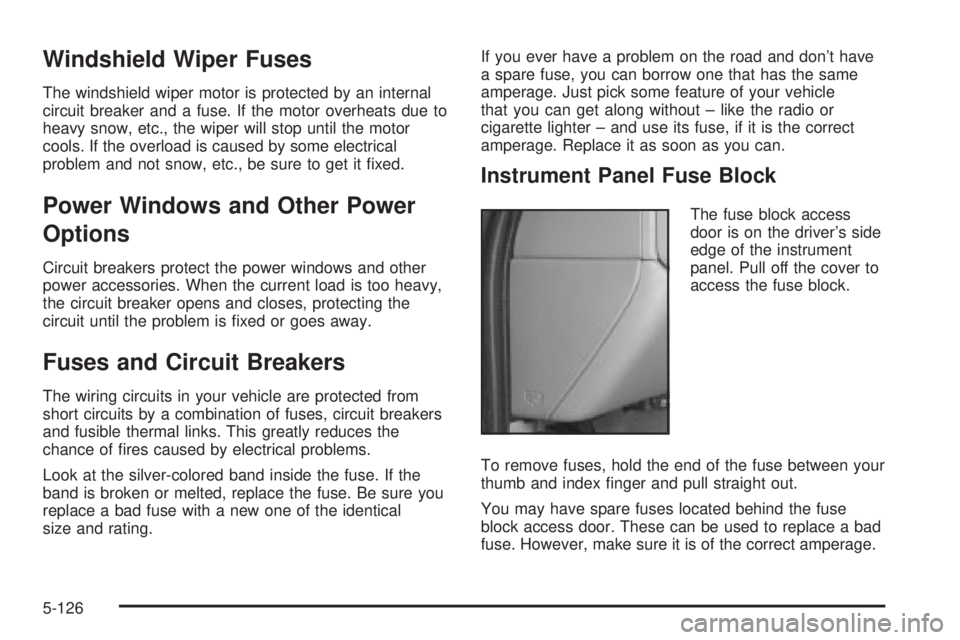
Instrument Panel Fuse Block
The fuse block access
door is on the driver's side
edge of the instrument
panel. Pull off the cover to
access the fuse block.
To remove fuses, hold the end of the fuse between your
thumb and index ®nger and pull straight out.
You may have spare fuses located behind the fuse
block access door. These can be used to replace a bad
fuse. However, make sure it is of the correct amperage.
5-126
Page 529 of 588
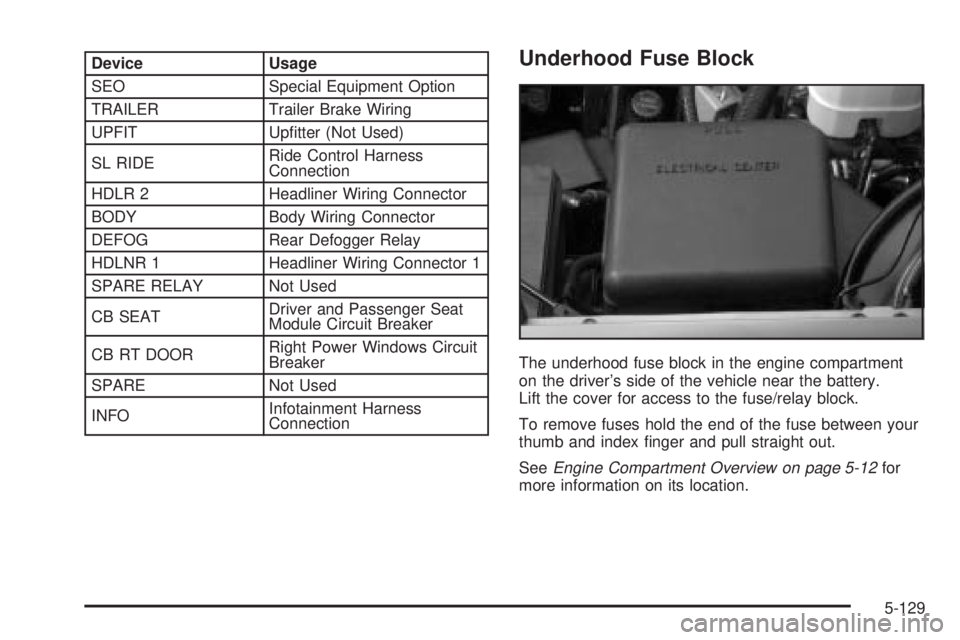
Device Usage
SEO Special Equipment Option
TRAILER Trailer Brake Wiring
UPFIT Up®tter (Not Used)
SL RIDERide Control Harness
Connection
HDLR 2 Headliner Wiring Connector
BODY Body Wiring Connector
DEFOG Rear Defogger Relay
HDLNR 1 Headliner Wiring Connector 1
SPARE RELAY Not Used
CB SEATDriver and Passenger Seat
Module Circuit Breaker
CB RT DOORRight Power Windows Circuit
Breaker
SPARE Not Used
INFOInfotainment Harness
ConnectionUnderhood Fuse Block
The underhood fuse block in the engine compartment
on the driver's side of the vehicle near the battery.
Lift the cover for access to the fuse/relay block.
To remove fuses hold the end of the fuse between your
thumb and index ®nger and pull straight out.
See
Engine Compartment Overview on page 5-12for
more information on its location.
5-129