keyless entry GMC SIERRA 2005 User Guide
[x] Cancel search | Manufacturer: GMC, Model Year: 2005, Model line: SIERRA, Model: GMC SIERRA 2005Pages: 574, PDF Size: 2.95 MB
Page 230 of 574
Unlock Doors (Automatic
Transmission only)
If you have an automatic transmission vehicle, press the
customization button until UNLOCK DOORS appears
in the display. To select your preference for automatic
unlocking, press the select button while UNLOCK
DOORS is displayed on the DIC. Pressing the select
button will scroll through the following choices:
UNLOCK DOORS: IN PARK (default):All of the doors
will unlock when the vehicle is shifted into PARK (P).
UNLOCK DRIVER: IN PARK:The driver’s door will be
unlocked when the vehicle is shifted into PARK (P).
UNLOCK DOORS: KEY OUT:All of the doors
will unlock when the key is taken out of the ignition.
UNLOCK DOORS: MANUALLY:The doors will not be
unlocked automatically.
Choose one of the available options and press the
customization button while it is displayed on the DIC to
select it and move on to the next feature. For more
information on automatic door locks, seeProgrammable
Automatic Door Locks on page 2-10.
Door Lock Delay (Crew Cab only)
If your DIC does not have this feature, you still may be
able to program the delayed locking feature. See
Delayed Locking on page 2-10for more information.When locking the doors with the power lock switch or
the keyless entry transmitter and a door is open,
the delayed locking feature will delay locking the doors
until �ve seconds after the last door is closed.
Press the customization button until DOOR LOCK
DELAY appears in the display. To select your
preference for delayed locking, press the select button
while DOOR LOCK DELAY is displayed on the DIC.
Pressing the select button will scroll through the
following choices:
DOOR LOCK DELAY: OFF (default):The doors will
lock immediately when pressing the power lock switch or
the lock button on the keyless entry transmitter.
DOOR LOCK DELAY: ON:The doors will not lock until
�ve seconds after the last door is closed. You will
hear three chimes to signal that the delayed locking
feature is in use. You can temporarily override delayed
locking by pressing the lock button on the door or
keyless entry transmitter a second time.
Choose one of the available options and press the
customization button while it is displayed on the DIC to
select it and move on to the next feature. For more
information on automatic door locks, seeProgrammable
Automatic Door Locks on page 2-10.
This feature will not operate if the key is in the ignition.
3-64
Page 231 of 574
Lock Feedback
Press the customization button until LOCK FEEDBACK
appears in the display. To select your preference for
the feedback you receive when locking the vehicle with
the remote keyless entry transmitter, press the select
button while LOCK FEEDBACK is displayed on the DIC.
Pressing the select button will scroll through the
following choices:
LOCK FEEDBACK: BOTH (default):The parking
lamps will �ash each time you press the button with the
lock symbol on the remote keyless entry transmitter
and the horn will chirp the second time you press the
lock button.
LOCK FEEDBACK: LAMPS:The parking lamps will
�ash each time you press the button with the lock
symbol on the remote keyless entry transmitter.
LOCK FEEDBACK: HORN:The horn will chirp the
second time you press the button with the lock symbol
on the remote keyless entry transmitter.
LOCK FEEDBACK: OFF:There will be no feedback
when locking the vehicle.
Choose one of the available options and press the
customization button while it is displayed on the DIC to
select it and move on to the next feature.
Unlock Feedback
Press the customization button until UNLOCK
FEEDBACK appears in the display. To select your
preference for the feedback you will receive when
unlocking the vehicle with the remote keyless entry
transmitter, press the select button while UNLOCK
FEEDBACK is displayed on the DIC. Pressing the select
button will scroll through the following choices:
UNLOCK FEEDBACK: LAMPS (default):The parking
lamps will �ash each time you press the button with
the unlock symbol on the remote keyless entry
transmitter.
UNLOCK FEEDBACK: HORN:The horn will chirp the
second time you press the button with the unlock
symbol on the remote keyless entry transmitter.
UNLOCK FEEDBACK: BOTH:The parking lamps will
�ash each time you press the button with the unlock
symbol on the remote keyless entry transmitter and the
horn will chirp the second time you press the unlock
button.
UNLOCK FEEDBACK: OFF:There will be no feedback
when unlocking the vehicle.
Choose one of the available options and press the
customization button while it is displayed on the DIC to
select it and move on to the next feature.
3-65
Page 232 of 574
Headlamp Delay
Press the customization button until HEADLAMP
DELAY appears in the display. To select your
preference for how long the headlamps will stay on
when you turn off the vehicle, press the select button
while HEADLAMP DELAY is displayed on the DIC.
Pressing the select button will scroll through the
following choices:
HEADLAMP DELAY: 10 SEC (default)
HEADLAMP DELAY: 20 SEC
HEADLAMP DELAY: 40 SEC
HEADLAMP DELAY: 1 MIN
HEADLAMP DELAY: 2 MIN
HEADLAMP DELAY: 3 MIN
HEADLAMP DELAY: OFF
The amount of time you choose will be the amount of
time that the headlamps stay on after you turn off
the vehicle. If you choose off, the headlamps will turn
off as soon as you turn off the vehicle.
Choose one of the available options and press the
customization button while it is displayed on the DIC to
select it and move on to the next feature.
Perimeter Lights
Press the customization button until PERIMETER
LIGHTS appears in the display. To select your
preference for perimeter lighting, press the select button
while PERIMETER LIGHTS is displayed on the DIC.
Pressing the select button will scroll through the
following choices:
PERIMETER LIGHTS: ON (default):The headlamps
and back-up lamps will come on for 40 seconds, if
it is dark enough outside, when you unlock the vehicle
with the remote keyless entry transmitter.
PERIMETER LIGHTS: OFF:The perimeter lights will
not come on when you unlock the vehicle with the
remote keyless entry transmitter.
Choose one of the available options and press the
customization button while it is displayed on the DIC to
select it and move on to the next feature.
Easy Exit Seat
Press the customization button until EASY EXIT SEAT
appears in the display. To select your preference for
seat position exit, press the select button while
EASY EXIT SEAT is displayed on the DIC. Pressing the
select button will scroll through the following choices:
EASY EXIT SEAT: OFF (default):No seat exit
recall will occur.
3-66
Page 567 of 574
Horn............................................................... 3-6
How to Use This Manual...................................... ii
How to Wear Safety Belts Properly...................1-16
Hydraulic Clutch.............................................5-34
I
Ignition Positions.............................................2-22
Infants and Young Children, Restraints...............1-35
In�ation -- Tire Pressure..................................5-79
Instrument Panel
Brightness..................................................3-17
Cluster.......................................................3-32
Overview..................................................... 3-4
J
Jump Starting.................................................5-53
K
Keyless Entry System....................................... 2-4
Keys............................................................... 2-3
L
Labelling, Tire Sidewall....................................5-74
Lamps
Auxiliary Roof Mounted Lamp........................3-17
Cargo........................................................3-19
Dome........................................................3-17
Dome Lamp Override...................................3-18
Fog ...........................................................3-16
Front Reading.............................................3-18
LATCH System
Child Restraints...........................................1-47
Securing a Child Restraint Designed
for the LATCH System..............................1-49
Latches, Seatback............................................ 1-8
Light
Airbag Off..................................................3-34
Airbag Readiness........................................3-34
Anti-Lock Brake System Warning...................3-41
Battery Warning..........................................3-38
Brake System Warning.................................3-39
Cruise Control.............................................3-48
Four-Wheel-Drive.........................................3-48
Highbeam On.............................................3-48
Low Fuel Warning.......................................3-50
Malfunction Indicator....................................3-44
Passenger Airbag Status Indicator..................3-36
Safety Belt Reminder...................................3-33
Security.....................................................3-48
Tow/Haul Mode...........................................3-49
7
Page 570 of 574
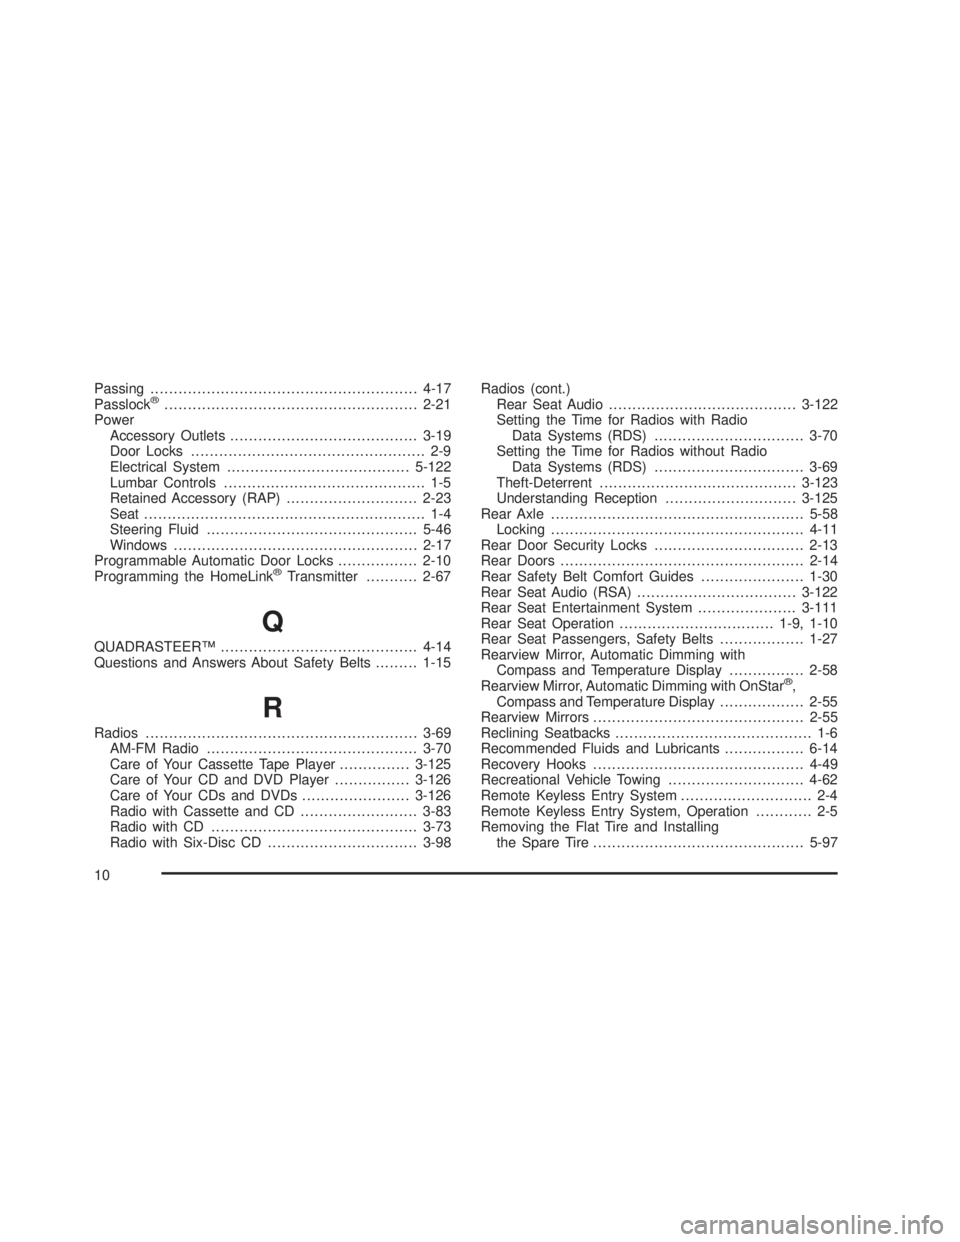
Passing.........................................................4-17
Passlock®......................................................2-21
Power
Accessory Outlets........................................3-19
Door Locks.................................................. 2-9
Electrical System.......................................5-122
Lumbar Controls........................................... 1-5
Retained Accessory (RAP)............................2-23
Seat............................................................ 1-4
Steering Fluid.............................................5-46
Windows....................................................2-17
Programmable Automatic Door Locks.................2-10
Programming the HomeLink
®Transmitter...........2-67
Q
QUADRASTEER™..........................................4-14
Questions and Answers About Safety Belts.........1-15
R
Radios..........................................................3-69
AM-FM Radio.............................................3-70
Care of Your Cassette Tape Player...............3-125
Care of Your CD and DVD Player................3-126
Care of Your CDs and DVDs.......................3-126
Radio with Cassette and CD.........................3-83
Radio with CD............................................3-73
Radio with Six-Disc CD................................3-98Radios (cont.)
Rear Seat Audio........................................3-122
Setting the Time for Radios with Radio
Data Systems (RDS)................................3-70
Setting the Time for Radios without Radio
Data Systems (RDS)................................3-69
Theft-Deterrent..........................................3-123
Understanding Reception............................3-125
Rear Axle......................................................5-58
Locking......................................................4-11
Rear Door Security Locks................................2-13
Rear Doors....................................................2-14
Rear Safety Belt Comfort Guides......................1-30
Rear Seat Audio (RSA)..................................3-122
Rear Seat Entertainment System.....................3-111
Rear Seat Operation.................................1-9, 1-10
Rear Seat Passengers, Safety Belts..................1-27
Rearview Mirror, Automatic Dimming with
Compass and Temperature Display................2-58
Rearview Mirror, Automatic Dimming with OnStar
®,
Compass and Temperature Display..................2-55
Rearview Mirrors.............................................2-55
Reclining Seatbacks.......................................... 1-6
Recommended Fluids and Lubricants.................6-14
Recovery Hooks.............................................4-49
Recreational Vehicle Towing.............................4-62
Remote Keyless Entry System............................ 2-4
Remote Keyless Entry System, Operation............ 2-5
Removing the Flat Tire and Installing
the Spare Tire.............................................5-97
10