wiring GMC SIERRA 2005 Owner's Manual
[x] Cancel search | Manufacturer: GMC, Model Year: 2005, Model line: SIERRA, Model: GMC SIERRA 2005Pages: 574, PDF Size: 2.95 MB
Page 180 of 574
;(Parking Lamps):Turning the control to this
position turns on the parking lamps, together with the
following:
Sidemarker Lamps
Taillamps
License Plate Lamps
Instrument Panel Lights
Roof Marker Lamps (If Equipped)
5(Headlamps):Turning the control to this position
turns on the headlamps, together with the previously
listed lamps and lights.
You can switch your headlamps from high to low-beam
by pushing the turn signal/high-beam lever towards
the instrument panel.
A circuit breaker protects your headlamps. If you have
an electrical overload, your headlamps will �icker on and
off. Have your headlamp wiring checked right away if
this happens.
Headlamps on Reminder
A reminder chime will sound when your headlamps or
parking lamps are manually turned on and your
ignition is off, in LOCK, ACCESSORY, or your door is
open. To disable the chime, turn the light off then
back on.
Daytime Running Lamps (DRL)
Daytime Running Lamps (DRL) can make it easier for
others to see the front of your vehicle during the
day. DRL can be helpful in many different driving
conditions, but they can be especially helpful in the short
periods after dawn and before sunset. Fully functional
daytime running lamps are required on all vehicles
�rst sold in Canada.
The DRL system will come on when the following
conditions are met:
The ignition is on
The exterior lamps control is AUTO
The automatic transmission is not in PARK (P)
The light sensor determines it is daytime
When the DRL are on, only your DRL lamps will be on.
The taillamps, sidemarker and other lamps won’t be
on. The instrument panel won’t be lit up either.
3-14
Page 183 of 574
The fog lamps will be cancelled after the ignition is
turned off. If you still want to use the fog lamps after you
restart the vehicle, you will need to press the fog
lamp button again.
Auxiliary Roof Mounted Lamp
If your vehicle has this feature, this switch includes
wiring provisions for a dealer or a quali�ed service
center to install an auxiliary roof lamp.
This switch is located on
the center of the
instrument panel near the
climate controls.
When the switch wiring is connected to an auxiliary roof
mounted lamp, pressing the switch will activate the lamp
and illuminate an indicator light near the switch. Pressing
the switch again will turn off the roof mounted lamp.
Instrument Panel Brightness
D(Instrument Panel Brightness):This feature
controls the brightness of the instrument panel lights.
The thumbwheel for this feature is located next to
the headlamp control.
Turn the thumbwheel up to adjust the instrument panel
lights. Turn the thumbwheel up to return the radio
display to full brightness when the headlamps or parking
lamps are on. To turn on the dome lamps, turn the
thumbwheel all the way up.
Dome Lamps
The dome lamps will come on when you open a door.
You can also turn the dome lamps on by turning
the thumbwheel, located next to the exterior lamps
control, all the way up. In this position, the dome lamps
will remain on whether a door is opened or closed.
3-17
Page 200 of 574
SeePassenger Sensing System on page 1-76for more
information.
If the driver’s belt is buckled, neither the chime nor the
light will come on.
Airbag Readiness Light
There is an airbag readiness light on the instrument
panel cluster, which shows the airbag symbol. The
system checks the airbag’s electrical system for
malfunctions. The light tells you if there is an electrical
problem. The system check includes the airbag
sensors, the airbag modules, the passenger sensing
system (if equipped), the wiring and the crash sensing
and diagnostic module. For more information on the
airbag system, seeAirbag System on page 1-66.
This light will come on
when you start your
vehicle, and it will �ash for
a few seconds. This means
the system is ready.If the airbag readiness light stays on after you start the
vehicle or comes on when you are driving, your
airbag system may not work properly. Have your vehicle
serviced right away.
Airbag Off Light
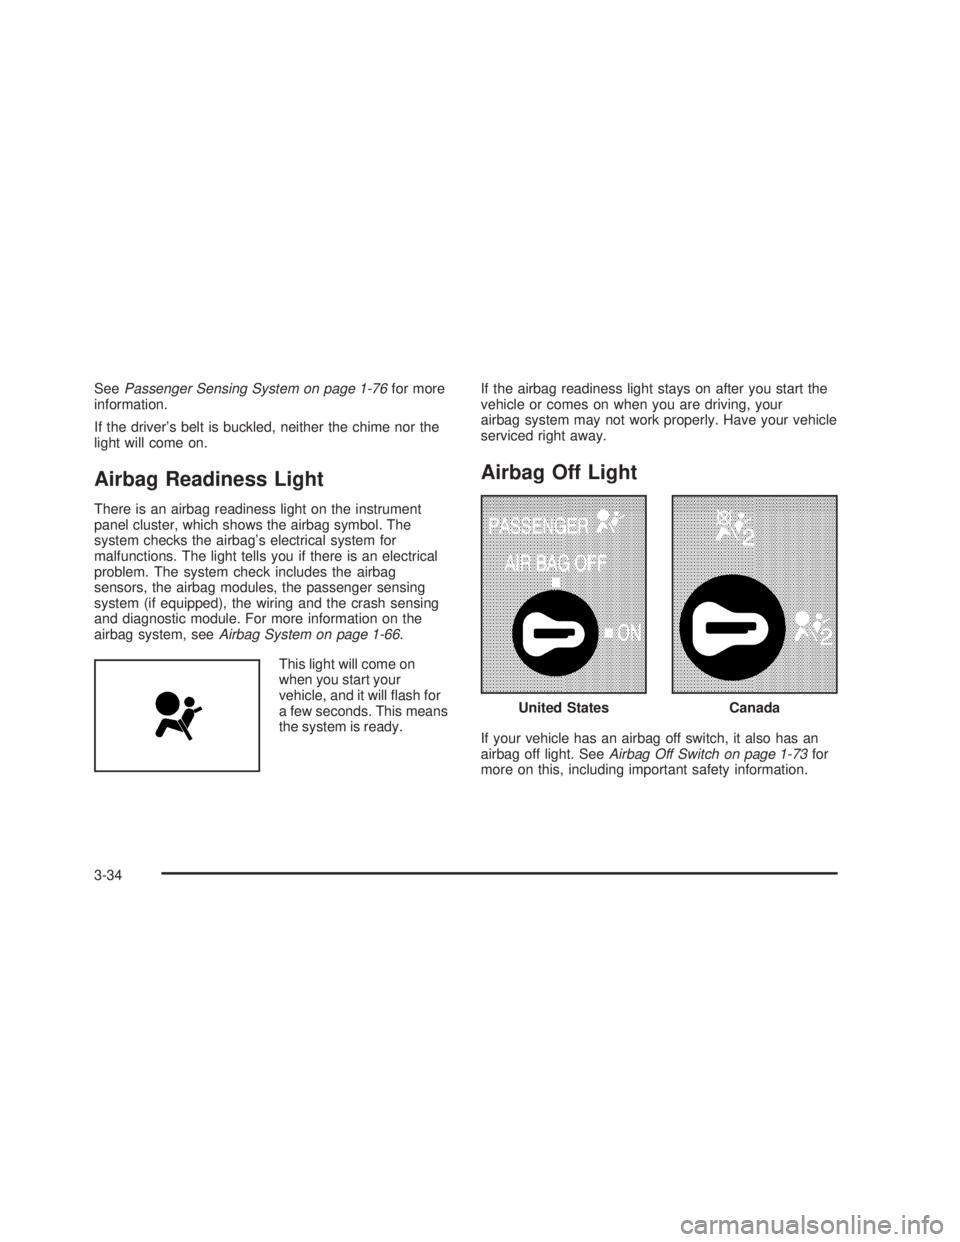
If your vehicle has an airbag off switch, it also has an
airbag off light. SeeAirbag Off Switch on page 1-73for
more on this, including important safety information.
United StatesCanada
3-34
Page 386 of 574
Maintenance When Trailer Towing
Your vehicle will need service more often when you’re
pulling a trailer. SeeScheduled Maintenance on
page 6-4for more information. Things that are especially
important in trailer operation are automatic transmission
�uid (don’t over�ll), engine oil, axle lubricant, belt,
cooling system and brake system. Each of these is
covered in this manual, and the Index will help you �nd
them quickly. If you’re trailering, it’s a good idea to
review these sections before you start your trip.
Check periodically to see that all hitch nuts and bolts
are tight.
Trailer Wiring Harness
Your vehicle is equipped with one of the following wiring
harnesses for towing a trailer or hauling a slide-in
camper.
Basic Trailer Wiring
All regular, extended cab and crew cab pickups have an
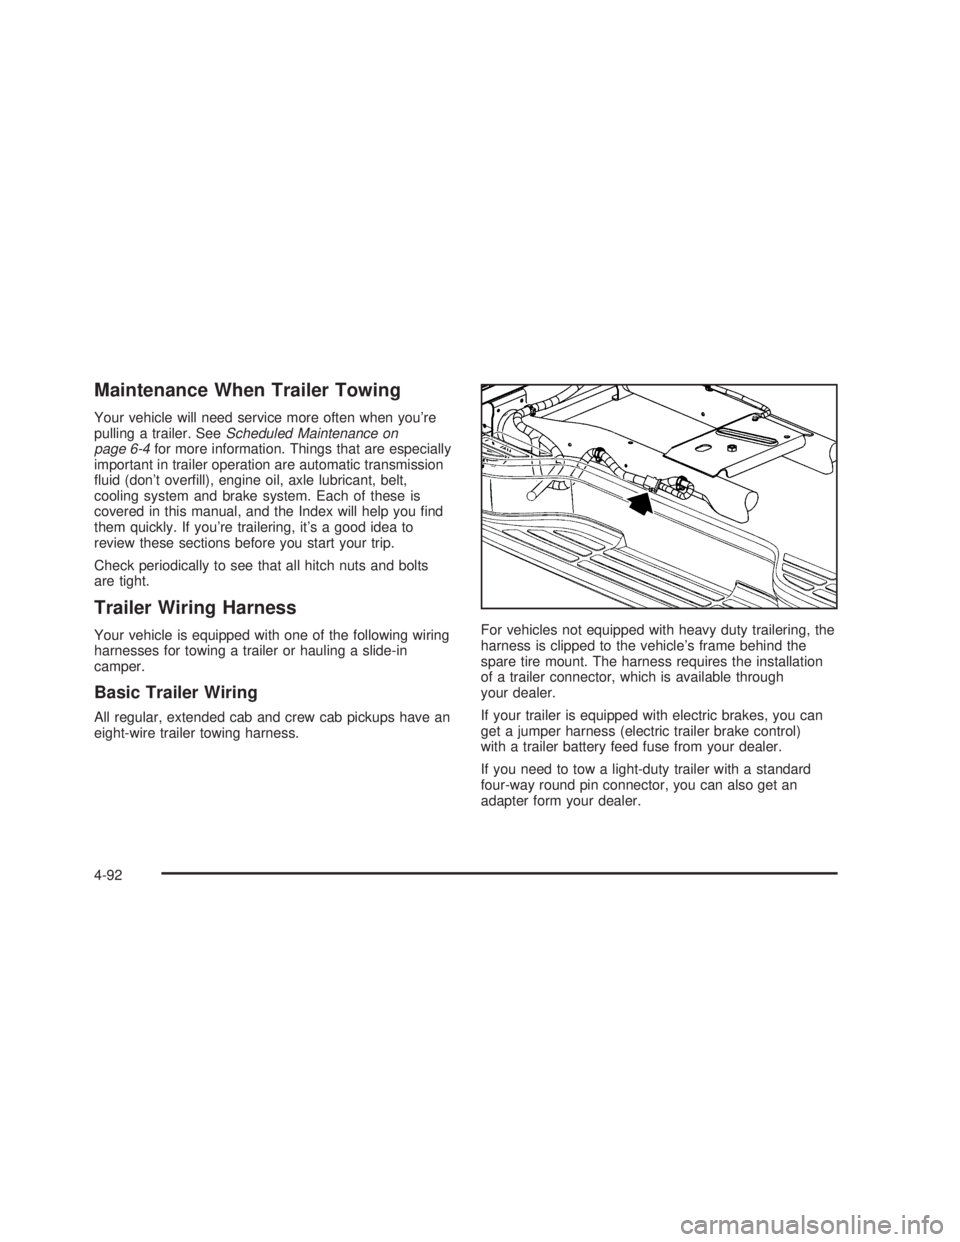
eight-wire trailer towing harness.For vehicles not equipped with heavy duty trailering, the
harness is clipped to the vehicle’s frame behind the
spare tire mount. The harness requires the installation
of a trailer connector, which is available through
your dealer.
If your trailer is equipped with electric brakes, you can
get a jumper harness (electric trailer brake control)
with a trailer battery feed fuse from your dealer.
If you need to tow a light-duty trailer with a standard
four-way round pin connector, you can also get an
adapter form your dealer.
4-92
Page 387 of 574
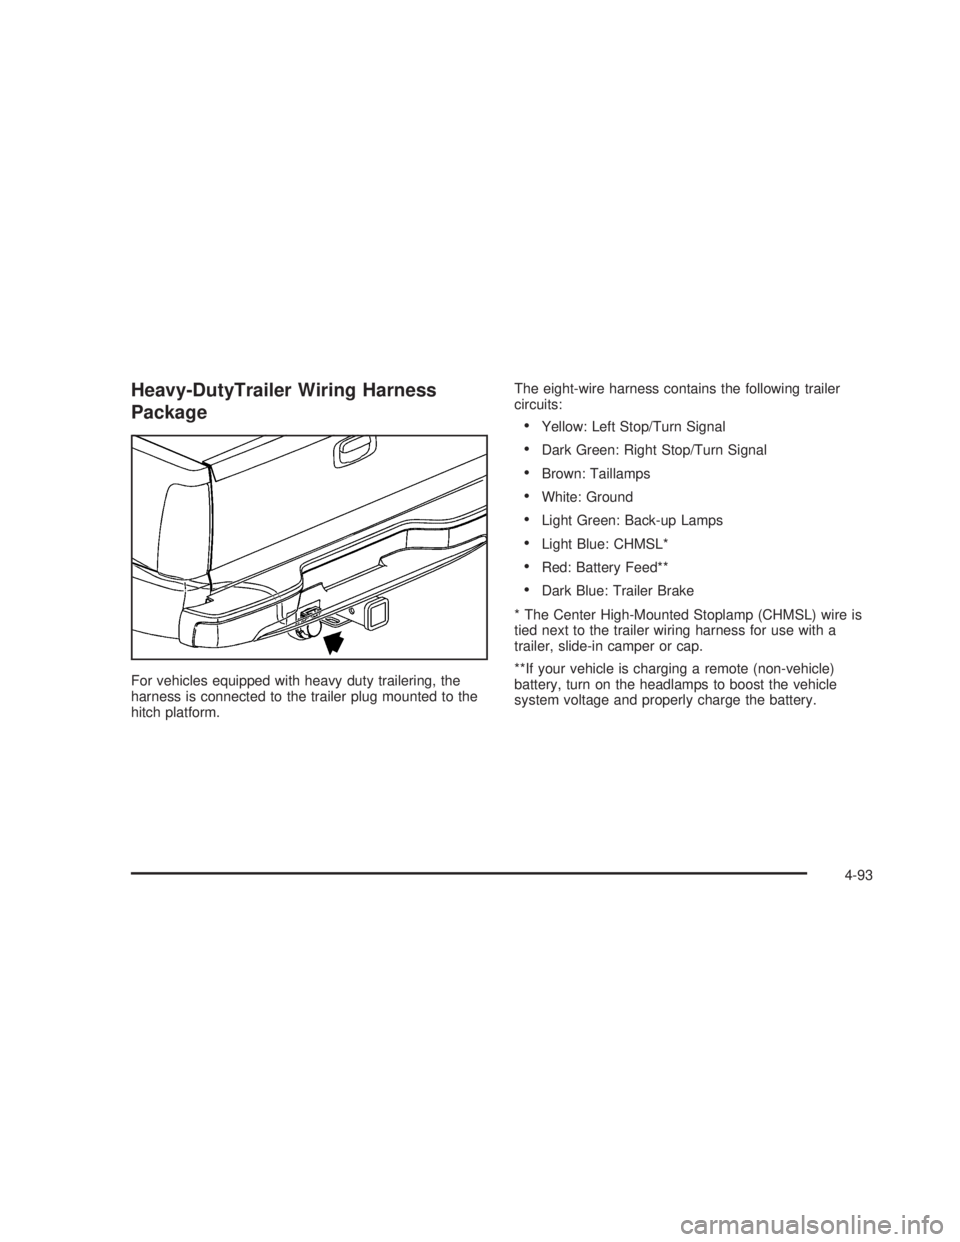
Heavy-DutyTrailer Wiring Harness
Package
For vehicles equipped with heavy duty trailering, the
harness is connected to the trailer plug mounted to the
hitch platform.The eight-wire harness contains the following trailer
circuits:
Yellow: Left Stop/Turn Signal
Dark Green: Right Stop/Turn Signal
Brown: Taillamps
White: Ground
Light Green: Back-up Lamps
Light Blue: CHMSL*
Red: Battery Feed**
Dark Blue: Trailer Brake
* The Center High-Mounted Stoplamp (CHMSL) wire is
tied next to the trailer wiring harness for use with a
trailer, slide-in camper or cap.
**If your vehicle is charging a remote (non-vehicle)
battery, turn on the headlamps to boost the vehicle
system voltage and properly charge the battery.
4-93
Page 388 of 574
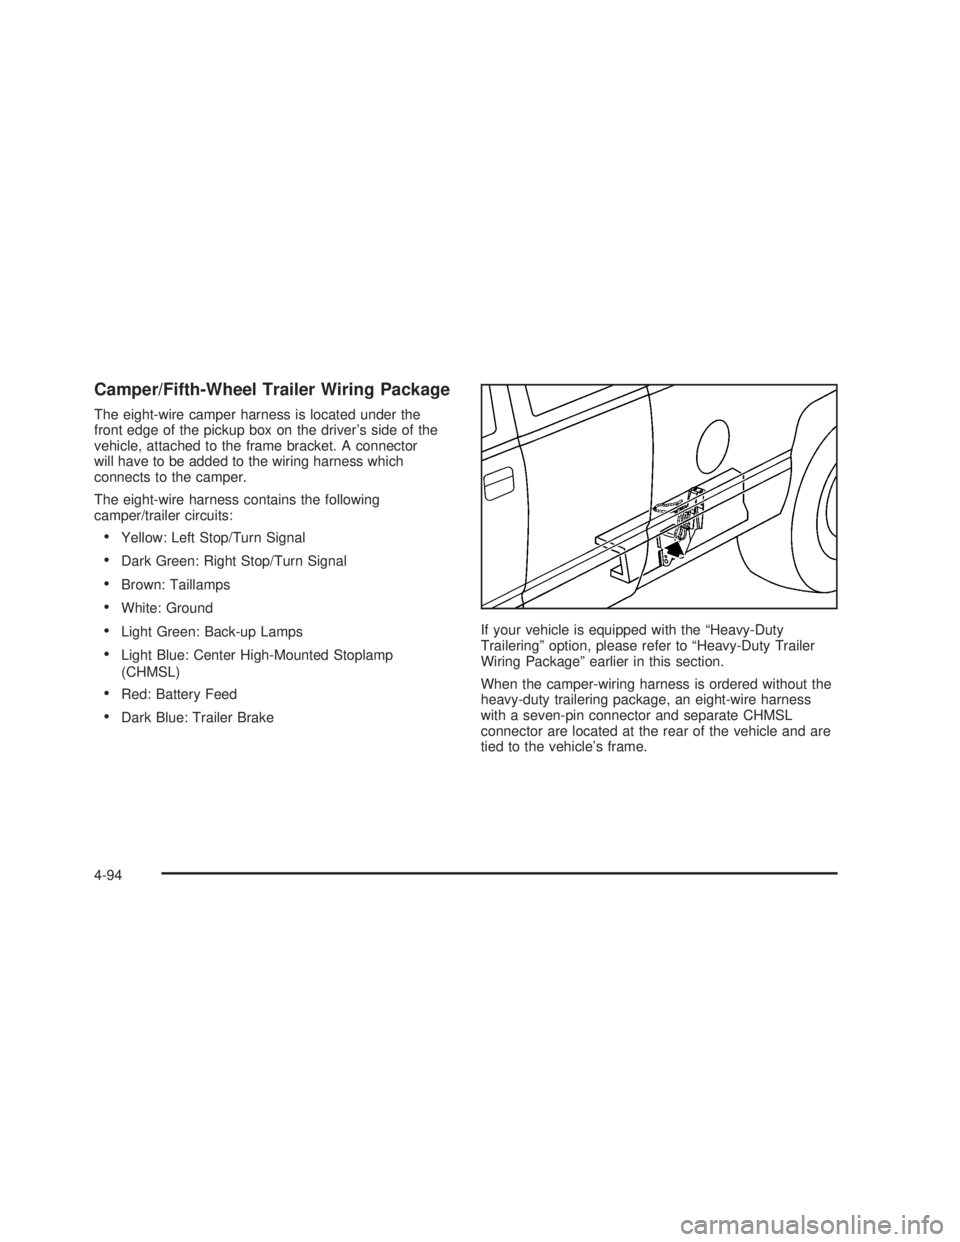
Camper/Fifth-Wheel Trailer Wiring Package
The eight-wire camper harness is located under the
front edge of the pickup box on the driver’s side of the
vehicle, attached to the frame bracket. A connector
will have to be added to the wiring harness which
connects to the camper.
The eight-wire harness contains the following
camper/trailer circuits:
Yellow: Left Stop/Turn Signal
Dark Green: Right Stop/Turn Signal
Brown: Taillamps
White: Ground
Light Green: Back-up Lamps
Light Blue: Center High-Mounted Stoplamp
(CHMSL)
Red: Battery Feed
Dark Blue: Trailer BrakeIf your vehicle is equipped with the “Heavy-Duty
Trailering” option, please refer to “Heavy-Duty Trailer
Wiring Package” earlier in this section.
When the camper-wiring harness is ordered without the
heavy-duty trailering package, an eight-wire harness
with a seven-pin connector and separate CHMSL
connector are located at the rear of the vehicle and are
tied to the vehicle’s frame.
4-94
Page 389 of 574
Electric Brake Control Jumper
{CAUTION:
Be sure to use only the correct trailer brake
harness, the one intended for use on your
vehicle. If you use some other trailer brake
harness, even if it seems to �t, your trailer
brakes may not work at all. You could have a
crash in which you or others could be injured.
Use only the trailer brake harness intended for
your vehicle. If it is no longer available to you,
be sure to get a proper replacement from
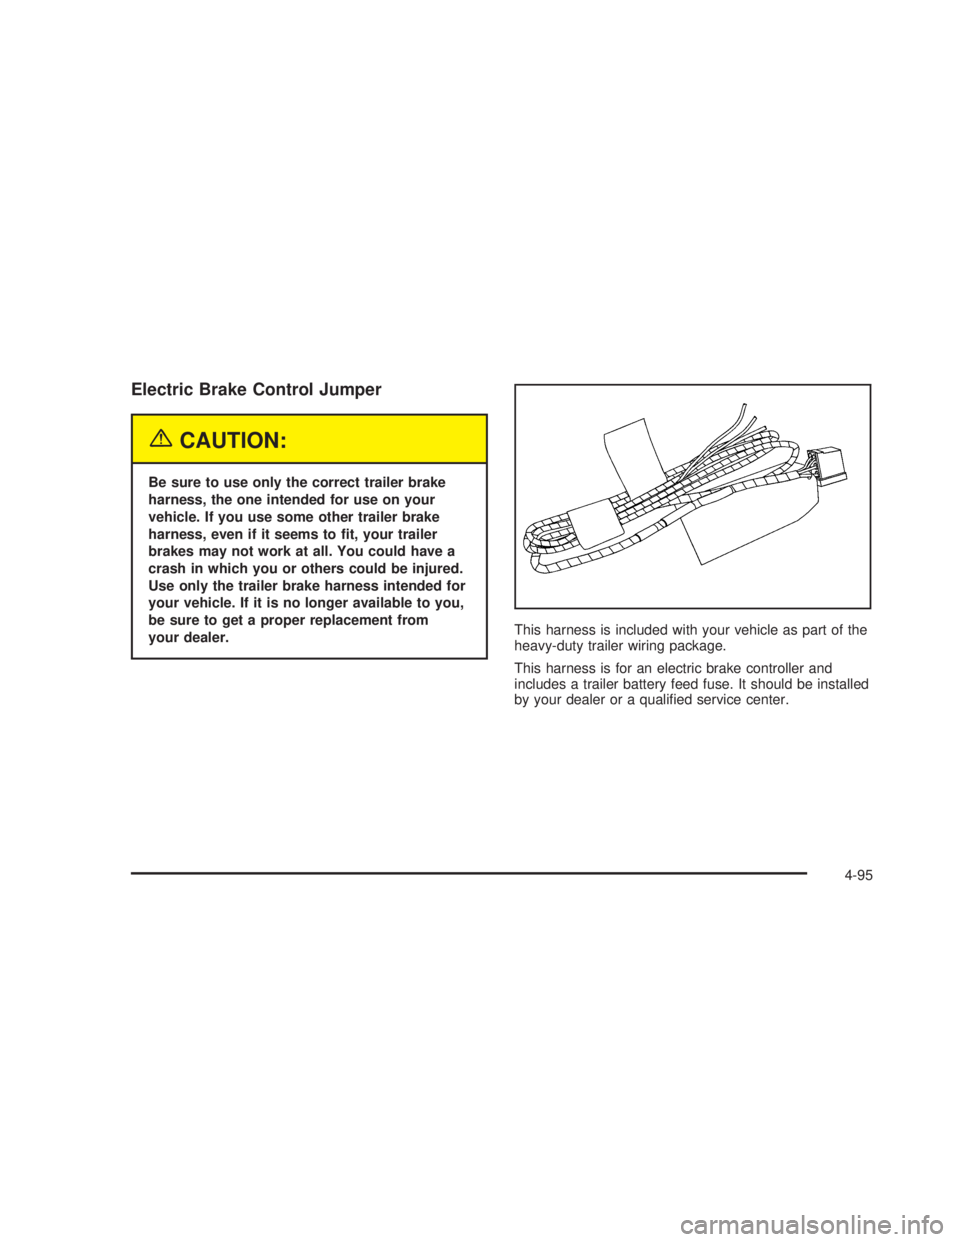
your dealer.This harness is included with your vehicle as part of the
heavy-duty trailer wiring package.
This harness is for an electric brake controller and
includes a trailer battery feed fuse. It should be installed
by your dealer or a quali�ed service center.
4-95
Page 390 of 574
Four-Wire Harness Adapter
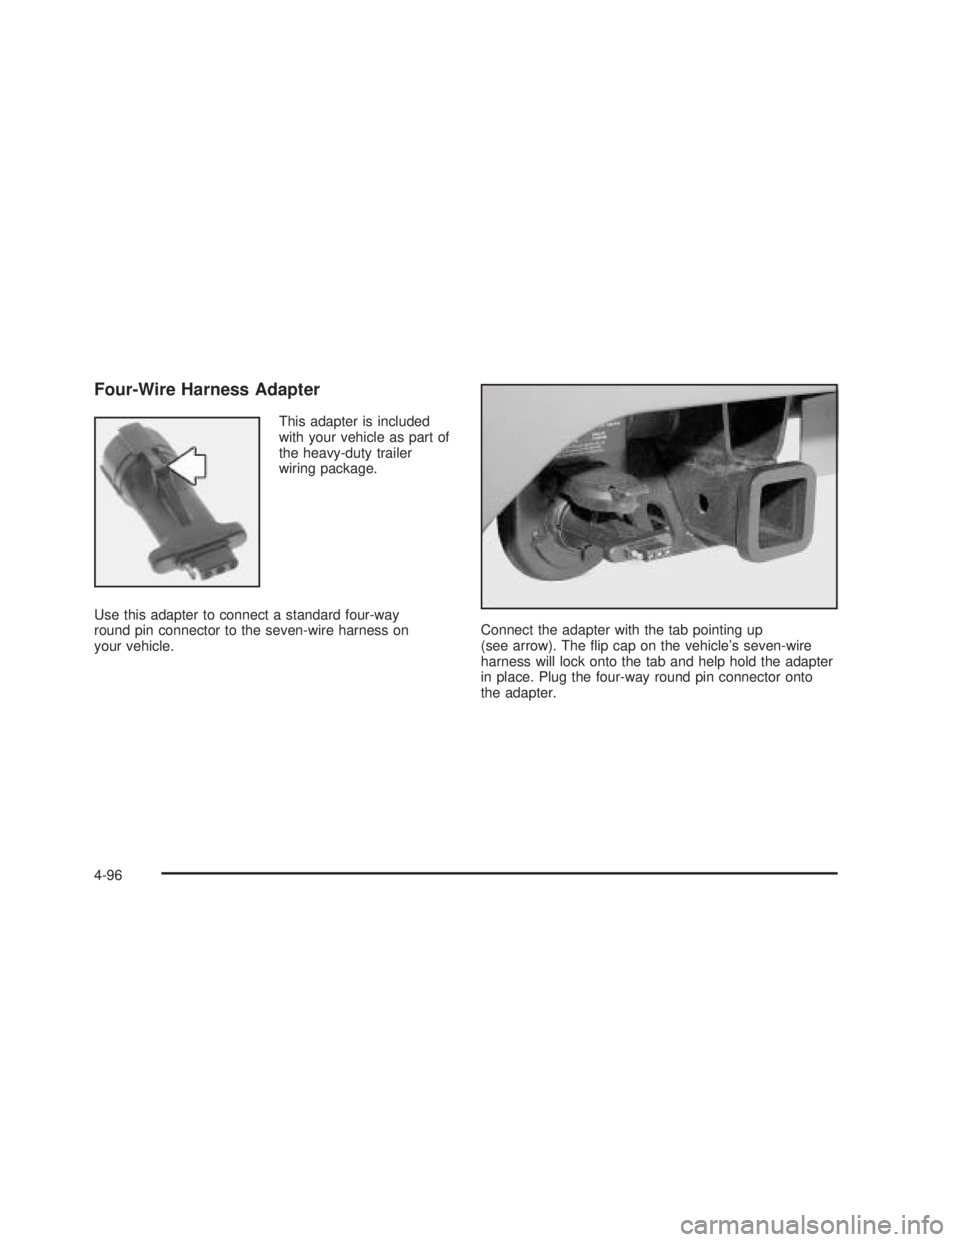
This adapter is included
with your vehicle as part of
the heavy-duty trailer
wiring package.
Use this adapter to connect a standard four-way
round pin connector to the seven-wire harness on
your vehicle.Connect the adapter with the tab pointing up
(see arrow). The �ip cap on the vehicle’s seven-wire
harness will lock onto the tab and help hold the adapter
in place. Plug the four-way round pin connector onto
the adapter.
4-96
Page 516 of 574
Power Windows and Other
Power Options
Circuit breakers protect the power windows and other
power accessories. When the current load is too heavy,
the circuit breaker opens and closes, protecting the
circuit until the problem is �xed or goes away.
Fuses and Circuit Breakers
The wiring circuits in your vehicle are protected from
short circuits by a combination of fuses, circuit breakers
and fusible thermal links. This greatly reduces the
chance of �res caused by electrical problems.
Look at the silver-colored band inside the fuse. If the
band is broken or melted, replace the fuse. Be sure you
replace a bad fuse with a new one of the identical
size and rating.
If you ever have a problem on the road and don’t have
a spare fuse, you can borrow one that has the same
amperage. Just pick some feature of your vehicle
that you can get along without – like the radio or
cigarette lighter – and use its fuse, if it is the correct
amperage. Replace it as soon as you can.
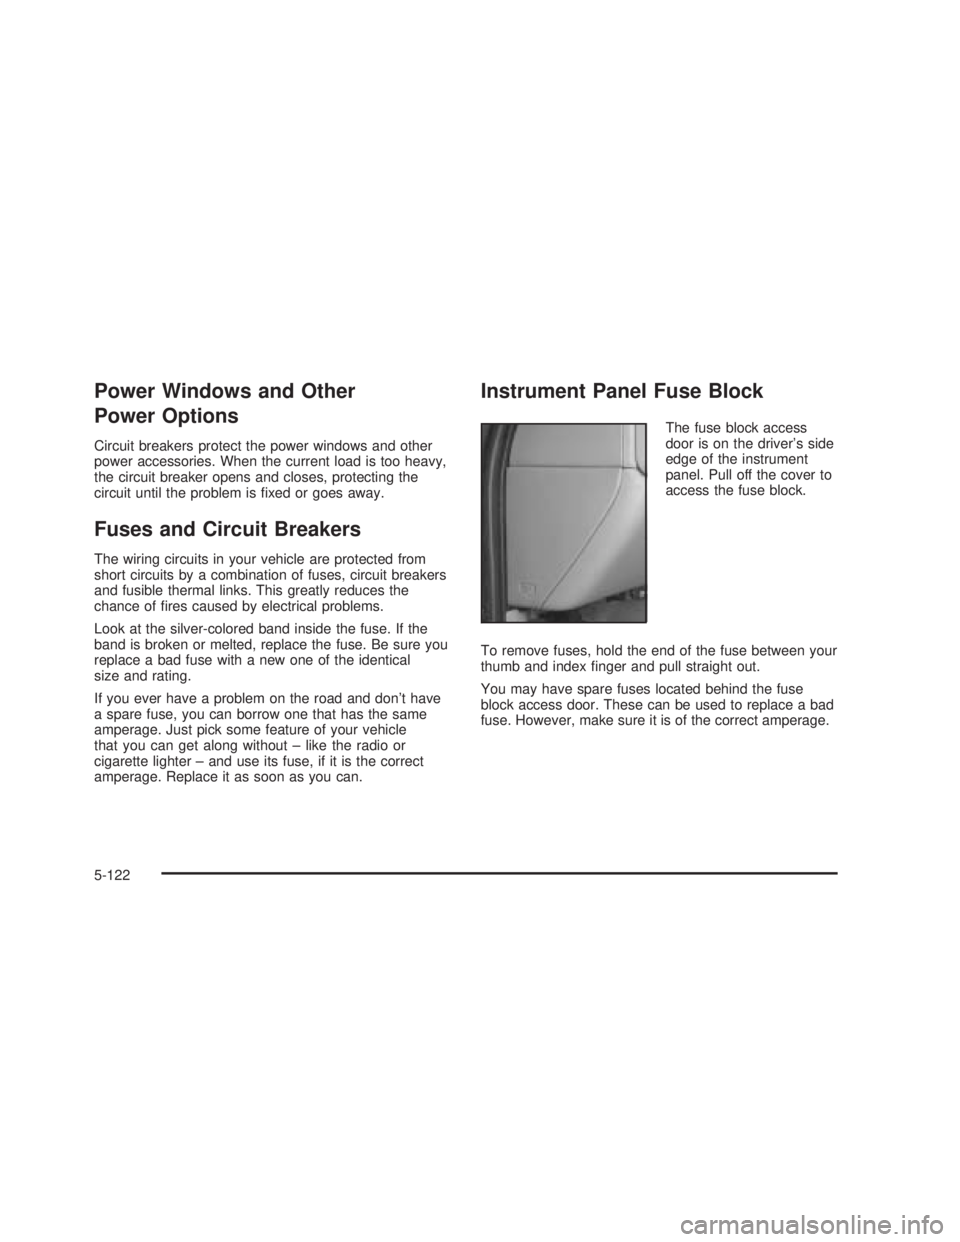
Instrument Panel Fuse Block
The fuse block access
door is on the driver’s side
edge of the instrument
panel. Pull off the cover to
access the fuse block.
To remove fuses, hold the end of the fuse between your
thumb and index �nger and pull straight out.
You may have spare fuses located behind the fuse
block access door. These can be used to replace a bad
fuse. However, make sure it is of the correct amperage.
5-122
Page 518 of 574
Fuses Usage
VEH STOPVehicle Stoplamps, Brake
Module, Electronic Throttle
Control Module
RT TRLR ST/TRN Right Turn Signal/Stop Trailer
RT TRNRight Turn Signals and
Sidemarkers
BODY Harness Connector
DDM Driver Door Module
AUX PWR 2 Not Used
LOCKS Power Door Lock System
ECC Not Used
TBC 2C Truck Body Controller
FLASH Flasher Module
CB LT DOORSLeft Power Windows Circuit
Breaker
TBC 2B Truck Body Controller
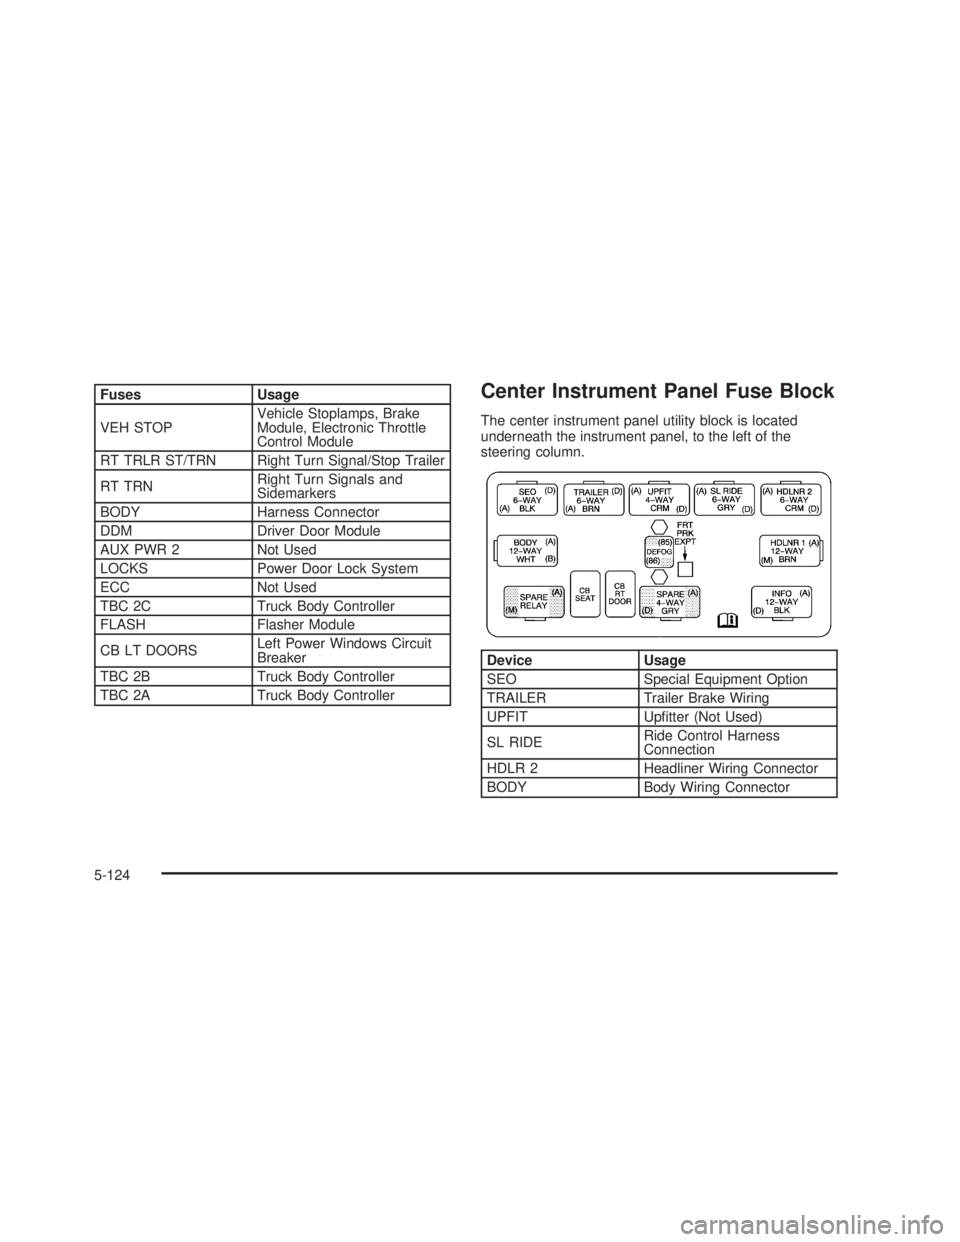
TBC 2A Truck Body ControllerCenter Instrument Panel Fuse Block
The center instrument panel utility block is located
underneath the instrument panel, to the left of the
steering column.
Device Usage
SEO Special Equipment Option
TRAILER Trailer Brake Wiring
UPFIT Up�tter (Not Used)
SL RIDERide Control Harness
Connection
HDLR 2 Headliner Wiring Connector
BODY Body Wiring Connector
5-124