clock reset GMC SIERRA 2007 Owner's Manual
[x] Cancel search | Manufacturer: GMC, Model Year: 2007, Model line: SIERRA, Model: GMC SIERRA 2007Pages: 680, PDF Size: 3.42 MB
Page 301 of 680

Set up your audio system by presetting your
favorite radio stations, setting the tone, and
adjusting the speakers. Then, when driving
conditions permit, you can tune to your favorite
radio stations using the presets and steering
wheel controls if the vehicle has them.
Notice:Before adding any sound equipment to
your vehicle, such as an audio system, CD
player, CB radio, mobile telephone, or two-way
radio, make sure that it can be added by
checking with your dealer/retailer. Also, check
federal rules covering mobile radio and
telephone units. If sound equipment can be
added, it is very important to do it properly.
Added sound equipment can interfere with the
operation of your vehicle’s engine, radio, or
other systems, and even damage them. Your
vehicle’s systems can interfere with the
operation of sound equipment that has
been added.
Your vehicle has a feature called Retained
Accessory Power (RAP). With RAP, the audio
system can be played even after the ignition
is turned off. SeeRetained Accessory Power
(RAP) on page 134for more information.Setting the Time
AM-FM Radio with Optional CD Player
If your vehicle has an AM/FM radio with an
optional CD player, it has a clock button for setting
the time. With these types of radios, the clock
can be set with either the radio turned on or off.
Set the time by following these steps:
1. Press the clock button until the hour numbers
begin �ashing on the display. Press the clock
button a second time and the minute
numbers begin �ashing on the display. Press
the clock button a third time and the 12HR
or 24HR time format begins �ashing.
2. While either the hour or the minute numbers
are �ashing, turn the tune knob, located on
the upper right side of the radio faceplate,
clockwise or counterclockwise to increase or
decrease the time. While the 12HR or
24HR time format is �ashing, turn the tune
knob clockwise or counterclockwise to select
the default time settings.
3. Press the clock button again until the clock
display stops �ashing to set the currently
displayed time; otherwise, the �ashing stops
after �ve seconds and the current time
displayed will be automatically set.
301
Page 305 of 680

The radio seeks and scans stations only with a
strong signal that are in the selected band.
To scan presets within the current selected band,
press and hold either seek arrow for four seconds
until a double beep sounds. The radio goes to a
stored preset, plays for a few seconds if a strong
signal is present, then goes to the next stored
preset. The station frequency �ashes while the
radio is in the scan mode.
Setting Preset Stations
Up to 18 stations (six FM1, six FM2, and six AM),
can be programmed on the six numbered
pushbuttons, by performing the following steps:
1. Turn the radio on.
2. Press BAND to select FM1, FM2, or AM.
3. Tune in the desired station.
4. Press and hold one of the six numbered
pushbuttons for three seconds until a beep
sounds. Whenever that pushbutton is pressed
and released, the station that was set, returns.
5. Repeat the Steps 2-4 for each pushbutton.
Setting the Tone (Bass/Treble)
Bass/Treble:To adjust the bass or treble, press
the tune knob or the EQ button until the desired
tone control label displays. Turn the tune
knob clockwise or counterclockwise to increase or
decrease the setting. The display shows the
current bass or treble level. If a station’s frequency
is weak, or if there is static, decrease the treble.
Adjusting the Speakers (Balance/Fade)
`
(Balance/Fade):To adjust the balance or
fade, press this button or the tune knob until the
desired speaker control label displays. Turn
the tune knob clockwise or counterclockwise to
adjust the setting.
The setting can also be adjusted by pressing the
seek arrows.
Radio Messages
Loc (Locked):This message displays while the
THEFTLOCK®system has locked up the radio.
Take the vehicle to your dealer for service.
If any error occurs repeatedly or if an error cannot
be corrected, contact your dealer.
305
Page 307 of 680

To scan presets within the current selected band,
press and hold either seek arrow for four seconds
until a double beep sounds. The radio goes to a
stored preset, plays for a few seconds if a strong
signal is present, then goes to the next stored
preset. The station frequency �ashes while the
radio is in the scan mode.
4(Information):Press this button to switch the
display between the radio station frequency
and the time. While the ignition is off, press this
button to display the time.
Setting Preset Stations
Up to 18 stations (six FM1, six FM2, and six AM),
can be programmed on the six numbered
pushbuttons, by performing the following steps:
1. Turn the radio on.
2. Press BAND to select FM1, FM2, or AM.
3. Tune in the desired station.
4. Press and hold one of the six numbered
pushbuttons for three seconds until a beep
sounds. Whenever that pushbutton is pressed
and released, the station that was set, returns.
5. Repeat the Steps 2 through 4 for each
pushbutton.
Setting the Tone (Bass/Treble)
BASS/TREB (Bass/Treble):To adjust the bass
or treble, press the tune knob button or the
EQ pushbutton until the desired tone control label
displays. Turn the tune knob clockwise or
counterclockwise to increase or decrease the
setting. The display shows the current bass
or treble level. If a station’s frequency is weak, or
if there is static, decrease the treble.
Unique BASS/TREB settings can be saved for
each source.
Adjusting the Speakers (Balance/Fade)
`
BAL/FADE (Balance/Fade):To adjust the
balance or fade, press this button or the tune knob
until the desired speaker control label displays.
Turn the tune knob clockwise or counterclockwise
to adjust the setting. The setting can also be
adjusted by pressing either the SEEK, FWD
(forward), or REV (reverse) buttons.
307
Page 382 of 680

If the system fails to turn on or activate, the
StabiliTrak®light along with one of the following
messages will be displayed on the Driver
Information Center (DIC): TRACTION CONTROL
OFF, SERVICE TRACTION CONTROL,
STABILITRAK OFF, SERVICE STABILITRAK. If
these DIC messages appear, make sure the
StabiliTrak
®system has not been turned off using
the StabiliTrak®on/off button. Then turn the
steering wheel clockwise from the nine o’clock
position to the three o’clock position. If this clears
the message(s), your vehicle does not need
servicing. If this does not clear the message(s),
then turn the vehicle off, wait 15 seconds, and then
turn it back on again to reset the system. If any
of these messages still appear on the Driver
Information Center (DIC), your vehicle should be
taken in for service. For more information on
the DIC messages, seeDriver Information Center
(DIC) on page 267.The StabiliTrak
®light
will �ash on the
instrument panel cluster
when the system is
both on and activated.
You may also feel or hear the system working;
this is normal.
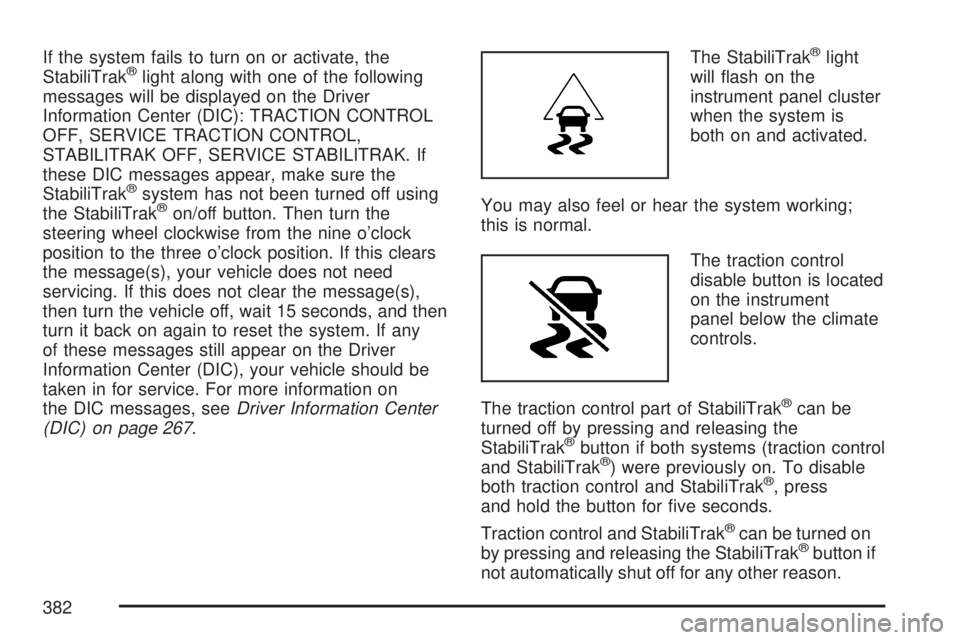
The traction control
disable button is located
on the instrument
panel below the climate
controls.
The traction control part of StabiliTrak
®can be
turned off by pressing and releasing the
StabiliTrak
®button if both systems (traction control
and StabiliTrak®) were previously on. To disable
both traction control and StabiliTrak®, press
and hold the button for �ve seconds.
Traction control and StabiliTrak
®can be turned on
by pressing and releasing the StabiliTrak®button if
not automatically shut off for any other reason.
382