warning GMC SIERRA 2009 Get To Know Guide
[x] Cancel search | Manufacturer: GMC, Model Year: 2009, Model line: SIERRA, Model: GMC SIERRA 2009Pages: 24, PDF Size: 1.4 MB
Page 4 of 24
Getting to Know Your Sierra4
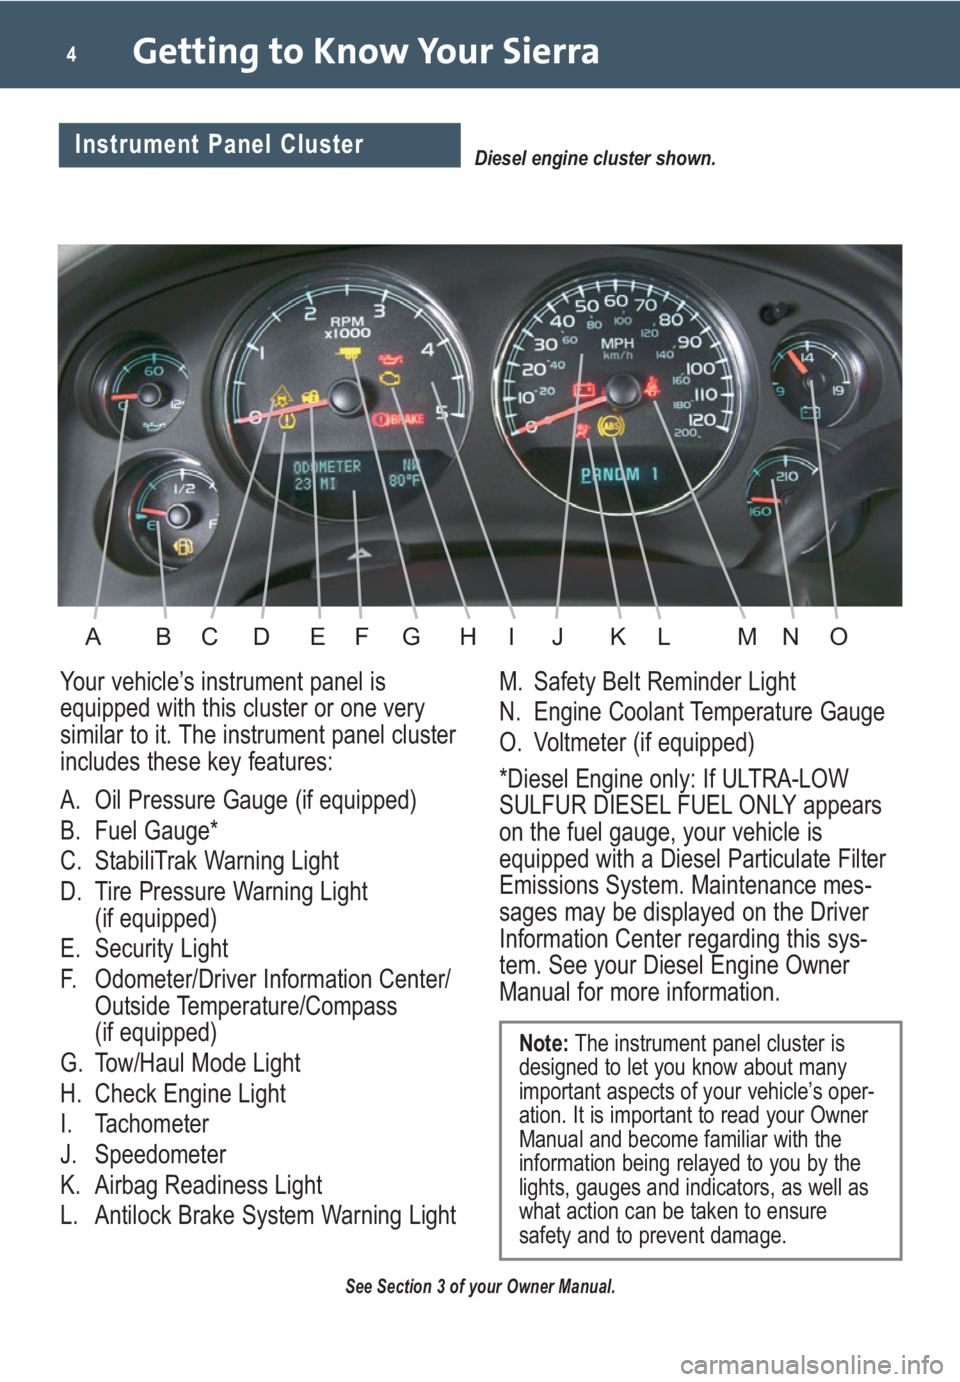
Your vehicle’s instrument panel is
equipped with this cluster or one very
similar to it. The instrument panel cluster
includes these key features:
A. Oil Pressure Gauge (if equipped)
B. Fuel Gauge*
C. StabiliTrak Warning Light
D. Tire Pressure Warning Light
(if equipped)
E. Security Light
F. Odometer/Driver Information Center/
Outside Temperature/Compass
(if equipped)
G. Tow/Haul Mode Light
H. Check Engine Light
I. Tachometer
J. Speedometer
K. Airbag Readiness Light
L. Antilock Brake System Warning LightM. Safety Belt Reminder Light
N. Engine Coolant Temperature Gauge
O. Voltmeter (if equipped)
*Diesel Engine only: If ULTRA-LOW
SULFUR DIESEL FUEL ONLY appears
on the fuel gauge, your vehicle is
equipped with a Diesel Particulate Filter
Emissions System. Maintenance mes-
sages may be displayed on the Driver
Information Center regarding this sys-
tem. See your Diesel Engine Owner
Manual for more information.
See Section 3 of your Owner Manual.
Note:The instrument panel cluster is
designed to let you know about many
important aspects of your vehicle’s oper-
ation. It is important to read your Owner
Manual and become familiar with the
information being relayed to you by the
lights, gauges and indicators, as well as
what action can be taken to ensure
safety and to prevent damage.
Diesel engine cluster shown.Instrument Panel Cluster
ABDFGHEIKLJNOMC
Page 5 of 24
5
Voltmeter Operation
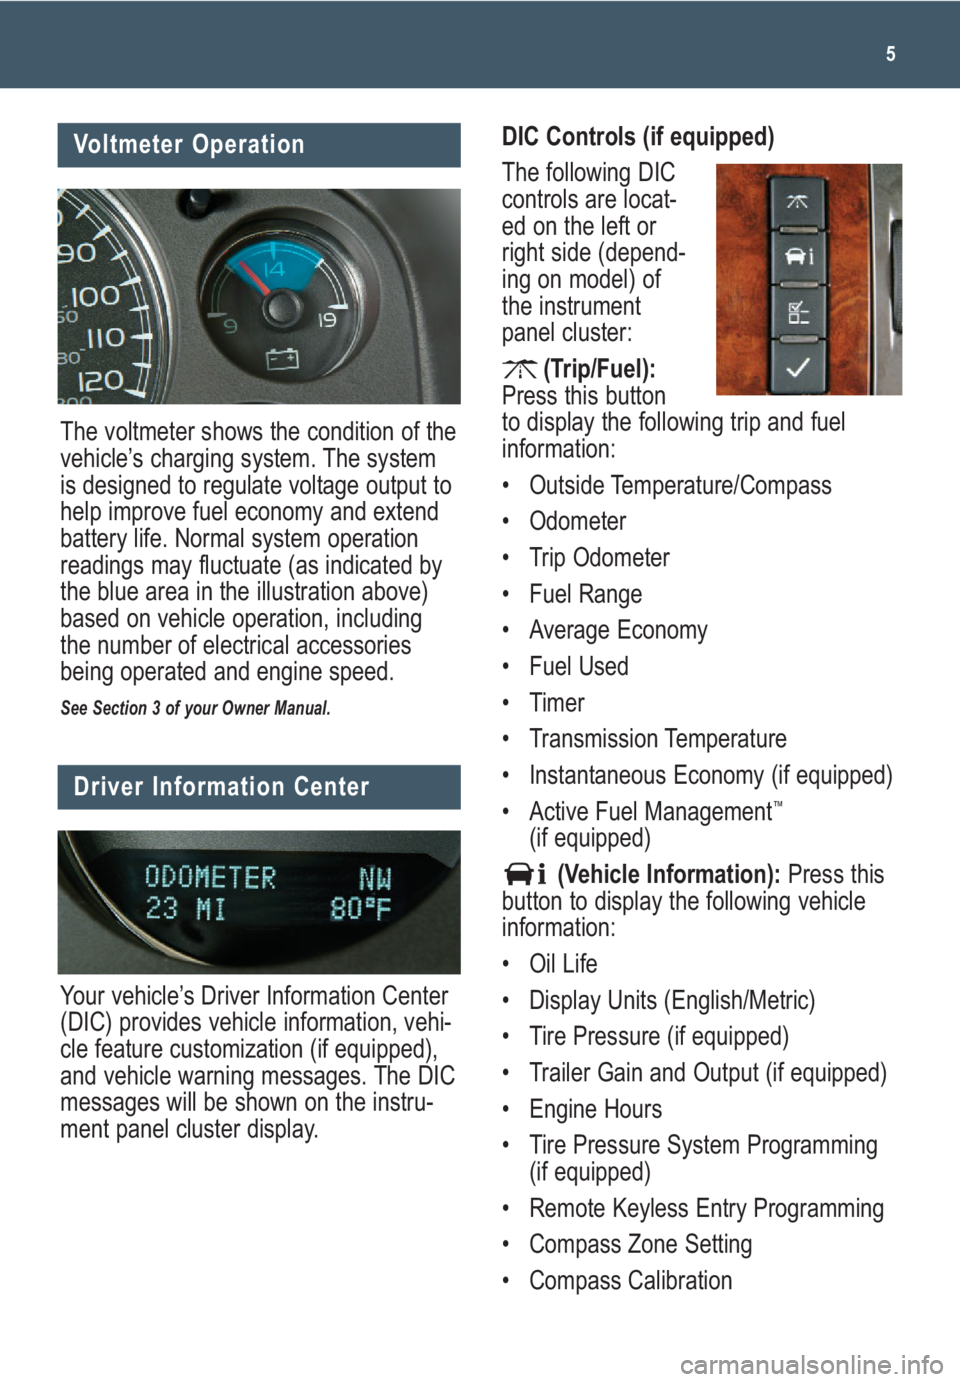
The voltmeter shows the condition of the
vehicle’s charging system. The system
is designed to regulate voltage output to
help improve fuel economy and extend
battery life. Normal system operation
readings may fluctuate (as indicated by
the blue area in the illustration above)
based on vehicle operation, including
the number of electrical accessories
being operated and engine speed.
See Section 3 of your Owner Manual.
Driver Information Center
Your vehicle’s Driver Information Center
(DIC) provides vehicle information, vehi-
cle feature customization (if equipped),
and vehicle warning messages. The DIC
messages will be shown on the instru-
ment panel cluster display.
DIC Controls (if equipped)
The following DIC
controls are locat-
ed on the left or
right side (depend-
ing on model) of
the instrument
panel cluster:
(Trip/Fuel):
Press this button
to display the following trip and fuel
information:
• Outside Temperature/Compass
• Odometer
• Trip Odometer
• Fuel Range
• Average Economy
• Fuel Used
• Timer
• Transmission Temperature
• Instantaneous Economy (if equipped)
• Active Fuel Management
™
(if equipped)
(Vehicle Information):Press this
button to display the following vehicle
information:
• Oil Life
• Display Units (English/Metric)
• Tire Pressure (if equipped)
• Trailer Gain and Output (if equipped)
• Engine Hours
• Tire Pressure System Programming
(if equipped)
• Remote Keyless Entry Programming
• Compass Zone Setting
• Compass Calibration
Page 6 of 24
Getting to Know Your Sierra6
(Customization):Press this button
to scroll through the following custom-
ization features:
• Display Language
• Auto Door Lock
• Auto Door Unlock
• Remote Door Lock
• Remote Door Unlock
• Delay Door Lock
• Exit Lighting
• Approach Lighting
• Chime Volume
• Park Tilt Mirrors (if equipped)
• Easy Exit Seat Recall (if equipped)
• Easy Exit Seat Setup (if equipped)
• Memory Seat Recall (if equipped)
• Remote Start (if equipped)
• Factory Settings
• Exit Feature Settings
(Set/Reset):Press this button to set
or reset DIC information while it is dis-
played or to acknowledge a warning
message.
Customization Settings
To customize features:
1. With the vehicle in Park, turn on the
ignition.
2. Press the (Customization) button
to display available customization
features.
3. With the desired customization
feature displayed, press the
(Set/Reset) button to access the
feature settings.
4. Press the button to scroll through
the available settings.5. With the desired setting displayed,
press the button to select it.
6. Press the button to scroll to the
next feature.
7. To exit the Feature Settings menu,
press the button until EXIT
FEATURE SETTINGS is displayed
and then press the button; or
press the button or the
button.
Compass Operation
To adjust for compass variance when
traveling on a long-distance trip or to
calibrate the compass, refer to your
Owner Manual.
Warnings and Messages
The DIC provides a variety of vehicle
warning messages (depending on
optional equipment) if a problem is
sensed in a vehicle system. To acknowl-
edge a message and clear it from the
display, press the (Set/Reset) button.
Some urgent messages cannot be
cleared from the DIC display.
If you have a current OnStar subscrip-
tion, and a warning message appears,
you can press the OnStar button and
speak to an OnStar Advisor. In many
vehicles, OnStar Advisors can access
certain diagnostic information and can
tell you how serious the problem is and
what you should do about it.
See Section 3 of your Owner Manual.
Note: Your vehicle’s warnings and mes-
sages provide critical information that
can prevent damage to your vehicle.
Review your Owner Manual to become
familiar with the information displayed
and the action required.
Page 16 of 24
Getting to Know Your Sierra16
Cruise Control (if equipped)
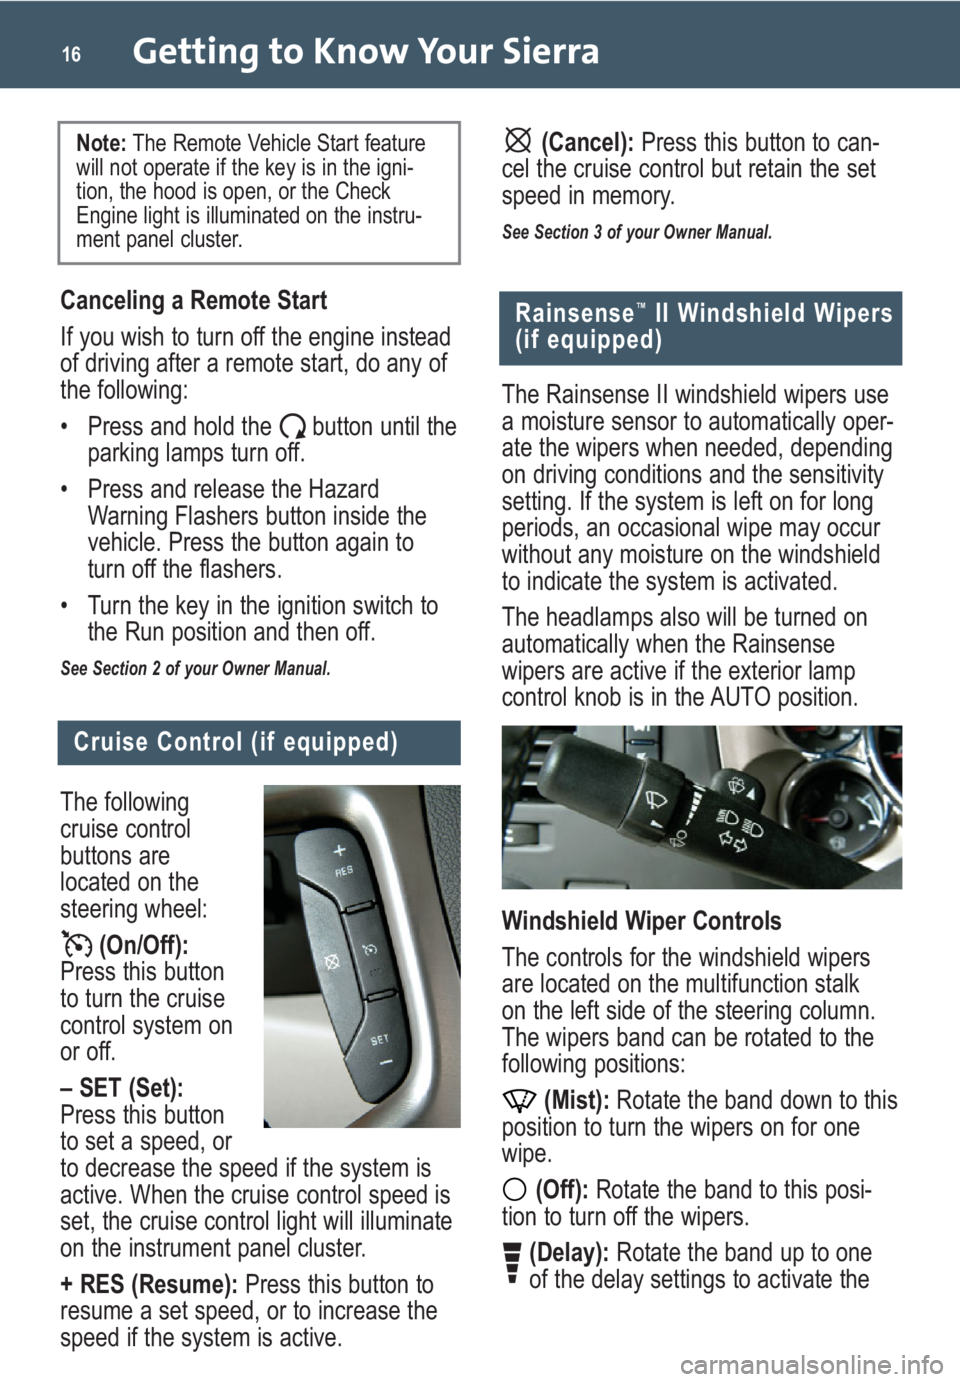
The following
cruise control
buttons are
located on the
steering wheel:
(On/Off):
Press this button
to turn the cruise
control system on
or off.
– SET (Set):
Press this button
to set a speed, or
to decrease the speed if the system is
active. When the cruise control speed is
set, the cruise control light will illuminate
on the instrument panel cluster.
+ RES (Resume):Press this button to
resume a set speed, or to increase the
speed if the system is active.
Rainsense™II Windshield Wipers
(if equipped)
The Rainsense II windshield wipers use
a moisture sensor to automatically oper-
ate the wipers when needed, depending
on driving conditions and the sensitivity
setting. If the system is left on for long
periods, an occasional wipe may occur
without any moisture on the windshield
to indicate the system is activated.
The headlamps also will be turned on
automatically when the Rainsense
wipers are active if the exterior lamp
control knob is in the AUTO position.
Windshield Wiper Controls
The controls for the windshield wipers
are located on the multifunction stalk
on the left side of the steering column.
The wipers band can be rotated to the
following positions:
(Mist):Rotate the band down to this
position to turn the wipers on for one
wipe.
(Off):Rotate the band to this posi-
tion to turn off the wipers.
(Delay):Rotate the band up to one
of the delay settings to activate the
Canceling a Remote Start
If you wish to turn off the engine instead
of driving after a remote start, do any of
the following:
• Press and hold the button until the
parking lamps turn off.
• Press and release the Hazard
Warning Flashers button inside the
vehicle. Press the button again to
turn off the flashers.
• Turn the key in the ignition switch to
the Run position and then off.
See Section 2 of your Owner Manual.
Note: The Remote Vehicle Start feature
will not operate if the key is in the igni-
tion, the hood is open, or the Check
Engine light is illuminated on the instru-
ment panel cluster.(Cancel):Press this button to can-
cel the cruise control but retain the set
speed in memory.
See Section 3 of your Owner Manual.
Page 21 of 24
21
PERFORMANCE & MAINTENANCE
The 6-speed automatic transmission has
a Range Selection Mode feature that
enables the driver to select the range
of gears desired for the current driving
conditions, such as when driving on
downhill grades.
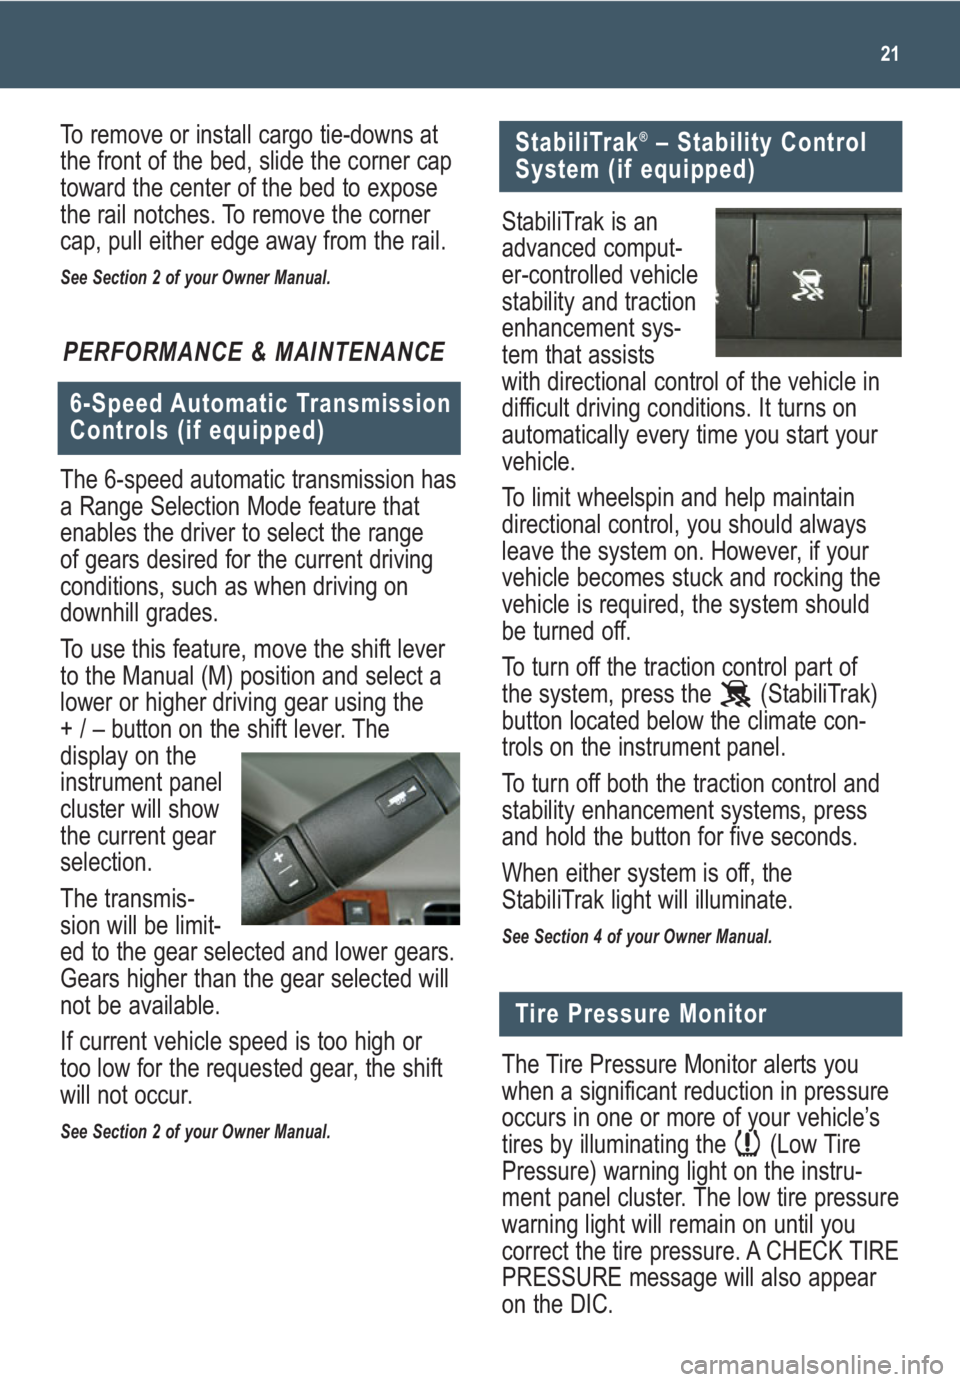
To use this feature, move the shift lever
to the Manual (M) position and select a
lower or higher driving gear using the
+ / – button on the shift lever. The
display on the
instrument panel
cluster will show
the current gear
selection.
The transmis-
sion will be limit-
ed to the gear selected and lower gears.
Gears higher than the gear selected will
not be available.
If current vehicle speed is too high or
too low for the requested gear, the shift
will not occur.
See Section 2 of your Owner Manual.
6-Speed Automatic Transmission
Controls (if equipped)
StabiliTrak®– Stability Control
System (if equipped)
Tire Pressure Monitor
The Tire Pressure Monitor alerts you
when a significant reduction in pressure
occurs in one or more of your vehicle’s
tires by illuminating the (Low Tire
Pressure) warning light on the instru-
ment panel cluster. The low tire pressure
warning light will remain on until you
correct the tire pressure. A CHECK TIRE
PRESSURE message will also appear
on the DIC.
StabiliTrak is an
advanced comput-
er-controlled vehicle
stability and traction
enhancement sys-
tem that assists
with directional control of the vehicle in
difficult driving conditions. It turns on
automatically every time you start your
vehicle.
To limit wheelspin and help maintain
directional control, you should always
leave the system on. However, if your
vehicle becomes stuck and rocking the
vehicle is required, the system should
be turned off.
To turn off the traction control part of
the system, press the (StabiliTrak)
button located below the climate con-
trols on the instrument panel.
To turn off both the traction control and
stability enhancement systems, press
and hold the button for five seconds.
When either system is off, the
StabiliTrak light will illuminate.
See Section 4 of your Owner Manual.
To remove or install cargo tie-downs at
the front of the bed, slide the corner cap
toward the center of the bed to expose
the rail notches. To remove the corner
cap, pull either edge away from the rail.
See Section 2 of your Owner Manual.
Page 22 of 24
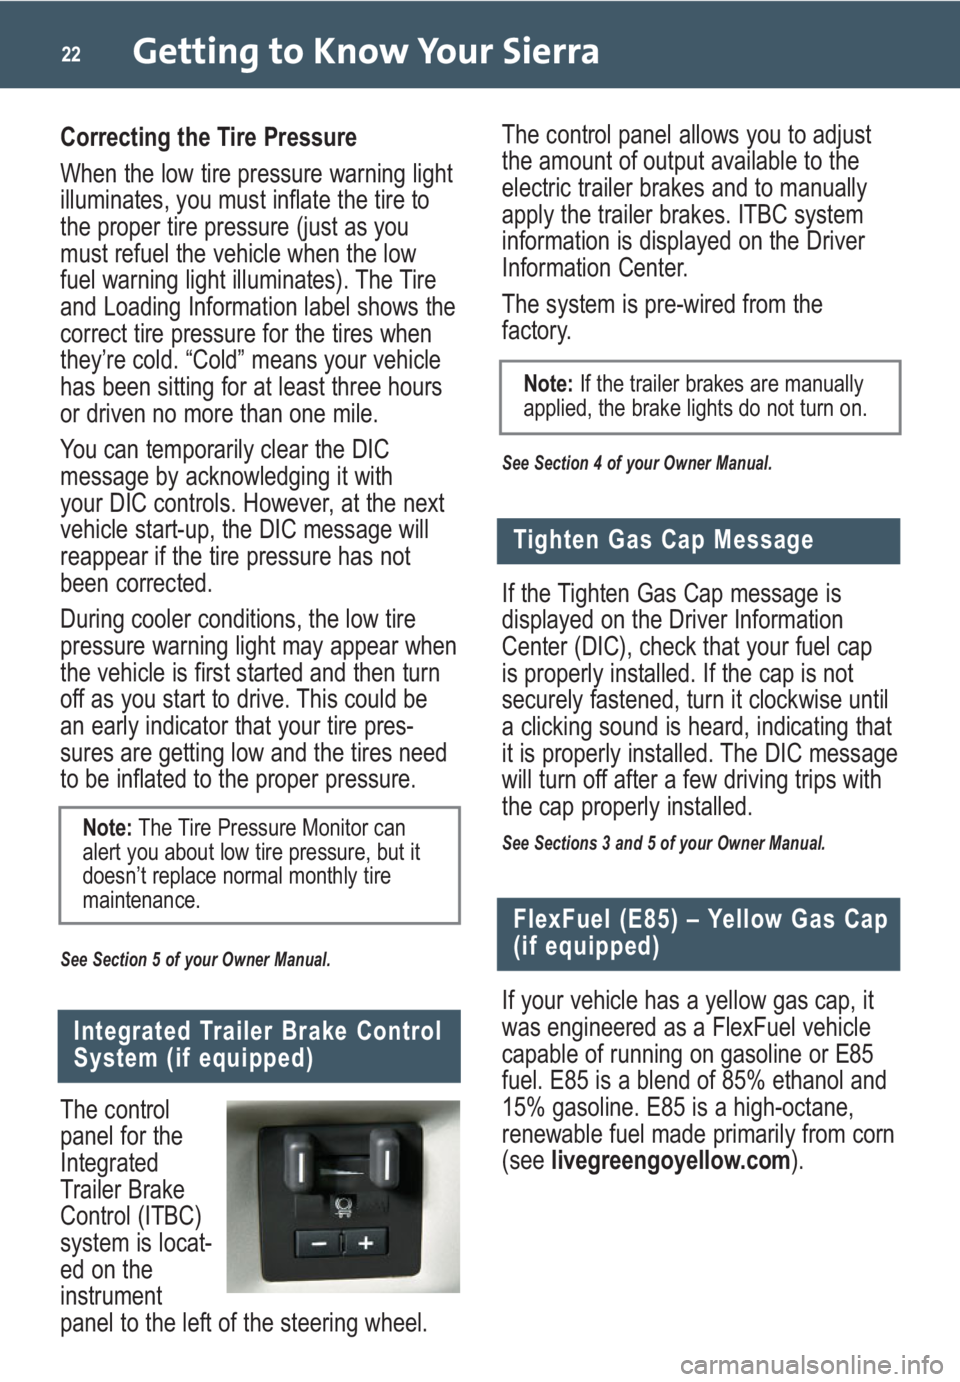
The control panel allows you to adjust
the amount of output available to the
electric trailer brakes and to manually
apply the trailer brakes. ITBC system
information is displayed on the Driver
Information Center.
The system is pre-wired from the
factory.
See Section 4 of your Owner Manual.
Getting to Know Your Sierra22
Correcting the Tire Pressure
When the low tire pressure warning light
illuminates, you must inflate the tire to
the proper tire pressure (just as you
must refuel the vehicle when the low
fuel warning light illuminates). The Tire
and Loading Information label shows the
correct tire pressure for the tires when
they’re cold. “Cold” means your vehicle
has been sitting for at least three hours
or driven no more than one mile.
You can temporarily clear the DIC
message by acknowledging it with
your DIC controls. However, at the next
vehicle start-up, the DIC message will
reappear if the tire pressure has not
been corrected.
During cooler conditions, the low tire
pressure warning light may appear when
the vehicle is first started and then turn
off as you start to drive. This could be
an early indicator that your tire pres-
sures are getting low and the tires need
to be inflated to the proper pressure.
See Section 5 of your Owner Manual.
Note:The Tire Pressure Monitor can
alert you about low tire pressure, but it
doesn’t replace normal monthly tire
maintenance.
Integrated Trailer Brake Control
System (if equipped)
The control
panel for the
Integrated
Trailer Brake
Control (ITBC)
system is locat-
ed on the
instrument
panel to the left of the steering wheel.If the Tighten Gas Cap message is
displayed on the Driver Information
Center (DIC), check that your fuel cap
is properly installed. If the cap is not
securely fastened, turn it clockwise until
a clicking sound is heard, indicating that
it is properly installed. The DIC message
will turn off after a few driving trips with
the cap properly installed.
See Sections 3 and 5 of your Owner Manual.
Tighten Gas Cap Message
If your vehicle has a yellow gas cap, it
was engineered as a FlexFuel vehicle
capable of running on gasoline or E85
fuel. E85 is a blend of 85% ethanol and
15% gasoline. E85 is a high-octane,
renewable fuel made primarily from corn
(see livegreengoyellow.com).
FlexFuel (E85) – Yellow Gas Cap
(if equipped)
Note:If the trailer brakes are manually
applied, the brake lights do not turn on.